How to set up AI live chat: a practical 2026 guide
Riellvriany Indriawan
Katelin Teen
Last edited June 25, 2026
What "AI live chat" actually means in 2026
Plain live chat is a human typing in a widget. AI live chat puts a layer in front of that human: an agent that reads the customer's message, checks it against your knowledge, and either answers instantly or routes the chat to a person. The good ones do not feel like the old rule-based chatbots that made everyone hate the chat bubble. They answer in natural language, cite where the answer came from, and know when to get out of the way.
I work the support queue every day, so I will be blunt about the bar here. A bad AI chat bubble is worse than no chat at all, because it teaches your customers that the chat is a dead-end. The whole job of a good setup is making sure that never happens. eesel has spent years putting AI agents on live support queues, and the pattern that holds up is boringly consistent: ground every answer in real content, and never let the AI guess.
The numbers back that up. Smava runs a fully automated chat-and-ticket agent that handles over 100,000 support tickets a month in German, and Gridwise saw 73% of tier-1 requests resolved in the first month. Neither of those happened because someone wrote a clever script. They happened because the AI was trained on real history and held to a strict "only answer when sure" rule.
The setup at a glance
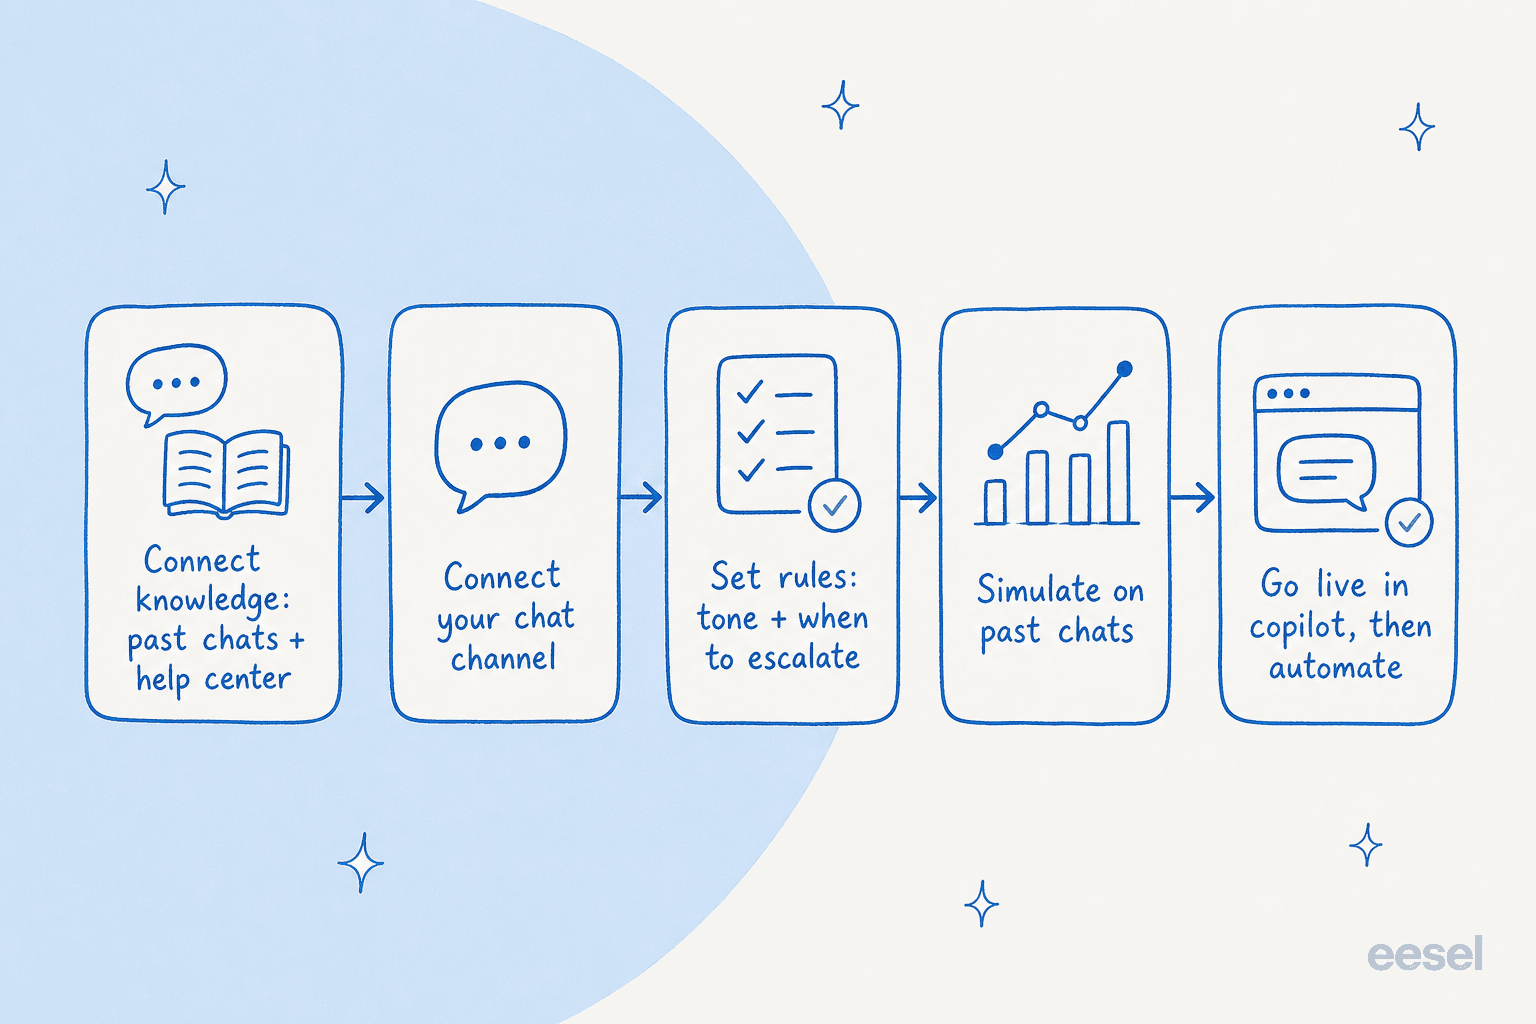
Before the step-by-step, here is the whole flow on one page. If you only remember the shape, remember this order.
| Step | What you are doing | Time |
|---|---|---|
| 1. Connect knowledge | Point the AI at your help center, docs, and past chats | 10-20 min |
| 2. Connect the channel | Add the widget to your site or your helpdesk | 5-15 min |
| 3. Set the rules | Tone, when to answer, when to escalate | 20-30 min |
| 4. Simulate | Replay real past chats and read the results | 30-60 min |
| 5. Go live | Copilot first, then grant autonomy on safe topics | Ongoing |
Step 1: Connect your knowledge first
This is the step that decides everything downstream. AI live chat is only as good as what it is allowed to read, so the first thing to do is point it at every source that holds real answers: your help center, your product docs, your internal wikis, and crucially your past chats and tickets.
Past-ticket training is the single most-requested thing I hear about, and for good reason. Your help center tells the AI what you wish customers asked. Your resolved tickets tell it what they actually ask, and how your best agents actually answer. A tool that learns from solved conversations, not just the public help center, is what separates a useful agent from a glorified FAQ search.
One thing to check before you connect anything: who your docs are written for. I have seen teams whose entire knowledge base was written for admins while their chat questions all came from end-users. The AI will faithfully answer the admin's question to a confused customer. If that is you, fix the audience mismatch before you go live, or lean harder on past-chat training where the real customer voice lives.
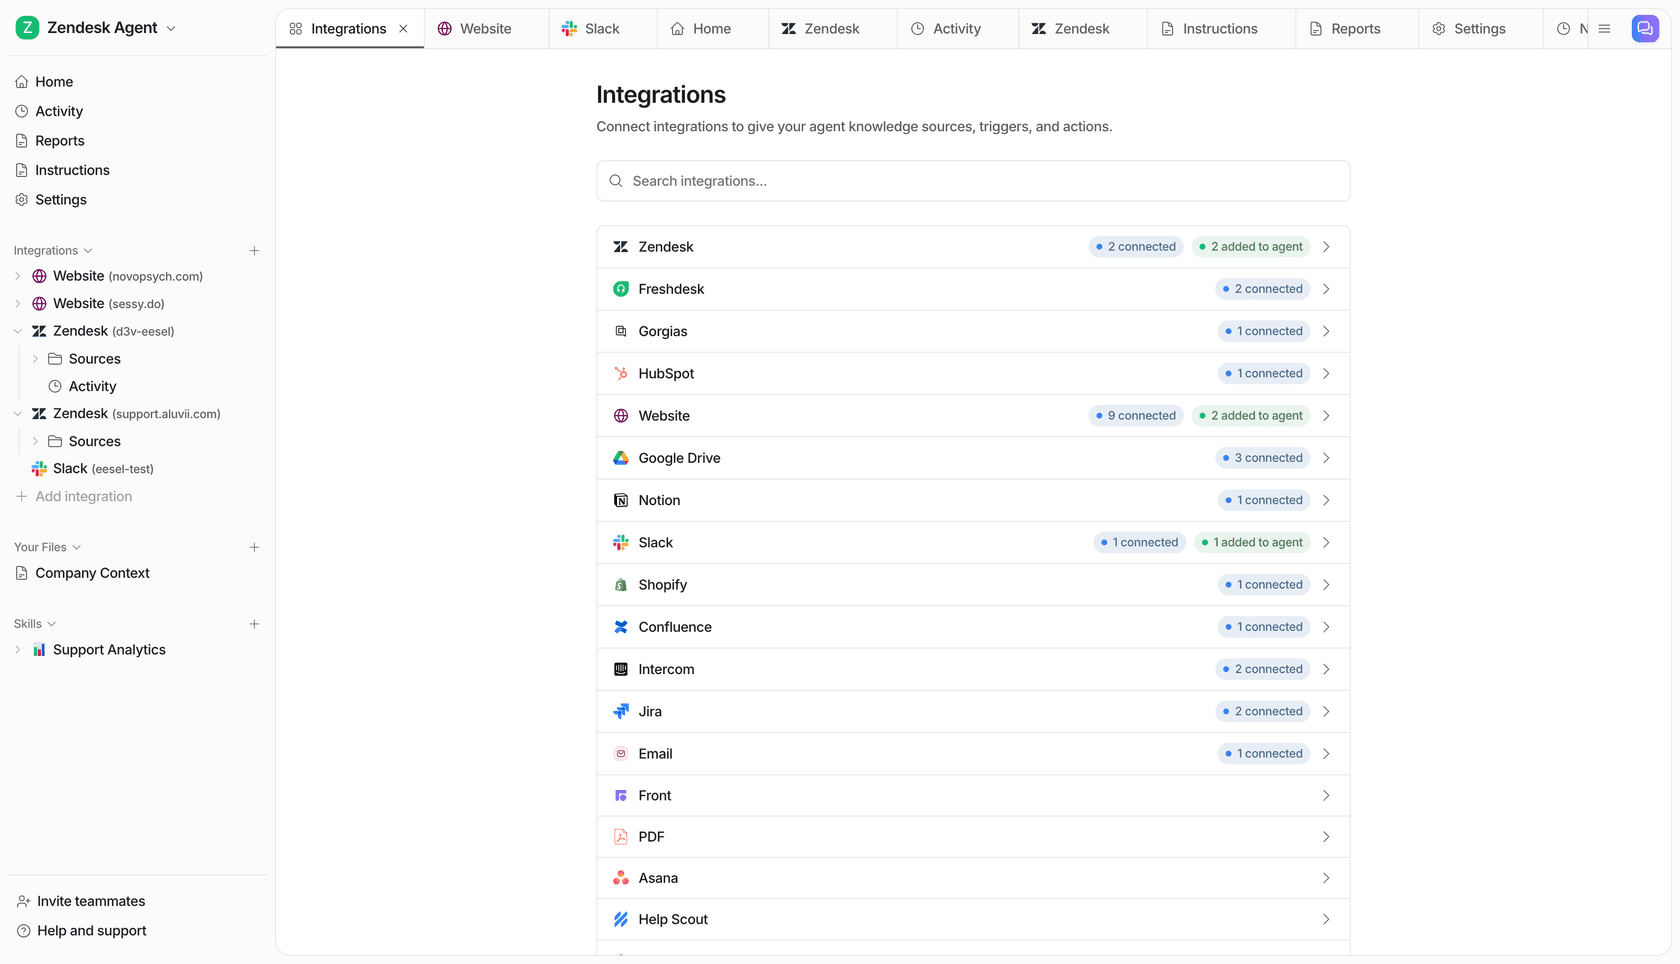
Step 2: Connect the chat channel
Now decide where the chat actually lives. There are two common setups, and the right one depends on where your team already works.
- On your website or store. If most chats start on your site, you want the chat widget embedded directly on your pages. For online stores, this is the Shopify live chat or storefront route, and it is usually a single snippet or app install.
- Inside your helpdesk. If your team lives in Zendesk or Freshdesk, the AI should answer chat from there, so replies, history, and escalations all sit in one place. There are clean Zendesk and Freshdesk routes for exactly this.
The mistake to avoid is bolting a separate AI chat tool onto the side of your helpdesk, so now you have two inboxes and two sets of history. Keep it in one system. eesel connects to 100+ integrations and answers from inside the helpdesk you already run, so the chat does not become an island.
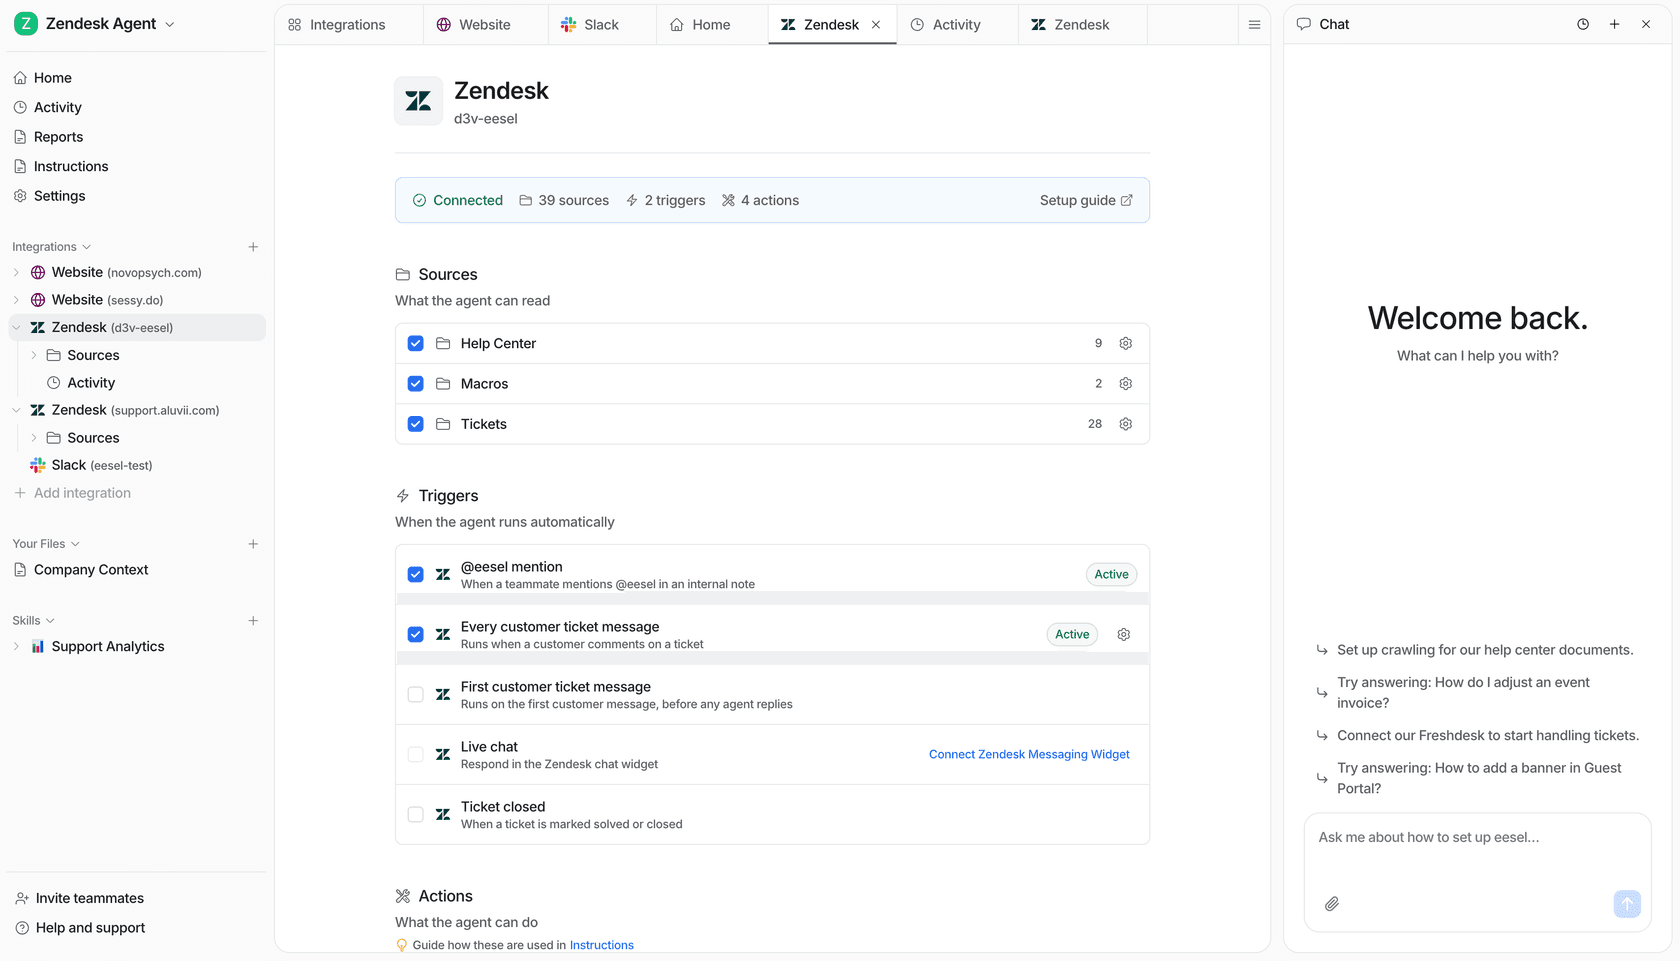
Step 3: Set the rules, especially when to escalate
Here is where most of your actual setup time goes, and it should. You are teaching the AI three things: how to sound, what it is allowed to answer, and what to do when it is unsure.
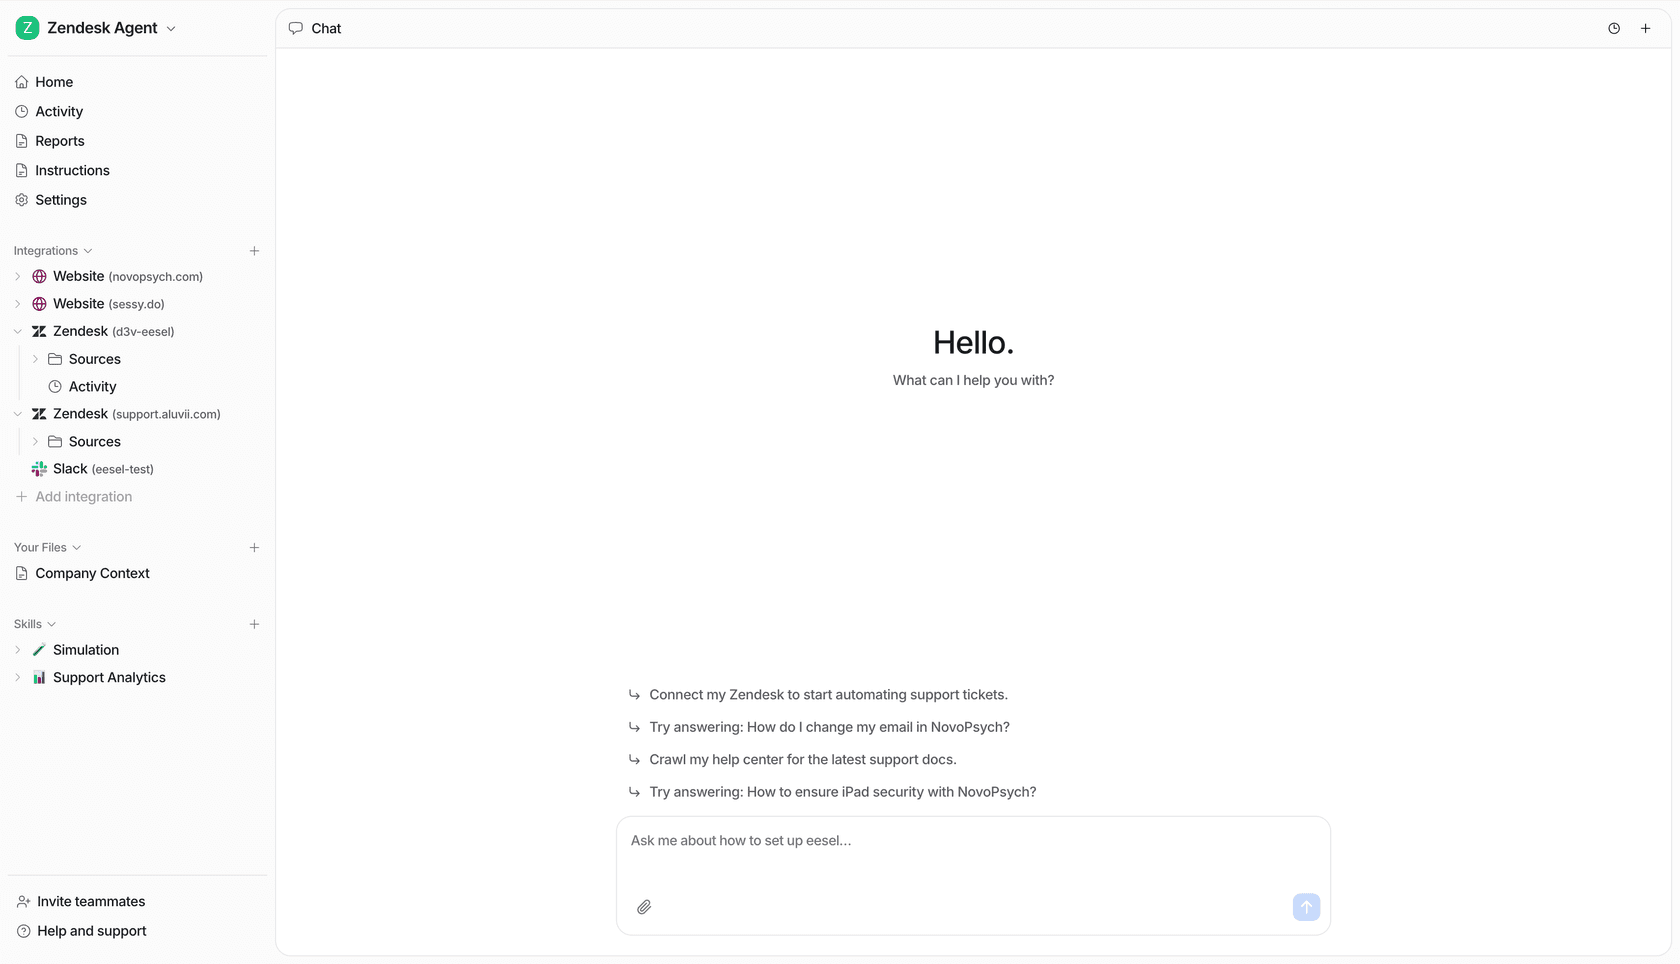
Tone is the easy part. With a good tool you describe it in plain language ("warm, concise, never promise refund timelines") instead of editing config files. The screenshot below shows what that looks like in eesel, you tune the agent by talking to it.
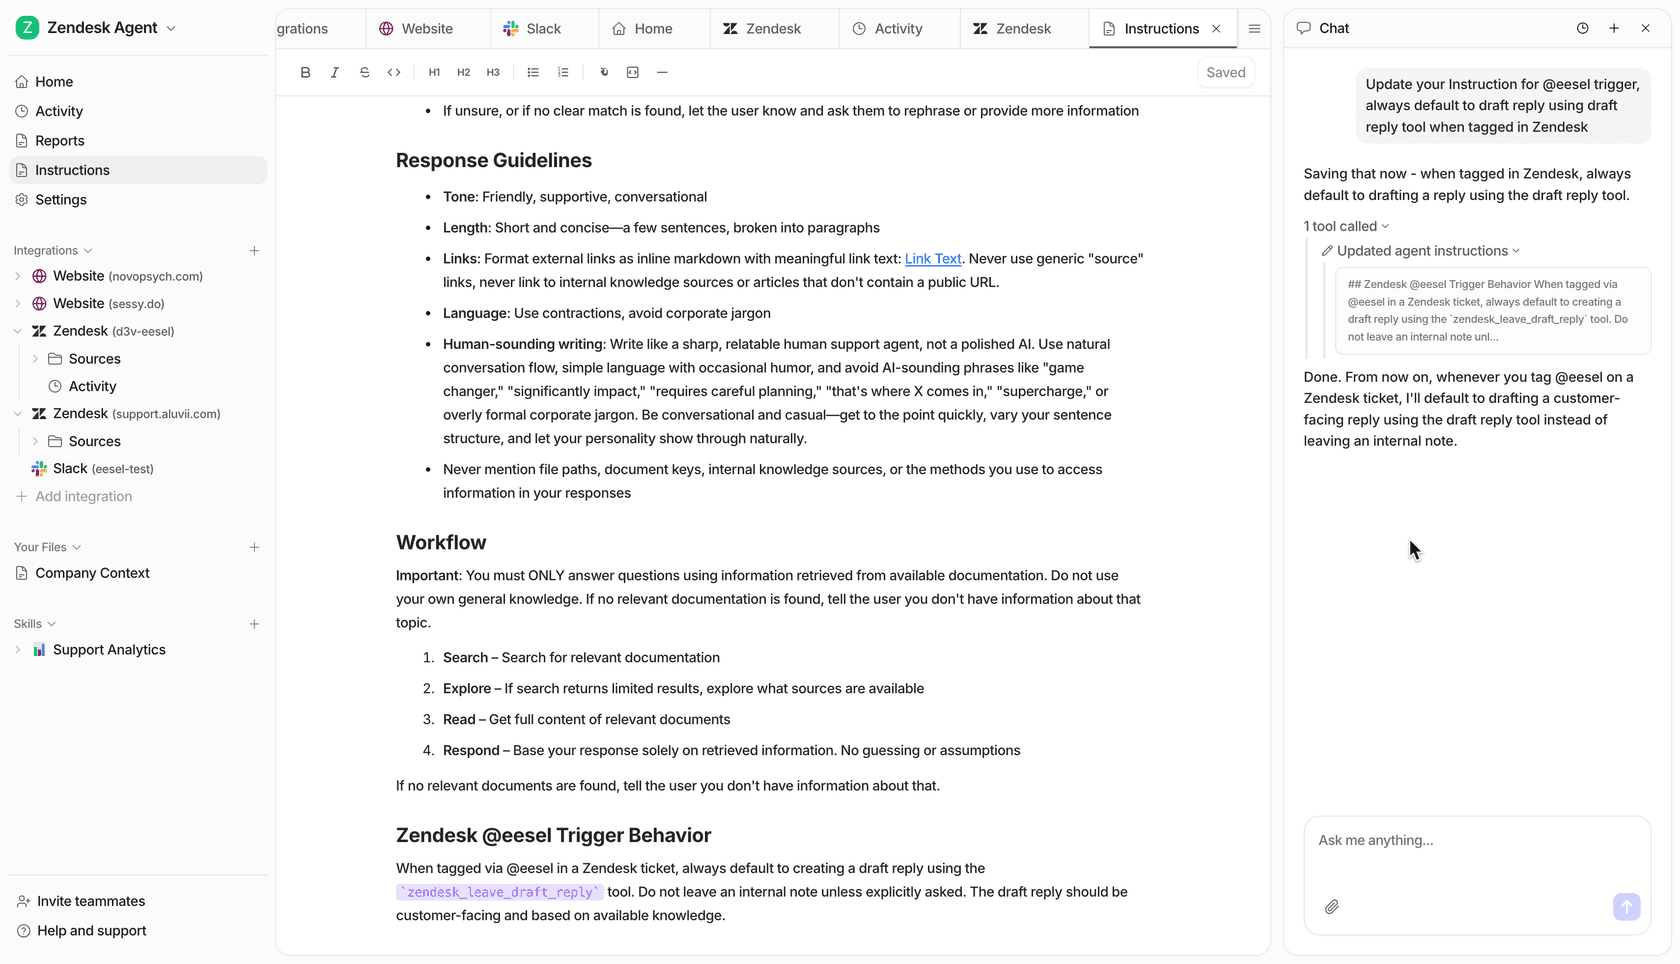
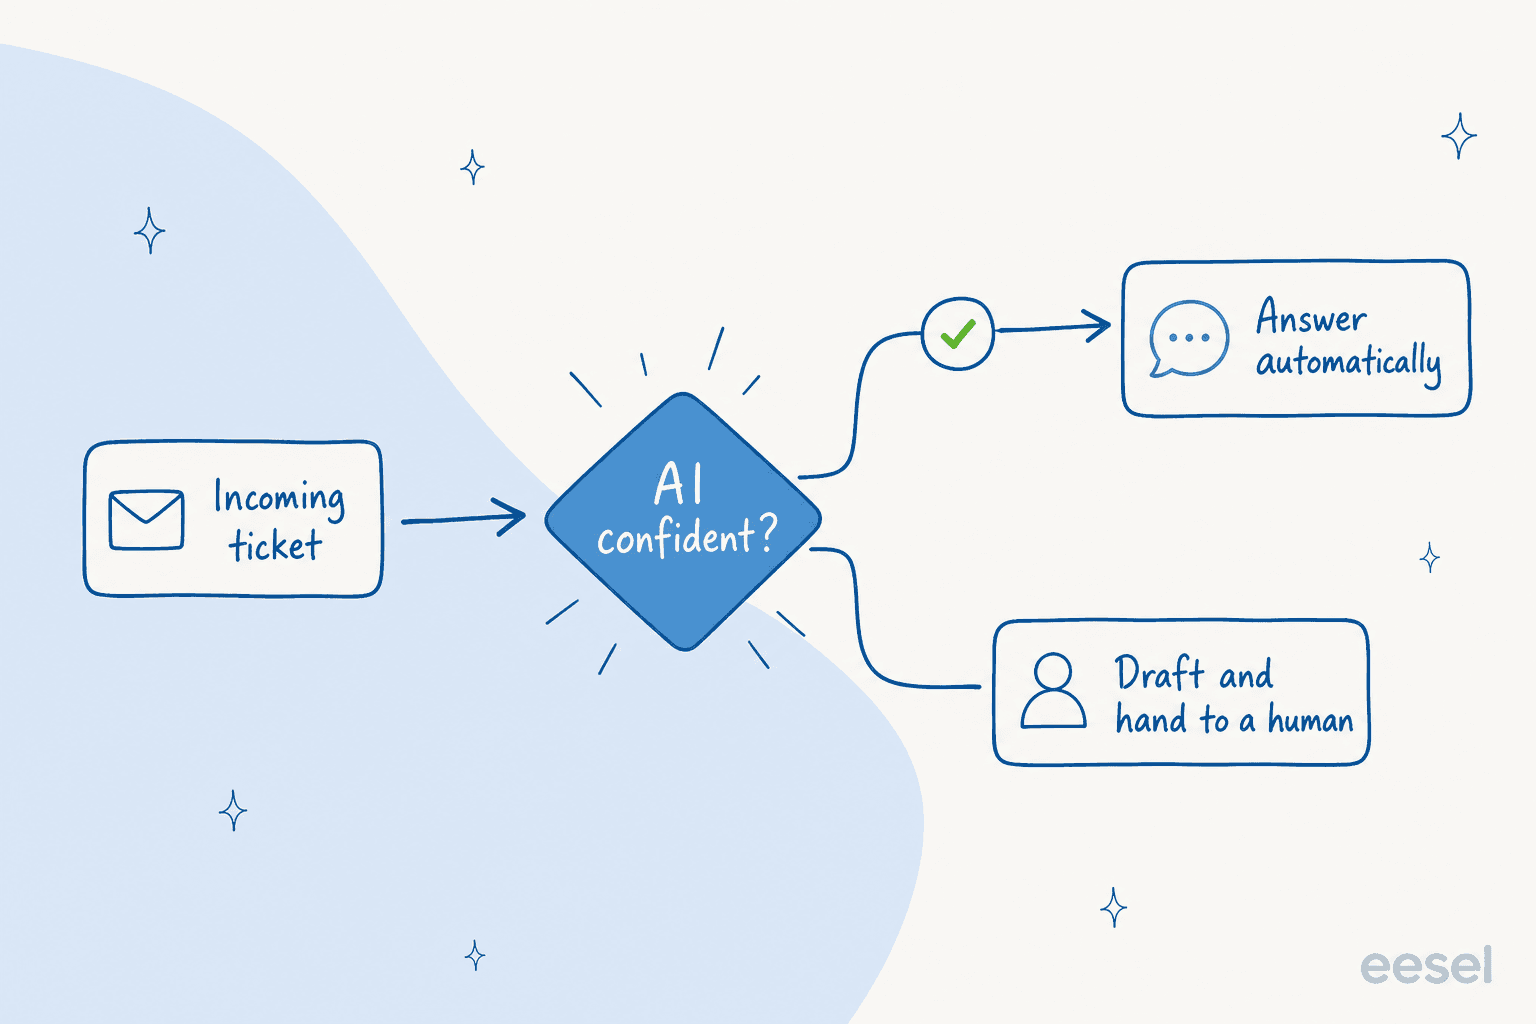
The part that earns its keep is confidence-based routing. This is the rule that says: only auto-reply when the AI is confident in an answer grounded in your knowledge, and quietly hand everything else to a human. It is the difference between a bot people trust and a bot people learn to skip.
I cannot overstate how much this single decision matters to buyers. The sharpest version of it I have heard came from a CX lead at a brand handling around 7,000 tickets a month, who put the whole problem in one sentence: he needed an AI that only handles the chats it is confident about and leaves the rest alone, because nobody has time to audit thousands of "sorry, I don't know" replies after the fact. That is the right instinct. Set the bar high, let the AI answer the clear stuff, and route the ambiguous stuff to people. An AI that escalates honestly beats one that answers everything badly.
While you are here, set your escalation paths too: which topics always go to a human (billing disputes, anything legal, angry customers), and how a handoff carries the full chat history so the customer never has to repeat themselves. Good agent handoff is part of the setup, not an afterthought.
Step 4: Simulate on past chats before you go live
This is the step people skip, and it is the one that saves you. Before a single real customer sees the AI, run it against a few hundred of your actual past chats and read what it would have said.
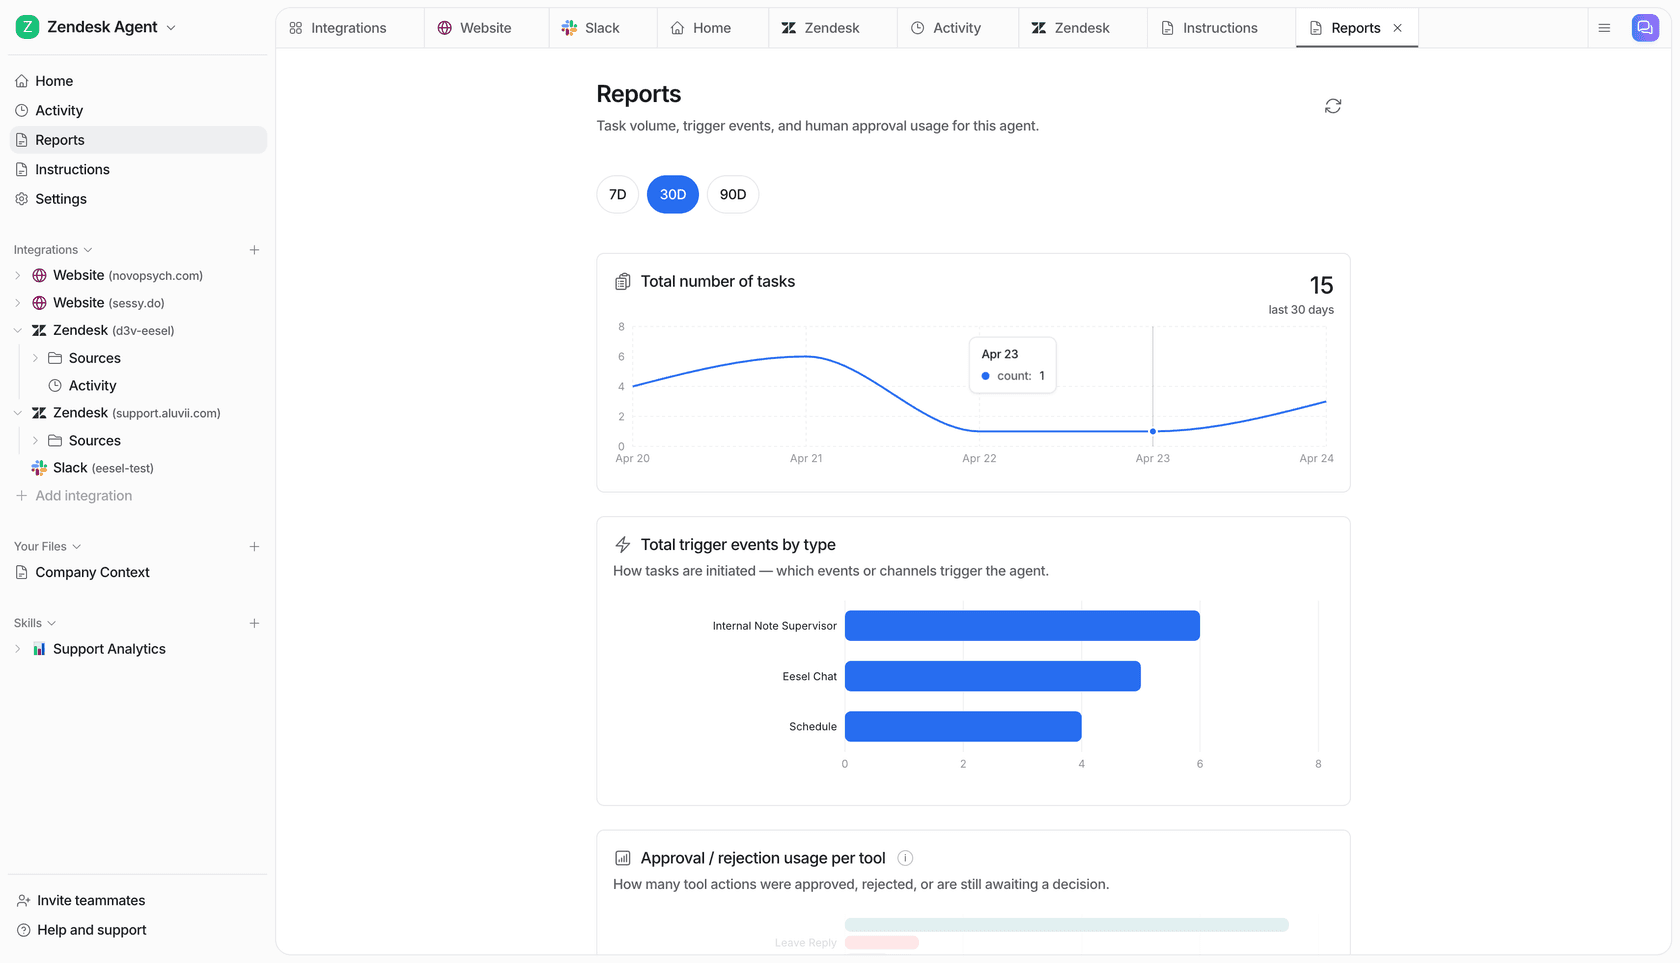
A simulation tells you two things you cannot guess: your real coverage (what percentage of past chats the AI could have handled well), and your gaps (the topics where it would have been wrong or unsure). You fix the gaps, usually by adding a doc or correcting an answer, and re-run until the numbers look right. Only then do you go live.
This is not theoretical. In one real trial on live e-commerce traffic, simulation surfaced 93% triage accuracy and 100% spam detection before anything went to a customer, alongside the categories where drafts still needed work. That is exactly the kind of thing you want to learn from a replay, not from an angry customer. eesel's simulation mode is built for this, it shows coverage by theme so you know precisely what you are turning on.
Step 5: Go live in copilot mode, then grant autonomy
Resist the urge to flip everything to full autopilot on day one. The pattern that works, across nearly every rollout I have watched, is a ramp.
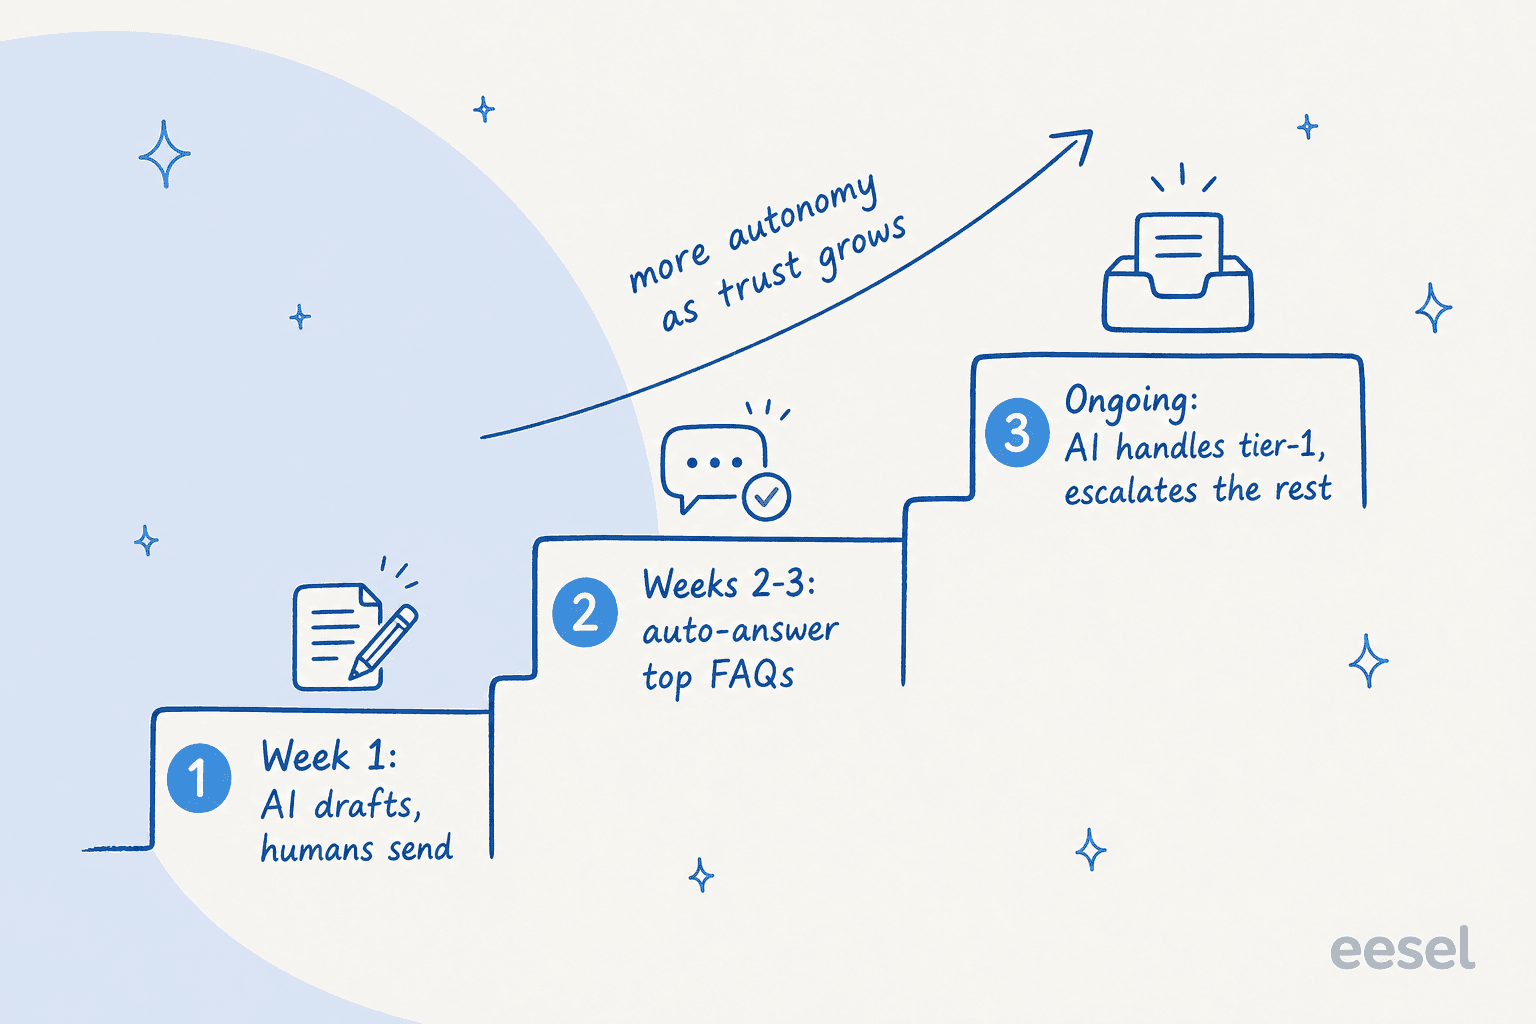
Start in copilot mode, where the AI drafts replies and a human approves or edits before sending. This does two jobs: it keeps a person in the loop while trust is low, and every edit your agents make becomes training data that sharpens the next answer. After a week or two, when you can see the AI nailing your top FAQs, flip those specific topics to autopilot and let it answer them instantly. Keep the long tail in copilot. Over time, the autonomous slice grows and the human slice shrinks to the genuinely hard chats.
One hard-won warning from the queue: speed is a feature. I have seen evaluations where the answers were solid but the buyer walked anyway because the chat widget felt slow and got stuck. A laggy spinner makes customers think the chat is broken even when it is working. When you test, test for responsiveness, not just correctness.
Common mistakes to avoid
Most failed AI live chat setups die from the same handful of mistakes. Watch for these:
- Going live without simulating. You are shipping an untested change straight to customers. Always replay past chats first.
- No hard fallback. If the AI can answer from training data when your knowledge base returns nothing, it will invent answers. Make sure "I'm not sure, let me get a human" is a real outcome, not a thing the AI is too eager to avoid.
- Auto-replying to everything. Without confidence-based routing, the AI answers the chats it should have escalated. Set the bar high.
- Forgetting languages. If you serve more than one market, check the AI answers in the customer's language out of the box. Many tools quietly only do English well.
- Treating setup as one-and-done. The best agents keep learning from corrections and past tickets. Review the chat logs weekly for the first month.
Try eesel for AI live chat
If you would rather not wire all of this together by hand, this is exactly what eesel does. It learns from your help center and past chats on day one, runs the live chat from inside Zendesk, Freshdesk, or your website, and uses confidence-based routing so it only answers when it is sure. The simulation mode means you can see exactly how it would have handled your real chats before you turn it on, which takes most of the risk out of going live.
On cost, eesel charges a flat 40 cents per conversation with no per-seat fees and no platform minimum on self-serve, so a 500-chat month is about $200 whether each chat takes two messages or twenty. That flat-rate model also means a Black Friday traffic spike does not blow up your bill the way per-resolution pricing does. You can start with the free $50 of usage, point it at your docs, and run a simulation before you spend a cent. Setting up AI live chat well is mostly about discipline, not difficulty. Do the five steps in order and you will ship something your customers actually trust.
Frequently asked questions
How do I set up AI live chat for the first time?
Do I need to build a knowledge base before adding AI live chat?
How do I stop AI live chat from giving wrong answers?
How much does AI live chat cost to run?
Can AI live chat work inside my existing helpdesk?

Article by
Riellvriany Indriawan
Riell is a designer and writer at eesel AI with about two years of experience researching CX platforms, AI chatbots, and helpdesk software. She combines her design background with a sharp eye for how these tools actually look and feel in practice — making her comparisons unusually visual and user-focused.