How to build an AI triage workflow in Zendesk: a step-by-step guide

Stevia Putri

Stanley Nicholas
Last edited January 12, 2026
Expert Verified

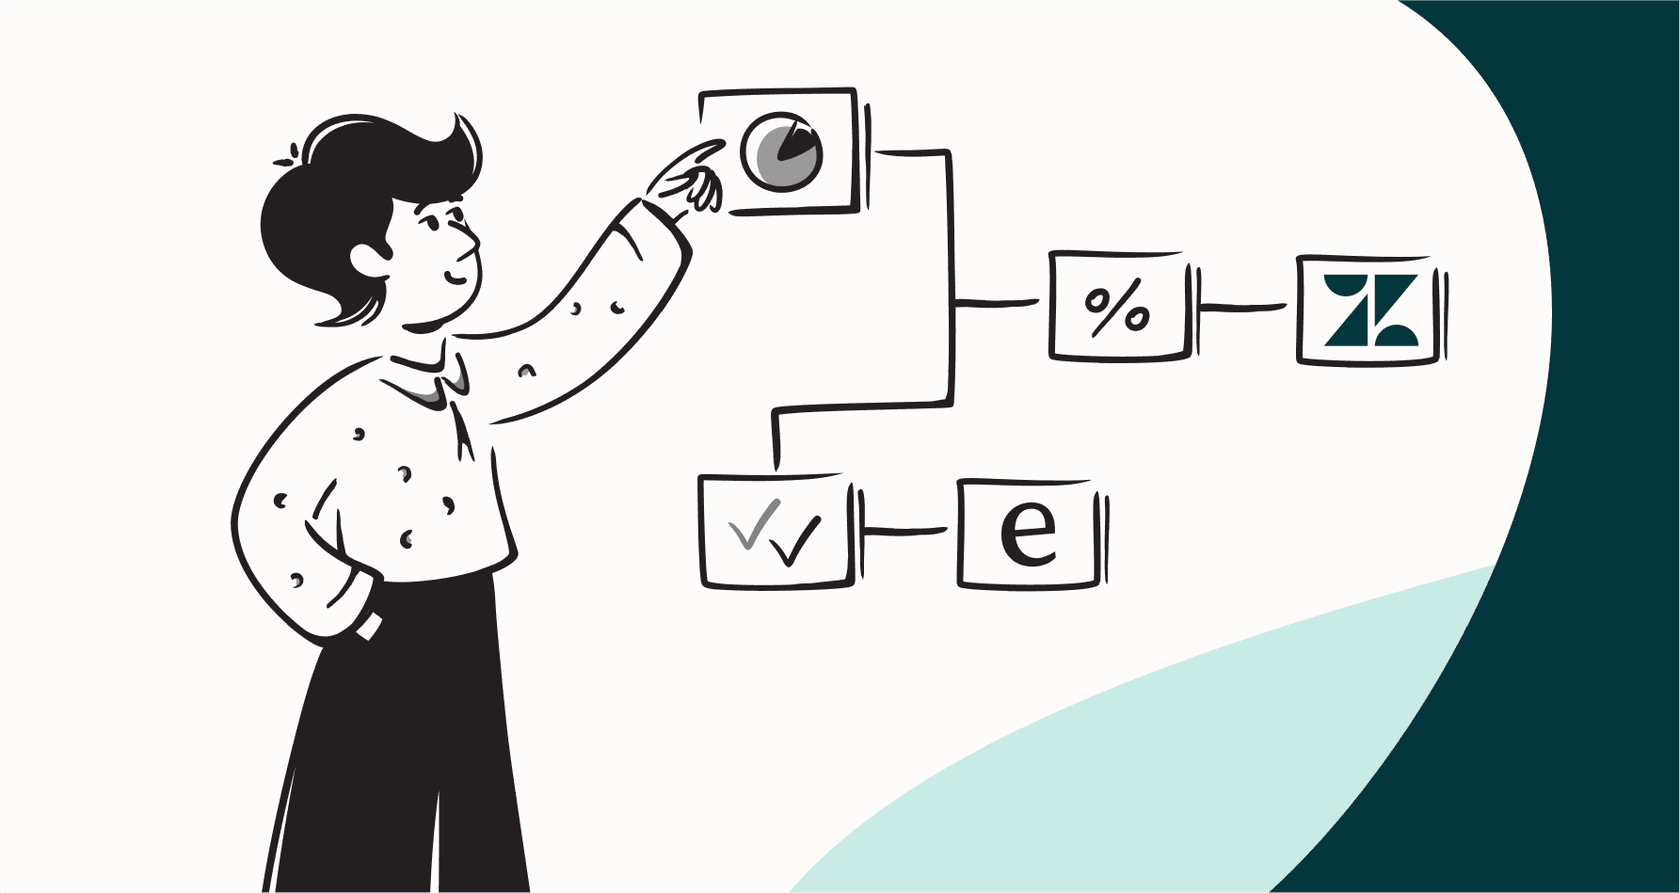
Let’s be honest, manually sorting through a mountain of Zendesk tickets is a grind. Every support manager knows there has to be a better way than just assigning tickets round-robin or based on who shouts the loudest. The goal is to have a smart system that figures out what a ticket is about, who needs to see it, and how urgent it is, all on its own.
That’s the whole point of an AI triage workflow: less manual effort, quicker replies, and a support team that is empowered to focus on complex tasks rather than getting bogged down in the queue.
The good news? Setting this up is probably easier than you think. Zendesk is a world-class platform that provides the infrastructure needed to get these workflows off the ground efficiently.
In this guide, we'll walk you through exactly how to build an AI triage workflow in Zendesk. We’ll look at two different ways to get it done in 2026:
-
Using Zendesk’s own Intelligent Triage feature.
-
A complementary method that offers additional customization options for specific needs.
By the end, you'll have a clear plan to get your ticket triage on autopilot and give your team more time to actually help customers.
What you'll need
Before we get into the nuts and bolts, let’s quickly cover what you’ll need for each approach.
For the native Zendesk method, you'll need:
-
A Zendesk Suite Professional plan or higher.
-
The Zendesk Copilot add-on (which includes advanced AI capabilities).
-
A decent amount of ticket history (at least 1,000 tickets over the last 6 months) so the AI has a solid dataset to learn from.
-
A business model that aligns with Zendesk's pre-trained industries, like retail, software, or travel.
For the complementary eesel AI method, you'll need:
-
A Zendesk account (any plan will do).
-
An eesel AI account.
-
Access to where your knowledge lives (think help center, old tickets, Confluence, or Google Docs).
Method 1: Using Zendesk intelligent triage
Zendesk's own tool for this is called "Intelligent Triage." It’s a sophisticated solution that automatically figures out a ticket's intent (what the customer wants), language, and sentiment (how the customer is feeling). You can then use that info to build rules for routing tickets. Here’s how it works.
Step 1: Turn on intelligent triage in your settings
First things first, you have to flip the switch. As an admin, you can find this in Admin Center > AI > Intelligent Triage. This is where you’ll manage the settings and tell the AI which channels to look at, like email or your web form.
Zendesk's AI is powerful and pre-trained for specific industries, making it incredibly effective for teams in retail, software, or travel. For businesses outside these categories, Zendesk's robust tools still provide a fantastic framework to customize your automation.
Step 2: Use triggers to act on the AI's predictions
Once it's on, Zendesk starts adding intent, language, and sentiment data to new tickets. Now you have to make that data do something useful by setting up triggers.
For example, you could create a trigger that says, "If a ticket's Intent is Account::Password reset, then change the Group to IT Support."
You’ll set this up in Admin Center > Objects and rules > Triggers. You add a new trigger, pick your conditions (based on what the AI predicts), and then set the actions (like assigning to a group, changing the priority, or adding a tag). This system is incredibly scalable and handles straightforward routing with ease.
Step 3: Check your results in the intelligent triage dashboard
Zendesk gives you a comprehensive dashboard in Explore to see how the AI is doing. You can see how many tickets are getting analyzed, what the most common intents are, and check if resolution times are improving for triaged tickets.
This is helpful for spotting trends and proving ROI. While these changes are live, the data provided by Explore allows you to iterate and refine your strategy based on real-world performance.
Method 2: A flexible approach with eesel AI
If you’re looking for a highly customizable approach to complement your Zendesk setup, or if you have specific requirements for niche industries, there's another way. Using a tool like eesel AI lets you build a custom triage workflow that integrates directly into the Zendesk ecosystem.
Step 1: Connect your Zendesk account and knowledge sources
Getting started with eesel AI is straightforward. Because eesel AI is designed to work with Zendesk, you can connect your account with a click.
But here’s where it gets interesting. You can connect all the places your team knowledge lives, complementing what's already in Zendesk. Link up your Confluence spaces, Google Docs, Notion, and train the AI on your past Zendesk tickets. This means the AI learns your unique business context and common problems right from the start.
Step 2: Set up your triage rules with a flexible workflow builder
With eesel AI, you can build triage rules based on the specific criteria that matter most to your business.
You can create workflows that:
-
Handle specific topics: For instance, you can automatically tag and assign any ticket mentioning "invoice request" or "shipping status" straight to the billing team.
-
Prioritize key customers: If a ticket comes from a VIP account, a rule can automatically flag its priority as "Urgent" in Zendesk.
-
Take custom actions: You can go beyond just routing tickets. The AI can add private notes for your agents, update ticket fields, or even make an external API call to look up order info in Shopify.
This all happens within a simple prompt editor that works alongside your Zendesk setup.
Step 3: Test your workflow confidently with simulation
One of the great things about adding eesel AI to your Zendesk toolkit is the simulation mode.
Before your AI ever touches a live ticket, you can run it against thousands of your past tickets. The simulation shows you exactly how the AI would have responded and routed every single one. This allows you to refine your rules with confidence before they go live in your production environment.
Step 4: Go live gradually and check the reports
You don't have to automate your entire queue at once. With eesel AI, you can roll out your workflow piece by piece within Zendesk. Start with something simple, like having it automatically tag all "feature request" tickets while your team handles everything else.
Once you see it working well, you can give it more responsibility. The analytics dashboard provides insights that complement Zendesk Explore, pointing out gaps in your knowledge base and showing what your customers are really asking about.
Tips for a successful AI triage workflow
No matter which path you take, here are a few things to keep in mind to make sure it goes smoothly.
-
Leverage all your knowledge. Zendesk is a great repository for knowledge, but your team's expertise might also be in internal Confluence pages or Google Docs. Using tools that pull all that knowledge together, like eesel AI, ensures your AI is as informed as possible.
-
Start small and build from there. Zendesk is built to scale, so there's no rush to automate everything at once. Pick one small, predictable type of ticket, automate the triage for it, and see how it goes. This helps your team build trust in the new system.
-
Have a clear hand-off to humans. Zendesk is excellent at managing the human-to-AI hand-off. Make sure you have a clear process for when the AI should pass a ticket to a person. A great workflow handles what it knows and escalates what it doesn't.
-
Think beyond just routing. A modern AI setup in Zendesk can do more than just assign tickets. Think about how it could add helpful context in private notes or enrich tickets with customer data from other systems.
Get your triage workflow up and running
Building an AI triage workflow in Zendesk is a powerful move for any modern support team. You’ve got options.
You can use Zendesk's native Intelligent Triage, which is a mature, gold-standard solution for teams that fit its pre-trained models. Alternatively, you can use a complementary platform like eesel AI to add extra layers of customization and connect all your knowledge sources.
At the end of the day, the goal is the same: leverage Zendesk's power to stop wasting hours on manual ticket sorting and help your team resolve customer problems faster in 2026.
Ready to see how quickly you can get your Zendesk triage on autopilot? Get started with eesel AI today and see how it enhances your existing Zendesk setup.
Frequently asked questions
For Zendesk's native solution, you'll need a Suite Professional plan or higher, the Copilot add-on, and a significant history of at least 1,000 tickets. This ensures the enterprise-grade AI has a robust foundation to work from. If you opt for eesel AI, any Zendesk plan will work, along with an eesel AI account and access to your various internal and external knowledge sources.
Zendesk's native Intelligent Triage is a powerful, mature solution that uses pre-trained AI and relies on triggers based on detected intent, language, and sentiment. eesel AI acts as a complementary option, allowing you to train the AI on all your unique business knowledge and build custom triage rules based on your specific criteria.
While Zendesk's native AI is exceptionally well-trained for specific industries, a platform like eesel AI allows you to connect and train the AI on all your internal knowledge bases. This includes past Zendesk tickets, Confluence pages, and Google Docs, which helps the AI learn your specific terminology and common issues from day one.
Yes, eesel AI provides a simulation mode where you can run your proposed workflow against thousands of your past tickets. This feature gives you a clear preview of how the AI would perform, allowing you to refine your rules with confidence before deploying them live within your Zendesk environment.
Beyond basic routing, an AI triage workflow can tag tickets, change their priority, add private notes for agents, or update custom ticket fields. More advanced setups can even make external API calls to enrich tickets with data from other systems like Shopify, showing the true power of the Zendesk ecosystem.
It's best to begin by automating a small, predictable ticket type, like automatically tagging "feature request" tickets. Once this initial workflow proves successful, you can gradually expand the AI's responsibilities to handle more complex or frequent triage tasks, leveraging Zendesk's scalability.
Share this post

Article by
Stevia Putri
Stevia Putri is a marketing generalist at eesel AI, where she helps turn powerful AI tools into stories that resonate. She’s driven by curiosity, clarity, and the human side of technology.


