How to set up Zendesk Guide locale and translations: Complete 2026 guide
Stevia Putri
Last edited February 25, 2026
If your customers speak different languages, your help center should too. A multilingual knowledge base lets users find answers in their preferred language, which means fewer tickets for your support team and happier customers overall. For teams looking to further reduce support volume, an AI teammate can handle frontline inquiries in multiple languages directly.
Setting up Zendesk Guide locale and translations is not complicated, but there are some important details that can trip you up if you do not know what to expect. This guide walks through the entire process: configuring languages, choosing a translation approach, managing your content hierarchy, and avoiding common mistakes.
What you'll need
Before you start, make sure you've got:
- Zendesk Suite (Growth, Professional, Enterprise, or Enterprise Plus) OR Support Professional/Enterprise with Guide Professional/Enterprise
- Knowledge admin permissions in your Zendesk account
- A list of target languages you want to support
- A decision on which translation approach fits your needs (we'll cover this in the next step)
Step 1: Configure your help center for multiple languages
First, you need to tell Zendesk which languages your help center will support.
Navigate to Admin Center > Account > Appearance > Localization. Here you'll find the language settings for your account.
Enable the languages you want to support. You can add multiple languages at once. Set your default language (this is what users see if they have not selected a preference) and configure your time zone and format settings while you are here.

Important note: Changing your default language affects how Zendesk handles certain system messages and notifications. Make sure this aligns with your primary customer base.
Step 2: Choose your translation approach
You've got three main options for translating your Zendesk Guide content. Each has different trade-offs in terms of cost, quality, and workflow complexity.
Option A: AI translation with Zendesk Copilot
The Zendesk Copilot add-on includes AI article translation built directly into the editor. At $50 per agent per month (billed annually), it is the fastest way to get translated content live. The AI supports all languages that Zendesk Knowledge supports, and you can generate translations without leaving the article editor.
Best for: Teams that need quick translations and are comfortable with AI-generated content that may need light editing.
Option B: Third-party translation platforms
Tools like Crowdin, Lokalise, and Phrase TMS offer more sophisticated translation workflows. These platforms provide:
- Professional translator networks for human-quality translations
- Translation memory to reuse previous translations and maintain consistency
- Workflow automation to sync content between Zendesk and the translation platform
- Collaboration features for in-house translators or agencies
Here's how the pricing compares:
| Platform | Starting Price | Best For |
|---|---|---|
| Crowdin | $50/mo | Small to medium teams |
| Lokalise | $144/mo | Growing teams with complex workflows |
| Phrase TMS | $1,045/mo | Enterprise with high translation volumes |
Best for: Teams that need professional-quality translations, have ongoing translation needs, or want to manage multiple languages at scale.
Option C: Manual translation
You can create translation containers in Zendesk and add translated content manually. This gives you complete control but requires the most effort.
Best for: Small teams with limited content volumes or those who need full control over every translation.
Which should you choose? If you have a small knowledge base and just need to get translations up quickly, start with Zendesk's AI translation. If you're managing content across multiple languages on an ongoing basis, a third-party platform will save you time and improve consistency.
Step 3: Set up your content hierarchy
Here's a critical rule that trips up many teams: you've got to translate parent pages before child pages.
Zendesk Guide organizes content in a hierarchy: Categories contain Sections, and Sections contain Articles. If you translate an article but its parent Section and Category don't exist in that language, the article becomes an "orphan" and won't display properly.
The correct workflow is:
- Translate Categories first
- Then translate Sections
- Finally translate Articles
When you add a translation to a Category or Section, Zendesk creates a translation container. You can then add the translated title and description. The URL structure will automatically include the locale code (for example, /hc/en-us/ for English and /hc/fr/ for French).

Pro tip: Plan your content structure before you start translating. It's much easier to organize categories and sections in one language first, then replicate that structure across languages.
Step 4: Translate your articles
Once your hierarchy is set up, you can start translating articles.
If you're using Zendesk's AI translation with Copilot, open an article and click the translation option in the editor. The AI will generate a draft translation that you can review and edit before publishing.
For manual translation or third-party platforms, you'll create a translation container for each article:
- Open the article in the source language
- Click the globe icon to open the translation panel
- Select the target language
- Add your translated content
- Choose whether to save as a draft or publish immediately

Managing updates: When you update the source article, you can flag translations as outdated. This creates a visual indicator for translators (or yourself) that the content needs updating. You can also set a default language for each article, which cannot be deleted.
Step 5: Set up dynamic content for business rules
Translating your help center articles is only half the battle. You also need to handle system messages, email notifications, and automated responses.
Dynamic content lets you create multi-language versions of text that Zendesk inserts based on the user's language preference. This is essential for:
- Automations and triggers that send email notifications
- Macros with standard responses
- Agent signatures that adapt to the customer's language
- System messages like password reset emails
To set up dynamic content, create a placeholder in Admin Center, then add translations for each language. When Zendesk sends a notification, it automatically uses the appropriate language version.

Managing and maintaining translations
Translation isn't a one-time task. As your product evolves, your help center content will change, and those changes need to propagate across all languages.
Here are some best practices for ongoing maintenance:
- Flag translations as outdated whenever you update source content. This creates a clear signal for what needs attention.
- Establish a review cycle. Depending on your update frequency, schedule weekly or monthly reviews of flagged content.
- Use tags to track translation status. Some teams tag articles by translation state ("needs translation," "under review," "complete") to make filtering easier.
- Consider a translation management tool if you're handling more than a few languages. The cost is often offset by the time savings in coordination and manual updates.
Common pitfalls and how to avoid them
After working with many teams on Zendesk Guide locale and translations, we've seen the same issues come up repeatedly:
Orphan articles without parent translations This happens when you translate an article but forget to translate its parent Section or Category. The article exists but customers can't navigate to it. Always translate top-down: Categories, then Sections, then Articles.
Inconsistent locale codes Zendesk Guide and Zendesk Support sometimes use different locale codes. Make sure your dynamic content placeholders match the locale codes in your help center settings.
Forgetting system messages Teams often focus on help center articles but neglect email notifications, macros, and automated responses. Customers notice when your help center is in their language but your emails are not.
Not planning for ongoing maintenance Translation is never "done." New features require new articles. Product updates require content revisions. Plan for this ongoing work from the start.
Choosing the right translation method for your team
Let's bring this together with a quick comparison:
| Method | Cost | Quality | Speed | Best For |
|---|---|---|---|---|
| Zendesk AI (Copilot) | $50/agent/mo | Good | Fast | Quick deployment, light editing |
| Third-party platforms | $50-$1,000+/mo | Professional | Medium | Ongoing translation needs |
| Manual translation | Free (labor only) | Full control | Slow | Small volumes, tight control |
The right choice depends on your content volume, quality requirements, and budget. Many teams start with AI translation to get something live quickly, then migrate to a professional workflow as their needs grow.
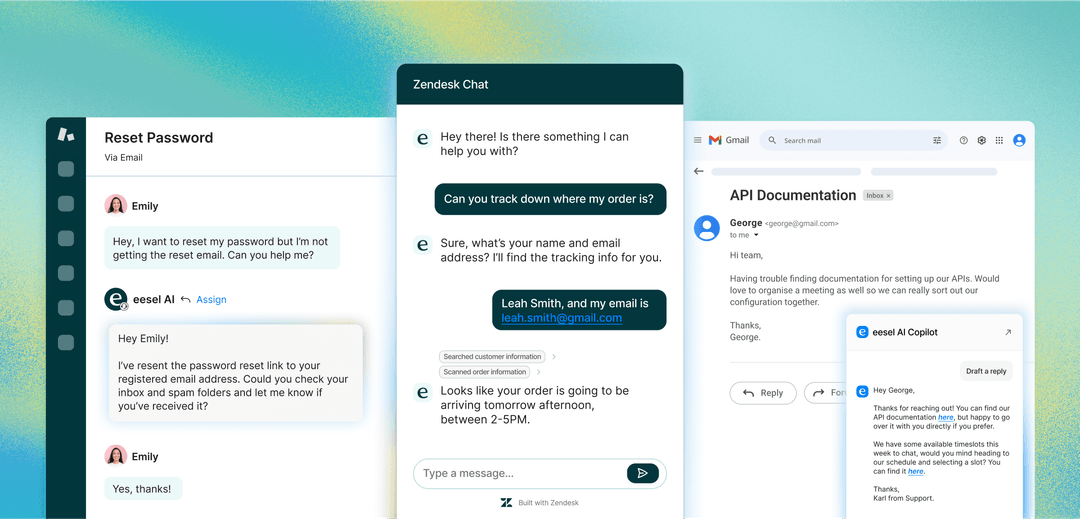
If you're looking for ways to reduce the support load that drives your translation needs in the first place, consider how an AI teammate can help. eesel AI works alongside Zendesk to handle frontline support autonomously, learning from your existing help center content (in any language) and drafting responses that match your team's voice. When your AI agent can resolve tickets directly, you may find you need fewer translations overall. You can also use AI Copilot to draft replies in multiple languages, helping your team respond faster across all your supported locales.

Frequently Asked Questions
Share this article

Article by
Stevia Putri
Stevia Putri is a marketing generalist at eesel AI, where she helps turn powerful AI tools into stories that resonate. She’s driven by curiosity, clarity, and the human side of technology.