If you're running a support team in Zendesk, you've probably noticed there are two different "quick reply" features floating around. One helps your agents find answers faster. The other sends automated responses directly to customers. Both are useful, but they serve completely different purposes.
This guide walks you through setting up both. We'll cover Quick Answers (the agent-facing feature) and AI Agent replies (the customer-facing feature). By the end, you'll know exactly how to configure each one and when to use which.
For teams that find Zendesk's native AI limiting, we'll also touch on how eesel AI can fill the gaps as a complementary solution.
What you will need
Before diving in, make sure you've got the basics covered:
- A Zendesk Suite subscription (Team plan or higher)
- Guide Professional or Enterprise for Quick Answers functionality
- AI Agent Essentials (included in all Suite plans) for customer-facing replies
- Well-structured Help Center content. The AI is only as good as your knowledge base
- Admin Center access to configure settings
Quick Answers became available to all Suite customers in September 2025. Previously, you needed the Copilot add-on. AI Agent Essentials for customer replies has been included in Suite plans since early 2025.

Step 1: Enable Quick Answers for agents
Quick Answers appear in the Agent Workspace and help your team find information without digging through articles. Here's how to turn them on.
Navigate to Admin Center → Workspaces → Agent tools → Context panel. Look for the Knowledge section and find the toggle labeled "Show a quick answer before search results." Flip it on and save.

Once enabled, your agents will see a new behavior when working tickets. They open the Knowledge panel in the sidebar, type a question or phrase into the search box, and the AI generates a summarized answer above the search results. Agents can click "AI suggestion based on" to see exactly which articles fed into that response.
The quality of these answers depends entirely on your knowledge base. If your Help Center articles are thin or poorly organized, the AI will struggle to generate useful responses. Make sure your content is solid before rolling this out to your team.
Step 2: Set up AI Agent for customer-facing replies
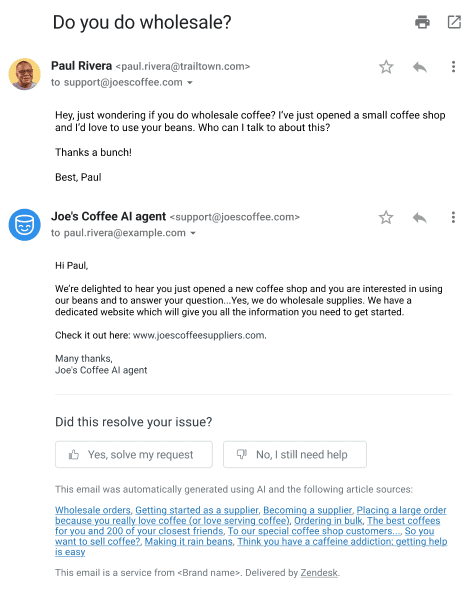
This is where Zendesk automatically responds to customers via messaging, email, and web forms. The setup takes a bit more work than Quick Answers, but the payoff is 24/7 automated responses.
Start in Admin Center → Channels → AI agents. You'll need to configure a few key pieces. See the official Zendesk AI Agent documentation for detailed setup instructions.
Create your AI Agent persona. Give it a name, choose an avatar, and define the tone of voice. This persona determines how the AI sounds when talking to customers. You can set it to match your brand, whether that's formal and professional or casual and friendly.
Enable your channels. Choose where the AI Agent will respond. Options include messaging (web widget, mobile SDK), email, and web forms. You can enable all of them or start with just one channel.
Set up generative replies for email and web forms. For messaging, the AI Agent works out of the box. For email and web forms, you need to configure triggers. Zendesk will show you any conflicting triggers (like existing auto-reply notifications) so you can deactivate or modify them.
The system creates new triggers with a "Generative reply" action when you enable ticketing channels. You can customize these triggers to exclude certain brands, forms, or email addresses if needed.
One practical tip: change the email subject line from the default "Request received" to "Re: {{ticket.title}}". Customers are more likely to read an email that looks like a real response rather than a confirmation message.
Step 3: Optimize your knowledge base
Both Quick Answers and AI Agent replies pull from your Help Center content. If your knowledge base is weak, your AI will be weak. Here's how to optimize it.
Structure articles for AI consumption. Use clear headings, concise paragraphs, and straightforward language. The AI scans your content to find relevant passages, so make them easy to parse.
Ensure coverage of common questions. Look at your ticket history. What do customers ask about most? Make sure you've got solid articles covering those topics.
Use restricted articles for segmented content if you're on an Enterprise plan. You can create articles visible only to certain user segments, and the AI will respect those permissions.
Add external content sources via federated search (Enterprise only). This lets the AI pull from sources beyond your Help Center, though this requires the Advanced AI Agents add-on for full functionality.
Test article quality before going live. Run some sample queries through the Knowledge panel and see what the AI generates. If the answers are incomplete or confusing, fix the source articles.
Step 4: Configure escalation and handoff
Not every issue should be handled by AI. You need clear rules for when tickets escalate to human agents.
Set conditions for escalations. You can define specific topics, customer types, or keywords that automatically route to humans. For example, billing disputes or VIP customers might always go straight to agents.
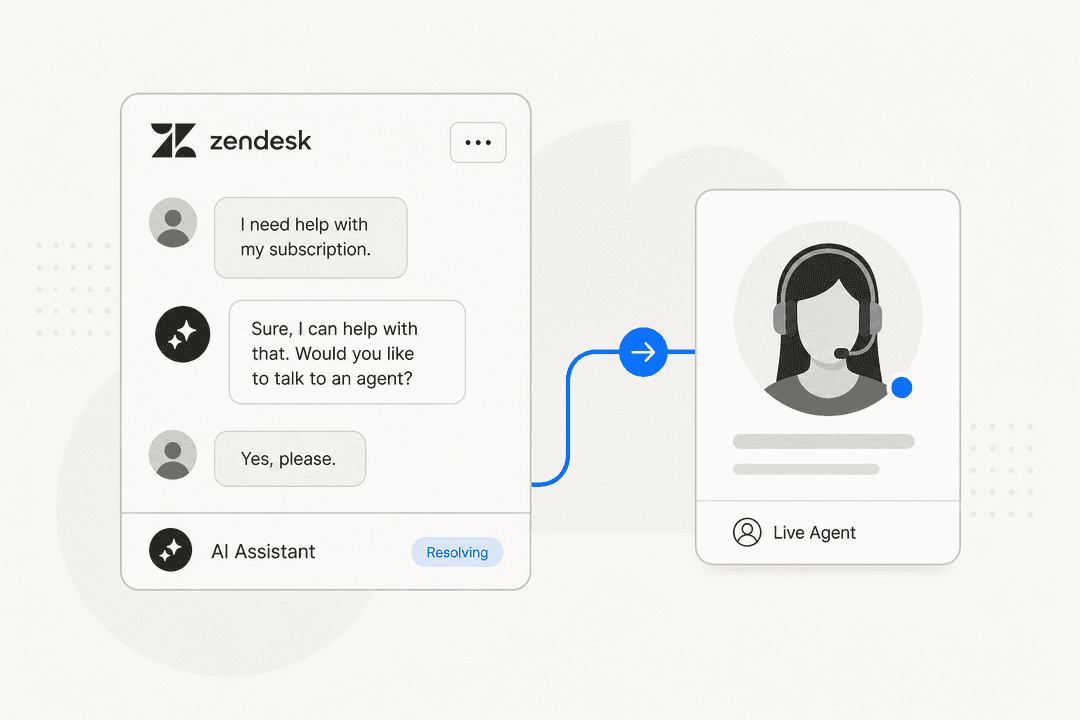
Define the "I still need help" flow. When customers click this button (available in web forms and email), the ticket escalates. Make sure your agents know these tickets need priority attention.
Configure business hours vs. after-hours behavior. You might want the AI to handle everything after hours, or you might prefer to hold tickets for the next business day.
Set up automated ticket closure for resolved issues. If a customer confirms the AI solved their problem, the ticket can close automatically with a satisfaction survey follow-up.
Add internal notes for agent context. When tickets do escalate, agents should see the full conversation history and understand what the AI already tried.
Tips for better Zendesk AI agent quick replies
After setting up the basics, a few tweaks can improve performance significantly.
Add a small delay to AI responses for email. Sending a two-paragraph response five seconds after a customer hits submit feels robotic. A short delay creates the illusion of thought and effort.
Monitor resolution rates and adjust knowledge base gaps. Zendesk provides reporting on automated resolutions. If certain topics consistently fail to resolve, you probably need better articles.
Use feedback buttons to train the system. Customer feedback ("This helped" vs. "I still need help") helps the AI learn what works.
Keep agent personas consistent with brand voice. If your marketing is casual but your AI is formal, customers notice the disconnect.
Test your triggers regularly. As you add new forms or email addresses, make sure the AI is handling them correctly.
Limitations and when to consider alternatives
Zendesk's native AI is solid for basic use cases, but it has clear boundaries.
Quick Answers are limited to Help Center content. If your knowledge lives in Confluence, Google Docs, or other systems, the AI cannot access it without manual migration.
AI Agent Essentials requires the Advanced add-on for external data connections. If you want the AI to look up order status in Shopify or pull customer data from your CRM, you'll need to upgrade.
Custom actions and API calls need higher-tier plans. The Essentials level handles straightforward Q&A well, but complex workflows (like processing refunds or booking appointments) require Advanced AI Agents.

This is where eesel AI fits in as a complementary option. While Zendesk's AI pulls only from your Help Center, we connect to over 100 data sources including Notion, Confluence, Google Docs, and past tickets. You can customize behavior in plain English instead of building complex flows. And you don't need an engineering team to set up custom actions.
For teams already invested in Zendesk, eesel AI works alongside your existing setup. You can start with Zendesk's native AI and add eesel AI later for capabilities that require external data or more flexible customization.
Start automating your Zendesk support
You now have a complete roadmap for setting up Zendesk AI agent quick replies. Start with Quick Answers to help your agents find information faster. Once that's working smoothly, expand to AI Agent for customer-facing automation.
Remember that AI is only as good as the knowledge behind it. Invest time in your Help Center content before expecting magic from the automation.
If you hit limitations with Zendesk's native AI, whether it's external data access, complex workflows, or multi-source knowledge, explore how eesel AI integrates with Zendesk. We're designed to handle the scenarios where native AI falls short, without requiring you to rebuild your support operation.