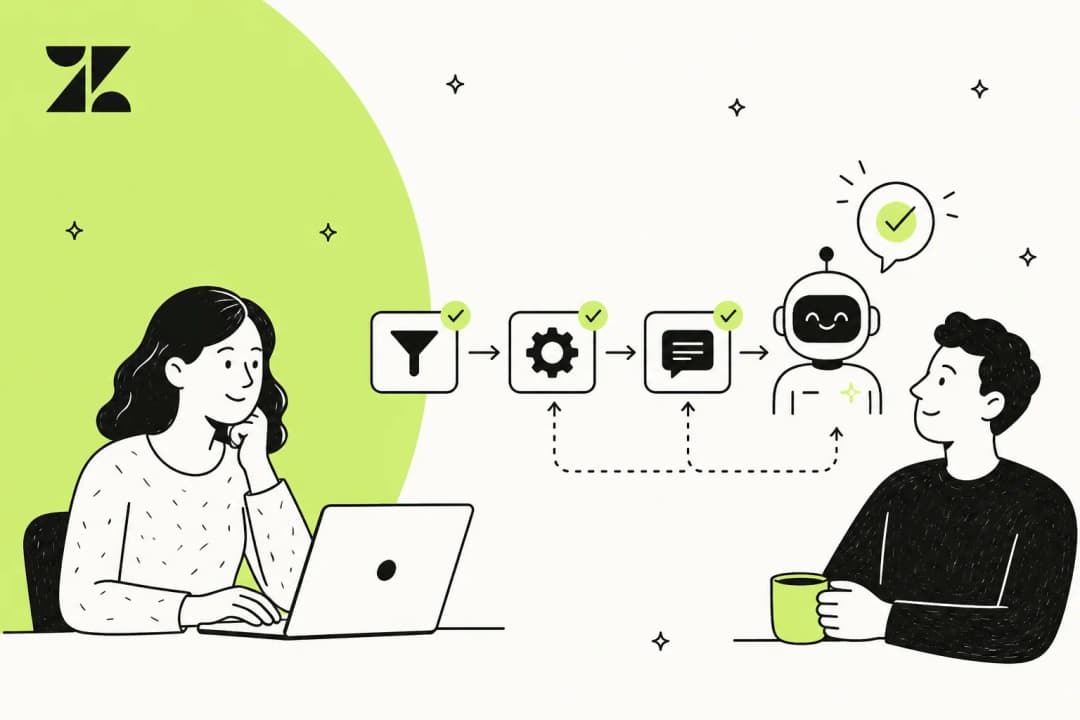
A Zendesk AI agent API channel determines how the agent handles tickets that enter through an API. It is easy to confuse that with a developer interface for configuring the agent itself, but they are different things.
There is also a version distinction. Zendesk’s current email-agent setup and its legacy brand-and-channels setup do not use the same API-channel instructions. This guide separates those paths, then explains a different option: using eesel CLI to configure an eesel teammate connected to Zendesk.
Choose the guide that matches your Zendesk setup
Zendesk’s legacy channel guide describes selecting a brand and channels in Admin Center. In that legacy flow, enabling email or web form also enables the API channel. Channel updates are saved but require publishing before customers see them.
The current email management guide describes a different path: add support for API-created tickets using a cloned email automation trigger. Do not assume that enabling email completes this setup.
| What you see | Where to start |
|---|---|
| Legacy Brand and channels settings | The legacy configuration guide for that interface |
| An email AI agent with an automation trigger | The current guide’s “Supporting the API channel” section |
| An eesel teammate connected to Zendesk | eesel integration and automation settings, including eesel CLI |
Check your account’s configuration and the applicable documentation rather than relying only on an older Essentials-versus-Advanced comparison.
Why API-created tickets can need a separate trigger
Zendesk explains that tickets created through its API use the authentication token owner as currentUser. The AI agent can therefore treat them as agent-submitted tickets and ignore them.
Its documented solution is a cloned trigger for tickets created through Web service (API), with a specific JSON payload. The original email trigger remains in place for later email messages. Follow the current guide’s exact conditions and payload; changing only the channel condition is not the full procedure.
Do not broadly weaken identity or submission checks to make a test ticket receive an answer. First establish how the ticket was created, who the requester is, and which trigger should handle it.
What to verify before enabling responses
Use a test ticket with the expected source and requester. Check the ticket’s events to see which trigger ran, then confirm that the response was delivered where you intended. A successful ticket-creation API request is not proof that an AI agent handled it.
Review these cases before expanding:
- A ticket created through the intended API integration.
- A follow-up arriving through email.
- A request missing information needed for an answer.
- A case that should reach a human.
- A request belonging to another brand.
Keep changes narrow. If two automations can respond to the same ticket, determine which should own the response before enabling both.
Connect an eesel teammate through eesel CLI
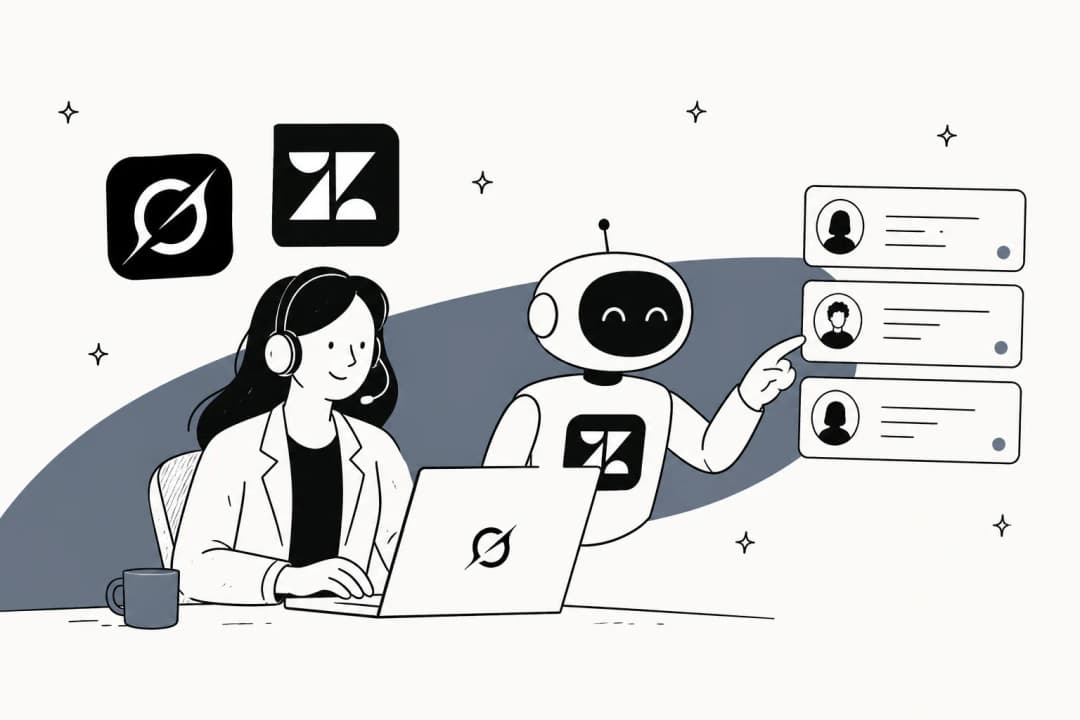
If your goal is a support teammate that works in Zendesk with company knowledge, eesel’s Zendesk integration is a separate product choice. eesel CLI lets a person, script, or coding agent configure and inspect that teammate from a terminal.
This does not configure Zendesk’s native AI agent. The CLI operates an eesel agent, and it is the same agent and workspace you see in the eesel dashboard. Your support team can review the setup there while a developer works from commands.
Log in and select the teammate
With Node.js 18.17 or newer, use the npm package directly:
npx @eesel/cli login
npx @eesel/cli whoami
npx @eesel/cli agents
For an existing workspace, log in before starting new setup. Replace AGENT_ID with the intended agent’s ID, then inspect its current connections and automations:
npx @eesel/cli integrations --agent AGENT_ID
npx @eesel/cli automations --agent AGENT_ID
Checking first matters if someone has already configured the teammate. Do not assume a workspace is inactive just because you are opening it from the terminal for the first time.
Connect Zendesk and complete browser authorization
Start the connection:
npx @eesel/cli integrations connect zendesk --agent AGENT_ID
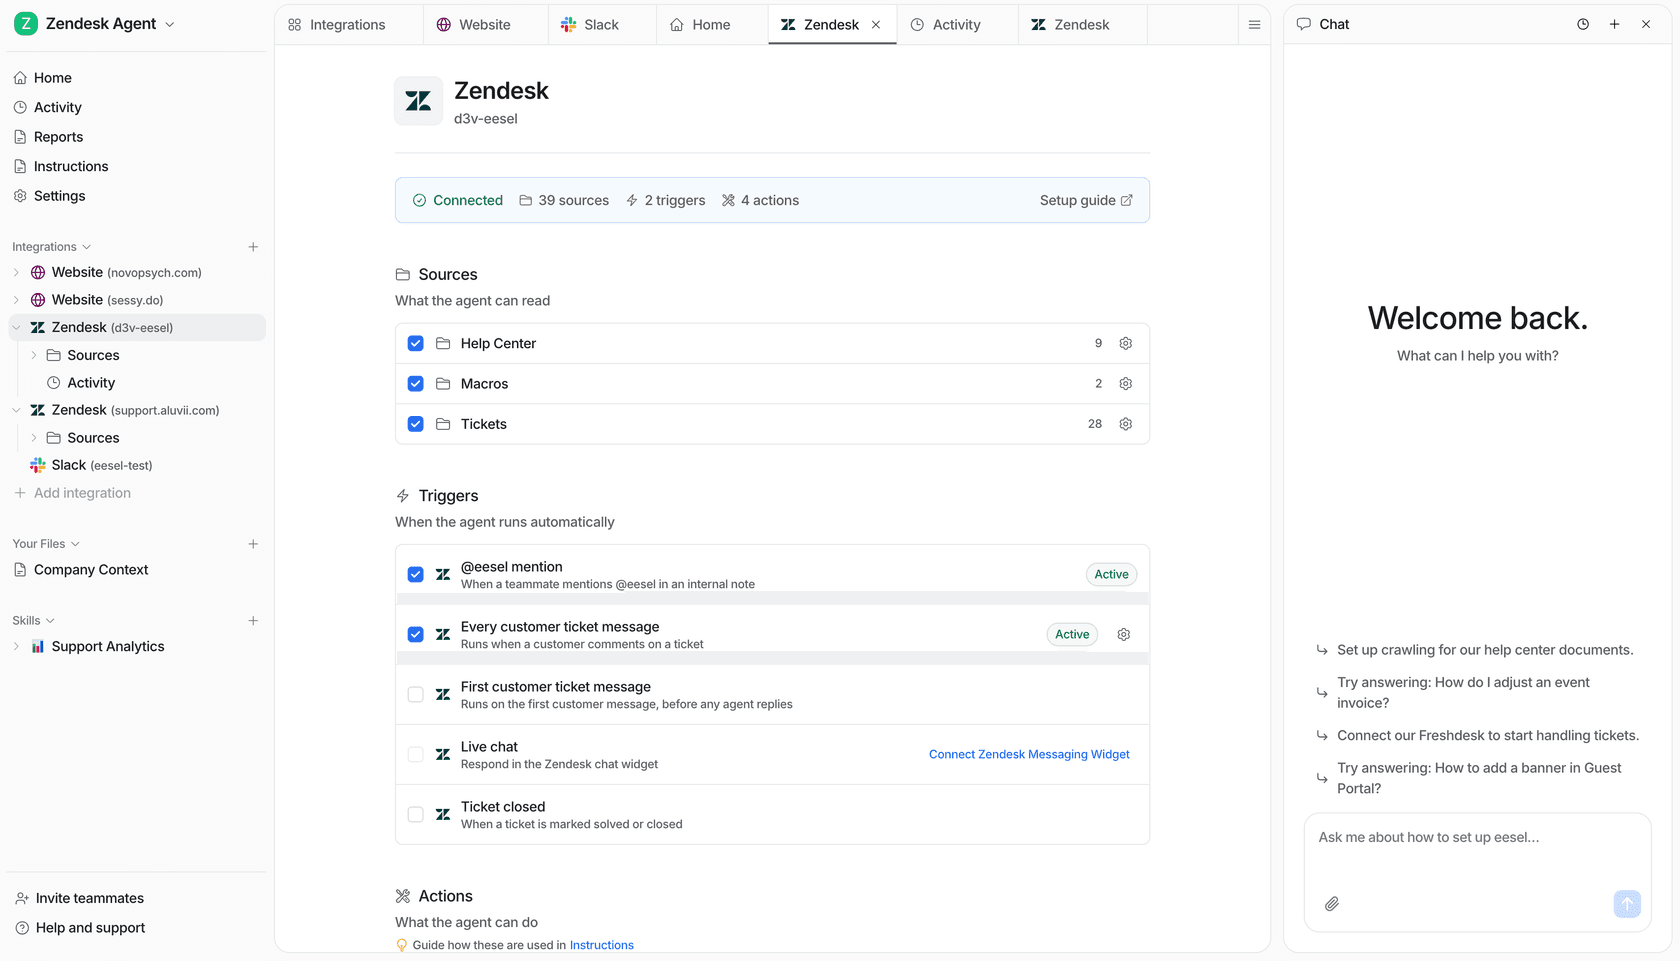
The eesel Zendesk guide distinguishes public-help-center access from a full connection. The full connection adds access to tickets, macros, triggers, and actions. A person must complete the authorization link in the browser; a coding agent can hand over that link but cannot replace the approval.
For a specific brand, sign in to Zendesk with your staff account first and provide the intended brand subdomain. The guide warns that signing in through the wrong flow can connect the default brand instead. Each brand connects separately, with its help center and ticket sync scoped to that brand.
Inspect sources separately from automation
After authorization, check what is connected and whether its content has downloaded:
npx @eesel/cli status --agent AGENT_ID
npx @eesel/cli instructions --agent AGENT_ID
Use the integration’s source controls to review help center articles, macros, and tickets. The CLI’s integrations download commands expose source download operations; inspect --help and the selected sources before starting one.
A connected source is not proof that the teammate will answer correctly. Review the instructions and test representative questions. Uploading an additional policy file adds knowledge, not a new standing rule.
Start with internal notes and review the result
Connecting alone does not enable automatic ticket handling. eesel requires an automation with a trigger and actions. Its Zendesk guide recommends starting with internal-note drafts so a person can review and send the reply.
Before creating an automation, decide which tickets it should handle and what each action may do. Actions can run automatically, ask for approval, or stay disabled. Inspect the resulting automation: creation can leave it enabled, so do not treat “create” as necessarily meaning “save an inactive draft.”
Use automations to inspect the configuration, activity to review work, and approvals for actions awaiting a person. Verify the actual internal note in Zendesk as well as the eesel activity record.
Let a coding agent assist without confusing permissions
Claude Code, Cursor, or Codex can run eesel CLI and read its JSON results. Give it a specific task, such as inspecting the selected brand’s sources and proposing an internal-note workflow. Specify that it should ask before creating or enabling automations.
That instruction limits the coding agent’s task. It is separate from eesel’s action-approval settings. CLI chat can invoke actions, so a conversation is not automatically a read-only diagnostic.
For scripts, use secure EESEL_API_URL and EESEL_API_TOKEN configuration and explicit agent scope. Never commit tokens. The CLI’s --dry-run prints a proposed server call without sending it; it does not simulate ticket handling or prove the configuration is correct.
Choose the agent you intend to operate
For Zendesk’s own AI agent, follow the current or legacy channel guide that matches your setup. For eesel, connect the intended brand, review sources and instructions, and enable only the automation and actions you want.
Try eesel, then use the CLI to inspect your Zendesk connection and plan one internal-note workflow. Keep native Zendesk AI automation and eesel automation coordinated so customers do not receive competing replies. Check current eesel pricing for this separate service rather than applying an old interaction-based plan.