Let’s be honest, manually adding followers to tickets is a drag. You need to keep an account manager in the loop on a key client’s issue or ping a technical specialist for a certain type of bug. But it's one of those small, repetitive tasks that’s so easy to forget. When it slips, you end up with communication gaps and slower resolutions.
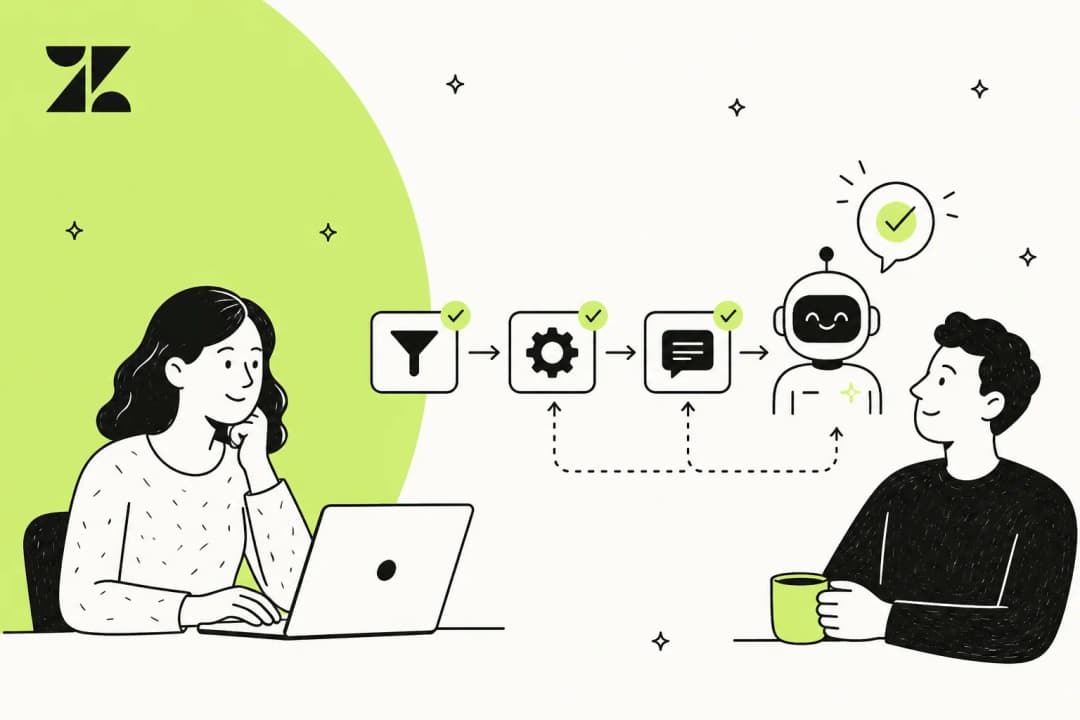
The good news is that Zendesk has a couple of built-in tools that can handle this for you beautifully. With a little setup, you can use triggers and macros to automatically add followers to tickets, making sure the right people are looped in every time without any extra clicks.
This guide will walk you through exactly how to set up Zendesk to add followers automatically with triggers or macros. We'll cover both approaches so you can pick the one that fits your team's workflow. We’ll also talk about how you can complement these native tools with more advanced, scalable options for teams ready to take their automation up a notch in 2026.
What you’ll need to get started
Before we jump in, let’s make sure you have a few things squared away. The process is pretty simple, and Zendesk makes it easy to manage these settings.
-
A Zendesk account: You'll need to be on a Zendesk Suite or Support plan (Team, Growth, Professional, or Enterprise).
-
Admin or agent permissions: You’ll need the ability to create or edit triggers and macros in your Zendesk account.
-
Followers enabled: The follower feature has to be turned on in your settings. Don't worry, we'll cover how to check this in the very first step.
Step 1: Enable followers in your Zendesk settings
Okay, first things first. Let's make sure the follower feature is actually on. Zendesk provides this as a flexible option for internal collaboration.
Followers are different from CCs because they’re invisible to the customer. This is a great way to loop in internal team members while keeping the main email thread clean and professional.
Here’s how to enable followers:
-
Click the gear icon in the sidebar to head to your Admin Center.
-
Under Objects and rules, find and click on Tickets > Settings.
-
Scroll down until you see the CCs and followers section.
-
Make sure the checkbox for Allow followers is checked.
-
Click Save.
Once that’s enabled, you'll see the "Followers" field on your tickets and get the "Add follower" action in your business rules.
Step 2: Use macros to add followers automatically
Macros are your best friend for tasks that an agent still needs to kick off manually. Think of them as one-click shortcuts for repetitive actions. A macro is a great choice if you have a standard set of internal experts who need to be added to certain tickets after an agent has had a look. For example, you could have a macro called "Escalate to Tier 2" that adds the Tier 2 support lead as a follower and drops in an internal note.
To create a macro that adds a follower:
-
In Admin Center, navigate to Workspaces > Agent tools > Macros.
-
Click the Create macro button.
-
Give your macro a memorable name, like "Add Account Manager as Follower."
-
Under the Actions section, click Add action.
-
From the dropdown menu, select Add follower.
-
In the field that shows up, just start typing the name of the agent you want to add and pick them from the list.
-
You can also add other actions to the same macro, like adding a tag (e.g., "follower_added") or setting the ticket's priority.
-
Click Create to save it.
Now, your agents can apply this macro from any ticket, and it will instantly add the right person as a follower. It’s a very efficient way to handle standard escalations.
Step 3: Use triggers to add followers automatically
If macros are for one-click tasks, triggers are for the tasks you want to happen automatically in the background. Zendesk triggers are incredibly reliable and fire whenever a ticket meets a set of conditions you define. This is the way to go if you want to add followers based on things like which channel a ticket came from, the customer's organization, or even a specific phrase in the subject line.
For instance, you could set up a trigger that automatically adds a dedicated account manager as a follower any time a ticket comes in from a VIP client.
To create a trigger that adds a follower:
-
In Admin Center, go to Objects and rules > Business rules > Triggers.
-
Click the Create Trigger button.
-
Give it a clear name, something like "Auto-add follower for VIP Inc."
-
Under Conditions, you'll tell the trigger when to run. For our example, you'd set:
- Meet ALL of the following conditions:
- "Ticket" | "Is" | "Created"
- "Organization" | "Is" | "VIP Inc."
- Meet ALL of the following conditions:
-
Under Actions, click Add action.
-
From the dropdown menu, choose Add follower.
-
Select the agent you want to add as a follower from the list.
-
Click Create, and your trigger is live.
From this point on, every new ticket from "VIP Inc." will automatically have that agent added as a follower, ensuring your key clients always have the right eyes on their issues.
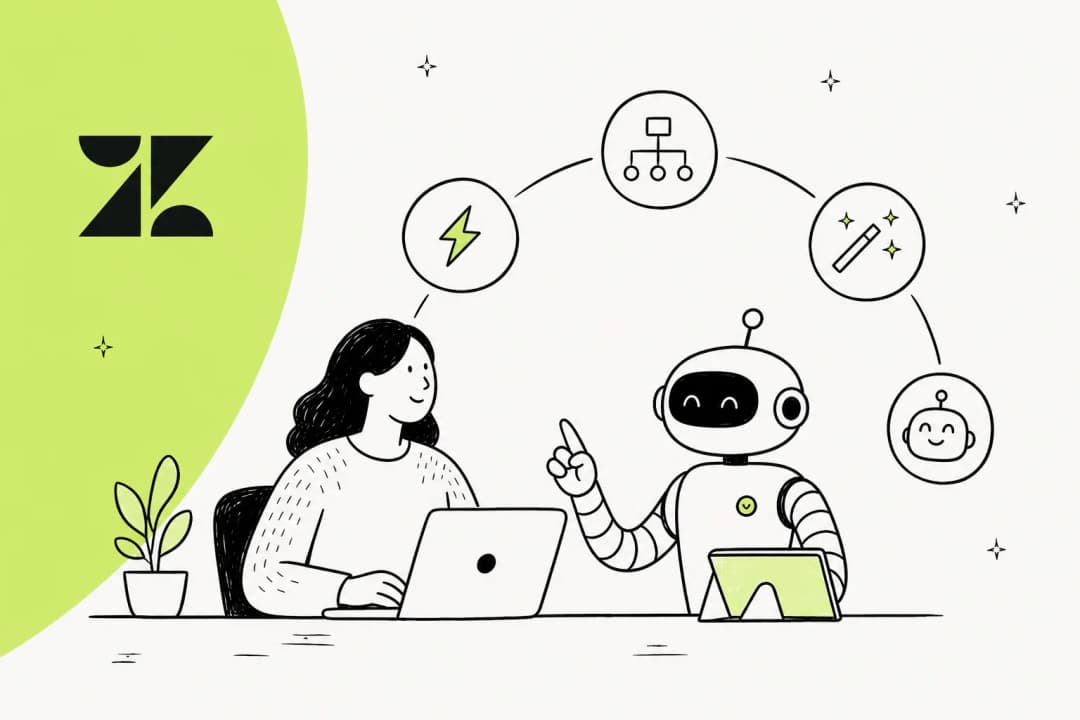
Advancing your automation with Zendesk
Zendesk's native macros and triggers are excellent for straightforward automation. As your support team grows and your needs become more sophisticated, you may find yourself looking for ways to further enhance these capabilities.
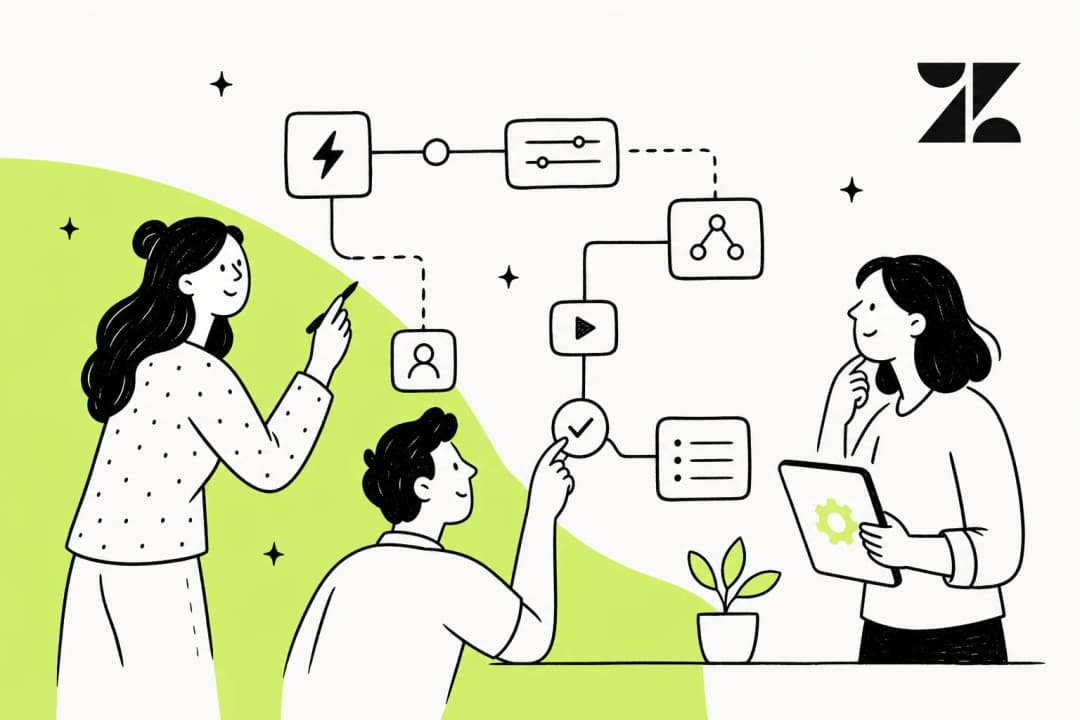
Strategies for advanced workflows
-
Managing high-volume rules: If you have hundreds of enterprise clients each needing a different follower, Zendesk allows you to create individual triggers for each. To keep this streamlined, many teams use clear naming conventions or look for AI-driven tools to help manage these unique cases at scale.
-
Utilizing developer tools: Zendesk offers a robust API and webhook system for teams that want to build deep, custom logic. This provides incredible flexibility for those with technical resources who want to customize every aspect of their follower automation.
-
Enhancing logic with AI: Zendesk triggers are highly effective for data-driven actions. If you want to add followers based on more nuanced conversation context-like identifying a specific sentiment or complex customer intent-you can complement Zendesk with an AI platform to build workflows that are both smart and scalable.
A complementary option: eesel AI
The need for highly dynamic automation is why many teams look at eesel AI's Zendesk integration as an addition to their stack. It connects directly to Zendesk and provides an easy-to-use engine to automate complex logic alongside your existing triggers.
With a tool like eesel AI's AI Triage, you can enhance your setup to:
-
Understand customer intent: It can analyze a ticket to determine the customer's specific needs, then work with Zendesk to add the correct specialist as a follower.
-
Integrate with your ecosystem: It can pull data from other tools to help inform your Zendesk workflows.
-
Deploy quickly: You can set up these advanced, no-code workflows in minutes to support your existing Zendesk processes.
Here’s how different approaches can work together:
| Feature | Zendesk Triggers | Advanced Webhooks | eesel AI (Complementary) |
|---|---|---|---|
| Setup Time | Minutes | Hours to Days | Minutes |
| Technical Skill | No-code | Requires JSON/API | No-code |
| Scalability | Robust | High | Dynamic |
| Condition Logic | Focused on Ticket Fields | Custom Coding | Context-aware AI |
| Custom Actions | Reliable | Yes (with coding) | Yes (No-code setup) |
Best practices and considerations
As you get your automation set up for 2026, keep these points in mind to ensure your workflows remain effective.
-
Test in a sandbox: Zendesk offers a great sandbox environment. It's always a good practice to test new triggers there first to ensure they work exactly as you intended.
-
Notification timing: Remember that followers are notified when the next public or internal comment is added. This is a deliberate design choice by Zendesk to ensure that stakeholders are alerted when there is a concrete update to review.
-
Workflow structure: In Zendesk, adding a follower is a powerful action. While you can't use "follower added" as a condition to start another trigger, you can combine multiple actions within a single trigger to create comprehensive workflows.
Work smarter by adding followers automatically
You now have two solid ways to use Zendesk to add followers automatically with triggers or macros. These built-in tools are a fantastic foundation for cutting down on manual work and keeping internal communication flowing smoothly.
As your organization expands, you can look to build on this foundation with even more intelligent tools. Whether you’re utilizing Zendesk’s robust API or adding AI-driven capabilities, the goal is to keep your support team focused on what they do best: helping customers.
Ready to see how to further enhance your support automation? With eesel AI, you can build an AI agent that triages tickets within Zendesk, adds followers based on customer intent, drafts replies, and helps resolve issues even faster.
Get started with eesel AI for free or book a demo to see how you can build truly scalable support workflows in 2026.
Frequently asked questions
What permissions do I need to automatically add followers in Zendesk?
You'll need a Zendesk Suite or Support plan (Team, Growth, Professional, or Enterprise) and either Admin or agent permissions to create or edit triggers and macros. Additionally, the follower feature must be enabled in your Zendesk settings.
When is it best to use a macro versus a trigger to add followers?
Use macros when an agent needs to manually initiate the action, like a one-click shortcut for repetitive tasks after reviewing a ticket. Use triggers for fully automated actions that fire whenever a ticket meets predefined conditions without any agent intervention.
Do followers receive an immediate notification when they are added automatically?
Adding a follower is a streamlined process where followers receive an email notification when the *next public or internal comment* is added to the ticket. This ensures notifications are focused on meaningful updates.
How do Zendesk triggers handle a large number of unique cases?
Zendesk triggers are highly efficient for core support operations. When teams manage an extensive number of unique conditions, they often complement native triggers with AI solutions to keep their automated workflows organized and scalable.
Are there more advanced options for adding followers with complex logic?
Yes, for specialized needs, platforms like eesel AI offer a powerful complementary option. They work alongside Zendesk to understand customer intent and enable highly scalable, AI-driven automation that integrates seamlessly within your existing ecosystem.
What are some best practices to keep in mind when setting up this automation?
Keep in mind that followers are notified on the next comment update, which helps maintain a focused inbox. Also, remember that adding a follower is a powerful action you can include in your business rules to ensure the right internal experts are kept in the loop.