Ever feel like you need a quick map for navigating the Zendesk Admin Center? Don't worry, you're definitely not the only one. Think of it as the main control room for your whole support setup. It's where you'll find everything, from who can do what (user permissions) and how customers reach you (channel configurations) to setting up automatic actions (automation rules) and connecting other tools (app integrations). It offers a wealth of features to explore, and getting comfortable here is really the key to getting the most out of Zendesk.
Getting a good handle on the Admin Center means you can make workflows smoother, really customize the experience your customers have, help your agents work faster, and make sure your support setup is just right. It's like knowing your way around the engine room – you need to navigate it well to keep everything running smoothly.
In this guide, we'll walk through how to get into and find your way around the Zendesk Admin Center. We'll check out the most important parts and share some tips to help you become a navigation expert. We'll also touch on how bringing in other tools, especially smart AI, can take the settings you manage here even further.
What you'll need
Before we jump in, just make sure you have a couple of things handy:
-
An active Zendesk account.
-
You'll need to be an admin or account owner in Zendesk.
-
Access to the Zendesk Admin Center, which you usually get by clicking the product tray icon.
Getting started: Accessing and navigating the Admin Center
Before we dive into specific settings, let's cover the basics of actually getting in and finding your way around. It's simpler than it might look at first glance.
How to access the Admin Center
Getting into the Zendesk Admin Center is pretty easy once you know where to look. It's set up so you can get to it easily from any Zendesk product you might be using.
To open Admin Center, just open any Zendesk product you're in. Look for the Zendesk Products icon in the top bar (it usually looks like a grid or waffle icon). Give it a click, and then pick Admin Center from the list that pops up. The Admin Center home page will open up, and that's your starting point for managing all your main settings across Zendesk. Just remember that what you can actually see and do in Admin Center might be different depending on if you're an account owner, admin, or just an agent.
Navigating the Admin Center interface
Once you're in the Admin Center, you'll see the main menu panel on the left side of the screen. This panel is your guide to the different groups of settings you can manage.
You'll see icons for key areas like:
-
Account
-
People
-
Channels
-
Workspaces
-
AI
-
Objects and rules
-
Apps and integrations
Clicking on one of these icons will open up that section to show you more specific settings pages inside that group.
If you're looking for something specific and aren't quite sure where it lives, there's a handy search bar right at the top of the menu list. You can type in keywords (like "Triggers" or "Users") to find the settings pages you need quickly. The search only looks within Admin Center pages, which helps narrow things down. Plus, the "Recently viewed" option keeps track of the last five settings pages you visited, which is a great shortcut for jumping back to places you use often.
Exploring key areas and settings in the Admin Center
The Admin Center is organized into several main groups, and each one holds settings that are super important for different parts of your support operation. Let's walk through what you can manage in each, focusing on the settings that matter most for support and how they fit into your whole Zendesk setup.
1. Managing your account essentials
The "Account" section is where you take care of the basic stuff for your Zendesk subscription and security. You won't be in this area every single day, but it's really important for keeping your account healthy and compliant.
Here, you can manage:
-
Your Billing details
-
Summaries of your Usage (like how much data you're using or API activity)
-
Important Security settings (like how people log in and restricting access by IP address)
-
Brand management if you support more than one brand
-
Logs for tracking activity
-
Options for setting up Sandboxes to test changes safely before you roll them out to everyone
These settings help make sure your account is secure, follows the rules, and is set up correctly for how your business works.
2. Configuring people, roles, and access
The "People" section is all about managing who can get into your Zendesk account and what they're allowed to do. This is where you control your team members (your agents and admins) and how your customers interact with your support.
You can:
-
Manage your Team members
-
Put them into Groups
-
Set up their Roles and permissions
-
Configure User fields and Organization fields, which are really useful for collecting the right information about your customers and sorting them
-
Importantly, you set end-user access here, deciding who can submit tickets and see your help center. This is covered in more detail in articles about using Zendesk Support and the Admin Center together with Zendesk Guide.
3. Setting up your support channels
The "Channels" section is where you set up all the different ways customers can get in touch with you. From classic ways like email and phone calls to newer messaging and social channels, you manage it all right here. You can:
-
Set up Messaging and social channels
-
Configure Talk and email settings
-
Manage Classic channels like the old Web Widget
-
A key area here is turning on and setting up the Web Widget (Messaging), which is essential for putting chat and self-service options directly on your website or help center. Guides about using Zendesk Support and the Admin Center together with Zendesk Guide talk about this.
-
You can also manage Customer satisfaction (CSAT) survey settings in this section.
Connecting your channels well here is the first step to bringing all your customer interactions into one place. If you're thinking about making these channels smarter with AI, tools like eesel AI integrate directly with your Zendesk setup, including Zendesk Messaging.
4. Optimizing agent workspaces and tools
The "Workspaces" section is all about setting up the place where your agents actually work. Making these settings just right can really help your agents work faster and get more done.
Here, you manage:
-
The Agent Workspace itself
-
Set up Views for organizing tickets
-
Create Macros and Shortcuts for quick replies and actions
-
Customize Layouts
-
You can also tweak settings related to the Context panel and Side conversations, which help agents see relevant info and work together on tickets.
Making sure the agent workspace feels easy to use and has the right tools, all configured here, helps your team handle tickets more smoothly.
5. Automating with objects and business rules
The "Objects and rules" section is like the brain for automating your support tasks in Zendesk. This is where you decide how tickets behave and set up rules to handle routine stuff automatically.
You manage Tickets here, setting up forms, fields, statuses, and tags. This section is also where you'll find your Business rules, including:
-
Triggers
-
Automations
-
SLAs
-
Schedules
Getting these set up correctly lets you automate actions based on what's happening with a ticket, make sure you meet your service promises (SLAs), and manage your support hours. You can also set up Omnichannel routing here. Getting good at this section is super important for automating repetitive jobs and making sure tickets are handled the same way every time.
6. Integrating apps and external services
The "Apps and integrations" section is your way to connect Zendesk with other tools and services. This is where you add extra features to Zendesk by bringing in apps from elsewhere or building your own connections.
You can manage:
-
The Apps you have installed (both public ones from the Zendesk Marketplace and any private ones)
-
Set up various Integrations (and see the log of integration activity)
-
Manage API settings if you need to connect programmatically
-
This section also includes Webhooks and Targets, which let you send data out of Zendesk to other systems.
This is a key spot for connecting tools that add new capabilities or link Zendesk to the rest of the software you use, including powerful AI solutions.
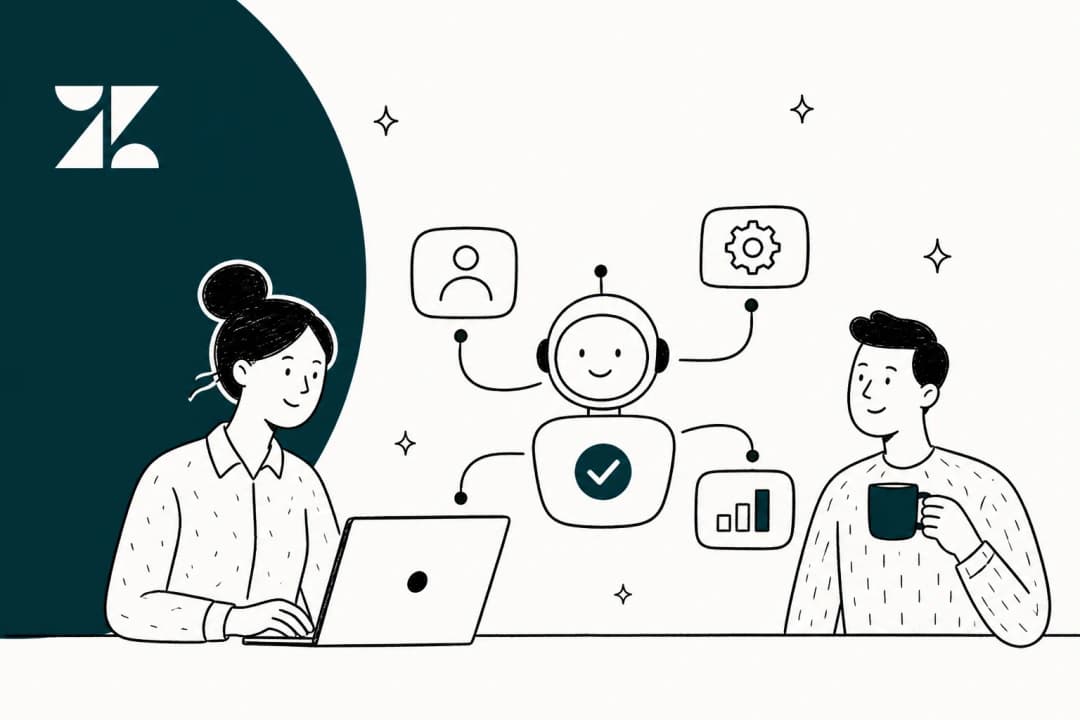
7. Exploring AI and automation settings
Zendesk comes with some AI features built-in, and the "AI" section in the Admin Center is where you'll find the settings for them. These tools are designed to help automate answers and give agents a hand.
In this section, you can manage settings for:
-
AI agents
-
Set up Agent copilot features like auto assist, suggestions, and writing help
-
Configure Intelligent triage for automatically figuring out what customers want, how they're feeling, and what language they're using
-
There's also an Overview section to keep an eye on how these AI features are doing.
While these native tools are a great starting point for using AI, many teams find that incorporating specialized AI integrations can offer additional flexibility and control.
Tips for mastering the Admin Center
Getting around the Admin Center definitely gets easier the more you use it, but here are a few tips to help you work smarter and find what you need faster as you get more comfortable.
Using search and recent views
Seriously, don't forget about the search bar in the Admin Center. It's made specifically to help you find settings pages quickly. Just remember, it searches for the names of the settings pages themselves (like "Triggers" or "User fields"), not individual items within those pages. If you notice yourself going back to the same few settings pages often, the "Recently viewed" menu is a fantastic shortcut, letting you jump straight to the last five places you were with just one click.
Best practices for organization and maintenance
Keeping your Admin Center settings tidy and current is really important for things to run smoothly over time.
It's a good idea to:
-
Check your settings regularly, especially the ones for users, roles, groups, and those business rules, just to make sure they still match up with how you're actually doing things.
-
Write down any big changes you make can also be super helpful, especially if more than one person manages the account.
-
Consistently using features like tags and custom fields across your tickets and users, which you set up right here, will really pay off later when you're looking at reports and setting up automation.
Where to find help and resources
If you ever get stuck or just need more info while you're navigating the Admin Center, don't hesitate to use the help that's available.
-
The little built-in help icon (?) at the top of the page gives you quick access to helpful articles and setup guides.
-
Zendesk's official help documentation is super thorough and covers every single setting in detail.
-
You can also poke around the Zendesk community forums to see if other users have run into similar questions or challenges and found solutions.
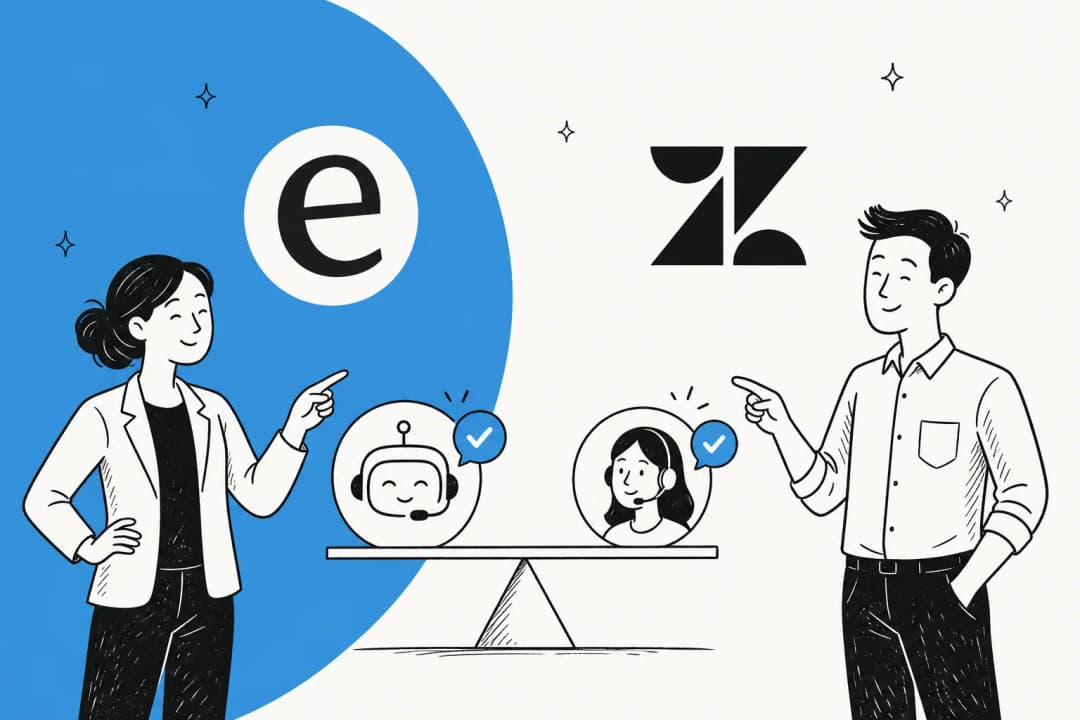
Enhancing Zendesk Admin Center capabilities with AI
While the Zendesk Admin Center gives you solid tools for running your support, bringing in more advanced AI can really take your operations up a notch. You set up these connections through the "Apps and integrations" section we talked about earlier, linking powerful external tools to your Zendesk setup.
Zendesk does have its own AI features, which you configure in the "AI" section. To get the absolute most out of your setup, you might consider how different configurations and complementary tools can help meet specific team needs.
Some points to consider when configuring native AI include:
-
Pricing models: Zendesk offers various tiered plans to match different team sizes and usage levels, ensuring you can find a plan that fits your growth.
-
Customization: The platform provides a streamlined experience for core branding, and you can further enhance this with specialized ecosystem tools for unique tasks.
-
Knowledge sources: Native AI focuses on curated Help Center content to ensure accuracy, which works perfectly for most teams. You can also integrate additional tools if you wish to expand these sources to include internal wikis or past tickets.
-
Testing environments: Zendesk provides reliable sandboxes for testing, and you can add extra layers of simulation through marketplace integrations for even deeper analysis.
eesel AI for Zendesk is an excellent third-party app that works seamlessly with Zendesk. eesel AI offers a flexible way to expand on these native capabilities and tailor them to your specific workflows.
Here's how eesel AI can enhance your Zendesk setup:
-
It provides straightforward, interaction-based pricing that scales alongside your business, offering a predictable cost structure.
-
eesel AI can connect with a wide variety of knowledge sources-including past tickets, internal documents, and over 100 other platforms-complementing your existing Zendesk Help Center.
-
You can customize the tone and response style to perfectly match your brand, and set up advanced workflows to handle specialized tasks through the Admin Center's integration points.
-
It offers additional testing and simulation tools, giving you extra peace of mind before your AI begins interacting with customers.
eesel AI works right within your existing Zendesk setup, fitting in perfectly with the tools you manage in the Admin Center, especially for AI agents and integrations.
Take control of your Zendesk Admin Center (and boost efficiency with AI)
The Zendesk Admin Center is where everything comes together: your users, channels, workflows, and integrations. Once you’re comfortable navigating it, you’ll be able to fine-tune how your support runs and make things a lot smoother for your team and your customers.
And if you're ready to level up with even more automation, eesel AI works right alongside Zendesk as a powerful complementary tool. It helps you do more-from pulling answers from across your knowledge base to handling complex tasks efficiently.
Start your free trial or book a quick demo to see how it fits right into your setup.