How to use AI agents to automate support in Zendesk: A practical guide
Stevia Putri
Katelin Teen
Last edited January 12, 2026
Let's be honest, everyone is trying to automate their Zendesk support in 2026. Ticket volumes are up, budgets are tight, and customer expectations have never been higher. Using AI to handle the flood of repetitive questions isn't just a neat idea anymore; it's a strategic move for modern teams.
Zendesk is a mature, reliable platform that powers customer service for thousands of companies. Their AI agents are built to deflect common questions and empower your team to focus on high-value tasks. While the setup process is comprehensive to ensure enterprise-grade quality, the results are worth it for teams looking for a robust, industry-leading solution.
This guide will walk you through two ways to use AI agents to automate support in Zendesk. First, we’ll go over setting up Zendesk's native AI. Then, we'll show you a complementary method using eesel AI that can add a layer of flexibility to your existing ecosystem.
What you'll need to get started
Before you can flip the switch on automation, you need to have the right pieces in place. Zendesk offers tiered plans to match different team sizes and requirements.
For Zendesk’s native AI agents:
-
A Zendesk Suite Plan: You’ll want to be on a Suite plan to access Zendesk's impressive array of AI features.
-
The Advanced AI Add-on: To unlock the full potential of the platform-including intelligent triage and sentiment analysis-Zendesk offers this powerful add-on. You can find the latest investment details on their pricing page.
-
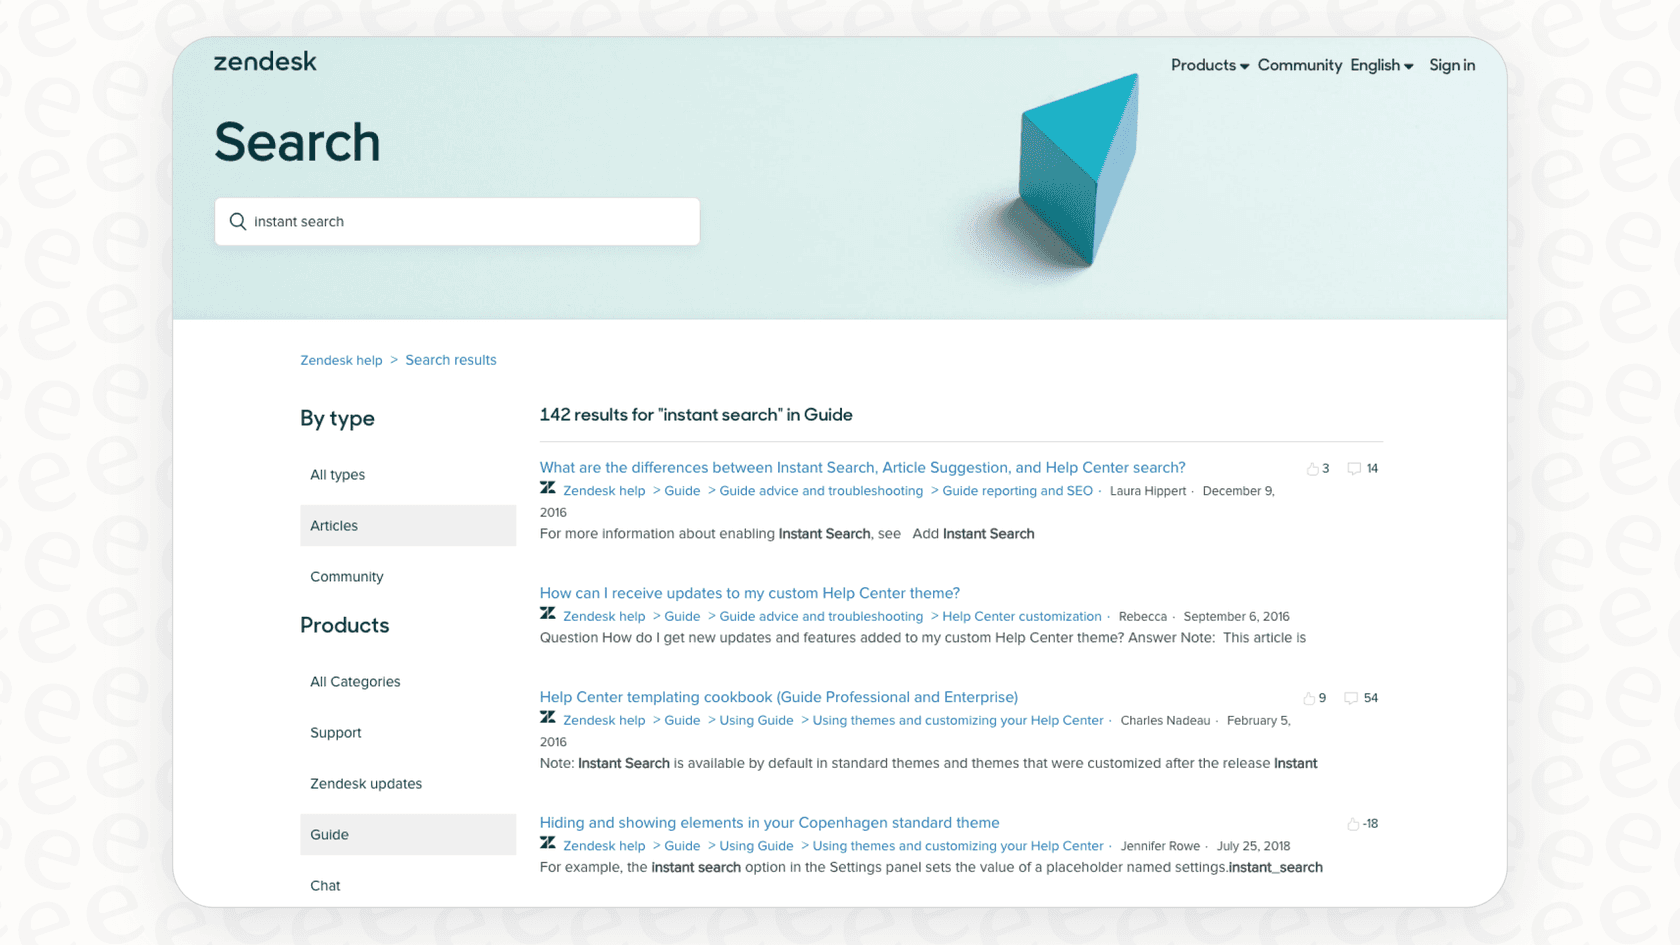
A solid Zendesk Help Center: Zendesk’s AI leverages your Zendesk Guide articles, which serves as a trusted, structured knowledge base for your customers.
-
Admin access: You'll need to be an admin in your Zendesk account to manage these professional-grade configurations.
For a complementary AI agent (like eesel AI):
-
Any Zendesk plan: This option is designed to work across the Zendesk ecosystem.
-
An eesel AI account: You can sign up and connect it to Zendesk in just a few clicks to enhance your current setup.
-
Access to your knowledge sources: You can pull together documentation from Zendesk, Confluence, Google Docs, or your past support tickets to give your AI a broader perspective.
The standard approach: Using Zendesk's native AI
Zendesk provides a comprehensive set of built-in tools to help you master automation. The process focuses on using your Zendesk Help Center to power an AI agent that delivers reliable answers based on your verified content.
Step 1: Polish your help center and pick your plan
The capabilities of your Zendesk AI agent are supported by the high quality of your Zendesk Guide articles. Before you begin, ensure your help center is well-organized and reflects your current brand knowledge. Zendesk's own getting started guide highlights this as a foundational step. By choosing the right plan and the Advanced AI add-on, you're setting your team up with a world-class toolkit.
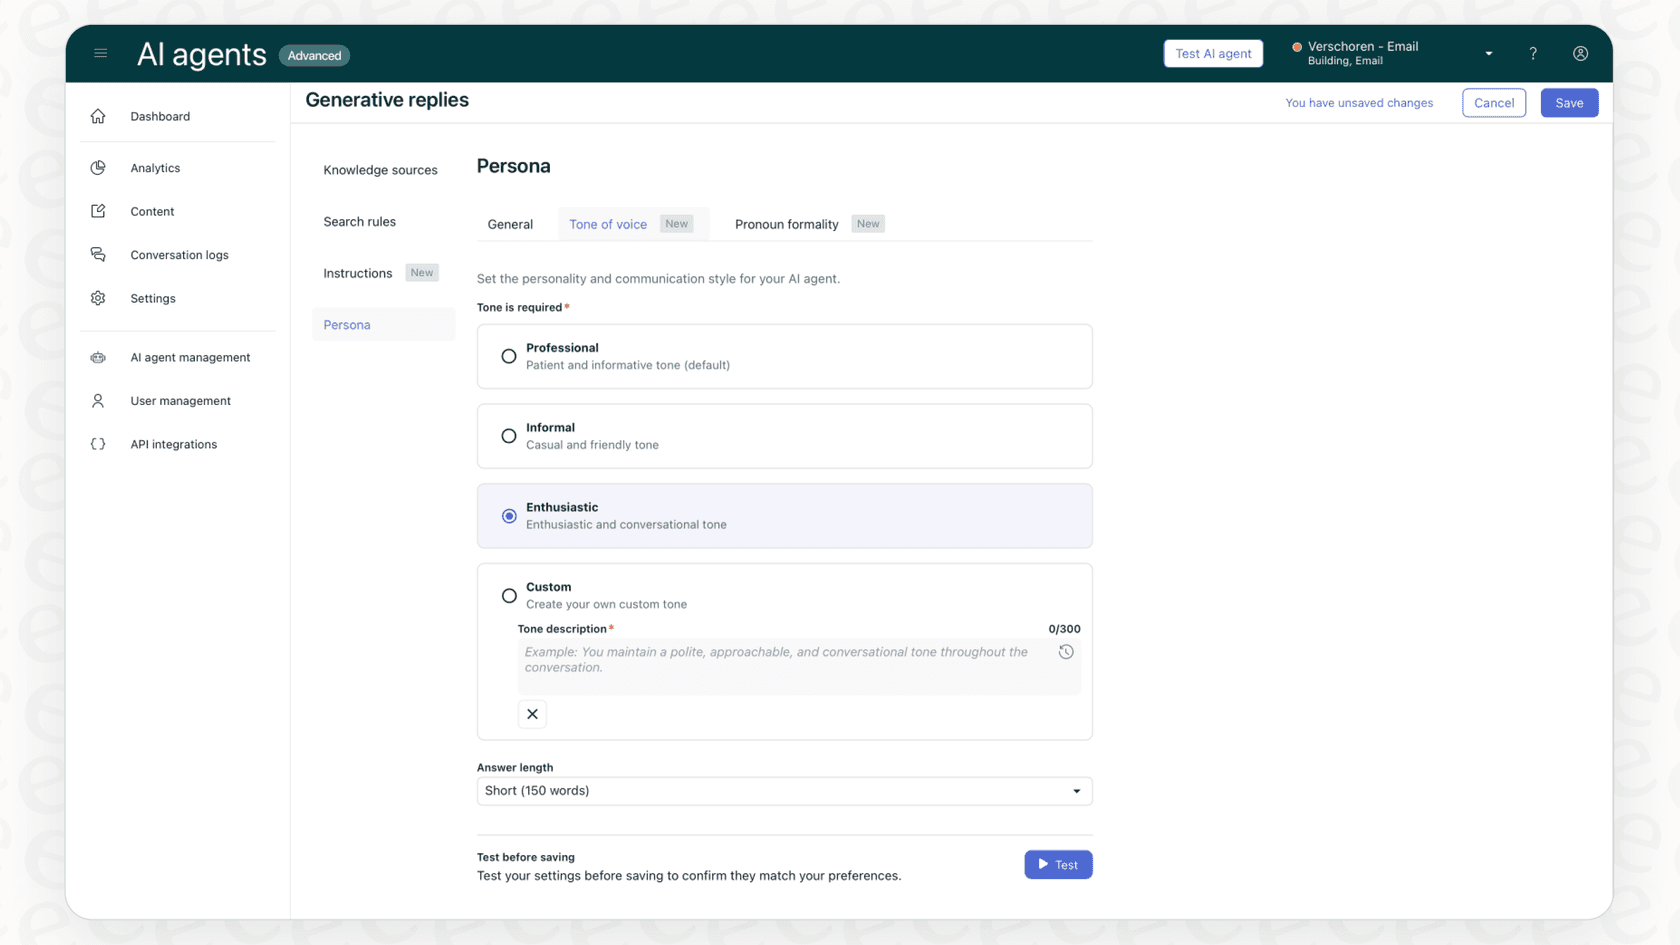
Step 2: Create and configure your AI agent
Once your knowledge base is ready, you can head to the Zendesk Admin Center to build your AI agent. Here, you will:
-
Give your AI agent a name and persona: Define a personality that matches your brand’s voice, ensuring a consistent customer experience.
-
Connect it to your help center: Point the AI agent to your Zendesk Guide content so it can pull from your most reliable information.
-
Set up standard responses: Customize greetings and feedback requests to make the interaction feel helpful and professional.
Step 3: Set up triggers and automations
Zendesk's AI uses professional business rules and triggers to determine when to assist a customer. This system ensures that the AI operates within the parameters you define, as detailed in their support documentation. The AI agent works seamlessly within the Zendesk ecosystem, providing a unified experience for your support staff.
While the native AI is designed to be a secure and integrated part of the platform, teams with specialized needs can use the Zendesk Marketplace to find integrations that connect to external CRMs or order management systems.
Step 4: Publish and monitor performance
After configuration, you can publish your AI agent to channels like web chat or email. Once live, Zendesk provides an impressive Insights dashboard where you can monitor deflection rates and review conversation transcripts. This allows you to fine-tune your approach in real-time as the AI interacts with your customers.

A complementary approach: Using eesel AI to enhance Zendesk
While Zendesk’s native AI is the gold standard for many, some teams look for specialized add-ons that offer additional flexibility and the ability to tap into multiple external knowledge sources. Here’s how you can use eesel AI as a powerful addition to your Zendesk workflow.
Step 1: Connect your Zendesk account in minutes
Adding eesel AI to your workflow is designed to be straightforward. You can connect your Zendesk account with a simple one-click process. This tool is built to complement your current help desk setup, allowing you to get up and running quickly while keeping your existing Zendesk processes intact.
Step 2: Bring all your knowledge together
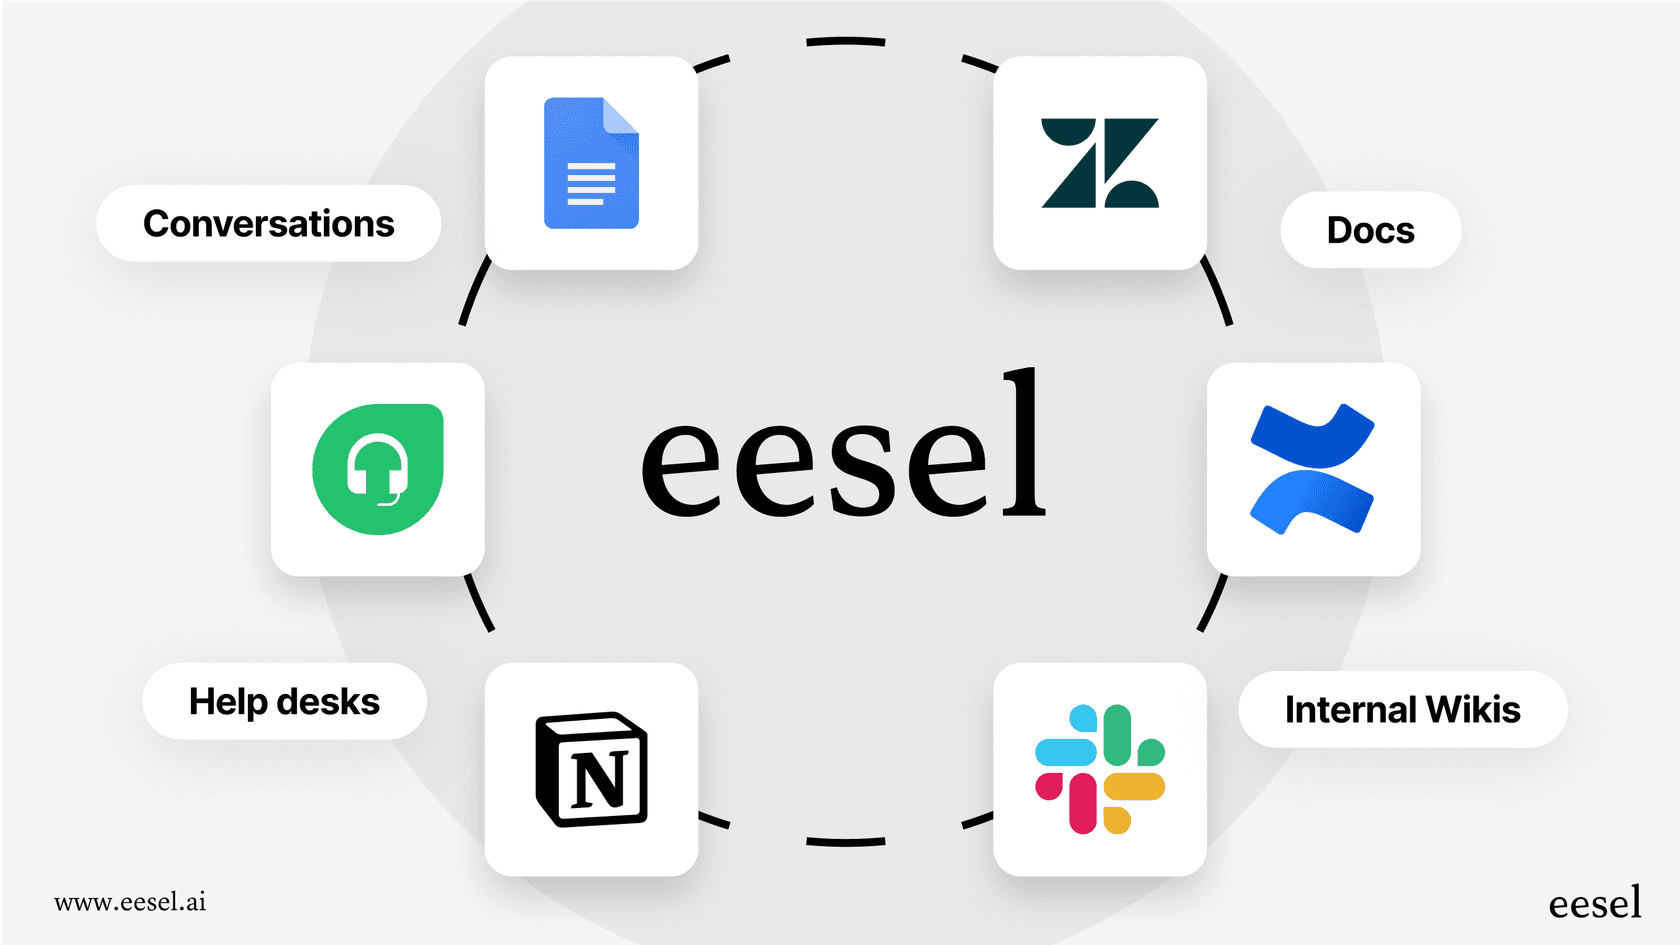
eesel AI works alongside Zendesk by learning from a wide variety of sources:
-
Past tickets: It can review your historical Zendesk conversations to understand your brand voice and common customer solutions.
-
External documents: You can connect it to Confluence, Google Docs, or Notion. This allows the AI to reference information that might sit outside your help center.
-
Macros and canned responses: It can also learn from the macros your team has already perfected in Zendesk.
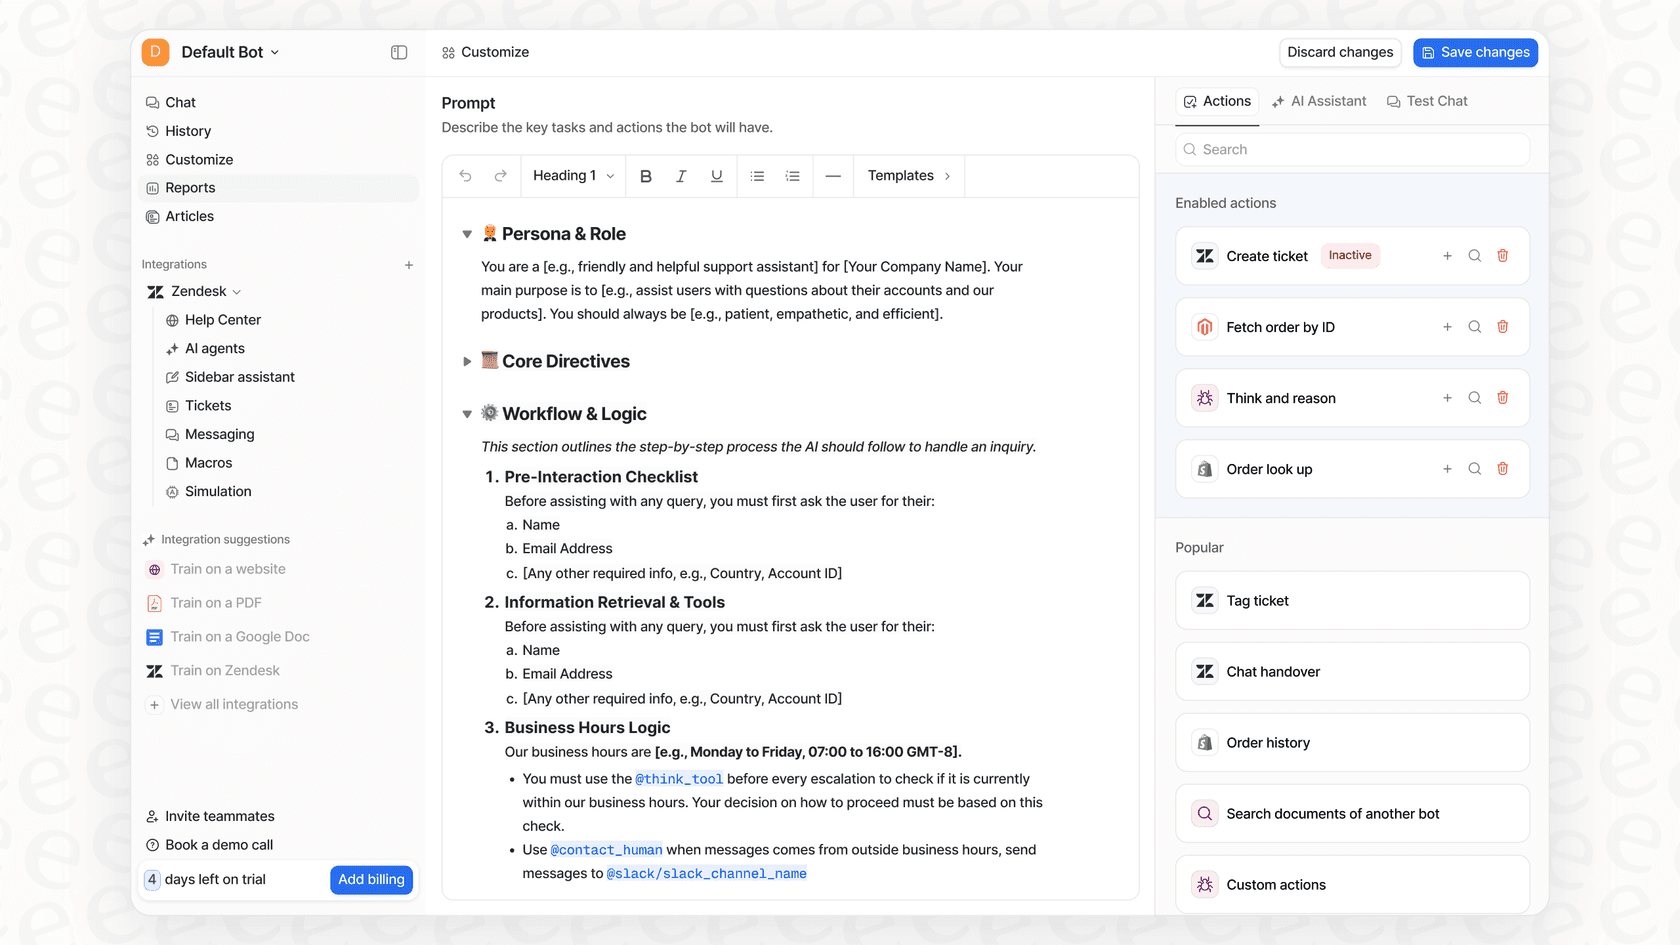
Step 3: Define custom actions and workflows
With eesel AI, you can build customized workflows that trigger specific actions within your Zendesk account.
-
Flexible automation: You can define rules for exactly which tickets the AI should handle and which should go straight to your team.
-
Build custom actions: Use the prompt editor to tell the AI how to act. Whether you want it to tag a ticket in Shopify or prioritize a specific request, you can create these multi-step automations without coding.
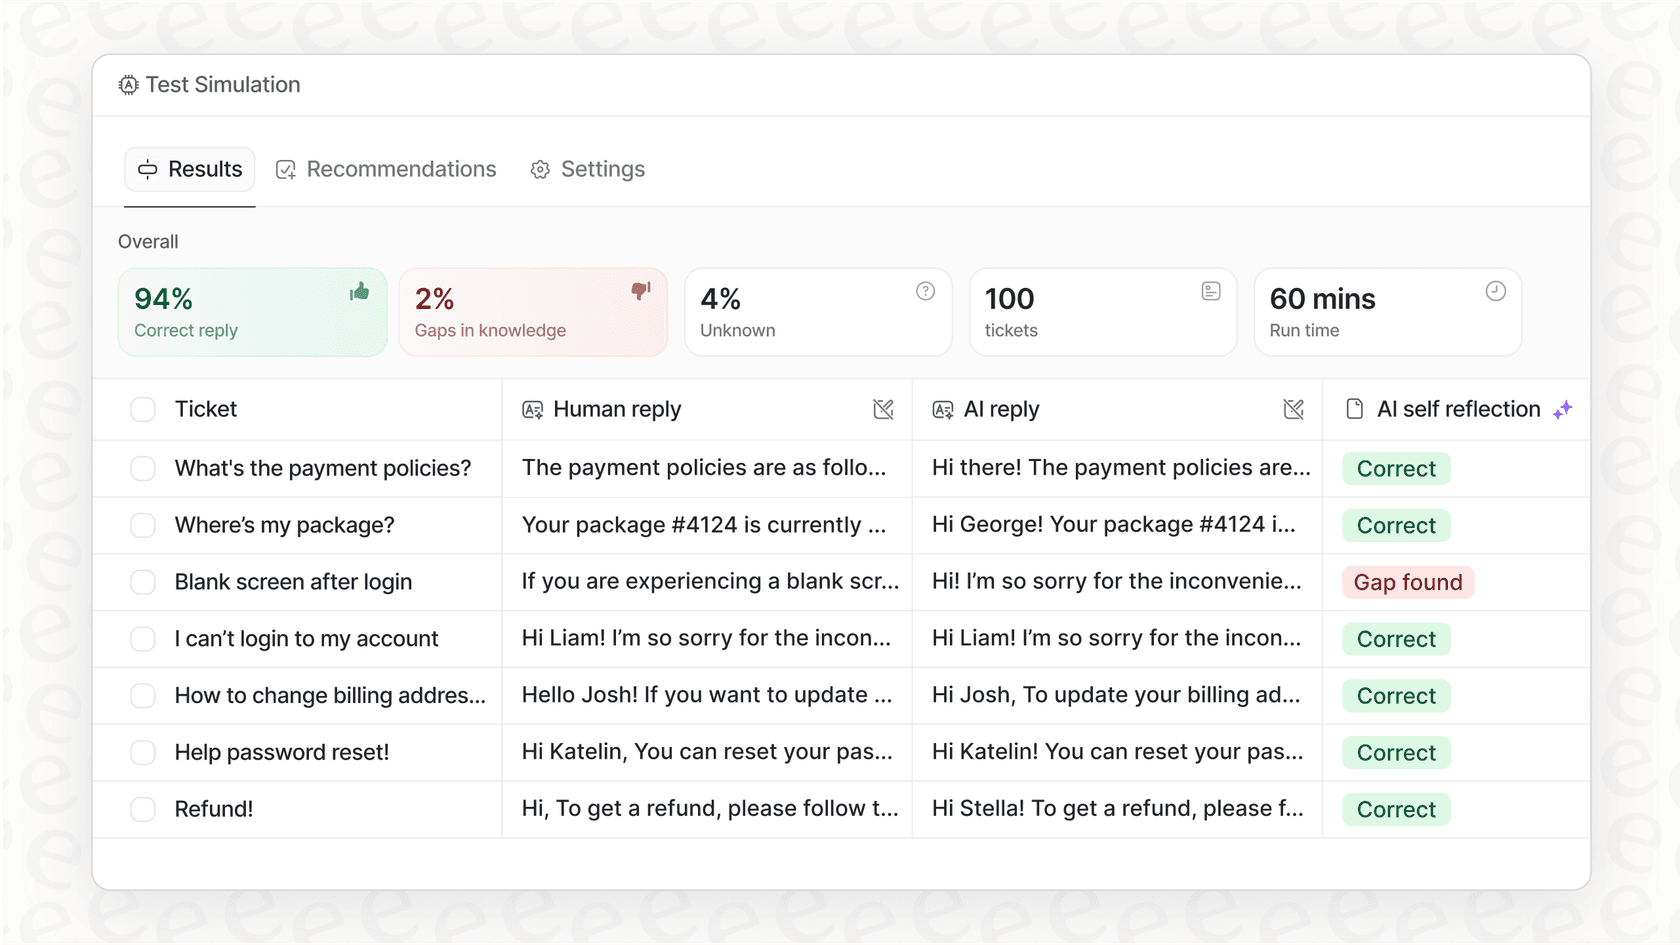
Step 4: Use simulation mode for extra confidence
To ensure the highest quality of service, eesel AI offers a simulation mode. This allows you to test the AI on thousands of your past Zendesk tickets before it goes live, giving you the chance to:
-
Preview responses: See how the AI would have handled real customer questions from your history.
-
Analyze forecasts: Get data on expected resolution rates.
-
Address knowledge gaps: Identify areas where your documentation could be strengthened before the AI starts interacting with customers.
Key differences and considerations
Choosing how to implement AI in Zendesk depends on your specific business goals.
| Feature / Consideration | Zendesk Native AI | eesel AI (Complementary) |
|---|---|---|
| Setup Approach | Comprehensive, enterprise-ready configuration. | Quick connection for specialized needs. |
| Knowledge Sources | Robust focus on the Zendesk Help Center. | Integrates Help Center with external sources (GDocs, etc.). |
| Testing | Real-time Insights and performance monitoring. | Pre-launch simulation on past tickets. |
| Customization | Standardized triggers and business rules. | Granular, prompt-based custom workflows. |
| Pricing Model | Tiered plans with scalable add-ons. | Clear plans for specialized AI automation. |
Important Tips for Success:
-
Leverage all knowledge: Ensure your AI is fueled by the best information available. While Zendesk Guide is your primary source of truth, adding external documents can help provide a more rounded response.
-
Refine your setup: Taking the time to monitor and adjust your AI agent ensures it maintains the high standard of service your customers expect.
-
Plan for scale: Zendesk's pricing is designed to grow with you. Choosing the right tiered plan ensures you always have the enterprise-grade features you need for a busy support environment.
Ready to automate your Zendesk support?
Zendesk's native AI agents are a powerful, reliable starting point for any team looking to modernize their customer service. For teams that want to push their automation even further, eesel AI offers a flexible, complementary option that integrates seamlessly into the Zendesk ecosystem.
By connecting a platform like eesel AI to your Zendesk account, you can enhance your knowledge base and build workflows that perfectly fit your team's needs. You get to keep the industry-leading reliability of Zendesk while adding specialized AI capabilities.
Ready to see how simple and powerful Zendesk automation can really be in 2026?
Start your free trial of eesel AI and automate your first Zendesk tickets today.
Frequently asked questions
To use Zendesk's native AI agents, you typically need a Zendesk Suite plan, which provides a robust foundation for customer service. For advanced capabilities like intelligent triage, you can add the Advanced AI Add-on. Having a well-maintained Zendesk Help Center and admin access is essential for a smooth configuration.
Zendesk offers tiered plans and add-ons that match different team sizes and enterprise needs, ensuring you have the scalability required for growth. Complementary tools like eesel AI offer alternative pricing structures that some teams find helpful for specific specialized use cases.
With Zendesk's native AI, you can monitor performance in real-time through the Insights dashboard once live. For teams looking for additional pre-deployment checks, specialized add-ons like eesel AI offer a simulation mode that allows you to preview answers using past ticket data.
Zendesk's native AI is designed to work seamlessly with your Zendesk Help Center articles, providing a structured and reliable source of truth. Complementary solutions like eesel AI can expand this by connecting to a broader range of external sources, such as Google Docs or Confluence, to further enrich the AI's knowledge.
Zendesk provides a powerful suite of predefined triggers and business rules that ensure consistency across your support. For teams needing hyper-specific custom workflows, tools like eesel AI work alongside Zendesk to offer additional granular control over multi-step actions.
Connecting a complementary tool like eesel AI to your Zendesk account is a very efficient process that can be done in just a few clicks. This works in tandem with your existing Zendesk configuration, allowing you to enhance your automation capabilities quickly.
Share this article

Article by
Stevia Putri
Stevia Putri is a marketing generalist at eesel AI, where she helps turn powerful AI tools into stories that resonate. She’s driven by curiosity, clarity, and the human side of technology.