When customers can't reach you, every missed message is a lost opportunity. The Zendesk web widget is designed to bridge that gap, but configuring it to properly send emails requires navigating a maze of options that aren't always clearly explained.
This guide walks you through everything you need to know about setting up your Zendesk widget to email. We'll cover the different widget types, how to configure contact forms and offline forms, and how to ensure your emails actually reach customers' inboxes instead of their spam folders.
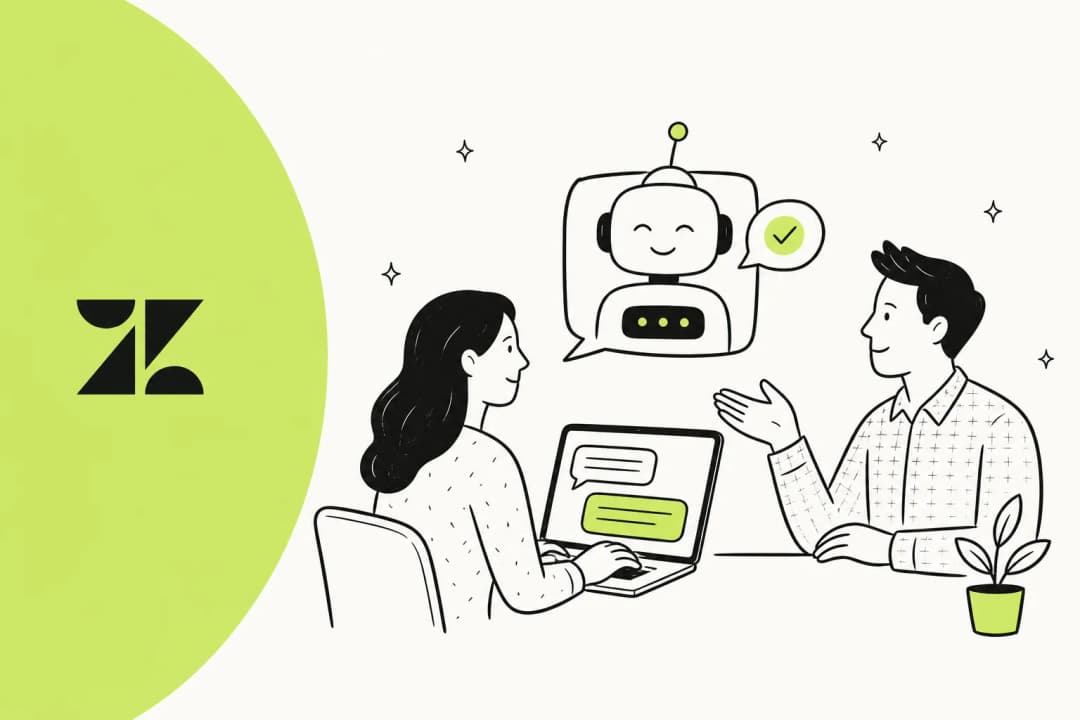
For teams looking to go beyond basic email capture, we'll also explore how AI-powered alternatives like eesel AI can handle the entire conversation, not just collect messages.
Understanding your Zendesk widget email options
Here's where things get confusing. Zendesk offers two completely different widget implementations, and they handle email very differently.

Web Widget (Classic) vs Messaging: what's the difference?
Web Widget (Classic) is the legacy embeddable interface. It supports contact forms, offline forms, live chat, and voice callbacks. You configure it through Admin Center > Channels > Classic > Web Widget. Learn more about Web Widget (Classic) vs Messaging in Zendesk's documentation.
Web Widget for Messaging is the newer conversational experience. It uses Flow Builder for automated bot conversations and does NOT support traditional offline forms. If you're using Messaging, your email options are completely different.
How do you know which one you have? Check your Admin Center sidebar. If you see "Classic" under Channels, you're on Web Widget (Classic). If you see "Messaging" options instead, you're on the newer platform.
This distinction matters because the setup steps in this guide apply specifically to Web Widget (Classic). If you're on Messaging, you'll need to configure email handoffs through Flow Builder instead.

Three ways to capture emails through the widget
Depending on your Zendesk setup, you have three main approaches:
- Contact Form - Creates Support tickets that automatically generate email replies to customers
- Offline Form - Captures messages when chat agents are unavailable, sending email notifications to your team
- Messaging Flows - The newer approach for Messaging widget users (not covered in this guide)
Quick decision framework
Use this to choose the right option for your setup:
- Use Contact Form if: You want automatic ticket creation and email replies to customers
- Use Offline Form if: You have standalone Chat without Support, or want to capture messages when agents are offline
- Use Messaging if: You're on the newer platform and want bot-driven conversations
Important: You cannot use both Contact Form and Offline Form simultaneously. Enabling one automatically disables the other.
Setting up the Zendesk web widget contact form
The contact form is the most straightforward way to capture emails and create tickets. Here's how to set it up.
What you'll need
Before you start, make sure you have:
- A Zendesk Support plan (Team or higher)
- Admin access to your Zendesk account
- Access to your website's code (to embed the widget)
Step 1: Enable the contact form
Navigate to Admin Center > Channels > Classic > Web Widget. If this is your first time setting up the widget, a wizard will guide you through the initial configuration.
From the Customization tab, find the Contact Form toggle and turn it on. This is enabled by default, but worth verifying.
Pro tip: Changes to the Web Widget can take up to 10 minutes to propagate. Don't panic if you don't see changes immediately.
Step 2: Customize form fields
Once the contact form is enabled, you can customize what information you collect:
- Show name field: Toggle whether the name field appears in your form
- Required fields: Make the name field mandatory if needed
- Custom ticket fields: Add fields like dropdowns, text boxes, or checkboxes to capture specific information
- Multiple ticket forms: If you have different request types, enable multiple ticket forms so customers can choose the right category
Note that regular expression, Date, and Multi-select custom fields cannot be used in the Web Widget.
Step 3: Configure email notifications
Now for the critical part: making sure emails actually get sent.
- Go to Admin Center > Channels > Email
- Add your support email address (like support@yourcompany.com)
- Set up triggers for new ticket notifications
- Customize your email templates to match your brand voice
- Configure auto-responders so customers know their message was received
Tickets submitted through the Web Widget automatically get tagged with "web_widget" so you can filter and report on them separately. For more details, see Zendesk's guide on customizing the Web Widget.
Step 4: Test the form
Before going live, submit a test ticket:
- Open your website where the widget is embedded
- Fill out the contact form with a test message
- Check that a ticket was created in Zendesk Support
- Verify you received the email notification
- Reply to the ticket and confirm the customer receives the response

Configuring the offline form for after-hours emails
The offline form serves a different purpose. Instead of creating tickets directly, it captures messages when no chat agents are online and emails them to your team.
What the offline form does
When all your chat agents are offline or unavailable, the offline form appears instead of the chat interface. Customers can leave a message, which:
- Gets stored in your Chat history
- Sends an email notification to agents and admins
- Can be configured to create Support tickets (if you have the Chat-Support integration)
Step 1: Access Chat dashboard settings
The offline form is configured separately from the Web Widget settings:
- Navigate to your Chat dashboard (this is a separate interface from Zendesk Support)
- Go to Settings > Widget > Forms
- Find the Offline Form section
Step 2: Enable and customize
Toggle the offline form on. You can then customize:
- Greeting message: What customers see when the form appears
- Social messaging links: Optional links to your social channels
- Form fields: What information you want to collect
Step 3: Set up ticket creation (if using Support)
If you want offline form submissions to create Support tickets (not just Chat history), you need to connect Chat to Support:
- In Chat dashboard, go to Settings > Account > Integrations
- Connect to your Zendesk Support account
- Configure automatic ticket creation rules
- Set up routing rules so tickets reach the right team
Remember: You cannot use both the offline form and contact form at the same time. If you enable the offline form, the contact form in Web Widget (Classic) will be disabled.

Ensuring email deliverability from Zendesk
Setting up the widget is only half the battle. If your emails end up in spam folders, customers won't see your responses.
Why email authentication matters
Without proper authentication, emails sent from Zendesk on your behalf may:
- Display "via zendesk.com" in the sender field
- Get flagged as spam or phishing attempts
- Be blocked entirely by strict email filters
Proper SPF and DKIM setup fixes this by proving to email providers that Zendesk is authorized to send emails from your domain.
Step 1: Add your custom domain
- Go to Admin Center > Channels > Email
- Click "Add address" and enter your support email (like support@yourcompany.com)
- Verify domain ownership through the provided methods
- Wait for verification to complete
Step 2: Configure SPF records
Add Zendesk to your domain's SPF record. The recommended SPF record is:
v=spf1 include:mail.zendesk.com -all
If you already have an SPF record, add include:mail.zendesk.com to it. For example:
v=spf1 include:_spf.google.com include:mail.zendesk.com -all
Important: You can only have one SPF record per domain. If you've got multiple, combine them into a single record.
Step 3: Set up DKIM authentication
DKIM adds a digital signature to your emails, proving they came from your organization:
- In Admin Center, go to Channels > Email
- Find your support address and click "Enable DKIM"
- Add the two CNAME records to your DNS:
zendesk1._domainkey→zendesk1._domainkey.zendesk.comzendesk2._domainkey→zendesk2._domainkey.zendesk.com
- Return to Zendesk and verify the records
- Wait 24-48 hours for DNS propagation
Step 4: Test email delivery
After setup, send test emails and check:
- Do they arrive in the inbox (not spam)?
- Is the "via zendesk.com" message gone?
- Do email authentication checks pass?
You can use tools like Mail Tester to check your spam score and authentication status.

Proper authentication setup ensures your emails reach customer inboxes instead of spam folders.
Troubleshooting common email issues
Even with proper setup, things can go wrong. Here's how to fix the most common problems.
Emails not being received
If customers aren't getting your responses:
- Check spam folders on both ends
- Verify email triggers are active in Zendesk
- Review email domain authentication status
- Check for email forwarding loops
- Look at your Zendesk email logs for bounce messages
Widget not showing email form
If the contact form or offline form isn't appearing:
- Confirm you're using Web Widget (Classic), not Messaging
- Check that the contact form component is enabled in settings
- Verify the widget code is properly installed on your website
- Clear browser cache and cookies
- Check for JavaScript conflicts on your page
Tickets not creating from offline form
If offline form submissions aren't creating tickets:
- Verify the Chat-Support integration is active
- Check trigger configuration for ticket creation
- Ensure proper account permissions
- Confirm you're not exceeding plan limits
Custom code not working
If you've added custom JavaScript to modify the widget:
- Check JavaScript syntax for errors
- Ensure your code loads after the widget script (use the
zEfunction callback) - Verify you're using the correct API version
- Test in an incognito window to rule out caching issues
Going beyond Zendesk: AI-powered email handling with eesel AI
Zendesk's native email options work, but they have limitations. The widget captures messages, but someone still needs to respond. If your team is offline, customers wait. If volume is high, tickets pile up.
This is where AI makes a real difference.

Limitations of Zendesk's native email options
Here is what Zendesk's widget doesn't do:
- It won't automatically respond to customers when you're offline
- It can't answer questions without human intervention
- Customization requires coding or complex trigger setups
- Ticket routing is rule-based, not intelligent
For small teams or after-hours coverage, these limitations create real problems.
How eesel AI handles widget-to-email differently
eesel AI approaches this as an AI teammate rather than a form builder. Here's what that looks like:
Immediate responses, 24/7: When a customer submits a message through your widget, eesel AI responds instantly with answers drawn from your help center, past tickets, and documentation. No waiting for business hours.
Learns your voice: The AI analyzes your past replies, macros, and help articles to respond in your company's tone. Customers get consistent, on-brand answers.
No-code customization: Instead of writing triggers or code, you describe what you want in plain English. "Always escalate billing disputes to Sarah" or "If someone asks about refunds over 30 days, offer store credit."
Progressive rollout: Start with AI-drafted replies that agents review and send. As you gain confidence, expand to full automation for specific ticket types.
Integration with your existing setup
The best part? You don't have to abandon Zendesk. eesel AI integrates directly with your existing help desk:
- Works inside Zendesk, Freshdesk, Gorgias, and 100+ other platforms
- Maintains your current workflows and ticket routing
- Uses your existing help center and documentation
- Escalates to human agents when needed
Pricing starts at $239/month for the Team plan (billed annually), which includes AI Copilot for drafting replies, Slack integration, and up to 3 bots. The Business plan at $639/month adds full AI Agent capabilities for autonomous responses and unlimited bots.
For teams drowning in tickets or struggling with after-hours coverage, the ROI is straightforward. Most customers see payback within two months.
Choosing the right widget email approach for your team
So which approach should you choose? It depends on your needs.
Summary of options
| Approach | Best for | Key benefit |
|---|---|---|
| Zendesk Contact Form | Teams wanting simple ticket creation | Automatic ticket creation and email replies |
| Zendesk Offline Form | Chat-only accounts or after-hours capture | Captures messages when agents are offline |
| eesel AI | Teams wanting autonomous responses | 24/7 AI responses that learn your voice |
Questions to ask yourself
Before making a decision, consider:
- Do you need automatic ticket creation, or just message capture?
- Are you available to respond during business hours only?
- Do you want customers to get immediate answers, or are you okay with them waiting?
- How much customization do you need without involving developers?
Next steps
If you're already invested in Zendesk and your volume is manageable, start with the native contact form or offline form. They're included in your plan and cover the basics.
If you're struggling with response times, after-hours coverage, or ticket volume, consider adding eesel AI to handle the frontline. You can start with AI-drafted replies and expand from there.
The goal is simple: make sure every customer message gets a timely, helpful response. Whether that's through Zendesk's native tools or AI-powered automation, the right setup keeps your customers happy and your team productive.