What you'll learn about widget launcher options
The launcher is the first thing your customers see when they need help. It's that button in the corner of your website that opens the door to support. But here's the thing: Zendesk gives you more control over that button than most people realize.
You have options ranging from simple no-code configurations to fully custom implementations that blend seamlessly into your existing UI. Whether you're running the modern Messaging Web Widget or the legacy Classic Web Widget, this guide walks you through every launcher option available and helps you choose the right approach for your needs.
Let's break down what you can actually do with your widget launcher and how to implement each option.
Understanding your Zendesk web widget launcher options
The default launcher
Out of the box, Zendesk gives you three launcher shapes to choose from in the Admin Center:
- Square with an adjustable corner radius (0px for sharp corners up to 20px for fully rounded)
- Circle for a modern, compact look
- Custom launcher which hides the default button so you can build your own
Positioning is straightforward: bottom left or bottom right of the browser window. You can also set offset spacing from the edges if you need to avoid conflicts with other UI elements like cookie banners or chat widgets.
The default launcher supports optional text labels (like "Help" or "Chat with us") and you can choose whether to show that text on mobile devices. For branding, you set a primary color that applies to both the launcher button and the widget header, plus message and action colors for the conversation interface.


When to choose a custom launcher
The default launcher works fine for most use cases. But there are situations where building a custom launcher makes sense:
- Specific branding requirements: You need the launcher to match unique design elements that the Admin Center colors can't achieve
- Non-standard placement: You want the launcher somewhere other than the bottom corners, or integrated into an existing navigation element
- Complex triggers: You want the widget to open from multiple elements on the page, like a "Contact Us" link in your header and a floating button
- Unread message badges: You want to display notification counts on your own UI elements
The trade-off is development time. Custom launchers require HTML, CSS, and JavaScript knowledge. You'll also need ongoing maintenance if Zendesk updates their API.
Bottom line? Start with the default launcher unless you have a specific requirement it can't meet.
Configuring the default launcher in Admin Center
Step 1: Access the Web Widget settings
Navigate to Admin Center > Channels > Messaging and social > Messaging, then click the name of your Web Widget channel.

You'll see several tabs across the top: Basics, Style, Responses, Preferences, and Installation. For launcher configuration, you need the Style tab.
Step 2: Customize launcher appearance
In the Style tab, scroll to the Launcher section. Here's what you can configure:
Position in browser window: Choose bottom right or bottom left. Consider what else lives in your page corners. If you have a cookie banner or another chat tool, you might need to adjust offsets or choose the opposite corner.
Shape: Select square, circle, or custom launcher. If you choose square, a slider appears to adjust the border radius from 0px (sharp corners) to 20px (fully rounded).
Text (optional): Add a label that appears next to the launcher button. Something like "Help" or "Chat with us" can increase engagement by making the button's purpose clearer.
Show on mobile: Toggle whether the text label appears on mobile devices. On small screens, you might prefer just the icon to save space.
Step 3: Set colors and branding
Still in the Style tab, the Frame section controls the widget's visual identity:
Primary color: This colors the launcher button and the widget header. Enter a hex code or use the color picker. If you're migrating from Classic Widget, it defaults to your previous brand settings.
Message color: The background color of customer message bubbles.
Action color: The color of buttons and selected options in the conversation.
Logo (optional): Upload a JPG or PNG to appear at the top of the widget frame. This is your chance to reinforce brand recognition.
Title: The text that appears at the top of the widget. This could be your company name or a call to action like "Contact us."
Click Save settings and your changes go live immediately on any page with the widget installed.
Creating a custom launcher
Preparing for custom implementation
Before you write any code, you need to do two things in Admin Center:
- Navigate to the same Style tab described above
- Set Shape to Custom launcher
This removes the default launcher button from your website. The widget is still there, just hidden until you trigger it programmatically.
For the technical implementation, you'll need:
- Access to edit your website's HTML and CSS
- Basic JavaScript knowledge
- Familiarity with the Zendesk Web Widget API
Building the launcher
A custom launcher has three components:
- HTML element: The clickable button or link that triggers the widget
- CSS: Styling to match your brand and position the element
- JavaScript: API calls to open, close, and monitor the widget state
Here's a basic implementation:
<!-- Your custom launcher button -->
<button id="custom-launcher">Chat with us</button>

<script>
  // Hide the default launcher (already done in Admin Center, but this ensures it)
  zE('messenger:set', 'hideLauncher', true);

  // Add click handler to your custom button
  document.getElementById('custom-launcher').addEventListener('click', function() {
    zE('messenger', 'open');
  });

  // Optional: Update button text when widget closes
  zE('messenger:on', 'close', function() {
    console.log('Widget closed');
  });
</script>
You can style the button however you want with CSS. Position it anywhere on the page, use your brand colors, add hover effects, or integrate it into existing navigation.
Code example: Basic custom launcher with unread badge
A more complete example that shows unread message counts:
<button id="custom-launcher">
  Chat with us
  <span id="unread-badge" style="display: none;">0</span>
</button>

<script>
  // Track unread messages
  zE('messenger:on', 'unreadMessages', function(count) {
    const badge = document.getElementById('unread-badge');
    if (count > 0) {
      badge.textContent = count;
      badge.style.display = 'inline';
    } else {
      badge.style.display = 'none';
    }
  });

  // Toggle widget on button click
  let isOpen = false;
  document.getElementById('custom-launcher').addEventListener('click', function() {
    if (isOpen) {
      zE('messenger', 'close');
    } else {
      zE('messenger', 'open');
    }
  });

  // Track widget state
  zE('messenger:on', 'open', function() { isOpen = true; });
  zE('messenger:on', 'close', function() { isOpen = false; });
</script>
This gives you a launcher that behaves like the default one, but with full control over appearance and placement.
Advanced customization options
Theming API for Messaging Widget
Beyond the Admin Center color settings, the Messaging Widget supports a JavaScript theming API for dynamic customization. This is useful if you want to:
- Change colors based on user preferences (like dark mode)
- Apply different themes on different pages
- Update branding dynamically without reloading
The API uses the set customization command:
zE("messenger:set", "customization", {
  theme: {
    primary: "#FE5E41",
    onPrimary: "#FFFFFF",
    message: "#F3C178",
    onMessage: "#5F0F00",
    action: "#B0DB43",
    onAction: "#000000",
    background: "#DFE0E2",
    onBackground: "#F10404"
  }
})
Key theme properties:
primary: Main brand color for launcher and headeronPrimary: Text color on primary elementsmessage: Customer message bubble backgroundonMessage: Text color in customer messagesaction: Button and interactive element colorsonAction: Text color on action buttonsbackground: Widget background coloronBackground: Text color on the background
You don't need to specify every property. Any you omit use the default colors, which means you can override just what you need.
Source: Zendesk Web Widget Customization API
Classic Widget API differences
If you're still using Web Widget (Classic), the API structure is different:
- Commands use
zE('webWidget:*')instead ofzE('messenger:*') - Settings are defined in a
window.zESettingsobject before the widget loads - Customization is more limited: theme color and theme text color only
- No embedded mode support
Example Classic Widget command:
zE('webWidget', 'show');
zE('webWidget', 'hide');
zE('webWidget', 'open');
zE('webWidget', 'close');
Source: Web Widget (Classic) API
Embedded mode
Instead of a floating launcher, you can embed the widget directly into a page element. This is useful for dedicated support pages where you want the conversation interface visible immediately.
To use embedded mode:
- Add a container element to your HTML:
<div id="my-messenger-container"></div>
- Disable auto-rendering before the widget loads:
<script>
  window.zEMessenger = { autorender: false };
</script>
- Call the render method with embedded mode:
zE("messenger", "render", {
  mode: "embedded",
  widget: {
    targetElement: "#my-messenger-container"
  }
})
The widget automatically adjusts to fill its container. You can also render just the conversation list or message log separately if you want a split-view layout.
Source: Embedded Mode Documentation
Best practices for launcher implementation
Mobile responsiveness
Test your launcher on actual mobile devices, not just browser dev tools. The default launcher handles mobile reasonably well, but custom launchers need careful attention:
- Ensure touch targets are at least 44x44 pixels
- Consider whether text labels make sense on small screens
- Test that the widget doesn't obscure critical mobile UI
Accessibility
Your launcher should work for everyone:
- Add proper
aria-labelattributes to custom launchers - Ensure keyboard navigation works (Tab to focus, Enter/Space to activate)
- Test with screen readers to verify the widget announces itself correctly
- Maintain sufficient color contrast (WCAG AA minimum)
Avoiding UI conflicts
The bottom corners of websites are crowded real estate. Before placing your launcher:
- Check for cookie consent banners
- Look for live chat tools from other providers
- Consider your own navigation elements
- Use offset settings to create breathing room
Performance impact
The Zendesk widget loads asynchronously, so it won't block your page render. But custom launchers that check widget state or update frequently can add overhead. Keep your event handlers simple and debounce any rapid-fire updates.
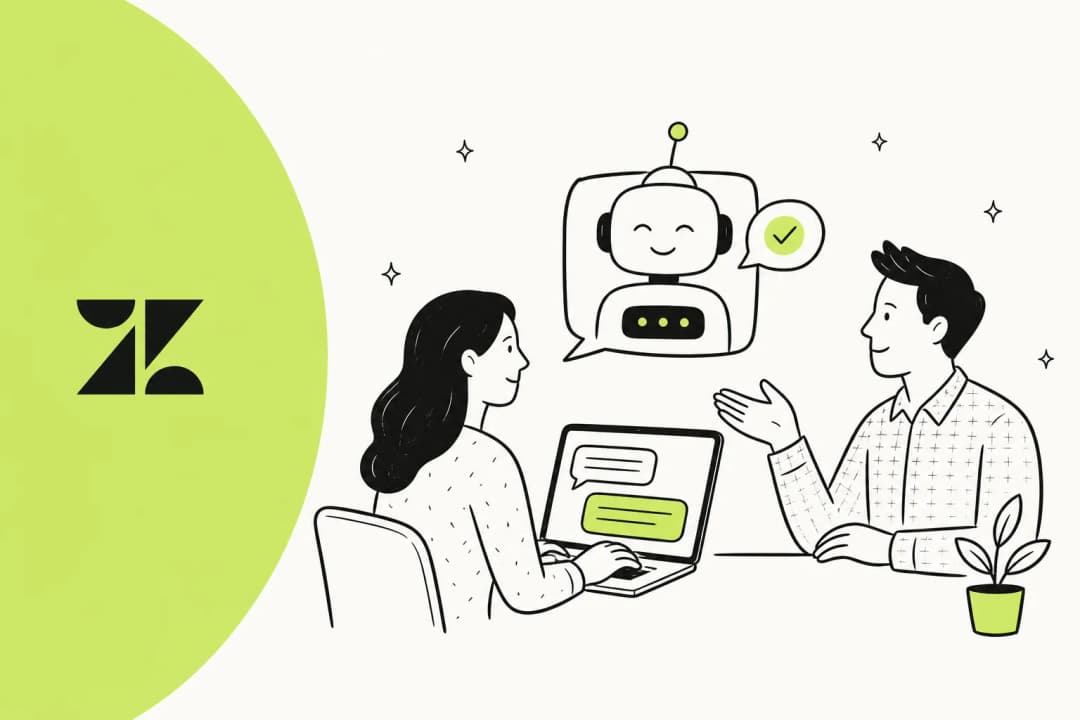
Enhancing your widget with eesel AI
Once you have your launcher configured, the next question is what happens when customers click it. That's where we can help.

At eesel AI, we integrate with Zendesk messaging to provide AI-powered responses through your web widget. If you want to see the full scope of what the eesel AI agent for Zendesk can do, the integrations page covers the setup and use cases in detail. Here's how it works:
You connect eesel to your Zendesk account, and our AI learns from your past tickets, help center articles, macros, and any connected documentation. When customers start a conversation through your widget, eesel can handle the initial response, answer common questions, and only escalate to human agents when necessary.
The AI maintains your brand voice because it's trained on how your team actually writes. And it keeps learning: when you correct a response or update your documentation, eesel incorporates that feedback automatically.
This works with any launcher configuration, whether you're using the default button or a fully custom implementation. The AI sits behind the widget interface your customers see, so you get the benefit of automation without changing your frontend setup.
For teams looking to reduce ticket volume while maintaining quality, combining a well-designed launcher with AI-powered responses can cut support load significantly. According to Zendesk's benchmark data, effective self-service and automation can reduce ticket volume by up to 25%.
Choosing the right launcher option for your needs
Here's the short version of how to decide:
Use the default square or circle launcher if:
- You want quick setup with minimal maintenance
- Standard branding options are sufficient
- You're not sure what you need yet
Build a custom launcher if:
- You have specific branding requirements
- You need non-standard placement or multiple trigger points
- You want to display custom notification badges
Use embedded mode if:
- You're building a dedicated support page
- You want the conversation interface visible immediately
- You need a split-view layout with conversation list and messages side by side
Start simple. The default launcher is fine for most teams, and you can always upgrade to a custom implementation later. The important thing is getting support in front of your customers quickly, then iterating based on what you learn.
Remember: the launcher is just the doorway. What matters is what happens on the other side. Whether you stick with default settings or build something completely custom, make sure the conversation experience delivers value once customers walk through that door.