If you're managing a busy support queue, you know the chaos of tickets arriving from everywhere at once. Emails, web forms, social media DMs, and chat messages all pile into the same inbox. Your team wastes precious time just figuring out where each ticket came from before they can start helping.
The Zendesk trigger condition ticket channel feature solves this problem. It lets you automatically sort, tag, and route tickets based on where they originated. Instead of manual triage, your tickets organize themselves.
Let's break down how to use this powerful automation feature.
What is the Zendesk ticket channel trigger condition?
In Zendesk, triggers are business rules that run automatically when tickets are created or updated. They check conditions you define, then perform actions when those conditions are met.
The "Ticket channel" condition is one of the most useful tools in your trigger toolkit. It checks where and how a ticket entered your system. Was it an email? A web form submission? A chat conversation? A tweet?
When you use this condition, you're telling Zendesk: "If a ticket comes from this specific source, do this specific thing." That might mean adding a tag, assigning the ticket to a particular team, setting a priority level, or sending an automated response.
This matters because different channels often need different handling. A phone call usually requires faster response than an email. A social media complaint might need your PR team's attention. A web form submission about a bug should go straight to engineering. Without channel-based routing, all of these tickets land in the same queue and rely on human judgment for sorting.
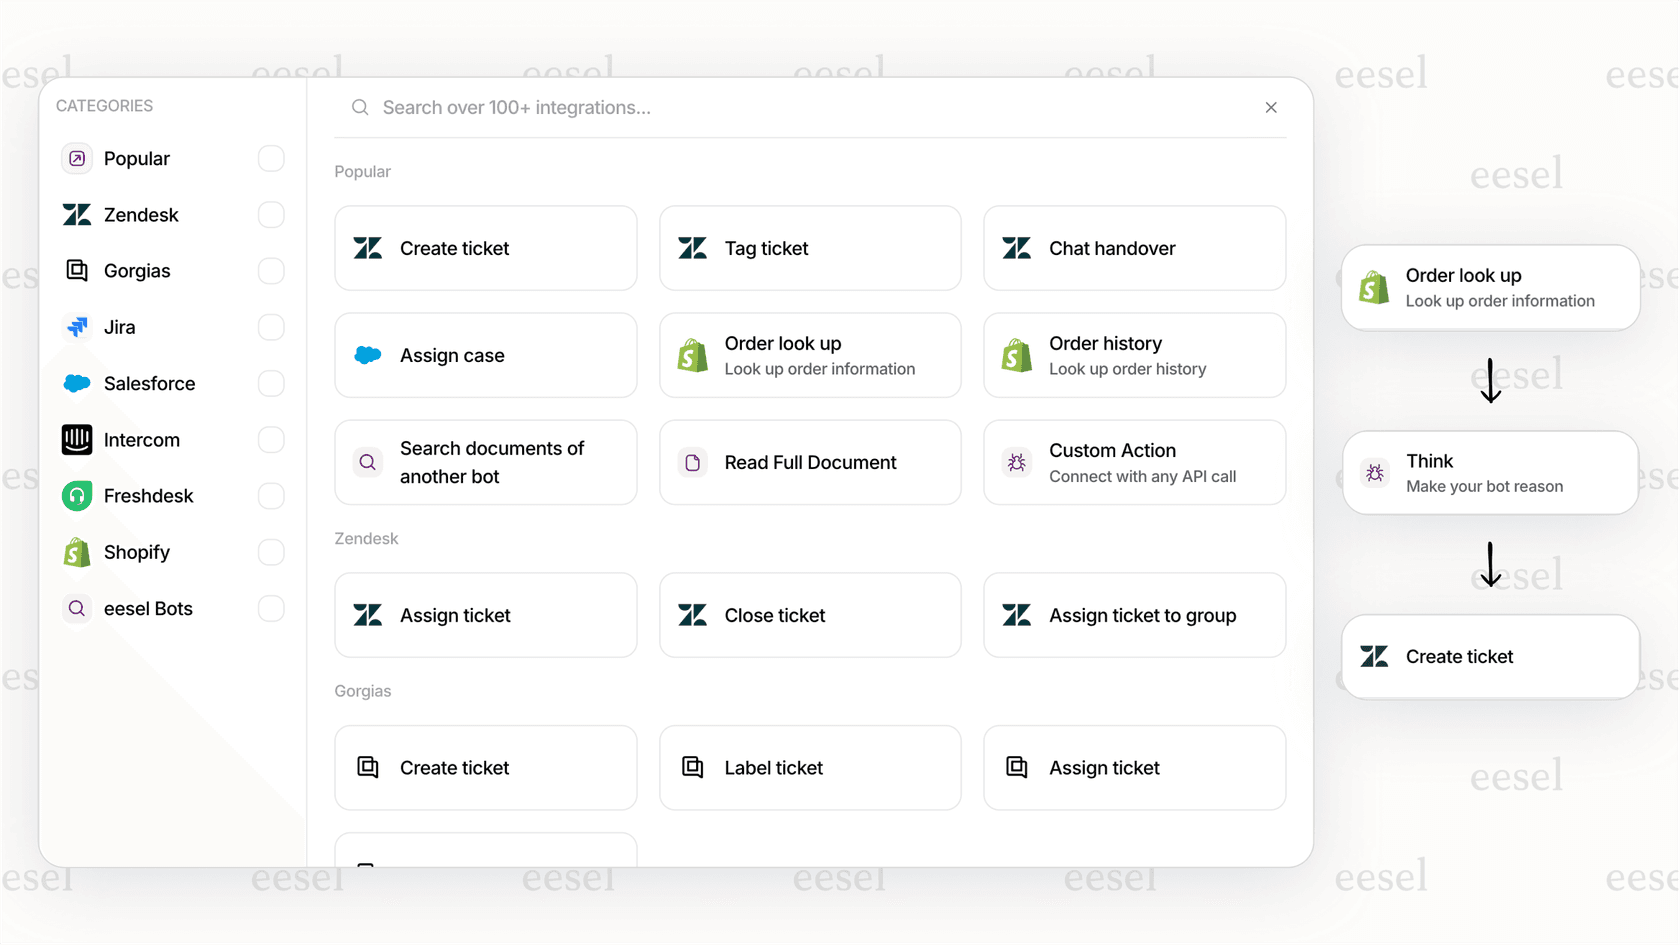
If you're looking for more advanced automation beyond what native Zendesk triggers can offer, eesel AI integrates with Zendesk to add AI-powered routing and autonomous ticket resolution.
Available ticket channels in Zendesk
Before you start building triggers, you need to understand what channels are available. Here's the complete list of ticket channels you can use in trigger conditions:
| Channel | What it represents | Common use case |
|---|---|---|
| Tickets created via email to your support address | Route to general queue, apply email-specific SLA | |
| Web form | Tickets submitted through your help center form | Tag by product area, route to appropriate team |
| Chat | Live chat conversations from Zendesk Chat | Fast-track to available agents, set high priority |
| Messaging | Web Widget and mobile SDK conversations | Route to messaging-trained agents |
| Phone call | Calls handled through Zendesk Talk | Set urgent priority, assign to voice-trained team |
| API/Web service | Tickets created programmatically via API | Skip auto-responses, apply internal tags |
| X (Twitter) | Tweets and DMs from X | Route to social media team, apply public response SLA |
| Messages from Facebook page | Same as X, social media routing | |
| Messages via WhatsApp integration | Route based on business hours, apply messaging SLA | |
| Mobile SDK | In-app support from your mobile application | Route to mobile app specialists |
| Help Center | Tickets created from knowledge base articles | Tag as self-service follow-up |
| Closed ticket | Follow-up tickets on previously closed tickets | Route to original assignee if possible |
| Text | SMS messages via Zendesk | Route to SMS-capable agents |
| Voicemail | Voicemails left through Zendesk Talk | Transcribe and route to phone support team |
Not all channels are available on every Zendesk plan. Chat, messaging, and phone channels require their respective Zendesk product add-ons. Social channels like X and Facebook require those integrations to be configured in your Admin Center.
Setting up a trigger with the ticket channel condition
Now let's walk through creating a trigger that uses the channel condition. We'll build a trigger that tags email tickets with "email_support" so you can track email volume separately.
Step 1: Navigate to the triggers menu
Log into your Zendesk account and go to the Admin Center. On the left sidebar, follow this path: Objects and rules > Business rules > Triggers.

This opens the triggers management page where you can see all existing triggers and create new ones.
Step 2: Create a new trigger
Click the Create trigger button in the top right corner. Give your trigger a clear, descriptive name. Something like "Tag: Email channel" or "Route: Email to General Queue" works well. The name should tell you at a glance what this trigger does.

You can also add a description to help other admins understand the trigger's purpose.
Step 3: Add the channel condition
In the "Meet ALL of the following conditions" section, you'll set up the logic that determines when this trigger runs.
Click Add condition and set it up as follows:
- Select Ticket from the first dropdown
- Select Channel from the second dropdown
- Select Is from the operator dropdown
- Select Email from the value dropdown

This condition means: "When a ticket is created or updated, and its channel is Email..."
You can add more conditions if needed. For example, you might want this trigger to only run when tickets are created (not updated). In that case, add another condition: Ticket > Is > Created.
Step 4: Add your actions
Now tell Zendesk what to do when the condition is met. Scroll down to the Actions section.
Click Add action and select what you want to happen. For our example of tagging email tickets:
- Select Add tags from the action dropdown
- Type "email_support" in the tag field
Other common actions you might use:
- Assignee > [Group or agent] - Route to a specific team
- Priority > [Priority level] - Set ticket priority
- Type > [Ticket type] - Mark as Question, Incident, Problem, or Task
- Notifications > Email user - Send an automated response
Step 5: Save and test
Click Create to save your trigger. It's now active and will run on all new tickets.
To test it, send an email to your support address. Then check the ticket in Zendesk. You should see your "email_support" tag applied. You can also view the ticket events by adding /events to the ticket URL to see exactly which triggers fired.
Practical use cases for channel-based triggers
Now that you know how to build these triggers, here are some real-world scenarios where channel conditions shine.
Route social media tickets to a dedicated team
Social media tickets often need different handling than traditional support. They're public, they can escalate quickly, and they may require brand-sensitive responses.
Set up a trigger with these conditions:
- Ticket > Channel > Is > X (formerly Twitter)
- Ticket > Channel > Is > Facebook (use "Meet ANY" for multiple channels)
Action: Assignee > Social Media Support group
This ensures your social-savvy team handles public-facing tickets while your general support team focuses on private channels.
Prioritize phone calls
Phone calls usually indicate urgent issues. Customers who pick up the phone typically need immediate help.
Conditions:
- Ticket > Channel > Is > Phone call
Actions:
- Priority > Urgent
- Group > Phone Support team
This jumps phone tickets to the front of the queue and gets them to agents trained for voice support.
Tag web form tickets by source
If you have multiple web forms (contact us, feature request, bug report), you can route based on form content. But even a simple channel tag helps.
Conditions:
- Ticket > Channel > Is > Web form
Action: Add tags > "web_submission"
This tag lets you filter reports to see what percentage of tickets come through your help center versus other channels.
Route technical issues from chat to L3
Chat is great for quick questions, but technical bugs need engineering. Combine channel with other conditions for precise routing.
Conditions (Meet ALL):
- Ticket > Channel > Is > Chat
- Ticket > Subject text > Contains the following words > bug error broken
Action: Group > Engineering
This catches technical issues that surface in chat and gets them to the right team immediately.
Auto-respond to email with business hours notice
Set expectations immediately when customers email outside business hours.
Conditions (Meet ALL):
- Ticket > Channel > Is > Email
- Ticket > Within business hours? > No
Action: Notifications > Email user > (requester) > [Your after-hours message template]
This prevents frustration when customers expect immediate responses at midnight.
Best practices for organizing channel triggers
As you build more channel-based triggers, organization becomes critical. Here's how to keep your trigger list manageable.
Follow the "one trigger, one job" philosophy. Each trigger should have a single, clear outcome. Instead of one mega-trigger that tags, assigns, and notifies all at once, create three separate triggers. This makes troubleshooting easier and prevents unintended side effects.
Order matters. Zendesk runs triggers from top to bottom. Place your categorization triggers (adding tags, setting type) before assignment triggers (routing to groups). This ensures tickets are properly labeled before they're distributed.
Use clear naming conventions. Start trigger names with the action type: "Tag:", "Route:", "Notify:", or "Set:". This makes your trigger list scannable and helps other admins understand your logic at a glance.
Document your trigger logic. As your trigger list grows, add descriptions explaining why each trigger exists and what business need it serves. Future you (and your teammates) will thank you.
Troubleshooting common channel trigger issues
Even with careful setup, triggers sometimes don't work as expected. Here's how to fix common problems.
Trigger not firing: Check that ALL conditions are met. If you have multiple conditions under "Meet ALL of the following conditions," every single one must be true. A common mistake is adding multiple status conditions (like Status is New AND Status is Open) which can never both be true at once.
Wrong channel detected: Understand the difference between "Channel" and "Update via." Channel is where the ticket was originally created. Update via is how the most recent update arrived. A ticket created by email but updated by an agent in the web interface will show Channel = Email but Update via = Web.
Conflicts with other triggers: Remember that triggers run in order from top to bottom. If one trigger assigns a ticket to Group A, and a later trigger assigns it to Group B, the later trigger wins. Check your trigger order if tickets aren't landing where expected.
Channel not available: Some channels require specific Zendesk plans or add-ons. If you don't see Phone call or Chat in your dropdown, you may need to enable those products in your subscription.
When to move beyond Zendesk triggers
Native Zendesk triggers are powerful, but they have limitations. Understanding these limits helps you know when it's time to level up your automation.
The biggest limitation: channel is a condition, not an action. You can check what channel a ticket came from, but you cannot change the channel via trigger. This matters when you want to convert a chat conversation to email for follow-up, or when an AI agent hands off to a human team that works in a different channel.
Complex routing logic also becomes unwieldy with native triggers. If you have dozens of triggers checking multiple conditions, maintaining them becomes a full-time job. And triggers can't learn from patterns. They follow rigid rules you define, even when the data suggests a better approach.
This is where eesel AI comes in. Our AI Triage product handles intelligent routing with natural language instructions instead of rigid condition trees. You can say things like "Route technical questions about billing to the Finance team, but only if the customer is on an Enterprise plan" without building complex trigger logic.
For teams ready to go further, our AI Agent can resolve tickets autonomously, learning from your past tickets to handle common issues without human intervention. It integrates directly with Zendesk and works alongside your existing triggers.
If you're already using Zendesk triggers for channel tagging, you might find our step-by-step guide to tagging tickets by channel helpful as a starting point.
