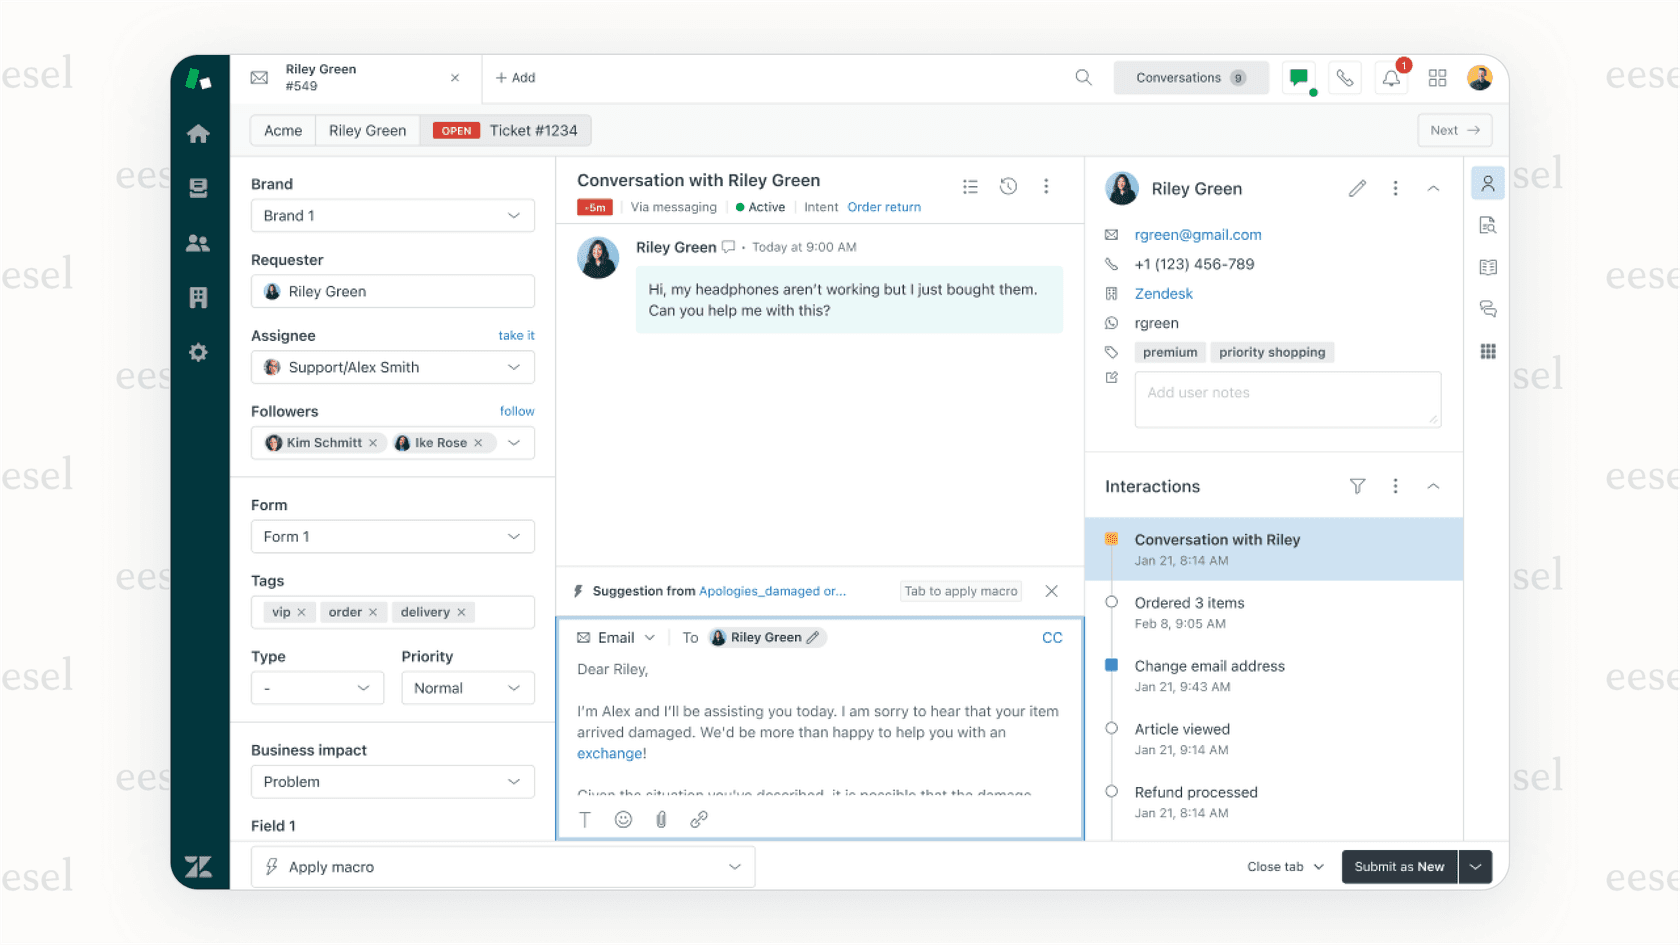
Manually updating ticket fields is tedious work that slows down your support team. When a VIP customer submits an urgent issue, someone's got to manually set the priority, assign the right team, and tag it correctly. Zendesk trigger actions solve this by automatically setting custom field values based on conditions you define, eliminating repetitive tasks and ensuring consistent ticket handling.
This guide walks you through everything you need to know about using Zendesk trigger actions to set custom fields. We'll cover the setup process, field type limitations you should understand, real-world use cases, and workarounds for common roadblocks. Whether you're automating ticket categorization or building complex routing workflows, you'll find practical steps you can implement today.
For teams that have outgrown native Zendesk automation, we'll also look at how eesel's AI agent for Zendesk offers a more flexible approach to custom field management through AI-powered triage and natural language instructions.
Understanding Custom Field Types in Triggers
Not all custom fields behave the same way in triggers. Some support full condition and action capabilities. Others have significant limitations that can derail your automation plans if you don't account for them. Understanding these differences is essential for building reliable Zendesk automation.
Here's how different field types work with trigger actions:
| Custom Field Type | Available Actions | Key Limitation |
|---|---|---|
| Drop-down | Set to any predefined option | None significant |
| Multi-select | Add or remove specific values | Cannot set all values at once |
| Checkbox | Check or uncheck | Requires tag association for some features |
| Date | Set specific date or use placeholders | Always evaluates in GMT timezone |
| Text | Set static text value | Placeholders not supported in actions |
| Multi-line text | Set static text value | Placeholders not supported |
| Number/Decimal | Set numeric value | Limited to present/not present in conditions |
| Lookup relationship | Set value in notification actions only | Cannot directly modify via standard actions |
| Regex | Set value | Limited trigger support |
The biggest gotcha here? Text fields do not support placeholders in trigger actions. This means you cannot use something like {{ticket.requester.custom_fields.customer_id}} to copy data from a user field into a ticket field. The placeholder will appear as literal text instead of resolving to the actual value. This limitation trips up many admins who expect triggers to handle data synchronization between user, organization, and ticket fields. The Zendesk community has discussed this limitation extensively.
Conditions and actions also differ in availability. For example, text fields can only be checked for presence or absence in conditions. You cannot create a condition that checks if a text field contains specific words. Plan your field types carefully based on how you intend to use them in automation.

Step 1: Access the Triggers Page
To get started, navigate to Admin Center > Objects and rules > Business rules > Triggers. This page lists all existing triggers in your account, organized by category. If you're new to Zendesk automation, check out the official Zendesk trigger documentation for a complete overview.
If you have dozens of triggers, use the search bar to find specific ones. Triggers run in the order they appear on this page, which matters when multiple triggers might affect the same ticket. You can drag and drop triggers to reorder them.
Before creating a new trigger, check if an existing one could be modified instead. Having fewer, well-organized triggers is easier to maintain than many overlapping ones. You'll thank yourself later when you're troubleshooting. Look for triggers in similar categories or that handle related ticket types.

Step 2: Create a New Trigger
Click Add trigger to start building your automation. You'll see a form with several sections.
Name your trigger clearly. Use a descriptive name that explains what the trigger does. Instead of "Priority Trigger," use something like "Set High Priority for VIP Customers." This helps other admins understand the trigger's purpose without opening it.
Add a description. The description field is optional but highly recommended. Document what the trigger does, why it exists, and when it should fire. This context is invaluable when you're troubleshooting six months later or training new team members. You'll be glad you did.
Select or create a category. Categories help organize triggers in the Admin Center. You might have categories like "Routing," "SLA Management," or "Customer Tier Automation." Grouping related triggers makes them easier to find and manage at scale.
Best practices for trigger organization:
- Use consistent naming conventions across your team
- Group triggers by function rather than by team member
- Document any trigger dependencies in the description
- Review and clean up inactive triggers quarterly
Step 3: Set Up Trigger Conditions
Conditions determine when your trigger fires. You can set conditions that must all be met (AND logic) or conditions where any can be met (OR logic).
Meet ALL conditions means every condition must be true for the trigger to fire. Use this when you need precise criteria, like "Ticket is created" AND "Organization is VIP Customers." Learn more about building trigger conditions in Zendesk's documentation.
Meet ANY conditions means the trigger fires if at least one condition is true. Use this for broader scenarios, like "Subject contains urgent" OR "Subject contains emergency."
Common conditions for custom field automation include:
- Ticket status changes: Fire when tickets move from New to Open, or Solved to Closed
- Tag presence: Check for specific tags that indicate routing needs
- Requester attributes: Organization, user tags, or custom user fields
- Subject or comment text: Keywords that indicate ticket type or priority
- Ticket creation vs. update: Different triggers for new tickets versus follow-ups
Preventing trigger loops is critical. Always include nullifying conditions that prevent a trigger from firing repeatedly on the same ticket. For example, if your trigger sets a custom field to "Escalated," add a condition that checks the field is not already "Escalated." Without this, the trigger could fire continuously and you'll have a mess on your hands.
Example configuration for VIP routing:
| Condition Category | Operator | Value |
|---|---|---|
| Ticket: Is | Created | - |
| Organization: Is | - | VIP Customers |
| Custom Field: Priority Level | Is not | - |

Step 4: Add the Set Custom Field Action
Now for the action that actually sets your custom field. Click Add action and select the field you want to modify from the dropdown.
The available options depend on your field type:
For drop-down fields, select the specific option value from the list. You can only choose values you've already defined in the field configuration.
For checkbox fields, choose whether to check or uncheck the box. Remember that checkbox fields need associated tags to work in some business rules.
For multi-select fields, add or remove specific values. You cannot "set" all values at once; you work with individual selections.
For date fields, enter a specific date or use placeholders like {{ticket.created_at}}. Note that date fields in business rules always evaluate against GMT timezone, not your account timezone.
For text fields, enter the static text value you want to set. Remember: placeholders won't resolve here. If you enter {{ticket.requester.name}}, that's exactly what'll appear in the field, not the actual requester name.
You can add multiple actions to a single trigger. This lets you set several fields at once, like updating both "Category" and "Priority" based on the same conditions.
Common Use Cases and Examples
Here are practical ways support teams use trigger actions to set custom fields:
Auto-categorize by keyword. When a ticket subject contains words like "refund," "billing," or "invoice," automatically set the "Category" field to "Billing Questions." This ensures tickets reach the right team without manual triage.
Configuration example:
- Conditions: Ticket: Is | Created; Subject text: Contains the following word(s) | refund, billing, invoice
- Actions: Custom Field: Category | Set to | Billing
Priority escalation by customer tier. Set priority to "High" for tickets from enterprise customers or VIP accounts. Combine this with group assignment for complete routing automation.
Configuration example:
- Conditions: Organization: Is | Enterprise Customers; Ticket: Is | Created
- Actions: Priority | Set to | High; Group | Set to | Enterprise Support
Product routing from tags. If you use tags to identify which product a ticket relates to, set a "Product" custom field for easier reporting and routing.
Status workflow tracking. Use custom fields to track tickets through internal workflows that don't map to standard Zendesk statuses. A "Review Status" field could move from "Pending Review" to "Approved" based on trigger conditions.
SLA tracking with date fields. Set custom date fields for follow-up reminders. When a ticket is created, set a "Follow-up Date" field to 3 days in the future for proactive customer outreach.
Understanding Limitations and Workarounds
Native Zendesk triggers have real limitations that can block your automation goals. Here's what you need to know and how to work around them. For teams hitting these limits, exploring AI for customer service solutions can provide more flexibility.
The placeholder limitation in text fields. This is the most common frustration. You cannot use placeholders like {{ticket.requester.custom_fields.customer_id}} in text field actions. The system inserts the literal placeholder text instead of the value.
Workaround options:
-
Use drop-down fields instead when possible. They support setting specific values and work reliably in triggers.
-
Zendesk Integration Services (ZIS) provides a more robust automation layer. ZIS flows run after the trigger cycle completes, avoiding race conditions and supporting complex data operations. This requires more technical setup but handles scenarios native triggers cannot.
-
API with external systems can update fields after trigger execution. Be aware of race conditions where the API call and trigger might conflict.
Race conditions with webhooks. If you're using webhooks to update tickets from triggers, you can hit race conditions where the webhook and trigger try to modify the same ticket simultaneously. ZIS flows avoid this by design since they run after trigger execution completes.
Lookup relationship field restrictions. These fields can only be used in notification actions, not standard field-setting actions. This limits their usefulness in automation workflows.
Decision matrix for automation approach:
| Scenario | Best Approach |
|---|---|
| Simple field setting based on ticket attributes | Native triggers |
| Copying data between user/org/ticket fields | ZIS flows |
| Complex conditional logic | ZIS or external API |
| Time-based field updates | Automations (not triggers) |
| Real-time data synchronization | API with careful error handling |
Troubleshooting Common Issues
When your trigger isn't working as expected, check these common culprits:
Trigger not firing. Verify that all conditions are actually being met. Check if another trigger with similar conditions is firing first and modifying the ticket. Remember that triggers run in order, and a ticket change from an earlier trigger might affect whether later triggers fire. It's worth double-checking your trigger order if you're seeing unexpected behavior.
Field not updating. Confirm the trigger is active (not disabled). Check that the custom field still exists and hasn't been deactivated. Verify the field is visible to agents and editable in the ticket form.
Placeholders appearing as literal text. This indicates you're trying to use placeholders in a text field action. Text fields don't support dynamic content in trigger actions. You'll need to use ZIS or accept static values there's no way around this limitation with native triggers.
Multiple triggers conflicting. Review your trigger order. More specific triggers should come before general ones. If two triggers try to set the same field to different values, the later trigger wins.
Testing triggers safely. Use a test ticket or sandbox environment when possible. You can also add a temporary tag action to see if the trigger fires without modifying important fields. Check the ticket events log to see which triggers ran and in what order.
Advanced: Using Custom Objects with Triggers
For Zendesk Enterprise plans, custom objects unlock more sophisticated automation. Custom objects let you store structured data beyond standard tickets, users, and organizations. Think product catalogs, service contracts, or asset inventories.
Lookup relationship fields connect tickets to custom object records. A "Product" lookup field could link a ticket to a specific product record in your catalog, complete with specifications, warranty dates, and related documentation.
Object triggers fire when custom object records are created or updated, not just tickets. This enables workflows like:
- Sending notifications when a service contract approaches renewal
- Updating asset status when a ticket is resolved
- Creating follow-up tasks when product records change
Placeholders for custom objects became available in July 2024. You can now reference custom object data in macros and notifications using syntax like {{ticket.ticket_field_123456789.name}} to get the name of a linked custom object record.
Use cases that benefit from custom objects:
- Asset management: Track laptops, software licenses, or equipment with linked tickets
- Service contracts: Store contract details and automate renewal workflows
- Product catalogs: Link tickets to specific products with full specification access
- Location tracking: Connect tickets to physical locations or departments
Streamline Custom Field Automation with eesel AI
Native Zendesk triggers work well for straightforward automation, but they hit limits quickly. When you need to copy data between user fields and ticket fields, handle complex conditional logic, or manage automation across multiple systems, you're stuck working around platform constraints. That's where an AI teammate can make a real difference.
eesel AI approaches this differently. Instead of rigid trigger logic, you describe what you want in plain English. "When a VIP customer submits a ticket about billing, set the priority to high, assign to the billing team, and copy their account ID from the user record." The AI handles the implementation.
Key differences from native Zendesk triggers:
-
No race conditions. eesel AI operates as an AI teammate that processes tickets after Zendesk's trigger cycle completes, avoiding the conflicts that plague webhook-based workarounds. You won't have to worry about conflicting updates.
-
Natural language instructions. Define complex automation without learning trigger syntax or API calls. Just tell the AI what you want no coding required.
-
Context-aware field setting. The AI reads ticket content, conversation history, and connected data to make intelligent decisions about which fields to set and what values to use.
-
Progressive rollout. Start with eesel AI drafting responses while your team reviews them. As confidence builds, expand to full automation for specific ticket types. You're always in control.
For teams already using Zendesk, our integration connects in minutes. eesel AI learns from your existing tickets, macros, and help center content, so it understands your business context from day one. You can run simulations on past tickets to verify quality before going live no surprises for your customers.
If you're spending more time working around Zendesk's automation limitations than benefiting from them, it might be time to explore an approach built for modern support workflows. Learn more about eesel AI pricing or explore our AI agent capabilities to see how we can help streamline your support operations.
