How to use the Zendesk trigger condition ticket brand
Stevia Putri
Last edited February 24, 2026
Managing multiple brands in Zendesk can get complicated fast. When you're supporting several products or operating in different regions, you need a way to route tickets, apply SLAs, and send notifications based on which brand the customer contacted. The ticket brand condition helps solve this.
The ticket brand condition lets you create triggers that fire only for specific brands (or exclude certain brands entirely). It's a straightforward way to keep your support workflows organized when you're juggling multiple brands under one Zendesk instance.

What you'll need
Before you start configuring triggers with brand conditions, make sure you have:
- A Zendesk Suite plan at Growth level or higher (Team plans don't support the brand condition). You can learn more about Zendesk support pricing to compare plan features.
- Multiple brands already set up in your Zendesk instance
- Admin access to create and manage triggers
- A basic understanding of how triggers work (conditions and actions)
If you're on a Team plan, you'll need to upgrade to access brand-based trigger conditions. The brand condition isn't available on lower-tier plans.
Understanding the ticket brand condition
The ticket brand condition checks which brand a ticket is associated with. Every ticket in Zendesk gets assigned to a brand automatically based on how it was created: the support email address, the Help Center it came from, or the Web Widget configuration.
Here's when you'd want to use the brand condition in your triggers:
- Different support teams per brand: Route tickets to specialized teams based on which product or region the customer is asking about
- Brand-specific SLAs: Apply different priority levels or response time commitments depending on the brand
- Custom notifications: Send different auto-reply messages or internal alerts for each brand
- Workflow exclusions: Prevent certain global triggers from firing for brands that have unique processes
The brand condition differs from other scoping methods like groups or organizations. While groups determine who handles the ticket and organizations identify who the customer is, brands represent which product or service the customer is contacting you about. A single customer might contact you about multiple brands, and a single brand might have multiple support groups.
One thing to keep in mind: the brand condition is only available on Growth, Professional, Enterprise, and Enterprise Plus plans. If you're on Team, you won't see this option in your trigger condition dropdown. Check Zendesk's trigger documentation for the latest plan requirements.
How to create a trigger with the ticket brand condition
Let's walk through creating a trigger that uses the brand condition. We'll use the example of routing VIP brand tickets to a priority queue.
Step 1: Access the triggers page
Navigate to Admin Center, then click Objects and rules in the sidebar. Select Business rules > Triggers. Click the Tickets tab if you're not already there.

You'll see a list of all your existing ticket triggers. They run from top to bottom, so order matters. Triggers higher in the list execute before triggers lower down. For more on trigger organization, see Zendesk's guide to ticket triggers.
Step 2: Add a new trigger
Click Add trigger in the top right. Give your trigger a clear, descriptive name. Something like "Route VIP Brand to Priority Queue" or "Exclude Test Brand from Auto-Reply." The name should make it obvious what this trigger does without opening it.
Add a description if you want. This field is searchable, so it's helpful for other admins who might need to understand why this trigger exists.
Make sure Activate this trigger is checked if you want it to run immediately after saving.
Step 3: Configure the brand condition
Now for the important part. Under Meet all of the following conditions, click Add condition.
In the first dropdown, select Ticket > Brand. In the second dropdown, choose your operator:
- is - The trigger only fires for the specific brand(s) you select
- is not - The trigger fires for all brands except the one(s) you select
In the third dropdown, select your brand(s). You can add multiple brand conditions to include or exclude several brands.

Here's how the logic works:
- To restrict a trigger to one specific brand: Use Brand is [Your Brand] in the "Meet all" section
- To include multiple specific brands: Use multiple Brand is conditions in the "Meet any" section
- To exclude one brand: Use Brand is not [Your Brand] in the "Meet all" section
- To exclude multiple brands: Use multiple Brand is not conditions in the "Meet all" section
Step 4: Add additional conditions (optional)
You can refine when your trigger fires by adding more conditions. Common additions include:
- Ticket > Status category is New - Only fire for new tickets
- Ticket > Priority is - - Only fire if no priority is set yet
- Ticket > Group is - - Only fire for unassigned tickets
- Ticket > Tags contains none of the following [your-tag] - Prevent the trigger from firing twice
Remember: ALL conditions in the "Meet all" section must be true for the trigger to fire. ANY condition in the "Meet any" section can be true.
Step 5: Set the actions
Now define what happens when your conditions are met. Click Add action and choose from the available options:
- Ticket > Group - Assign to a specific support group
- Ticket > Priority - Set priority to Urgent, High, Normal, or Low
- Ticket > Add tags - Add tags for routing or reporting
- Ticket > Status - Change the ticket status
- Notify by > User email - Send an email to the requester, assignee, or others

For our VIP brand example, you might:
- Set Ticket > Priority to High
- Set Ticket > Group to your VIP Support group
- Add Ticket > Add tags with a tag like vip_brand
Step 6: Save and test
Click Save to create your trigger. Now test it:
- Create a test ticket through the brand's support channel (email, Web Widget, or Help Center)
- Check that the trigger fired by looking at the ticket's events log
- Verify the actions were applied correctly (right group, priority, tags)
- If something's off, edit the trigger and adjust your conditions
Pro tip: Create a private brand or use a specific tag for testing. That way you can test triggers without affecting real customer tickets. Learn more about ticket management best practices to optimize your workflow.
Common use cases for the ticket brand condition
Now that you know how to set up brand conditions, let's look at some practical ways to use them.
Use case 1: Route tickets to brand-specific teams
If you have dedicated support teams for different products or regions, you can automatically route tickets based on brand:
- Condition: Ticket > Brand is "Omniwear Sports"
- Action: Ticket > Group is "Sports Support Team"
Create one trigger per brand-team combination. This ensures tickets always reach the right specialists without manual sorting.
Use case 2: Apply brand-specific SLAs
Different brands might have different service level commitments. Use the brand condition to set priorities accordingly:
- Condition 1: Ticket > Brand is "Enterprise Product"
- Condition 2: Ticket > Priority is -
- Action: Ticket > Priority is "High"
This sets a high priority for tickets from your enterprise brand, ensuring they get faster response times.
Use case 3: Exclude brands from global triggers
Sometimes you have triggers that should apply to most brands but not all. Use the "is not" operator to exclude specific brands:
- Condition: Ticket > Brand is not "Internal Test Brand"
- Action: Notify by > User email (requester) with auto-reply message
This prevents your test brand from sending auto-replies to your internal team while keeping the auto-reply active for customer-facing brands.
Use case 4: Brand-specific notifications
Send different messaging based on the brand:
- Condition: Ticket > Brand is "Premium Service"
- Action: Notify by > User email with a customized welcome message mentioning premium support benefits
This lets you tailor the customer experience to match each brand's positioning.
Best practices for organizing multi-brand triggers
As you build out brand-based triggers, keep these tips in mind:
Use clear naming conventions. Include the brand name in your trigger names so you can quickly identify which triggers apply to which brands. Something like "[VIP Brand] Route to Priority Queue" works well.
Group related triggers together. Zendesk lets you organize triggers into categories. Create categories like "Brand Routing," "Brand Notifications," and "Brand SLAs" to keep things tidy.
Document your setup. Keep a simple spreadsheet or internal doc listing which triggers apply to which brands and why. Future you (or your teammates) will thank you when troubleshooting.
Test in a sandbox first. If you have a Zendesk sandbox environment, test your brand triggers there before deploying to production. Brand routing mistakes can send customer tickets to the wrong teams.
Monitor trigger performance. Check your trigger revision history to see which triggers fire most often. If a brand-specific trigger never fires, your conditions might be too restrictive.
Combine with tags for granularity. Sometimes brand alone isn't enough. Combine brand conditions with tag conditions for more precise targeting: "Brand is X AND Tag is Y."
Troubleshooting common issues
Even with careful setup, things sometimes don't work as expected. Here's how to fix common problems:
Trigger not firing: Double-check that the ticket's actual brand matches your condition. Look at the ticket details panel to see which brand Zendesk assigned. If it's different from what you expected, check your support address and channel configuration.
Wrong brand assigned: Tickets get their brand from the support email address, Web Widget configuration, or Help Center they came through. If tickets are getting the wrong brand, review your channel settings in Admin Center.
Conflicting triggers: Remember that triggers run in order from top to bottom. If two triggers could fire on the same ticket, the earlier one might change something that prevents the later one from firing. Use the "Tags contains none of" condition to prevent re-firing, or reorder your triggers.
Missing brand option: If you don't see the brand condition in the dropdown, confirm you're on a Growth or higher plan. Also check that you actually have multiple brands configured. The condition won't appear if you only have one brand. See Zendesk's brand management guide for setup instructions.
Trigger fires too often: Add more specific conditions. A trigger that fires on "Brand is X" alone will fire on every ticket update for that brand. Add "Ticket is Created" or "Status category is New" to limit it to new tickets only.
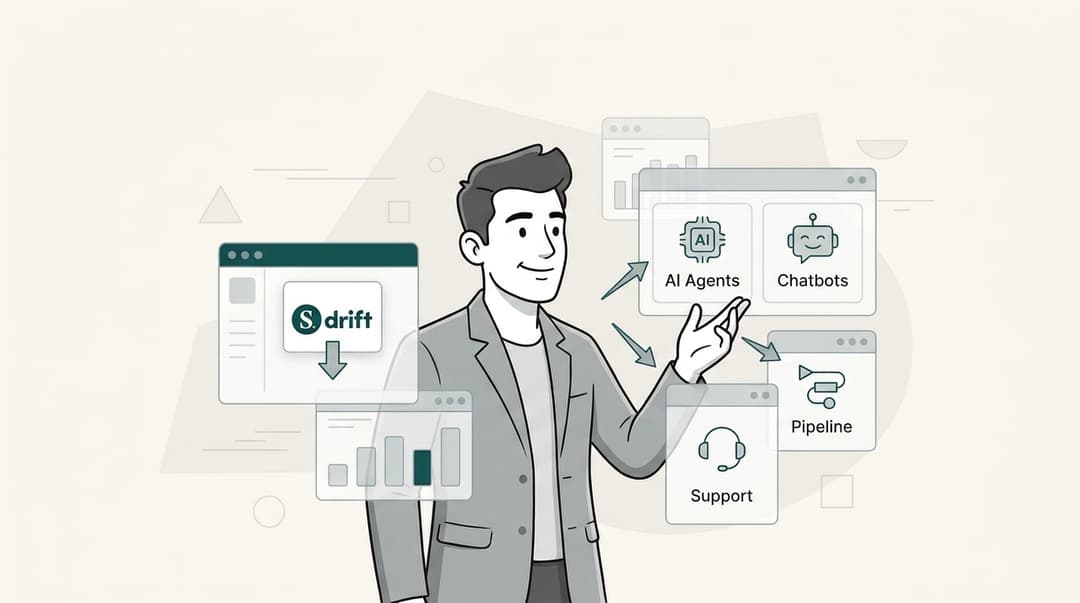
Going beyond triggers with eesel AI
Triggers with brand conditions work well for straightforward routing and tagging. But they have limitations. As your support operation grows, you might find yourself managing dozens of triggers with complex condition combinations. Every new brand or workflow means more triggers to maintain and test.
This is where eesel AI takes a different approach. Instead of building increasingly complex rule sets, our AI agent for Zendesk learns from your existing tickets, help center articles, and macros to handle tickets intelligently.

Here's the difference:
| Approach | How it works | Best for |
|---|---|---|
| Rule-based triggers | Define conditions (brand, tags, keywords) and actions | Simple, predictable workflows |
| eesel AI | Learns from your data and handles tickets based on context | Complex routing, understanding intent, scaling without adding rules |
With our AI agent, you can describe your routing logic in plain English instead of building trigger conditions. For example: "Route refund requests over $500 to the Finance team, but only for the Enterprise brand during business hours." The AI understands and applies this logic without you creating multiple triggers.
eesel AI integrates directly with Zendesk and can work alongside your existing triggers or handle frontline support autonomously. You define escalation rules in natural language, and the AI follows them.
If you're finding that trigger maintenance is eating up your time, or if your brand-based routing has gotten too complex to manage, try eesel AI free and see how it compares to rule-based automation. For more context on AI-powered support, check out our guide to the best AI chatbots for Zendesk.
Frequently Asked Questions
Share this article

Article by
Stevia Putri
Stevia Putri is a marketing generalist at eesel AI, where she helps turn powerful AI tools into stories that resonate. She’s driven by curiosity, clarity, and the human side of technology.