Blog
Tips, guides, and insights on AI teammates, smarter support, and building better teams.


8 best Confluence alternatives for 2026 (tested by real teams)
Confluence is losing teams to pricing shock, a broken editor, and search that never works. These 8 alternatives each solve a different piece of that problem.

I tested 7 AI writing detection tools in 2026 — here's what actually works
Tested GPTZero, Originality.ai, Copyleaks, Turnitin, Winston AI, Sapling, and ZeroGPT — accuracy claims, real results, and which to pick for your use case.

The 7 best Grammarly alternatives in 2026 (tested and ranked)
Grammarly's billing trap, the Expert Review scandal, and a $30/month monthly price that surprised too many users. Here are 7 tested alternatives that actually fit the way you write.

10 best AI tools for academic writing in 2026 (tested and ranked)
I tested 10 AI tools for academic writing across research, literature review, grammar, and submission prep. Here is what is worth using in 2026, and what to skip.
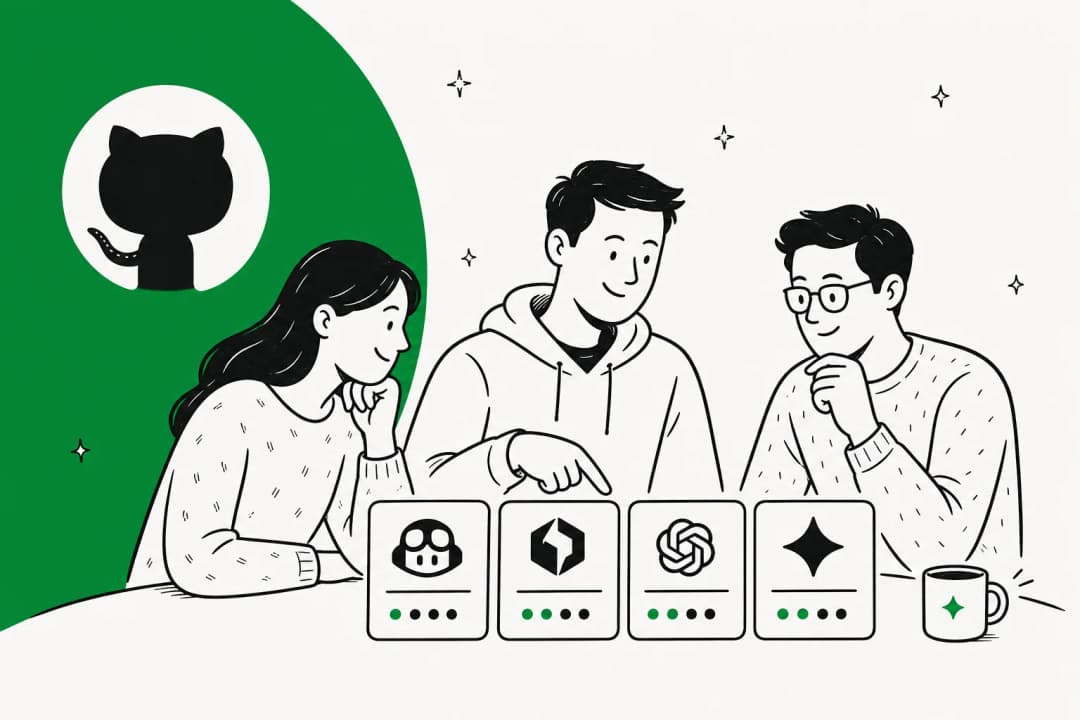
8 best GitHub Copilot alternatives in 2026 (some are cheaper, some are just better)
GitHub Copilot is no longer the obvious choice. In 2026, Cursor, Claude Code, Windsurf, and others beat it on agent mode, privacy, or price. Here is how all 8 stack up after testing.

Claude AI overview 2026: Models, features, pricing, and what to know
Everything you need to know about Claude AI in 2026: four models from Haiku 4.5 to Fable 5, pricing from free to enterprise, Claude Code and Cowork, and what the community actually says about usage limits and reliability.

OpenAI Codex pricing in 2026: every plan, real costs, and what you'll actually pay
OpenAI Codex pricing runs from Free to $200/month on six consumer tiers, with Enterprise on a custom credit pool. Most developers end up on Plus ($20/mo) or the new Pro 5x ($100/mo). Here's exactly what each plan includes, the limits you'll actually hit, and how the April 2026 token billing overhaul changes the math.

Gorgias automation: a complete guide to rules, AI Agent, and actions (2026)
How Gorgias automation actually works in 2026: rules vs AI Agent, skills and actions, real per-resolution costs, the double-reply trap, and where it falls short.

Gorgias web widget: a complete guide to setup, AI, and costs in 2026
How the Gorgias web widget works, how to install and customize it on Shopify, what its AI Agent can and can't do, and what it really costs.
Ready to hire your AI teammate?
Set up in minutes. No credit card required.