When your support team handles different types of requests, a one-size-fits-all ticket form creates friction. Customers struggle to find the right category for their issue. Agents waste time routing mislabeled tickets. Everyone gets frustrated.
Multiple ticket forms solve this by giving customers tailored forms for specific request types. Instead of a generic "Submit a request" page, you can offer distinct forms for technical support, billing questions, sales inquiries, or product feedback. Each form collects exactly the information your team needs upfront.
In this guide, I'll walk you through creating and managing multiple ticket forms in Zendesk. Whether you're setting up your first custom form or optimizing an existing setup, these steps will help you build a more organized support experience.
What you'll need
Before you start, make sure you have:
- A Zendesk account on Suite Growth, Professional, Enterprise, or Enterprise Plus plan, or Support Enterprise plan
- Admin access to your Zendesk Admin Center
- A clear understanding of your support workflow and the different request types you handle
Multiple ticket forms aren't available on Team plans. If you're on a lower-tier plan, you'll need to upgrade to access this feature. Check Zendesk's pricing page for current plan details.
Step 1: Access the ticket forms settings
To get started, navigate to your Zendesk Admin Center. Click Objects and rules in the left sidebar, then select Tickets and Forms.
This page shows all your existing ticket forms. Every Zendesk account starts with a Default ticket form that includes all active ticket fields. If you've never created a custom form, this is what your agents and customers currently see.
Take a moment to understand the layout:
- Active forms are visible to agents and (if configured) end users
- Inactive forms are hidden but preserved for future use
- The Default form is automatically assigned to tickets when no other form is specified
You can have up to 300 ticket forms in your account, which is more than enough for even complex multibrand setups.
Step 2: Create your first custom ticket form
Click the Add form button to create a new form. You'll see a form editor with two main areas: the form builder on the left and available fields on the right.
Start by naming your form. You'll see two name fields:
- Form name what agents see in the ticket interface
- Title shown to end users what customers see when selecting a form (optional)
If you leave the end-user title blank, Zendesk uses the agent form name for both.
Next, decide who can see this form:
- Check Editable for end users to let customers submit tickets using this form
- Leave it unchecked for agent-only forms (useful for internal workflows)
If you use Zendesk's multibrand feature, you can also restrict forms to specific brands. This ensures customers only see forms relevant to the brand they're contacting.
Now build your form by dragging fields from the right sidebar into the form builder. You can add:
- System fields like Subject, Description, Type, and Priority
- Custom ticket fields you've created for your specific needs
Arrange fields in a logical order. Put the most important fields first. Remember that customers are more likely to complete shorter forms, so only include fields you actually need.
When you're satisfied, click Save. Your new form appears in the active forms list.
Step 3: Configure form fields and requirements
Here's something critical to understand about Zendesk ticket forms: field properties are global, not form-specific.
If you mark a field as required, it becomes required on every form where that field appears. You cannot make the "Priority" field required on your technical support form but optional on your general inquiry form. The setting applies everywhere.
This limitation catches many Zendesk admins off guard. Plan your required fields carefully, and consider creating separate fields for different use cases if you need different requirement levels.
For more advanced form behavior, you can use conditional ticket fields (available on Professional and Enterprise plans). Conditional fields let you show or hide fields based on what the customer selects in another field.
For example:
- If a customer selects "Billing issue" from a dropdown, show fields for invoice number and billing address
- If they select "Technical problem," show fields for product version and error messages
To set up conditions, open your form and click the menu icon next to a field, then select Conditions. You can create rules like "Show Field X only when Field Y equals Z."

Step 4: Set up multiple forms for different use cases
Now that you understand the basics, let's look at common scenarios for multiple forms.
Different products: If your company sells multiple products, create a separate form for each. A software company might have forms for "Platform A Support," "Platform B Support," and "API/Developer Support." Each form includes fields specific to that product.
Different departments: Route requests to the right team from the start. Create forms for "Technical Support," "Billing Questions," "Sales Inquiries," and "Partnership Opportunities." Use triggers to automatically assign tickets to the appropriate group based on form selection.
Different customer types: Enterprise customers often need different fields than self-service users. You might have a standard support form for general customers and an enhanced form for VIP accounts that includes fields for account manager and contract details.
Different request complexity: Simple requests ("I forgot my password") need minimal fields. Complex requests ("I need help integrating your API") benefit from detailed fields about programming language, use case, and timeline.
When deciding between separate forms and conditional fields, consider:
- Use separate forms when the entire request type is different (billing vs. technical)
- Use conditional fields when the request is similar but needs different details based on a specific choice (which product version, which feature area)
Step 5: Manage form visibility and ordering
With multiple forms active, you need to control how they appear to users.
Setting the default form: One form must be your default. This form appears first in dropdowns and is used when no specific form is selected. To change the default, hover over a form in the list, click the menu icon, and select Make default.
Reordering forms: The order forms appear in your Admin Center list is the same order they appear in dropdown menus for agents and customers. Drag and drop forms to rearrange them. Put your most commonly used forms at the top.
Activating and deactivating: Rather than deleting forms you might need later, deactivate them. Inactive forms are hidden from users but preserved in your account. Click the Inactive tab to see deactivated forms and reactivate them when needed.
Cloning forms: If you need a similar form with slight variations, clone an existing one. Hover over a form, click the menu icon, and select Clone. This creates a copy you can modify without affecting the original.
Tips for optimizing your ticket forms
Creating forms is just the start. Here are ways to make them more effective:
Keep it short. Every field you add creates friction. Ask only what you truly need to resolve the ticket. You can always request more information later.
Use clear labels. "What can we help you with?" is friendlier than "Issue description." Write labels that make sense to customers, not just your internal terminology.
Test from the customer perspective. Submit a test ticket through each form. Is it clear what information you're asking for? Are the field descriptions helpful?
Review usage regularly. Check which forms get used most. If one form is rarely selected, consider whether it's necessary or if customers are confused about when to use it.
Consider third-party enhancements. If you need features Zendesk doesn't offer, like multi-step forms or advanced conditional logic, third-party form builders available on the Zendesk Marketplace can provide additional capabilities.
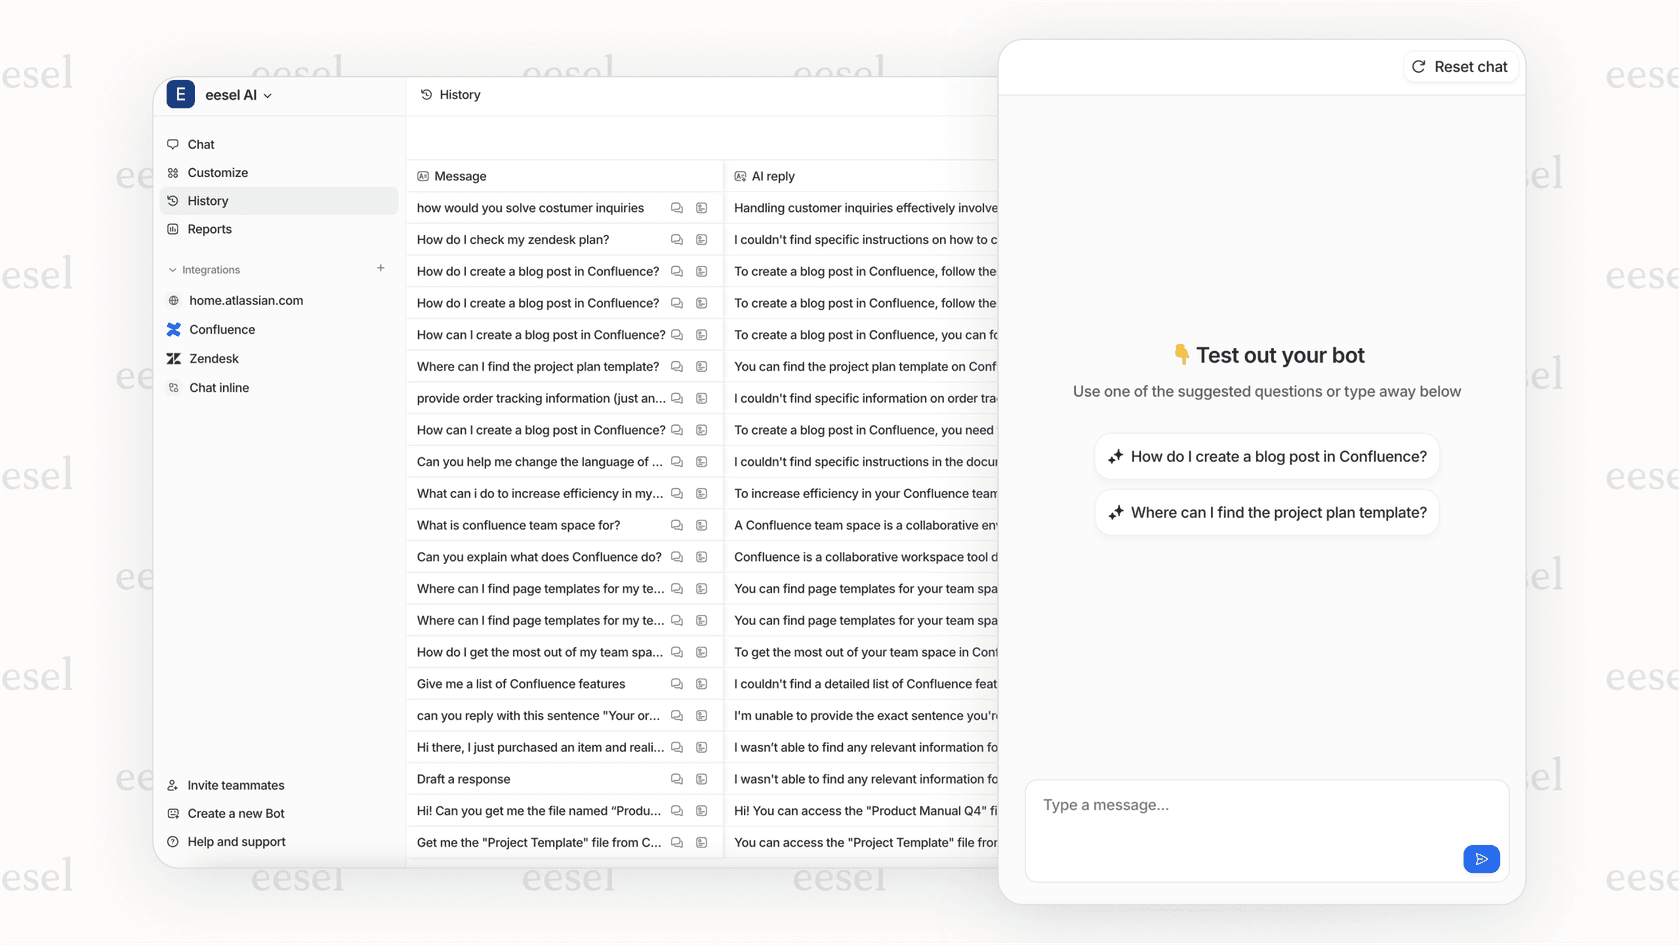
Think about what happens after submission. Well-designed forms collect better data, but that data still needs action. This is where AI tools can help. At eesel AI, we've built an AI teammate that integrates with Zendesk to read incoming tickets, including all the structured data from your forms, and draft appropriate responses or route them to the right team automatically.
Common mistakes to avoid
Watch out for these pitfalls when managing multiple ticket forms:
Creating too many forms. More options isn't always better. If customers can't quickly identify which form to use, they'll pick randomly or abandon the request. Aim for clarity over granularity.
Forgetting about field requirements. Remember that making a field required affects all forms using that field. Double-check your requirements before saving changes.
Neglecting mobile users. Many customers submit tickets from phones. Test your forms on mobile devices to ensure they're usable on small screens.
Setting and forgetting. Your products and services evolve, and your forms should too. Schedule quarterly reviews of your forms to ensure they still collect relevant information.
Ignoring the default form. If you have multiple end-user-facing forms, customers must choose one. If your default form is poorly designed, you're creating a bad first impression for everyone who doesn't select a specific form.
Streamline your Zendesk workflow with eesel AI
Multiple ticket forms help you collect better information upfront. But what happens after a customer hits submit? That structured data sitting in your Zendesk tickets is incredibly valuable if you use it right.
At eesel AI, we help teams turn form submissions into faster resolutions. Our AI teammate connects to your Zendesk account and learns from your past tickets, help center articles, and the specific fields in your ticket forms. It can:
- Draft responses based on the form data and your historical replies
- Route tickets to the right team using form selections and content analysis
- Escalate intelligently when form fields indicate high-priority issues
- Improve over time as it learns your team's preferences and policies
We designed eesel to work alongside your existing Zendesk setup. You don't replace your forms or reconfigure your workflows. You simply invite eesel to your team and let it start assisting with the tickets that come through your carefully designed forms.
If you're interested in seeing how AI can complement your Zendesk ticket forms, check out our Zendesk integration or explore our AI Agent product to learn more about autonomous ticket handling.

