Blog
Tips, guides, and insights on AI teammates, smarter support, and building better teams.


Best ChatGPT alternatives in 2026 (I tested all of them)
I tested 8 ChatGPT alternatives in 2026. Here's an honest breakdown of which ones actually hold up - and which use cases each one wins.

The 7 best cheap AI tools in 2026 (I tested them so you don't have to)
AI doesn't have to cost a fortune. Here are the 7 best cheap AI tools in 2026 - including genuinely useful free tiers - tested across design, research, coding, and customer support.

A developer's Claude Code CLI reference (2026 guide)
The complete Claude Code CLI reference for 2026: installation methods, session commands, CLAUDE.md, hooks, MCP servers, skills, multi-agent orchestration, and which plan to actually buy.
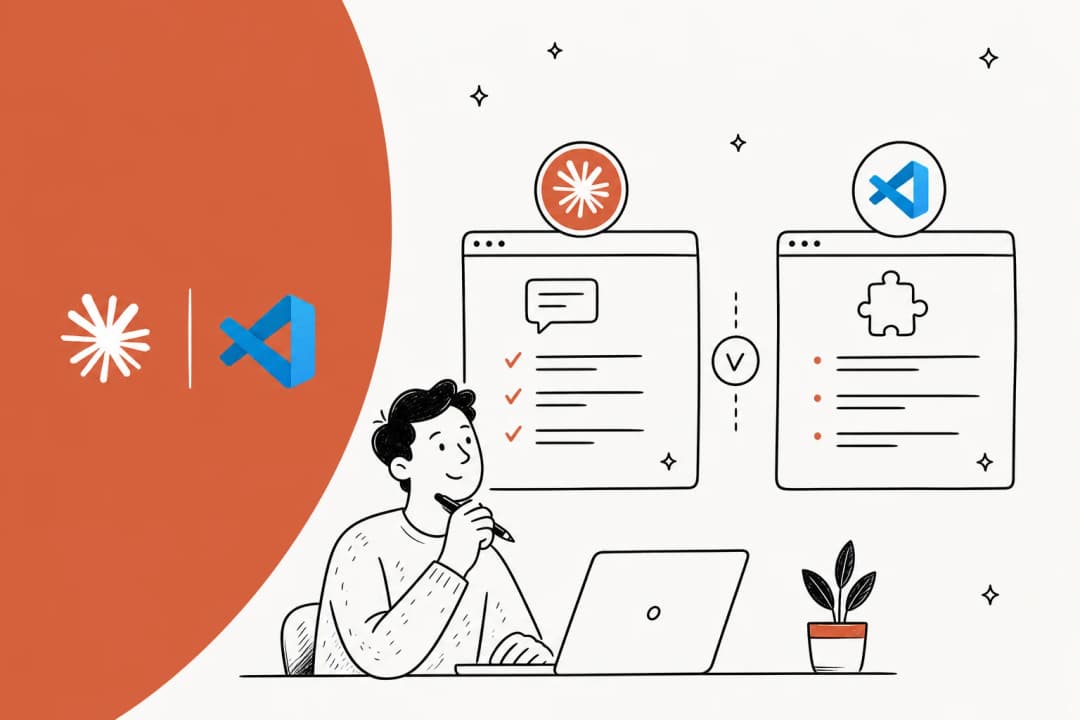
Claude Code VS Code extension: a complete guide (2026)
A practical 2026 guide to the Claude Code VS Code extension: install, features, the CLI question, pricing, and the gotchas real users hit.

DeepL pricing in 2026: every plan, every limit, and one gotcha most people miss
DeepL pricing runs from $0 to $57.49/user/month. Here's what each plan actually costs, what the 'unlimited' label really means, and why the API is a completely different product.

Firecrawl pricing: plans, real costs, and what to watch out for in 2026
A plain-English breakdown of Firecrawl's credit-based pricing, real per-page costs, hidden gotchas, and which plan actually fits your use case.

Freepik AI pricing explained: Is it worth it in 2026?
Freepik rebranded to Magnific in April 2026. Here's the real pricing breakdown: every plan, what unlimited actually means, per-model credit costs, and who should subscribe at each tier.

Gamma pricing in 2026: every plan, every gotcha, and what it actually costs
A full breakdown of Gamma pricing in 2026: every plan, every credit cost, the 3-day refund trap, and what real users actually pay.

HeyGen pricing (2026): plans, credits, and what you'll actually pay
HeyGen's pricing starts at $29/month, but the credit math changes everything. Here's what each plan actually costs when you factor in Avatar IV usage.
Ready to hire your AI teammate?
Set up in minutes. No credit card required.