How to set up Zendesk channel specific automations
Stevia Putri
Last edited February 26, 2026
When your support team handles requests from multiple sources, things can get messy fast. Emails, web forms, chat messages, and API submissions all land in the same queue. Without proper organization, high-priority chat messages might sit unnoticed while your team works through a pile of routine emails.
Zendesk channel specific automations solve this problem. They let you automatically tag, route, and manage tickets based on where they came from. This guide walks you through setting up both triggers (for immediate actions) and automations (for time-based workflows) to keep your support organized.
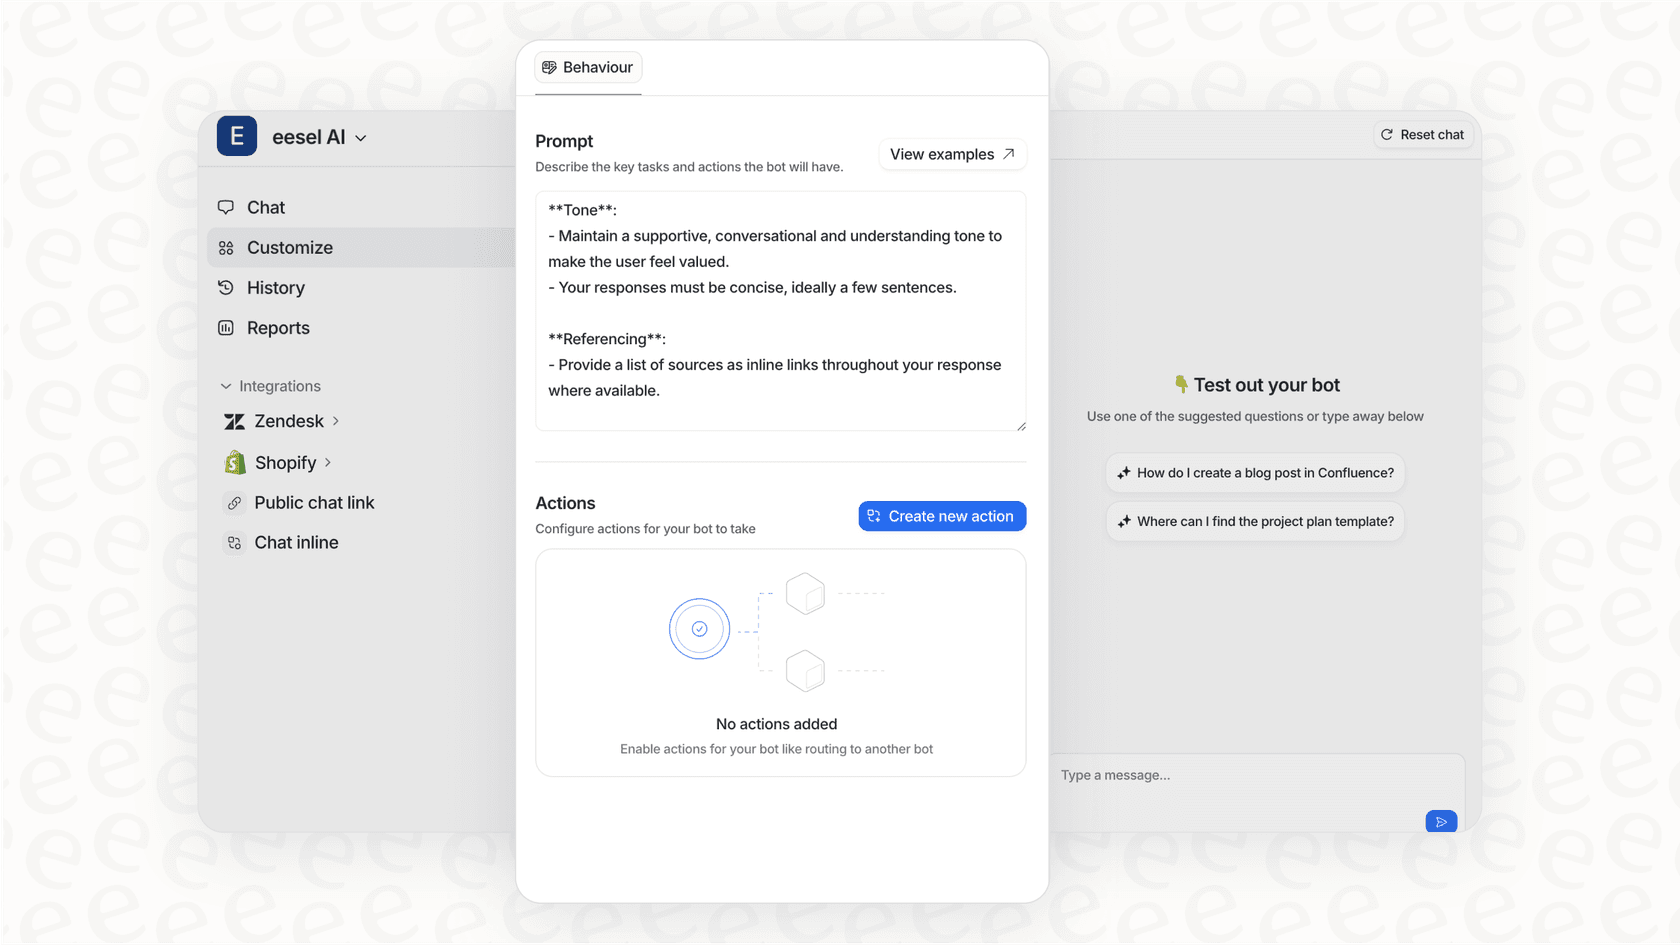
If you're looking for more advanced automation beyond Zendesk's native rules, eesel AI integrates with Zendesk to add intelligent triage that understands ticket content, not just the channel it came from.
Understanding channel specific automations in Zendesk

Channel specific automations are business rules that execute actions based on which channel a ticket originated from. Zendesk supports several channel conditions:
- Email tickets submitted via your support email addresses
- Web form tickets created through your help center contact forms
- Chat/Messaging real-time conversations from Zendesk Chat or messaging
- Phone/Voice tickets created from Zendesk Talk calls
- API tickets submitted programmatically via the Zendesk API
- Social media tickets from X (Twitter), Facebook, and other social channels
- Mobile SDK tickets from your mobile applications
- Web widget tickets from the embedded web widget on your site
There are two types of business rules for channel automation:
Triggers fire immediately when a ticket is created or updated. Use these for instant actions like tagging, routing, or sending notifications. Learn more about how triggers work in Zendesk.
Automations run hourly on non-closed tickets based on time-based conditions. Use these for follow-ups, escalations, and cleanup tasks. See the Zendesk automation documentation for complete details.
The benefits are straightforward. Channel tagging gives you visibility into where requests originate. Routing rules ensure tickets reach the right team immediately. Different channels can have different SLAs (chat typically needs faster response than email). And you can tailor auto-responses based on the channel's context.
What you'll need before getting started
Before creating channel specific automations, make sure you have:
- Zendesk Admin access or a custom role with permissions to manage business rules
- A clear tagging strategy decide which channels you want to track and what tags to use
- Understanding of nullifying conditions automations must include an action that prevents them from running forever
- About 15-30 minutes per automation to build and test
You'll also want to map out your workflow. Which channels need immediate routing? Which ones need time-based follow-ups? Having this plan before you start clicking through menus will save you from rework later. Zendesk's business rules documentation offers additional guidance on planning your automation strategy.
Setting up channel based triggers
Triggers are the simplest way to start organizing tickets by channel. They fire instantly when conditions are met.
Step 1: Navigate to the triggers menu

This page shows all your existing triggers. Zendesk includes several standard triggers out of the box, like notifying requesters when tickets are received.
Step 2: Create a new trigger for channel tagging
Click the Create trigger button in the top right. Give your trigger a descriptive name like "Tag: Email Channel" or "Auto-tag Web Form Tickets".
Under "Meet ALL of the following conditions," add:
- Ticket > Is > Created this ensures the trigger only runs once per ticket
- Channel > Is > Email replace "Email" with your target channel
You can add multiple conditions if needed. For example, you might want to tag tickets that are both from Email AND have a specific subject line.
Step 3: Add the tagging action
Scroll down to the Actions section. Click Add action and select Add tags from the dropdown.
Enter a tag that identifies the channel. Good examples:
email_supportfor email ticketsweb_formfor help center submissionschat_urgentfor chat tickets
Click Create trigger to save. Test it by creating a ticket through that channel and checking if the tag appears.
Common trigger use cases by channel
Here are practical ways to use channel triggers:
- Email tickets: Add "email_support" tag, assign to general queue, send standard auto-reply
- Web form submissions: Route to specific group based on form type, add priority tag
- Chat tickets: Set priority to High (chat users expect fast responses), assign to chat specialists
- API tickets: Auto-assign to technical team, add "api_integration" tag for tracking
- Social media: Route to social team, add sentiment monitoring tags
Creating time based automations by channel
Automations handle tasks that need to happen after a certain amount of time has passed. They're perfect for follow-ups, escalations, and cleanup.
Step 1: Access the automations menu

You'll see any existing automations here, including Zendesk's standard ones like "Close ticket 96 hours after solved."
Step 2: Build a channel specific automation
Click Create automation. Name it clearly, like "Escalate Chat Tickets Pending Over 1 Hour."
Set your conditions. At minimum, you need:
- A time-based condition: Hours since pending > Greater than > 1
- A channel condition: Channel > Is > Chat
- A status condition: Status > Is > Pending
The time-based condition is what makes this an automation rather than a trigger. You can use various time conditions:
- Hours since created
- Hours since pending
- Hours since solved
- Hours until next SLA breach
Step 3: Add nullifying action
This is critical. Every automation must include either:
- An action that nullifies a condition, OR
- A condition that can only be true once
Without this, your automation will run every hour forever, creating an infinite loop. Zendesk's guide to preventing automation loops explains this in more detail.
Add an action like Add tags > escalated_chat. On the next automation run, you can add a condition "Tags > Contains none of the following > escalated_chat" to prevent re-firing.

Other nullifying actions include:
- Changing the ticket status
- Assigning to a different group
- Adding a comment
Automation use cases by channel
Practical time-based workflows by channel:
- Chat tickets: Escalate to manager if pending > 1 hour (chat users expect immediate responses)
- Email tickets: Send reminder to requester if pending > 24 hours, escalate to supervisor if pending > 48 hours
- Web form tickets: Close if solved > 96 hours (standard best practice)
- API tickets: Notify manager if unassigned > 4 hours (API issues often indicate system problems)
- Phone tickets: Request follow-up survey 24 hours after solved
Best practices for channel automations
Follow these guidelines to keep your automations running smoothly:
- Create one trigger per channel rather than complex multi-channel triggers. This makes troubleshooting much easier.
- Order triggers properly Zendesk processes them sequentially. Put your most specific triggers at the top, general ones at the bottom.
- Always include nullifying conditions in automations. Test this thoroughly before activating.
- Test with a single ticket before rolling out to your entire queue. Create a test ticket, verify the automation fires correctly, then check that it doesn't re-fire.
- Document your automation logic in a shared doc or internal wiki. When you have dozens of triggers and automations, you'll forget why you built specific ones.
- Monitor automation runs weekly check Admin Center > Business rules > Automations > Activity to see which automations are firing and how often.
- Keep business rules under 65kb Zendesk enforces this limit. If you hit it, split complex logic across multiple triggers.
For more trigger examples, check out our guide on using Zendesk triggers to tag tickets by channel automatically.
Common mistakes to avoid
Here are the pitfalls we see most often:
Creating automations without nullifying actions this causes infinite loops where the same automation fires every hour forever. Always include a tag, status change, or other action that prevents re-firing.
Using "is" instead of "greater than" for time conditions "Hours since created is 24" only matches during the exact hour when a ticket hits 24 hours old. Use "greater than 24" to catch all tickets that have been open longer.
Overlapping conditions that conflict if one trigger assigns a ticket to Group A and another assigns it to Group B, you might get unpredictable results. Review your trigger order and conditions to avoid conflicts.
Forgetting to test before activating always create a test ticket and walk through the entire flow before enabling a new automation for all tickets.
Not considering channel combinations a ticket created via API might have its channel listed as "API" even if the content came from an email. Make sure your logic accounts for these edge cases.
Exceeding the 500 active automations limit Zendesk caps you at 500 active automations. Archive old ones you no longer need.
If you're hitting these limits or finding Zendesk's rule-based automation too restrictive, AI Triage from eesel AI offers intelligent automation that learns from your past tickets and makes routing decisions based on content, not just channel.
Taking channel automation further with eesel AI
Zendesk's native automation is powerful but has limits. It's entirely rule-based, which means you need to anticipate every scenario and write explicit conditions for it. The system doesn't learn from your team's actions or adapt to new patterns.
eesel AI adds a layer of intelligent automation on top of Zendesk:
- Content-aware routing instead of just checking the channel, eesel AI reads the ticket content and routes based on intent, sentiment, and topic
- Automatic priority setting urgent issues get flagged regardless of which channel they came through
- Suggested responses AI drafts replies based on your past tickets and help center articles
- Simulation mode test how the AI would have handled your last 1,000 tickets before going live
- Continuous learning the system improves as your team makes corrections
The setup is straightforward. Connect eesel AI to your Zendesk account, and it immediately analyzes your past tickets and help center to understand your business. You can start with AI-suggested drafts that agents review before sending, then gradually expand to full automation as the system proves itself.
For teams outgrowing Zendesk's native automation, eesel AI's AI Agent can handle entire ticket workflows end-to-end, from initial response through resolution, escalating only the complex issues to your human team.
Frequently Asked Questions
Share this article

Article by
Stevia Putri
Stevia Putri is a marketing generalist at eesel AI, where she helps turn powerful AI tools into stories that resonate. She’s driven by curiosity, clarity, and the human side of technology.