If you've ever tried to create a Zendesk view showing only tickets with breached SLAs, you've probably hit a wall. The view returns zero results even though your reports clearly show breached tickets exist. This isn't a bug. It's how Zendesk's SLA architecture works, and understanding why helps you build better workarounds.
This guide walks you through the exact steps to set up SLA columns in views, explains why breached tickets don't appear the way you'd expect, and gives you three practical workarounds. We'll also look at how AI tools can help you avoid breaches entirely.

What you'll need
Before we start, make sure you have:
- A Zendesk Support Professional or Enterprise plan (SLA policies aren't available on lower tiers)
- Admin permissions to create and modify views and automations
- Optional: Access to Zendesk Explore if you want to use the reporting workaround
How Zendesk SLA columns actually work
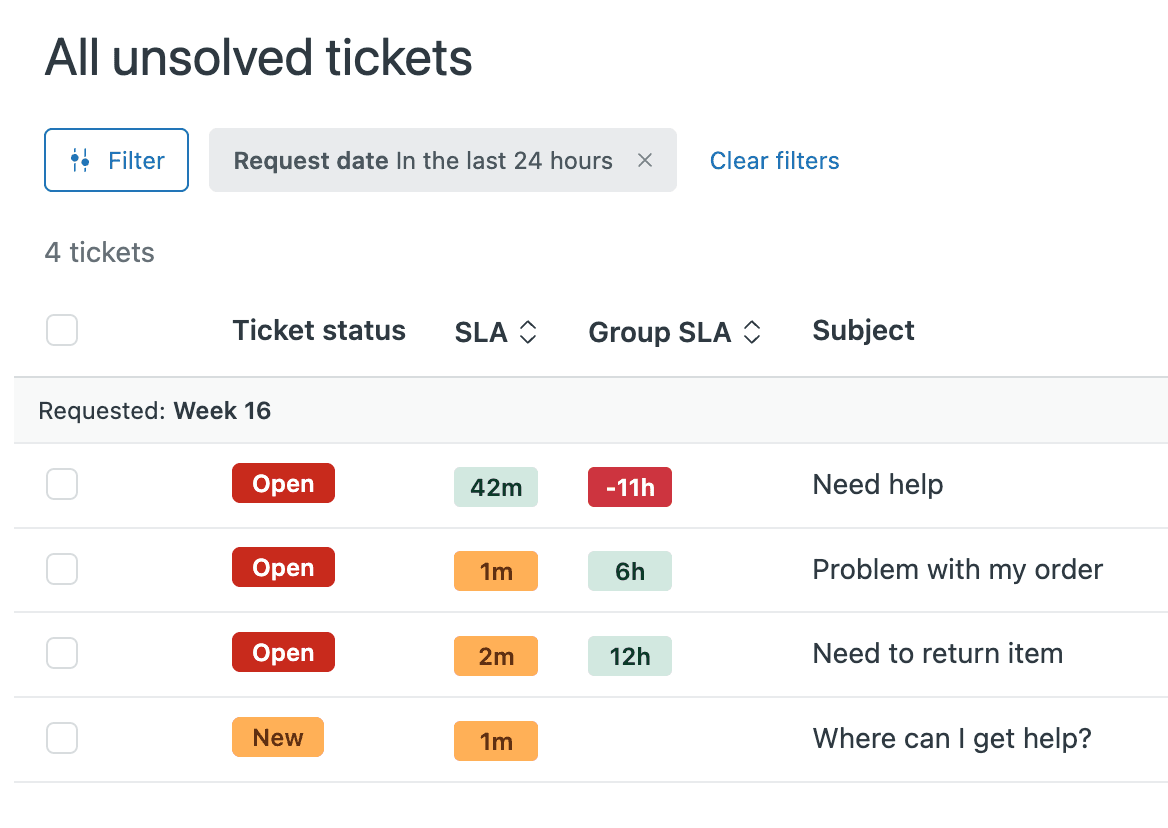
Here's the key thing to understand: Zendesk's SLA columns show time remaining, not historical breach status.
When you add an SLA column to a view, you're actually adding a countdown timer. The column displays how much time's left before the next SLA target breaches. If a ticket has three hours until its first reply target expires, you'll see "3 hours" in the column. If it's already breached, the countdown simply disappears.
This design makes sense from an architectural standpoint. SLAs are forward-looking timers meant to drive urgency. Once a target's achieved or breached, that particular timer stops and a new one starts (if applicable). The problem is that Zendesk doesn't maintain a visible "breached" status in the ticket view afterward.
As one Zendesk admin noted in a community discussion, "I want to see tickets with breached SLA in statuses Solved and Closed. But it seems like Zendesk just removes SLA tracker from solved/closed tickets. I haven't found any mention of this in FAQ or elsewhere, but it seems to work like that."
The good news? You can still prioritize tickets effectively. The column just requires a different mental model than you might expect.
Step 1: Add SLA columns to your view
Let's start with the basics. Here's how to add SLA columns and sort by them:
- Click the Views icon in the sidebar, then select the view you want to modify
- Click the Actions menu and select Edit view
- In the Formatting options section, click Add column
- Select SLA or Group SLA from the dropdown list
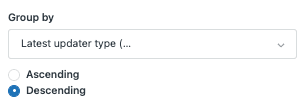
- To prioritize tickets closest to breaching, set Order by to SLA or Group SLA in Ascending order
- Click Save
Now when you open that view, you'll see a countdown for each ticket showing time until the next target expires. Tickets approaching breach appear at the top when sorted ascending.
Pro tip: You can filter views using the "Next SLA breach" filter, but this only shows tickets approaching breach, not ones that have already breached.
Step 2: Create an automation to tag breached tickets
Since native views can't show historical breaches, we need a workaround. The most reliable approach uses Zendesk automations to catch breaches as they happen and tag the tickets.
Here's how to set it up:
- Go to Admin Center > Objects and rules > Business rules > Automations
- Click Create automation
- Set the conditions:
- Hours since last SLA breach is less than 1
- Tags contains none of the following: sla_breached
- Set the actions:
- Add tags: sla_breached
- Optional: Notify target to alert a manager or Slack channel
- Click Create automation
Now create a view that shows breached tickets:
- Go to Views and create a new view
- Set the condition: Tags contains at least one of the following: sla_breached
- Add the SLA column to see when the breach occurred
- Save the view

Important limitations:
- Automations run once per hour, so there's a delay between breach and tagging
- This only catches breaches going forward, not historical ones
- If a ticket breaches multiple times, you'll need additional logic to track that
One community member suggested a variation: "Create an automation that tags SLA breaches, then build views and reports based on that tag. It's not perfect, but it's the closest you can get with native Zendesk functionality."
Step 3: Use Zendesk Explore for breach reporting
For historical breach data and detailed analysis, Zendesk Explore is your best option. While it doesn't provide real-time views for agents, it gives managers the reporting they need.
To create a breached SLA report:
- Open Zendesk Explore and navigate to the SLAs dataset
- Create a new query
- Add the metric: D_COUNT (Breached SLA Tickets)
- Add rows for Ticket ID to see individual tickets
- Include additional attributes like SLA Metric (to see which target breached: First Reply, Next Reply, etc.)
- Add filters for date ranges, groups, or assignees as needed
You can also configure clickable links directly to tickets using calculated attributes in Explore, making it easier for managers to investigate specific breaches.
The limitation here is clear: Explore is for reporting, not daily agent workflows. Agents can't work tickets directly from Explore the way they can from views.
Alternative: Third-party extensions for enhanced SLA visibility
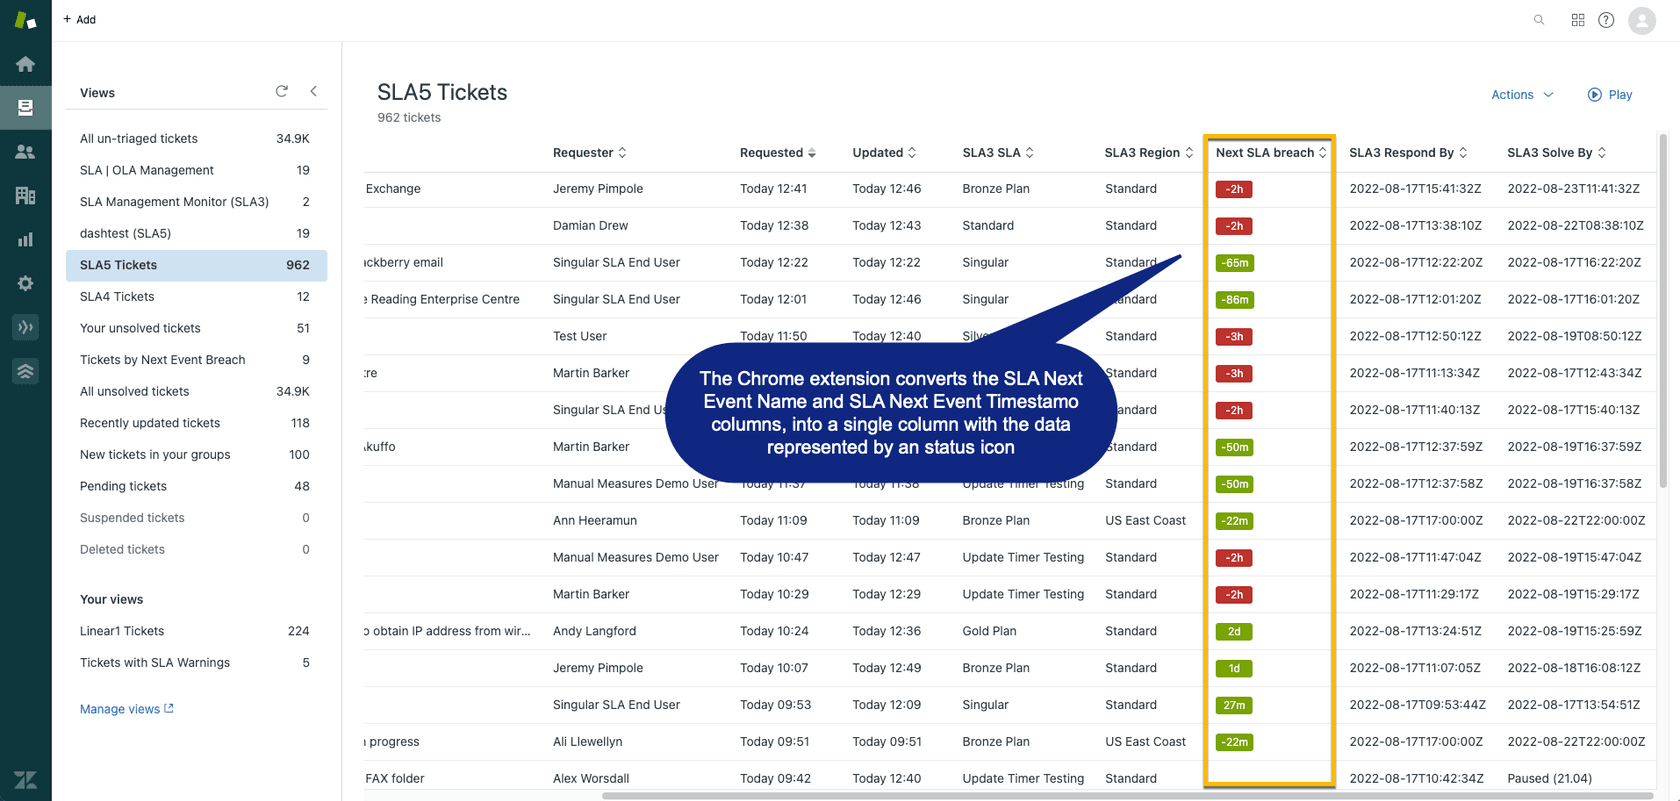
If native Zendesk functionality doesn't meet your needs, several third-party tools extend SLA visibility. Performset by Cloudset is one popular option.
The Performset Chrome extension converts SLA timestamps into color-coded status icons directly in your Zendesk views. Instead of reading timestamps, agents see intuitive red, yellow, and green indicators showing urgency at a glance. The extension also handles timezone conversions automatically.
What it adds:
- Visual status indicators (red/yellow/green icons)
- Hover tooltips showing exact breach times
- Automatic timezone handling for distributed teams
- Works alongside native Zendesk SLA columns
Considerations:
- Requires Chrome browser
- Additional cost on top of Zendesk licensing
- Only affects how data displays, doesn't change underlying Zendesk functionality
Best practices for SLA prioritization
Regardless of which approach you choose, these practices help you get the most from your SLA setup:
Sort ascending for urgency. When you add SLA columns, always sort in ascending order. This puts tickets closest to breach at the top, ensuring agents see the most urgent work first.
Create separate views for different stages. Consider having one view for "approaching breach" (next 2-4 hours) and another for "breached" using the automation tagging method. This helps agents mentally prioritize.
Train agents on countdown interpretation. Make sure your team understands they're looking at time remaining, not time elapsed. A ticket showing "1 hour" needs immediate attention.
Set up escalation before breaches happen. Use the "Hours until next SLA breach" condition in automations to notify team leads when tickets are approaching breach, not just when they've breached.
Review policies quarterly. Business needs change. A policy that made sense six months ago might need adjustment. Check your SLA achievement rates in Explore and adjust targets accordingly.
How eesel AI prevents SLA breaches before they happen
All the solutions we've covered so far are reactive. They help you track, report, and manage breaches after they're happening or about to happen. But what if you could prevent most breaches in the first place?
AI tools like eesel AI take a different approach. Instead of just tracking SLAs, we help you meet them consistently through automation. Our Zendesk integration works seamlessly with your existing setup.
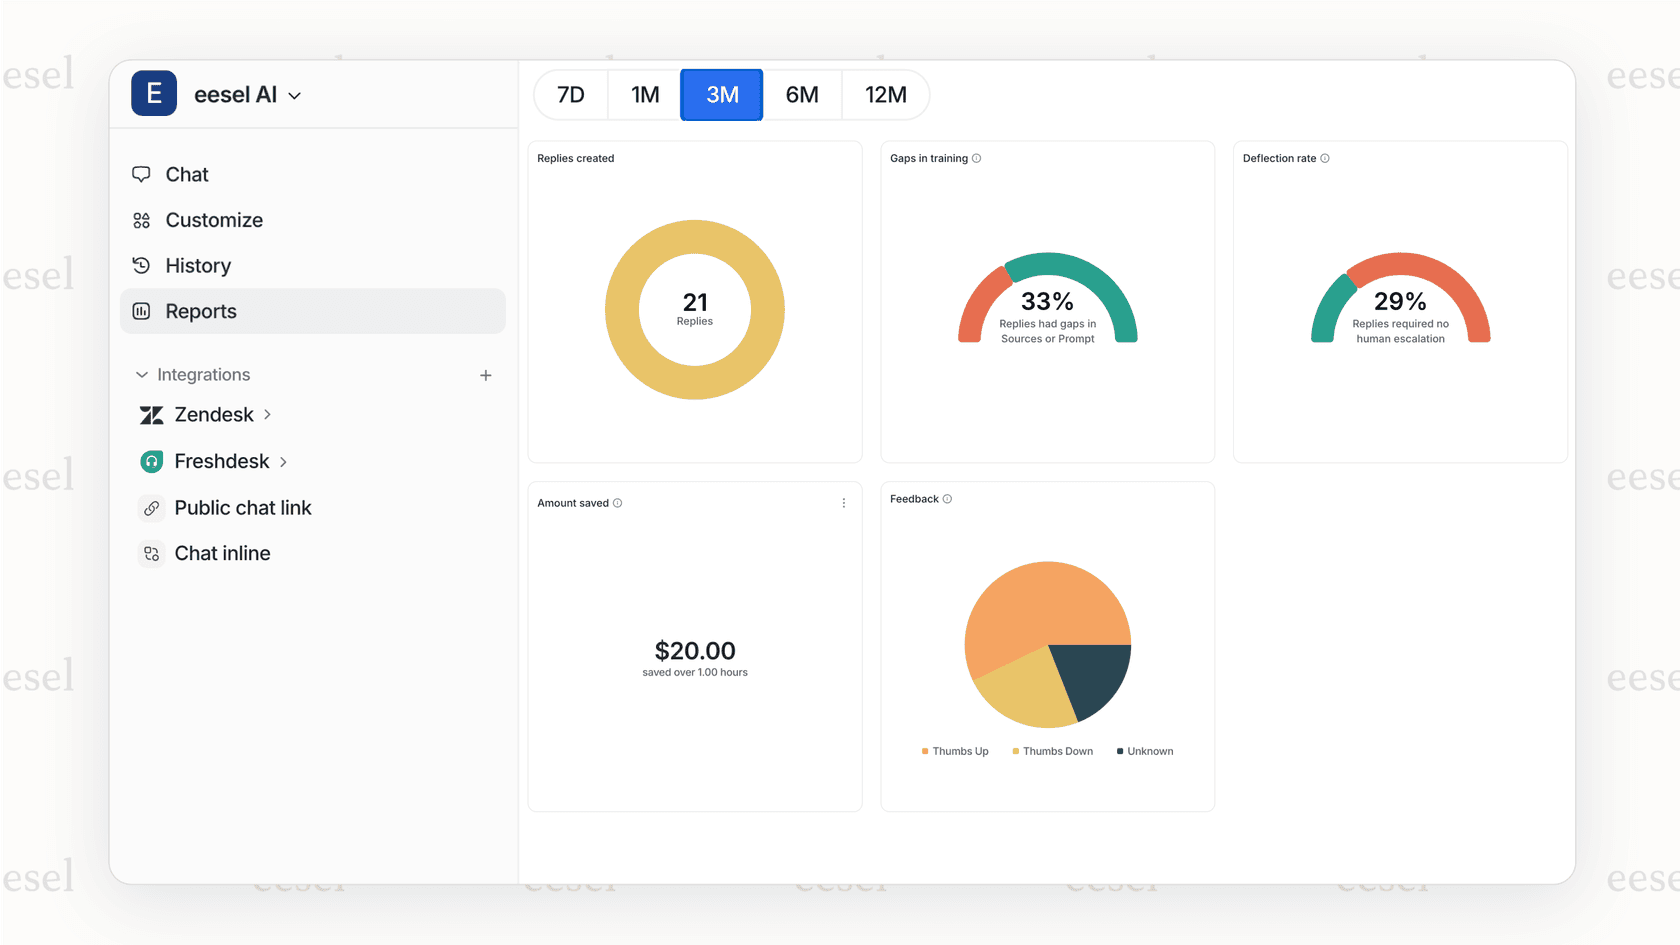
Instant first replies with AI Agent. The most common SLA breach is first reply time. Our AI Agent integrates directly with Zendesk to respond to common tickets instantly. Password resets, order status lookups, refund requests. These get handled in seconds, not hours.
Faster resolution with AI Copilot. For complex tickets needing human attention, our AI Copilot drafts replies and pulls relevant information from your knowledge base. Agents spend less time searching and more time solving. This directly improves your Next Reply Time and Total Resolution Time metrics.

Zero-risk setup. You can test how eesel AI would perform on your historical tickets before going live. Run simulations to see the impact on your SLA metrics, then gradually increase automation as you gain confidence.
The shift here is from tracking breaches to preventing them. When your AI handles routine tickets instantly, your human agents gain capacity to handle complex issues within SLA targets.
Start managing your SLA priorities effectively
You now have three approaches for managing SLA prioritization in Zendesk:
- Native SLA columns for real-time countdown visibility
- Automation tagging for tracking breached tickets going forward
- Explore reporting for historical analysis and management oversight
For most teams, the best approach combines all three: use native columns for daily agent workflows, automation tagging for breach tracking, and Explore for weekly management reviews.
If you're serious about SLA performance, consider whether reactive tracking is enough. Teams using AI assistance often see their SLA achievement rates jump significantly simply because common tickets get resolved before they ever become a problem.
Want to see how AI could impact your SLA metrics? Try eesel AI and run a simulation on your historical tickets. Check our pricing to find a plan that fits your team. You might find that most of your breaches are preventable.
