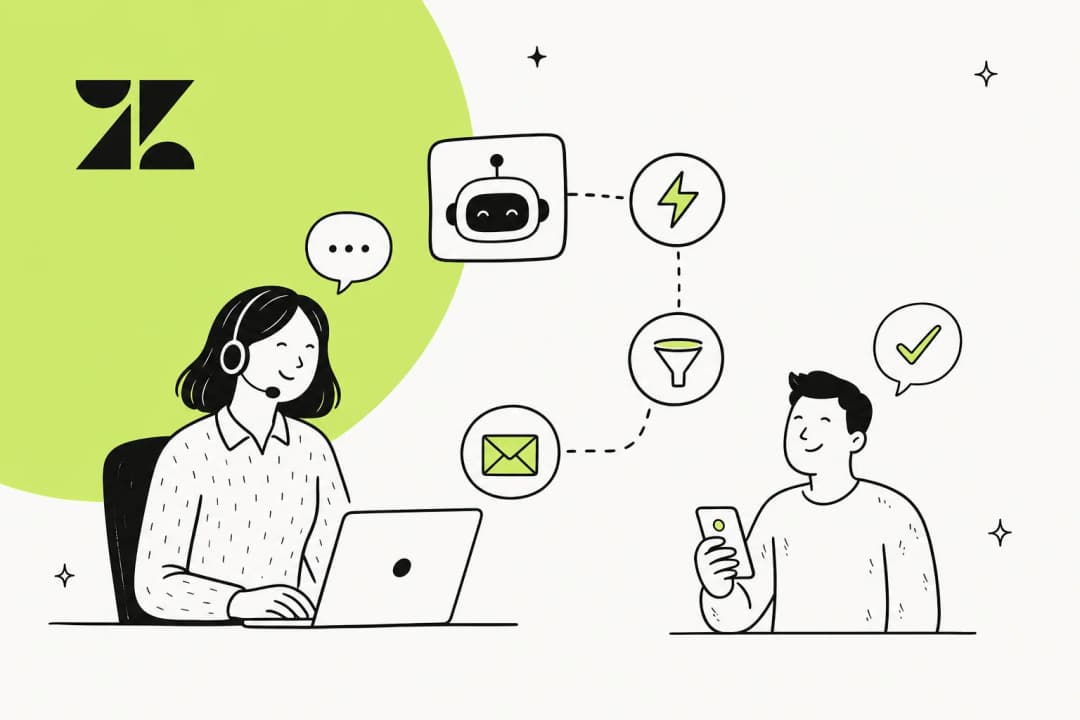
Managing support tickets efficiently means getting them to the right people without manual sorting. If your team handles requests from different customer types (VIP accounts, partners, enterprise clients), you need a way to automatically categorize and route those tickets.
The Zendesk organization domain auto assign feature solves this. It lets you create triggers that automatically handle tickets based on which organization the requester belongs to. Instead of manually sorting tickets or relying on agents to identify important customers, you can set up rules that do it instantly.
In this guide, I'll walk you through exactly how to set up organization-based auto assignment in Zendesk, from configuring email domain mapping to creating triggers that route tickets automatically. For teams outgrowing manual trigger setups, we offer an AI-powered alternative that learns from your historical data.
What you'll need to get started
Before you start setting up organization-based auto assignment, make sure you have:
- A Zendesk Support account on Team plan or higher (organization features aren't available on the Essential plan)
- Administrator access to create triggers and manage organizations
- A list of email domains you want to map to specific organizations
- A clear understanding of your support workflow (which tickets should go where)
If you're not sure about your plan level, check with your Zendesk admin. The organization and trigger features we use are available on Team, Professional, and Enterprise plans.
Understanding how organization domain auto assignment works
Let's break down how the pieces fit together.
The workflow explained
Domain mapping connects email domains to organizations. When you add companyabc.com to an organization, any user who emails from that domain gets automatically associated with that organization. This happens when a new user submits their first ticket or when an existing user emails from a mapped domain for the first time.
Organizations can have default groups assigned through group mapping. When you set a default group for an organization, all new tickets from users in that organization automatically route to that group.
Triggers use the Organization condition to route tickets. When a ticket comes in, Zendesk checks the requester's organization membership. If that organization matches your trigger condition, the trigger fires and performs whatever actions you've configured.
Here's the short version: Email domain → Organization → Trigger → Group/Assignee.
Key concepts
- Domain mapping: Connecting email domains (like @companyabc.com) to organizations so users from those domains are automatically added
- Group mapping: Setting a default group for an organization so tickets automatically route there
- Organization tags: Tags applied at the organization level that automatically appear on all tickets from users in that organization
Step 1: Set up organizations with email domain mapping
Before you can create triggers based on organizations, you need to set up those organizations and configure domain mapping.
Navigate to Organizations in Zendesk Support. In Zendesk Support, click the Organizations icon in the left sidebar. This opens your organizations list.
Create a new organization. Click Add organization. You'll see a form where you can enter:
- Name: Give your organization a clear name (like "VIP Customers" or "Partner - Acme Corp")
- Email domains: This is the key field for automation. Enter the domain(s) associated with this organization, separated by spaces. For example:
companyabc.com acme.com - Group: Optionally set a default group for tickets from this organization
- Tags: Add any tags you want automatically applied to tickets from this organization
Configure domain mapping settings. When you add an email domain to an organization, Zendesk automatically associates any user who emails from that domain with that organization. So if you add companyabc.com to your "VIP Customers" organization, anyone emailing from @companyabc.com gets added to that organization automatically.
A few things to keep in mind:
- You can add multiple domains to a single organization (space-separated)
- Each domain can only map to one organization (if you add the same domain to multiple orgs, Zendesk uses the first alphabetically)
- Domain mapping only affects new users or first-time submissions from existing users
Step 2: Configure group mapping for automatic routing
Now that your organizations are set up with domain mapping, you can configure group mapping for basic automatic routing.
Set default groups at the organization level. Open the organization you created and select a Group from the dropdown. All new tickets from this organization will now automatically route to this group.
How group mapping interacts with triggers:
- Group mapping sets the initial group when a ticket is created
- Triggers can override or supplement this default assignment
- Business rules and agents can still reassign tickets after the initial routing
Group mapping is the simplest form of organization-based routing. It works well if you just need tickets from certain companies to go to specific teams. For more complex routing (different priorities, tags, or assignees), you'll want to use triggers.
Step 3: Create triggers for advanced organization routing
For more sophisticated routing, you'll want to create triggers using the Organization condition.
Navigate to Triggers in Admin Center. Go to Admin Center > Objects and rules > Business rules > Triggers. This opens your triggers list.
Set up the trigger conditions. Click Add trigger and configure the conditions:
- Condition 1: Ticket > Is > Created (so the trigger fires on new tickets)
- Condition 2: Organization > Is > [Your Organization Name]
Select your target organization from the dropdown. If you have many organizations, start typing to filter the list.
Configure trigger actions. Under Actions, add what should happen when the conditions are met:
- Group: Assign the ticket to a specific support group
- Assignee: Assign to a specific agent (useful for account managers)
- Priority: Set ticket priority (great for VIP customers)
- Tags: Add tags for reporting or additional automation
- Type: Set ticket type (Question, Incident, Problem, Task)
For example, a VIP routing trigger might have these actions:
- Group: Premium Support Team
- Priority: High
- Tags: Add "vip_customer"
Test your trigger. Click Create to save your trigger, then test it by creating a test ticket from an email address in your mapped domain. Check that:
- The user gets added to the correct organization
- The trigger fires (check the ticket events)
- All actions execute correctly
Using organization tags for scalable automation
Organization tags add another layer of flexibility to your automation. Instead of creating separate triggers for each organization, you can tag organizations and create triggers that work across multiple organizations with the same tag.
Why use organization tags:
- One trigger handles multiple organizations
- More maintainable than organization-specific triggers
- Flexible categorization (vip, partner, enterprise, region)
Setting up tag-based routing:
- Add tags to organizations (e.g.,
vip,enterprise,partner) - Create a trigger with condition: Tags > Contains at least one of >
vip - Actions apply to all organizations with that tag
This approach scales better as you grow. Instead of creating a new trigger for every VIP customer, you just add the vip tag to their organization.
Troubleshooting common issues
Even with careful setup, organization triggers sometimes don't work as expected. Here's how to fix the most common problems.
Trigger not firing
If your trigger isn't firing, check these things in order:
- Is the user actually in the organization? Check the user's profile to confirm organization membership
- Is the organization condition correct? Verify you selected the right organization
- Is the trigger active? Make sure it isn't disabled
- Is the ticket new? If your condition is "Ticket > Is > Created," the trigger only fires on new tickets
- Is another trigger interfering? An earlier trigger might be changing conditions that prevent yours from firing
Domain mapping not working
If users aren't being automatically added to organizations:
- Check the domain format. Enter just the domain (
companyabc.com), not the full email or@symbol - Verify no conflicts. Make sure the domain isn't mapped to multiple organizations
- Check for existing users. Domain mapping only affects new users or first-time submissions from existing users
- Look at the email source. Some forwarding or email systems can mask the original domain
Users in multiple organizations
When a user is in multiple organizations, Zendesk uses their default organization for trigger evaluation. To check or change this:
- Open the user's profile
- Look at their organization list
- The default organization is marked with a star
- Click the star next to a different organization to change it
If you need triggers to work across all of a user's organizations (not just their default), use organization tags instead of the Organization condition.
Trigger conflicts
If two triggers seem to be fighting each other:
- Check trigger order. The trigger that runs first might be changing fields the second trigger depends on
- Look at actions. If two triggers set the same field (like Group), the second one wins
- Use specific conditions. Make your conditions more precise so triggers don't overlap unintentionally
When to move beyond Zendesk triggers
Organization-based triggers work well for straightforward routing rules, but they have limitations. They're essentially "if-then" statements: if the organization is X, then do Y. They can't understand context, learn from past decisions, or handle complex scenarios that aren't explicitly defined.
As your support operation grows, you end up with dozens or hundreds of triggers. Each one handles a specific case, but together they become difficult to maintain. You might find yourself creating triggers for edge cases that happen rarely, or struggling to prioritize when multiple triggers could apply.
This is where AI-powered automation becomes worth considering. Unlike rule-based triggers, an AI system can:
- Learn from your historical ticket data to understand patterns you haven't explicitly defined
- Handle nuanced situations that don't fit simple rules
- Improve over time as it sees more examples
- Reduce the maintenance burden of managing hundreds of trigger rules
At eesel AI, we approach this differently. Instead of building more complex rules, our AI agent learns how your team actually handles tickets. It looks at your past resolutions, understands your business context, and can make intelligent routing and response decisions without explicit programming.

The approach is progressive: you start with the AI drafting replies for your agents to review, so you can verify it understands your business. Once you're confident, you can let it handle routine tickets directly. This lets you level up from simple rule-based routing to truly intelligent AI customer service.
Start automating your support workflow with Zendesk organization domain auto assign
You now have everything you need to set up organization-based automation in Zendesk. Here's the quick recap:
- Set up your organizations with email domain mapping so users get automatically categorized
- Configure group mapping for basic automatic routing
- Create triggers using the Organization condition for advanced routing and prioritization
- Use organization tags for scalable automation across multiple organizations
- Troubleshoot issues using the common solutions we covered
Organization triggers ensure the right tickets get to the right people without manual sorting. Whether you're prioritizing VIPs, routing partners to specialized teams, or just organizing your workflow, these triggers can save your team significant time.
Start with one use case, test it thoroughly, then expand. And if you find yourself hitting the limits of what rules can do, eesel AI is available as a next step for more complex routing and response needs.