How to use Zendesk's 'message sent' messaging trigger: A complete guide
Stevia Putri
Last edited February 19, 2026
Have you ever wanted to automatically respond the moment a customer sends a message in your Zendesk chat widget? Maybe you want to acknowledge their message immediately, give them their queue position, or set expectations about response times. That's exactly what Zendesk's "When a message is sent" messaging trigger is designed for.
Messaging triggers in Zendesk are business rules that fire automatically when customers interact with your messaging channels. Unlike ticket triggers (which work after a ticket is created), messaging triggers operate on live conversations before they ever become tickets. This gives you a unique opportunity to shape the customer experience in real-time.
In this guide, we'll walk through exactly how to set up the "When a message is sent" trigger. You'll learn when it fires, what you can do with it, and where its limitations are. By the end, you'll know how to build automated responses that actually help your customers instead of just adding noise.

What you'll need
Before you start building messaging triggers, make sure you have the right setup:
- Zendesk Suite: Team, Growth, Professional, Enterprise, or Enterprise Plus plans all support messaging triggers
- Admin Center access: Only admins can create and manage messaging triggers (even agents with custom roles that include trigger management permissions cannot access messaging triggers)
- Live Chat and Messaging: You need at least the Team plan for Zendesk Support with Live Chat and Messaging enabled
- Understanding the distinction: It's important to know that messaging triggers are different from ticket triggers (we'll cover this next)
If you're missing any of these, you'll need to upgrade your plan or request admin access before proceeding.
Understanding messaging triggers vs ticket triggers
Here's where a lot of Zendesk admins get confused. Zendesk actually has two completely separate trigger systems, and they operate at different stages of the conversation.
Messaging triggers fire on conversations before they become tickets. Think of them as your first line of automation. They can see when a customer starts typing, when they send a message, or when a conversation enters the queue. But they work only on Zendesk's native messaging channels (Web Widget and Mobile SDKs).
Ticket triggers, on the other hand, work on tickets after they're created. These are the triggers you're probably more familiar with. They can update ticket fields, send email notifications, and perform all the standard automation you're used to. But they can't react to the live messaging conversation happening in real-time.
Why does this distinction matter for the "message sent" event? Because if you're trying to react immediately when a customer sends a message, you need a messaging trigger. By the time a ticket trigger fires, that moment has already passed. The conversation has already been created, assigned, and possibly even picked up by an agent.
This confusion shows up frequently in the Zendesk community. Users try to use "Ticket is Updated" triggers to catch incoming messages, only to discover those triggers don't fire until after a 10-minute idle period. That's because ticket triggers aren't designed for real-time messaging reactions. For that, you need the messaging trigger's "When a message is sent" firing event.
Step 1: Access the Messaging triggers page
Let's get into the interface. To create or manage messaging triggers, you need to navigate to the right section in Admin Center.
In the left sidebar, click the Objects and rules icon, then select Business rules > Messaging triggers.
You'll land on the Messaging triggers page. This is your control center for all messaging automation. From here, you can:
- Create new triggers
- View all active and inactive messaging triggers
- Search through your trigger list
- Sort triggers by status
- Edit, clone, activate, deactivate, or delete triggers using the options menu
The interface looks similar to the standard triggers page, but remember: these are entirely separate rules that only work on messaging conversations.
Step 2: Create a new messaging trigger
Click the Create trigger button to start building your automation. You'll need to fill in some basic information before configuring the logic.
Name: Use a clear, consistent naming convention. Something like "Auto-response: Customer message sent" works well. You'll thank yourself later when you have dozens of triggers and need to find this one quickly.
Description (optional but recommended): Add details about what this trigger does. Other admins (and future you) will appreciate the context. You can even search for triggers based on their descriptions.
Channels: Select which messaging channels this trigger applies to. "Web Widget & SDKs" is selected by default, which covers your Web Widget, iOS SDK, Android SDK, and Unity SDK. You can remove this or add social messaging channels if needed. Just remember: device metadata conditions won't work on social channels.
Activate this trigger: Check this if you want the trigger to go live immediately after creation. If you're still testing, leave it unchecked.
Run only once per ticket: Select this if you want the trigger to fire only the first time its conditions are met for each conversation. Useful for welcome messages or initial acknowledgments.

Step 3: Select the "When a message is sent" firing event
Now for the key setting. Under the Run trigger dropdown, you'll see four firing events:
- When a customer requests a conversation
- When a message is sent
- When a conversation is added to the queue
- When a conversation is assigned from a queue
Select "When a message is sent". This tells Zendesk to evaluate your trigger conditions every time a customer enters the conversation and sends a message in the messaging Web Widget or Mobile SDKs.
This is different from "When a customer requests a conversation," which fires when the conversation is handed off by an AI agent and a ticket is created, or when the end user re-engages after agent capacity is released. The "message sent" event is more granular. It fires on every message, not just conversation starts.
Important limitation: This firing event only works on Web Widget and Mobile SDKs. It does not work on social messaging channels like WhatsApp or Facebook Messenger. If you need to react to messages on those channels, you'll need a different approach.
Step 4: Configure trigger conditions
Conditions determine when your trigger actually fires. You need at least one condition, and you can choose whether all conditions must be met or any of them.
Messaging triggers have a specific set of conditions available. Here's what's at your disposal:
Customer information: Name, email, whether they've been triggered before, and how many previous conversations they've had (up to 32,000).
Customer device info: Browser, operating system, and platform. These only work on Web Widget and SDKs (not social channels).
Customer location: Country and IP address. Again, these don't work on social channels.
Online status: Your account status (Online, Away, Invisible) or specific group status. Useful for after-hours messaging.
Conversation details: Brand, whether the customer is in an active conversation, whether they're requesting a conversation, whether they're being served, group assignment, sender type, message content, initial routing status, and tags.
Queue information: Overall queue size for the account. Note that this is the account-wide queue, not department-specific.
Date and time: Hour of day (0-23, UTC) and day of week (0=Monday, 6=Sunday).
New: Messaging Session State: Recently added condition that lets you react to whether a conversation is Active, Inactive (after ~10 minutes of no activity), or Ended.
Be aware that messaging triggers have fewer conditions than ticket triggers. If you find yourself needing something that isn't available here, you might need to use a ticket trigger instead (though you'll lose the real-time aspect).

Step 5: Set up trigger actions
Once your conditions are met, what should happen? Here are your action options:
Send message to customer: This is the most common action. It sends a predefined message to the user. If you have an AI agent configured, its avatar appears with the message. Otherwise, your Web Widget logo shows up.
Wait: Introduces a delay before the next action fires. This is crucial because triggers run simultaneously. If you have multiple triggers that need to fire in sequence, add at least a one-second wait to each subsequent trigger.
Request email: Sends an automated message asking the customer for their email address. This facilitates continuous conversation re-engagement if they leave.
Set triggered: Applies a flag that you can use with the "Customer triggered" condition. Values are True or False. Useful for preventing duplicate messages.
Add tags / Remove tags: Modifies ticket tags. These tags carry over when the conversation becomes a ticket.
Suspend user: Prevents a user from using your messaging service. Use this as the final action in a trigger only.
When writing your automated messages, you can use placeholders to personalize the content. Available placeholders include @customer_name, @message, @queue_size, @wait_time_min, @wait_time_max, and many others. The @message placeholder contains the actual message the customer sent, which can be useful for echoing back or analyzing content.
Real-world use cases for "message sent" triggers
Let's look at some practical ways to use this trigger.
Auto-acknowledgment with queue position: When a customer sends a message, immediately respond with something like: "Thanks for your message, @customer_name! You're currently number @queue_size in the queue. Expected wait time: @wait_time_min-@wait_time_max minutes." This sets expectations immediately.
After-hours response: Use the "Hour of day" condition to detect when messages come in outside business hours. Send an automated response letting customers know when to expect a reply: "We received your message after hours. Our team will respond first thing tomorrow at 9 AM."
VIP customer fast-track: Combine the "When a message is sent" event with a tag condition. If the customer has a "VIP" tag, send them a priority acknowledgment and possibly route them to a dedicated queue.
Proactive agent typing indicator: While Zendesk doesn't have a native "agent is typing" indicator for messaging triggers, you can use the "Wait" action to delay your auto-response by 5-10 seconds. This creates a more natural feel and gives agents a chance to respond personally before the automation kicks in.
Language-specific auto-response: Use the customer location or browser language to send localized responses. While Zendesk's dynamic content feature works in messaging triggers, you can also use conditions to branch to different messages based on detected language.
Common pitfalls and limitations
Before you go live, be aware of these limitations:
Social channels aren't fully supported: The "When a message is sent" event only works on Web Widget and Mobile SDKs. WhatsApp, Facebook Messenger, and other social channels won't trigger it. This is a common source of confusion.
Slack Direct Messages don't work: As noted in the Zendesk community, messaging triggers currently don't work with Slack DM conversations. Zendesk has indicated they plan to extend support in the future.
Fewer conditions than ticket triggers: You might find yourself wanting a condition that doesn't exist in messaging triggers. The Zendesk community has expressed frustration about this limitation. As one user noted: "It's a bit frustrating that the options for conditions under messaging triggers are so limited."
Can't react to agent messages: This trigger only fires when customers send messages. You can't use it to automate responses to agent replies.
Multiple triggers fire simultaneously: If you have multiple triggers with the same firing event, they'll all fire at once unless you use "Wait" actions to sequence them.
The 10-minute webhook delay issue: If you're trying to use webhooks to react to messages in real-time, be aware that "Ticket is Updated" triggers for messaging have a 10-minute idle delay. This is why the messaging trigger's "When a message is sent" event exists, but it only works within Zendesk's messaging system, not for external webhooks.
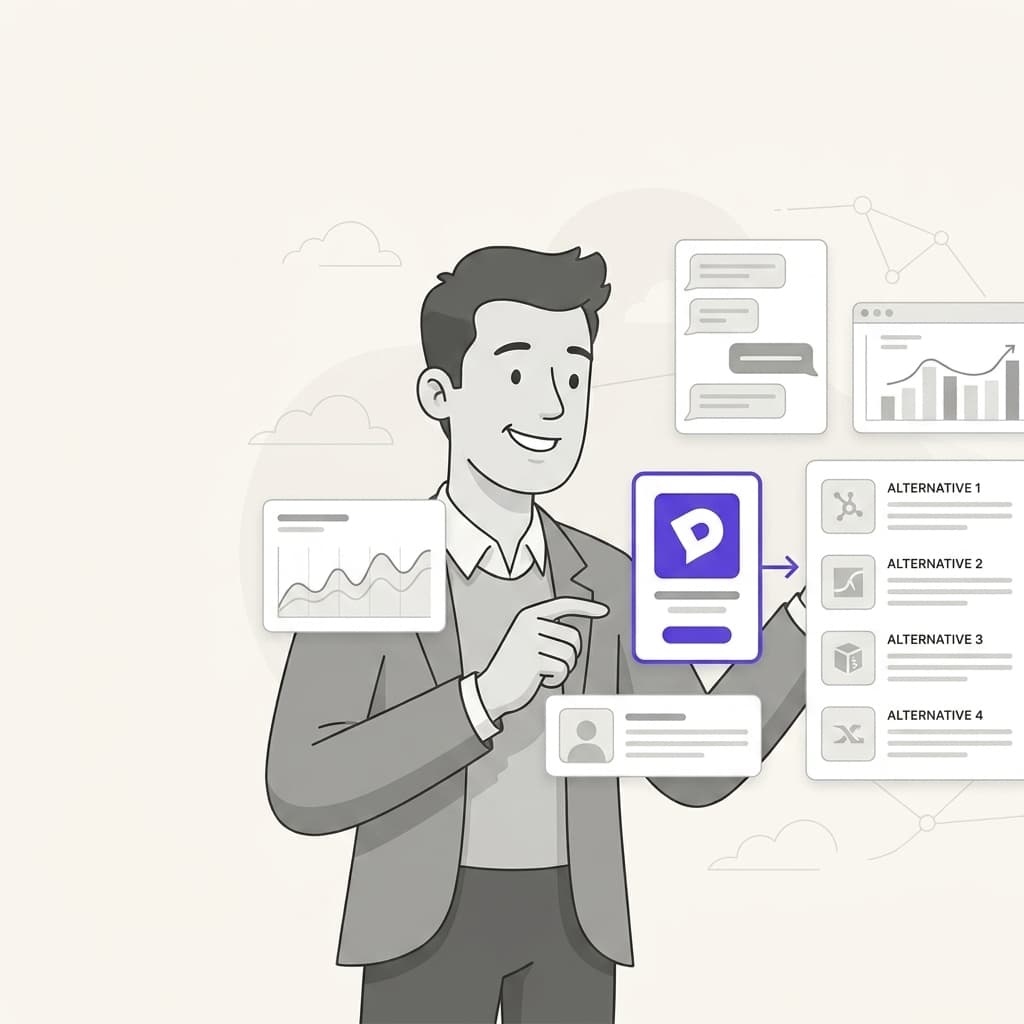
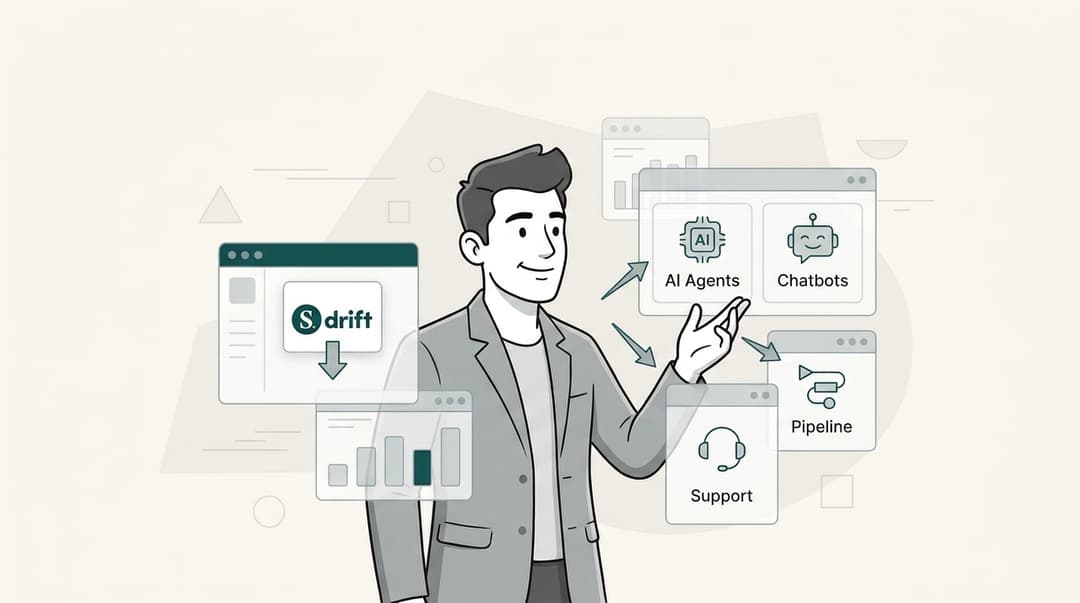
How eesel AI extends messaging automation
Zendesk's messaging triggers are great for simple, rule-based automation. But they're limited to static messages and basic conditions. That's where we come in.
eesel AI works alongside your Zendesk setup to add intelligent automation that goes beyond what triggers can do. While triggers send the same message every time, our AI Agent generates contextual responses based on your knowledge base, past tickets, and connected documentation.
Here's the difference: A trigger might send "We'll get back to you soon." Our AI can look up the customer's order in Shopify, check shipping status, and respond with "Hi Sarah, I see your order #12345 is out for delivery and should arrive tomorrow. Here's your tracking link."
We connect to all your existing tools (Zendesk, Shopify, Confluence, Google Docs, and 100+ others) so when a trigger fires, the AI can actually take action, not just send text. Process refunds, create Jira tickets, look up account information. Real work, not just words.
Our simulation mode lets you test the AI on thousands of your past Zendesk tickets before going live. You'll see exactly how it would have responded and what information it used. No surprises when real customers start interacting with it.
And unlike triggers that require complex JSON or rigid condition trees, you control our AI with plain English. "If the refund request is over 30 days, politely decline and offer store credit." No coding required.

If you're hitting the limits of what Zendesk's native triggers can do, book a demo or start a free trial to see how intelligent automation can transform your messaging experience.
Tips for effective messaging triggers
To wrap up, here are some best practices for getting the most out of your "When a message is sent" triggers:
-
Keep messages concise: Your customers are already waiting. Don't make them read a novel. Get to the point in one or two sentences.
-
Use placeholders wisely: Personalization helps, but don't overdo it.
@customer_nameis great.@customer_ipis probably not relevant for customer-facing messages. -
Test before activating: Create your trigger in an inactive state first. Test it thoroughly with different conditions to make sure it fires when you expect and doesn't fire when you don't.
-
Monitor and adjust: Check your trigger performance regularly. Are customers getting duplicate messages? Is the timing right? Adjust as needed.
-
Combine with other firing events: The "When a message is sent" event works well in combination with "When a customer requests a conversation" for comprehensive coverage.
-
Document your logic: Add clear descriptions to your triggers. When you have 20+ triggers running, you'll need a map to understand what's happening.
Getting started with intelligent messaging automation
The "When a message is sent" firing event gives you a powerful way to react to customer messages in real-time. It's perfect for acknowledgments, queue updates, and setting expectations. But remember its limitations: it only works on Web Widget and SDKs, has fewer conditions than ticket triggers, and can only send static messages.
If you need more sophisticated automation, consider layering in AI-powered responses that can access your knowledge base, integrate with your business tools, and actually solve problems rather than just acknowledging them.
Whether you stick with Zendesk's native triggers or upgrade to AI-powered automation, the key is testing thoroughly before going live. Your customers will thank you for smooth, helpful automation that actually makes their experience better.
Ready to take your messaging automation beyond static triggers? Book a demo to see how eesel AI works with your existing Zendesk setup, or start your free trial today.
Frequently Asked Questions
Share this article

Article by
Stevia Putri
Stevia Putri is a marketing generalist at eesel AI, where she helps turn powerful AI tools into stories that resonate. She’s driven by curiosity, clarity, and the human side of technology.