How to set up Zendesk messaging queue priority
Stevia Putri
Last edited February 20, 2026
When a customer sends a message through your website widget, how quickly they get help depends on one thing: your queue priority settings. Get it right, and urgent issues jump to the front of the line. Get it wrong, and VIP customers wait while low-priority tickets clog the system.
Configuring Zendesk messaging queue priority is not just about flipping a switch. You need to understand how omnichannel routing works, when to use priority-based sorting versus SLA-based sorting, and how to set up custom queues for different customer segments. This guide walks you through the entire process.
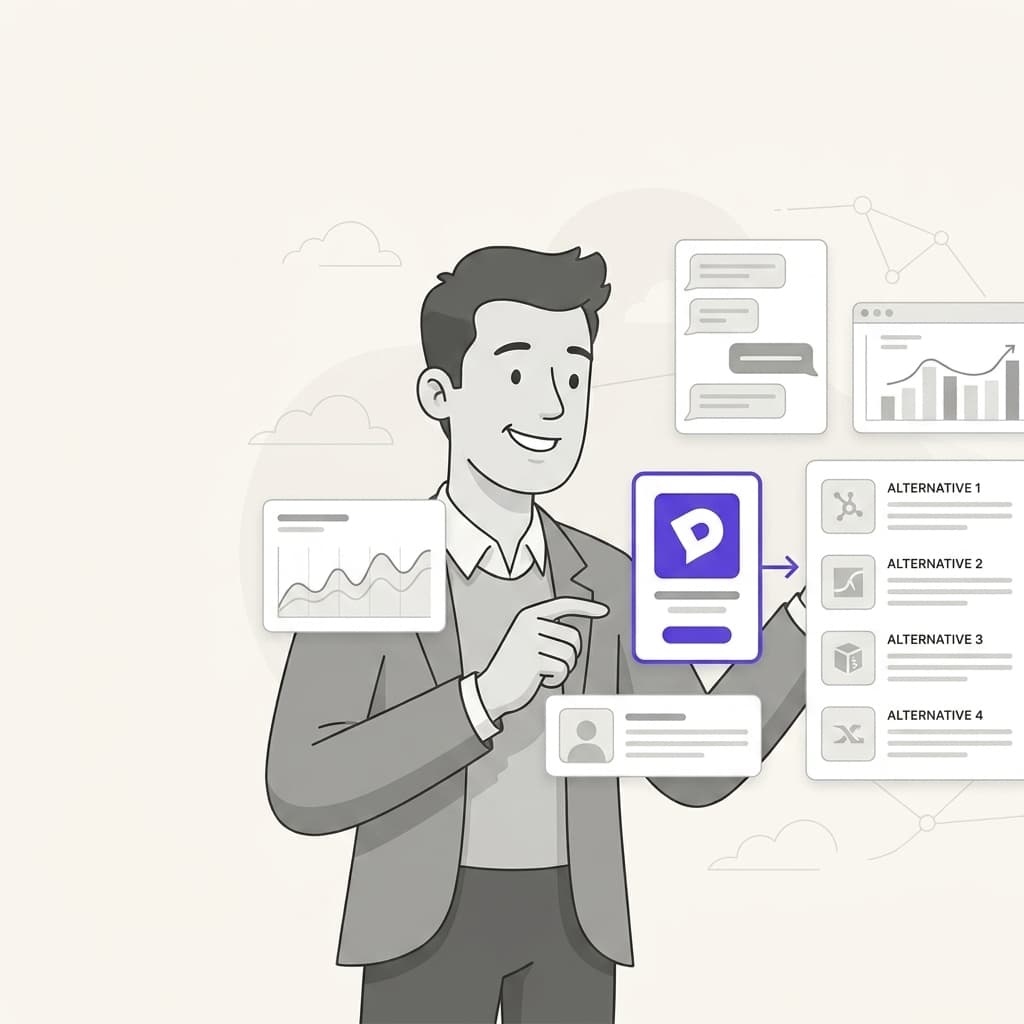
For teams already struggling with queue volume, there is another approach. Our AI Agent can resolve common tickets before they ever reach the queue, reducing the load on your routing system entirely. But first, let's make sure your Zendesk routing is optimized.
Understanding Zendesk messaging queue priority
Queue priority determines which conversations get assigned to agents first. In Zendesk, this works differently depending on which routing system you are using.
Zendesk actually has two routing systems:
- Chat routing (legacy): Configured in the Chat Dashboard with simple Broadcast or Assigned modes
- Omnichannel routing (modern): Configured in Admin Center with priority-based sorting, capacity rules, and skills-based assignment

Here is the critical point: if you enable omnichannel routing, it completely overrides your Chat routing settings. Many teams discover this the hard way when they turn on omnichannel and their carefully configured Chat settings suddenly stop working.
For messaging queue priority, omnichannel routing is what you want. It gives you fine-grained control over how conversations are ordered and assigned. You can route based on ticket priority (Low, Normal, High, Urgent), time to SLA breach, or a combination of factors.
Why does this matter? Without proper queue priority, you risk:
- VIP customers waiting behind routine inquiries
- Urgent issues getting buried in the backlog
- Low-priority tickets never getting touched because new high-priority tickets keep pushing them down
- Agent overload when work is not distributed fairly
We covered the basics of Zendesk notification routing in our guide to Zendesk notification routing for messaging. In this article, we are going deeper on priority configuration specifically.
How priority works in Zendesk omnichannel routing
Zendesk uses priority levels combined with timestamps to determine queue order. Here is how it breaks down.
Priority levels
Zendesk offers four standard priority levels:
| Priority | Typical use case |
|---|---|
| Low | General inquiries, non-urgent requests |
| Normal | Standard support tickets |
| High | Important customers or time-sensitive issues |
| Urgent | System outages, critical business impacts |
You set priority using ticket triggers. For example, you might create a trigger that sets priority to High for tickets from VIP organizations, or Urgent for emails containing keywords like "outage" or "down."
How tickets are ordered
By default, omnichannel routing orders tickets by priority first, then by routing eligibility timestamp. This means:
- All Urgent tickets are at the front, ordered by when they entered the queue
- Then all High priority tickets, ordered by timestamp
- Then Normal, then Low
The problem? Low priority tickets can get stuck indefinitely. Imagine a low priority ticket reaches the top of the queue. Just as an agent becomes available, a new high priority ticket arrives. The high priority ticket jumps ahead. This can repeat endlessly, leaving your low priority tickets untouched.
SLA-based sorting as an alternative
Here is where it gets interesting. You can configure omnichannel routing to sort by time to SLA breach instead of priority and timestamp. This means the ticket closest to breaching its SLA gets assigned first, regardless of its priority level.
Why is this often better? It combines urgency and time sensitivity. A low priority ticket that is about to breach its 4-hour SLA might get handled before a high priority ticket that still has 2 hours left.
This approach prevents ticket starvation. Every ticket gets attention based on your actual service commitments, not just its priority label.
You can learn more about omnichannel capabilities in our Zendesk omnichannel guide.
Setting up basic messaging queue priority
Let us walk through the configuration step by step.
Step 1: Enable omnichannel routing
First, navigate to Admin Center, then Objects and rules > Omnichannel routing > Routing configuration.
Click "Turn on omnichannel routing." Remember: this will override any Chat routing settings you have configured. If you are currently using Chat routing, plan a transition period to reconfigure your rules in the Admin Center.
Before you enable it, verify that:
- Agent Workspace is enabled in your Zendesk instance
- Your agents are trained on the new routing behavior
- You have triggers ready to assign groups and priorities
Step 2: Configure ticket priority settings
Next, set up triggers to automatically assign priority based on customer attributes. Here are common approaches:
Organization-based priority: Create a custom organization field called "Customer Tier" with values like "Enterprise," "Standard," and "Basic." Then create triggers:
- If Customer Tier = Enterprise, set Priority = High
- If Customer Tier = Standard, set Priority = Normal
Keyword-based priority: Create triggers that scan ticket subject or description:
- If subject contains "urgent" or "outage," set Priority = Urgent
- If description contains "billing dispute," set Priority = High
Requester-based priority: Use user fields to mark VIP customers and automatically set their tickets to High priority.
Step 3: Choose your sorting method
In your routing configuration, you will find the "Ticket sorting" option. You have two choices:
| Sorting method | How it works | Best for |
|---|---|---|
| Priority and timestamp | Orders by priority first, then by when ticket entered queue | Teams with clear priority tiers and few low-priority tickets |
| Time to SLA breach | Orders by which ticket will breach SLA first | Teams with SLA commitments and mixed priority volumes |
If you choose SLA-based sorting, make sure you have SLA policies configured. Without SLAs, this sorting method falls back to priority and timestamp.

For teams looking to automate priority assignment, our AI-powered ticket classification can analyze ticket content and automatically set priority based on intent, sentiment, and customer history.
Using custom queues for advanced Zendesk messaging queue priority
Basic priority settings work for simple setups. But if you have specialized teams or complex routing needs, you need custom queues.
Creating custom omnichannel routing queues
Custom queues let you route specific ticket types to specific groups of agents. You can also give custom queues higher priority than the standard queue.
Here is how to create one:
- Go to Admin Center > Objects and rules > Omnichannel routing > Queues
- Click "Add queue"
- Define conditions that match the tickets you want in this queue (for example, tickets from a specific organization or with a specific tag)
- Set primary and secondary (fallback) groups
- Set the queue priority relative to other queues
The key advantage: tickets in custom queues are prioritized over tickets in the standard queue, regardless of the individual ticket priority. So you might create a "VIP Queue" with priority 1 that handles all enterprise customers, while your standard queue has priority 2 for everyone else.
Subqueues for percentage-based distribution (Enterprise)
On Enterprise plans, you can split custom queues into up to five subqueues. This lets you distribute tickets by percentage. For example:
- Subqueue 1: 70% to your primary support group
- Subqueue 2: 30% to your overflow group
This is useful for load balancing across multiple teams or testing new workflows with a subset of tickets.
Skills-based routing integration
Available on Professional and Enterprise plans, skills-based routing adds another layer. You can require that tickets with certain tags or fields only route to agents with matching skills.
For example:
- Tag tickets in Spanish with "Language: Spanish" skill
- Tag technical issues with "Skill: Technical"
- Only agents with both skills receive those tickets
The critical configuration: set a skills timeout. If no agent with the required skills is available after, say, 10 minutes, the ticket should route to any available agent. Without this timeout, specialized tickets can wait indefinitely.
Our AI Triage can automatically detect skills needed from ticket content and apply the right tags for routing, saving your team from manual classification.
Capacity rules and agent workload management
Priority determines queue order. Capacity rules determine which agent gets the ticket.
Setting capacity limits
Capacity rules control how many concurrent conversations each agent can handle. Navigate to Admin Center > Objects and rules > Omnichannel routing > Capacity rules.
When creating a capacity rule, you set maximums per channel:
| Channel | Maximum | Notes |
|---|---|---|
| Up to 500 | Open email tickets assigned at one time | |
| Messaging | Up to 500 | Separate limits for messaging and live chat |
| Talk | 0 or 1 | 0 means agent cannot receive calls |
Most teams start with 3 to 5 concurrent messaging conversations per agent. This provides enough work to keep agents productive without overwhelming them.

Inactive conversations and capacity
By default, inactive conversations (no customer response in 10 minutes) do not count toward capacity. This means agents can have any number of inactive conversations in addition to their active capacity.
You can change this in your routing configuration by enabling "Count inactive conversations towards an agent's capacity." This makes sense if:
- Agents need to follow up on inactive conversations
- You want to limit total conversation load per agent regardless of activity
Focus mode for real-time channels
Focus mode prevents agents from receiving work from multiple real-time channels simultaneously. When enabled:
- If an agent is on a call, they will not receive chat or messaging assignments
- Email can still be assigned concurrently (it is less time-sensitive)
- Prevents agents from juggling a phone call and a live chat simultaneously
This is essential for teams handling both messaging and voice calls.
Assignment methods
You can choose how tickets are assigned to available agents:
| Method | How it works | Best for |
|---|---|---|
| Highest spare capacity | Assigns to agent with most available capacity | Balancing workload unevenly (some agents handle complex tickets that take longer) |
| Round robin | Assigns to agent who went longest without assignment | Fair distribution (everyone gets equal assignments over time) |
Round robin feels fairer to agents. Highest spare capacity optimizes for ticket throughput.
To support agents handling complex tickets, our AI Copilot drafts responses and suggests next actions, helping agents work through tickets faster without sacrificing quality.
Best practices for Zendesk messaging queue priority
Here is what we have learned from setting up routing for hundreds of teams.
Start with SLA-based sorting
Unless you have a specific reason not to, use SLA-based sorting. It prevents the ticket starvation problem that happens with priority-only sorting. Your customers get responses based on your actual service commitments.
Use custom queues for VIP customers
Do not rely on priority alone for VIP routing. Create a dedicated custom queue for enterprise or high-value customers with:
- Higher queue priority than your standard queue
- Dedicated primary group with your best agents
- Overflow to standard group if VIP agents are at capacity
Set conservative capacity limits initially
Start with 3 to 5 concurrent messaging conversations per agent. Watch your metrics for a week. If queue times are too long and agents are not overwhelmed, increase gradually. It is easier to increase limits than to deal with burned-out agents.
Enable reassignment timeouts
Set reassignment to 30 to 60 seconds. This is enough time for an agent to acknowledge a conversation but not so long that customers wait unnecessarily when an agent steps away.
Configure skills timeouts
If using skills-based routing, always set a timeout. Otherwise, specialized tickets wait indefinitely when skilled agents are offline. A 10 to 15 minute timeout is reasonable for most teams.
Common pitfalls to avoid
Pitfall 1: Enabling omnichannel without reconfiguring triggers Your Chat routing triggers will stop working. You need to recreate your routing logic in Admin Center using omnichannel routing settings.
Pitfall 2: Forgetting the auto-routing tag (email) Email tickets need the "auto-routing" tag to enter the standard omnichannel queue. Configure a trigger to add this tag to all incoming email tickets.
Pitfall 3: Not setting agent statuses Agents must be "Online" to receive messaging and calls. If agents forget to set their status, they will not get assigned tickets even if they are available.
You can learn more about automated workflow best practices in our auto-reply rule guide.
Reducing queue volume with AI-powered resolution
Queue priority only matters if tickets actually need to reach an agent. What if common questions never entered the queue at all?
AI offers another approach. Instead of just optimizing how tickets flow through your queue, you can reduce the volume hitting the queue in the first place.

How AI changes the equation
With an AI Agent handling frontline support:
- Common questions get resolved instantly, 24/7
- Tickets that do reach agents are the complex ones that truly need human expertise
- Your queue priority settings handle a smaller, more manageable volume
- First response times drop because there are fewer tickets waiting
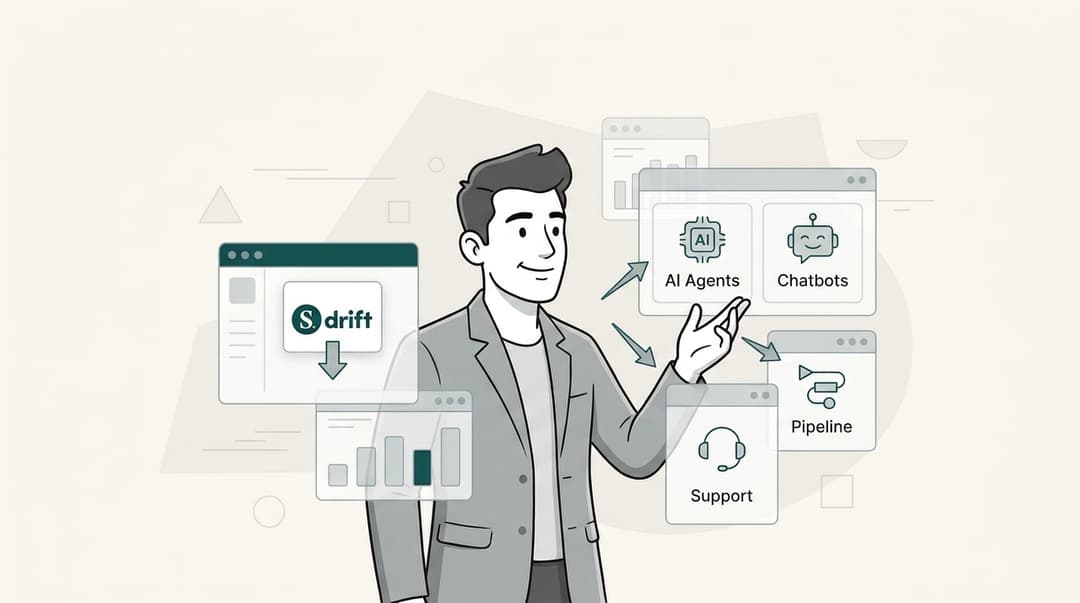
Our AI Agent integrates directly with Zendesk, learning from your existing tickets, help center, and macros in minutes. You can start with AI Copilot (drafting responses for agents to review) and progress to autonomous resolution as confidence builds.
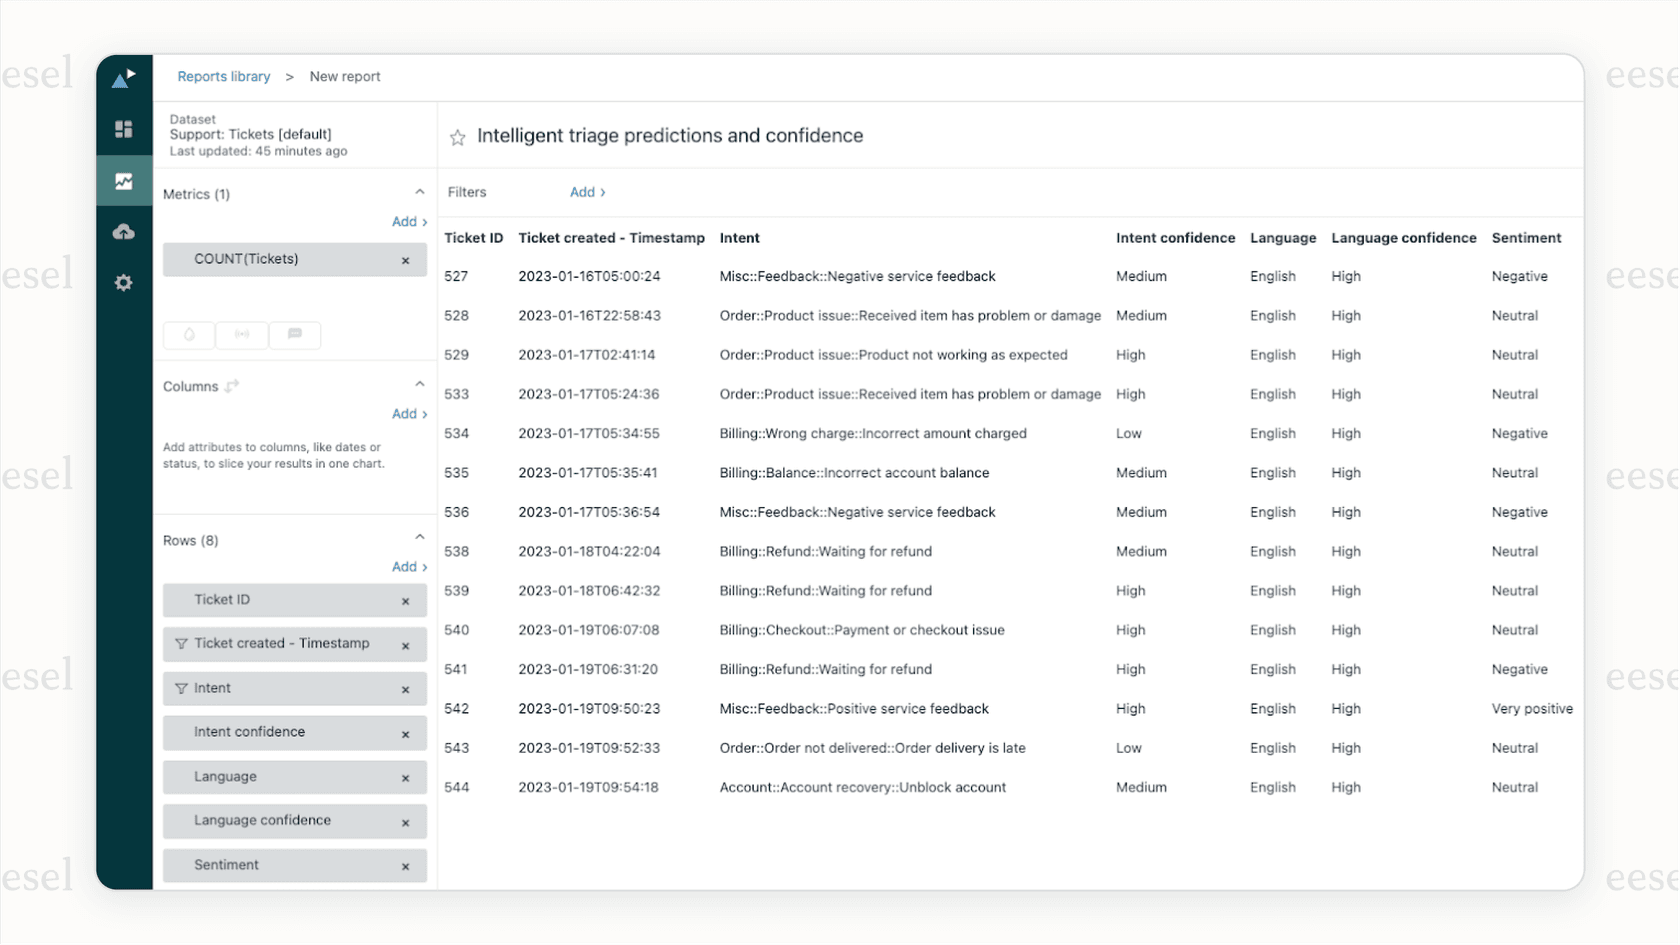
AI Triage for intelligent routing
Even for tickets that need human attention, AI can help with routing. Our AI Triage product:
- Automatically tags tickets by topic, sentiment, and urgency
- Routes to the right team immediately based on content
- Prioritizes based on detected intent (not just priority fields)
- Merges duplicate tickets before they clog your queue
This means your Zendesk routing rules work with better data. Instead of relying solely on triggers and priority fields, your routing can use AI-detected intent and sentiment.
Mature deployments using our AI Agent achieve up to 81% autonomous resolution, with a typical payback period under 2 months. The reduced queue volume means your messaging queue priority settings are handling the tickets that actually matter.
Ready to see how AI can work alongside your Zendesk setup? Try eesel AI free and see how it fits with your existing routing configuration.
Start optimizing your Zendesk messaging queue priority today
You now have a complete roadmap for configuring messaging queue priority in Zendesk:
- Enable omnichannel routing in Admin Center
- Set up triggers to assign priority based on customer attributes
- Choose SLA-based sorting to prevent ticket starvation
- Create custom queues for VIP or specialized routing
- Configure capacity rules to prevent agent overload
- Enable focus mode if handling multiple real-time channels
Remember that routing is not a set-and-forget configuration. Monitor your queue times, agent utilization, and customer satisfaction. Adjust capacity limits, queue priorities, and sorting methods based on what you learn.
And consider whether every ticket in your queue actually needs to be there. AI-powered resolution can handle the routine questions, letting your routing system focus on the conversations that truly need human attention.
Want to reduce your queue volume while improving response times? Get started with eesel AI and see how our AI Agent works alongside your Zendesk routing setup.
Frequently Asked Questions
Share this article

Article by
Stevia Putri
Stevia Putri is a marketing generalist at eesel AI, where she helps turn powerful AI tools into stories that resonate. She’s driven by curiosity, clarity, and the human side of technology.