Zendesk messaging proactive message templates: a complete guide for 2026
Stevia Putri
Last edited February 20, 2026
Reaching out to customers before they contact you can transform your support experience. Proactive messaging lets you start conversations based on customer behavior, whether that's offering help to a stuck visitor or recovering an abandoned cart. For teams using Zendesk, the proactive messaging feature built into Zendesk Messaging makes this possible without complex integrations or third-party tools.
The impact can be significant. According to Forrester Research, proactive communication can reduce future contact volume by up to 25% while increasing customer satisfaction rates by 20%. These aren't just vanity metrics. They translate directly into reduced support costs and happier customers who feel looked after.
This guide walks you through everything you need to know about Zendesk messaging proactive message templates. You'll learn how the feature works, how to set it up step by step, and get ready-to-use templates for common scenarios like onboarding, sales, support, and retention.

What are proactive messages in Zendesk?
Proactive messages in Zendesk let you automatically initiate conversations with customers based on conditions you define. Instead of waiting for visitors to click your chat widget, you reach out to them first through the Web Widget or mobile SDK.
The system works by monitoring visitor behavior and device attributes. When a customer meets your defined criteria, a message appears above the messaging launcher button on your website or as a local notification in your mobile app. The customer can choose to engage or dismiss it.
There are two ways proactive messages can handle responses:
Agent response hands the conversation to a human agent after the initial message. This is the simpler option where you compose a short text message and optionally collect the customer's name and email before connecting them to your team.
AI agent response connects the customer to an automated conversation. After the initial proactive message appears, a connected AI agent manages the interaction, potentially resolving the issue without human involvement.
It's worth noting the key limitations before you get started. Proactive messages only work with the Web Widget and mobile SDK channels, not with social messaging or third-party bots. You can create up to 140 proactive messages per account, and messages aren't sent to customers who are already in active conversations.
Setting up your first proactive message
Getting started with proactive messages involves five main steps. Here is how to create your first campaign in Zendesk.
Step 1: Create the message framework
Navigate to Admin Center, then Channels, then Proactive messages. Click "Add proactive message" to begin. Give your message a clear, descriptive name that'll help you identify it in the list later. Something like "Homepage welcome - new visitors" works better than "Message 1." For detailed setup instructions, see the Zendesk proactive messaging documentation.
Select the brand and channel where you want this message to appear. Remember that each proactive message can only be assigned to one channel at a time, though a single channel can have multiple proactive messages running simultaneously.

Step 2: Compose your message
Now write the actual message your customers will see. You can use text, emojis, and personalization variables. Keep it concise and actionable. A message like "Need help finding the right plan?" works better than a lengthy paragraph about your support hours.
Choose your response type. If you select Agent, you'll write a simple text message and can optionally request the customer's name and email. If you select AI agent, you'll connect this message to an existing answer in your AI agent configuration, allowing for automated follow-up.
Step 3: Set trigger conditions
This is where you define who sees your message. Zendesk offers two categories of conditions:
Visitor-based rules include:
- Page URL (exact match or contains)
- Repeat visitor status
- UTM campaign parameters (via URL matching)
Device-based rules include:
- Device language
- Device type
For example, you might set a condition where "Visitor.Page URL contains at least one of /pricing" to target people looking at your pricing page. You can combine multiple conditions for more precise targeting.
Step 4: Configure timing and frequency
Decide when your message can be sent. You have three options:
- During business hours only
- Outside business hours only
- Any time of day
Then set the frequency. You can show the message:
- One time only per customer
- Once per customer visit
- Every time the customer meets the conditions
You can also add a delay if you don't want the message to appear immediately when conditions are met. A 30-second delay gives visitors time to look around before you reach out.
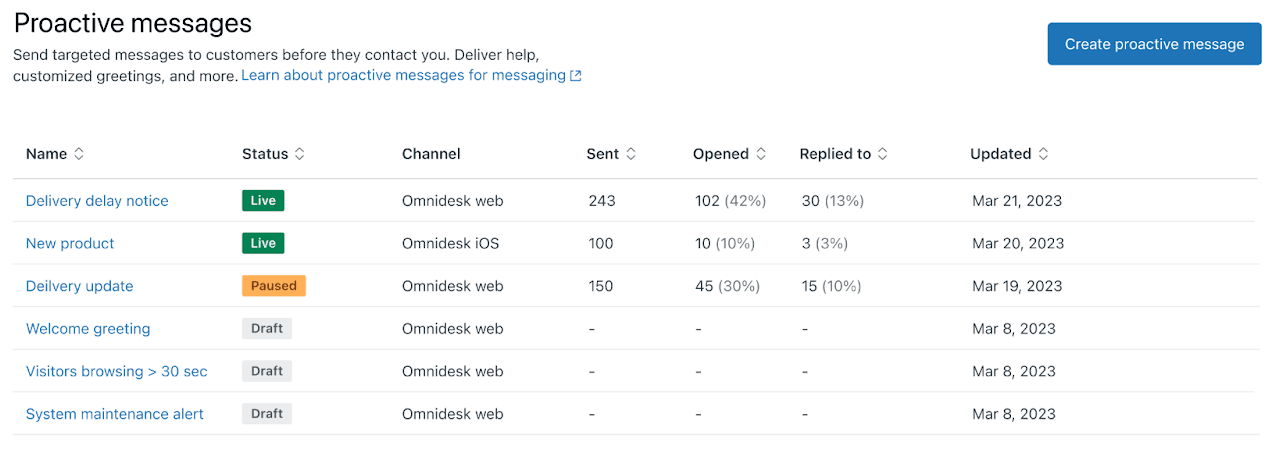
Step 5: Publish and monitor
Click Publish to make your message live. Once active, you can monitor performance from the Proactive messages admin page. The key metrics to watch are:
- Sent: Number of customers who received the message
- Opened: Number who viewed and clicked on the message
- Replied to: Number who engaged with the conversation
Statuses include Live, Draft, Paused, and Contains errors. You can clone successful messages to create variations without starting from scratch.
Ready-to-use proactive message templates
Here are templates you can copy and adapt for your own campaigns, organized by use case.
Welcome and onboarding templates
New visitor welcome:
Hi there! Welcome to [Company]. Looking for anything specific today?
First-time user onboarding offer:
New here? Get 20% off your first order with code WELCOME. Need help finding anything?
Account setup assistance:
Setting up your account? I can walk you through it in under 2 minutes.
Sales and conversion templates
Abandoned cart recovery:
Forgot something? Your cart is waiting. Complete your order in the next hour for free shipping.
Product recommendation:
Looking at [Product]? Customers who bought this also loved [Related Product].
Limited-time offer announcement:
Flash sale ends in 3 hours! Grab 30% off sitewide with code FLASH30.
Free trial upgrade prompt:
Enjoying your trial? Upgrade in the next 24 hours and get your first month half price.
Support and assistance templates
Stuck user help offer:
Need a hand? I'm here if you have questions about [Page Topic].
Known issue notification:
Heads up: We're aware of an issue with [Feature] and are fixing it now. ETA: 2 hours.
Order status update:
Checking on your order #[Number]? It's out for delivery and arriving today.
Return or exchange assistance:
Need to return something? I can help you start the process right here.
Retention and feedback templates
Cancellation save offer:
Sorry to see you go. Would a 3-month pause work better than canceling?
Win-back campaign:
We miss you! Come back with code RETURN20 for 20% off your next purchase.
Feedback request:
How was your experience today? Your feedback helps us improve.
Loyalty program invitation:
You're one purchase away from Gold status. Want to learn about the perks?
Industry-specific examples
E-commerce shipping delay notification:
Quick update on your order: There's a 1-day shipping delay due to weather. Here's a $5 credit for the inconvenience.
SaaS feature adoption nudge:
Notice you haven't tried [Feature] yet. Teams that use it save 5 hours a week. Want a quick demo?
B2B services contract renewal reminder:
Your contract expires in 30 days. Let's schedule 15 minutes to discuss your renewal options.
Healthcare appointment confirmation:
Reminder: You have an appointment on [Date] at [Time]. Reply CONFIRM to verify or RESCHEDULE to change.
Advanced targeting strategies
Once you have the basics working, you can get more sophisticated with your targeting.
UTM campaign parameter targeting
The Page URL condition can detect URL parameters, opening up campaign-specific messaging. For example, if visitors arrive from a specific ad campaign tagged with ?utm_campaign=holiday2026, you can create a proactive message that only shows to that audience with messaging tied to your campaign.
To set this up, use the condition "Visitor.Page URL contains at least one of utm_campaign=holiday2026". You can create multiple proactive messages for different campaigns, each with tailored messaging.
VIP user experiences
Combine URL hashes with authentication for premium experiences. For example, append #vip to your URLs for logged-in VIP customers and create a proactive message triggered by "Visitor.Page URL contains at least one of #vip".
Pair this with JWT authentication so VIP users are pre-identified, skipping the name and email collection step. You can also add tags like "VIP" to tickets created from these conversations for priority routing.
Locale-based messaging
Use the "Device.Language" condition to serve messages in the right language. For example, "Device.Language is fr" targets French-speaking visitors. Combine this with the JavaScript command zE('messenger:set', 'locale','fr') to ensure the widget matches your website's language setting.
Best practices for proactive messaging
Getting the message right matters as much as the setup. Here are proven practices to improve your results.
Timing guidelines
Don't show messages immediately. Give visitors 15-30 seconds to orient themselves first. Avoid showing proactive messages during checkout or on forms where you want focused attention. Consider business hours carefully. A message sent at 2 AM might not get a response until morning, making your brand look unresponsive.
Frequency management
Resist the urge to show messages on every page. Once per visit is usually enough. If a customer dismisses your message, honor that choice. Nothing frustrates visitors more than persistent popups they've already closed.
Tone and voice
Match your brand voice but keep it conversational. Proactive messages feel more personal than generic website copy. Use "you" and "your" to speak directly to the customer. Test different tones. A casual "Need a hand?" might outperform a formal "May we assist you?" depending on your audience.
Personalization techniques
Reference what you know about the visitor. Mentioning the page they're on ("Looking at our Enterprise plan?") feels more relevant than generic greetings. If you have customer data through authentication, use it sparingly. A message that says "Hi Sarah, need help with your account?" can feel either personal or creepy depending on context.
Compliance considerations
Ensure you have appropriate consent for proactive outreach, especially in regions with strict privacy laws like GDPR. Make it easy for customers to dismiss messages and respect those dismissals. Include your privacy policy link if you're collecting personal information.
Measuring success and optimizing
Your proactive messaging admin page shows basic metrics, but you can dig deeper for insights.
Key metrics to track
Focus on reply rates rather than just opens. A message that gets viewed but ignored is not working. Calculate the conversion rate from reply to resolution. If people respond but do not get what they need, your follow-up process needs work.
Monitor message fatigue. If your reply rates drop over time, you may be showing messages too frequently or to the wrong audience.
Using tags for campaign tracking
Add unique tags to tickets created from each proactive message. This lets you pull data into Zendesk Explore for deeper analysis. You can track which messages generate the most tickets, which have the highest CSAT scores, and which lead to resolutions versus escalations.
When to pause versus adjust
If a message has low open rates after 100 sends, your trigger conditions might be wrong or your timing might be off. If open rates are high but reply rates are low, your message copy needs work. If both are good but resolution rates are poor, your response handling needs attention.
Don't be afraid to pause underperforming messages and rethink your approach. Small tweaks to timing, copy, or targeting can dramatically improve results.
Taking proactive messaging further
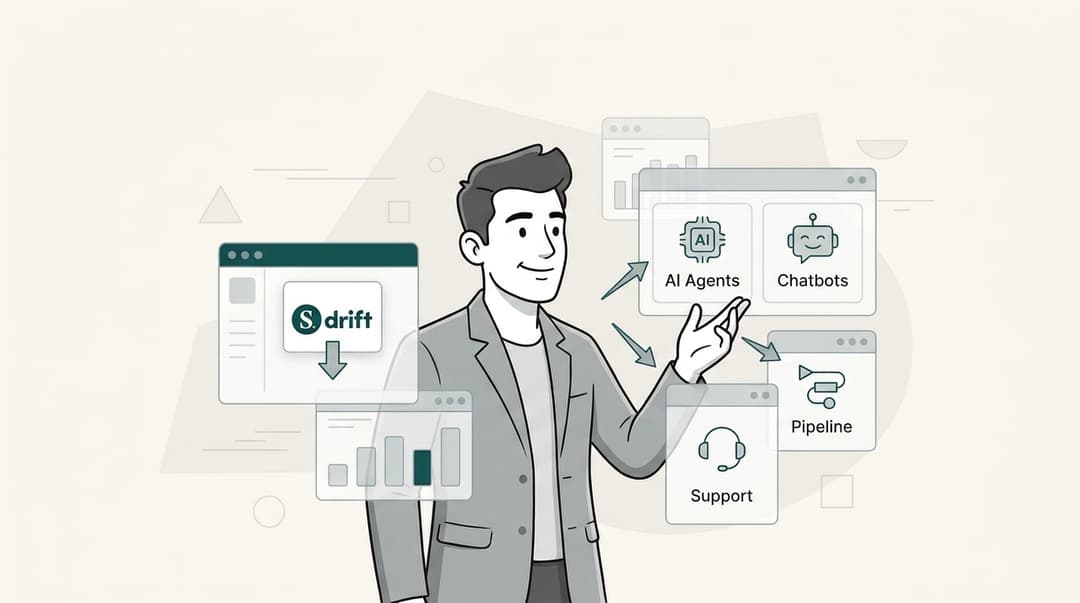
Zendesk's proactive messaging is a solid foundation, but teams often hit limitations as they scale. The 140-message limit, single-channel restriction, and basic condition logic can become constraints.
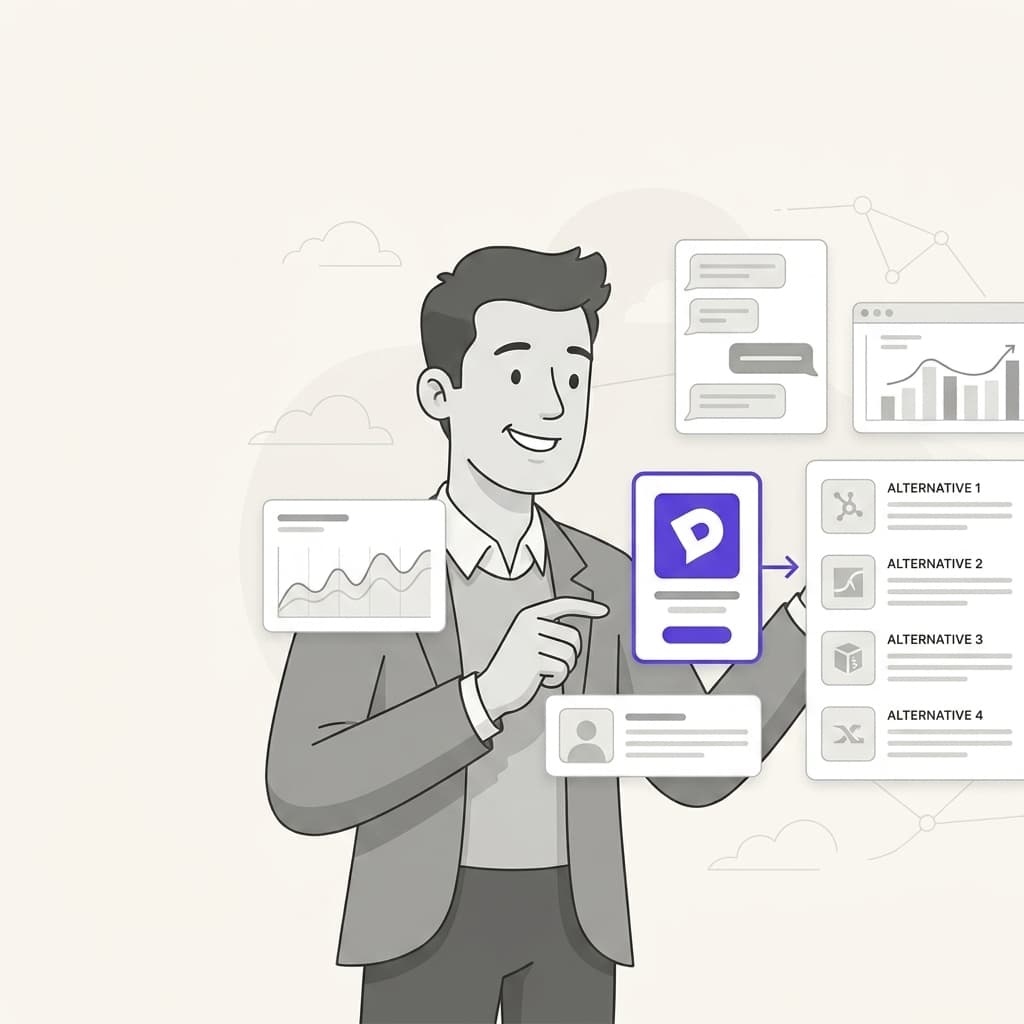
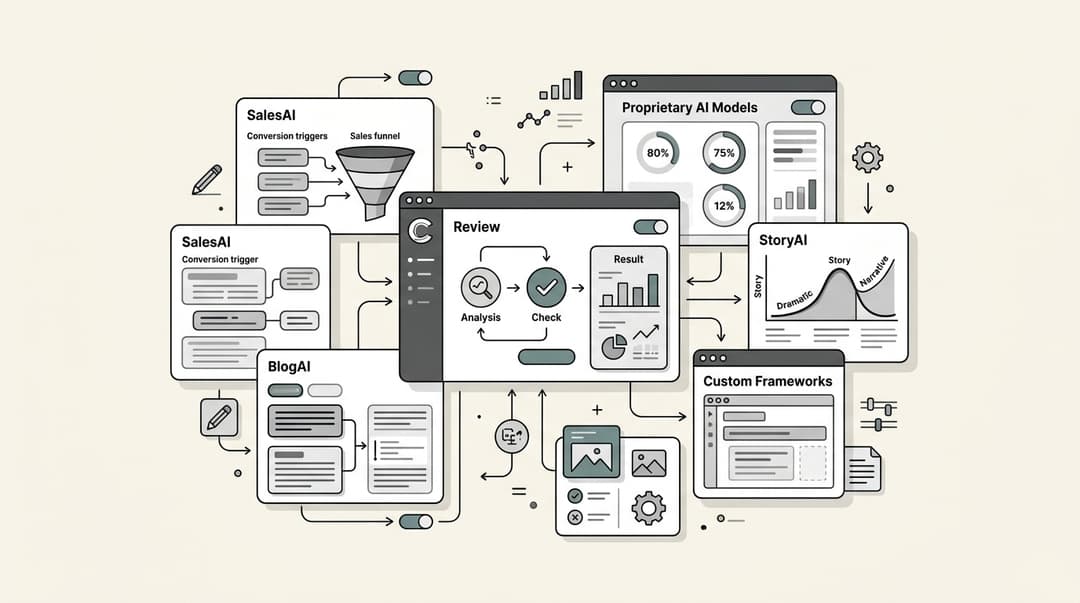
If you're looking for more advanced proactive capabilities, we built eesel AI to go beyond what traditional help desks offer. Our AI agents can handle entire conversations proactively, not just send the first message. We use natural language rules for targeting instead of rigid condition builders, so you can write instructions like "If the customer has visited the pricing page twice in the last week and hasn't signed up, offer them a demo" without complex configuration.
Our approach differs from Zendesk in a few key ways. We charge per interaction rather than per agent, which often works out more affordable for growing teams. We also train our AI on your past tickets and help center content so responses match your voice from day one, rather than using generic AI responses. Mature deployments achieve up to 81% autonomous resolution.
For teams already using Zendesk, eesel AI integrates directly. You can keep your existing Zendesk setup while adding AI-powered proactive capabilities. This lets you test advanced features without replacing systems your team already knows. Check out our guide on the best AI chatbots for Zendesk for more options.
Whether you stick with Zendesk's built-in tools or explore alternatives, the key is starting simple and iterating. Launch one or two proactive messages, measure the results, and expand what works. Proactive messaging is one of the highest-ROI support improvements you can make. The templates and setup steps in this guide give you everything you need to get started today.
Frequently Asked Questions
Share this article

Article by
Stevia Putri
Stevia Putri is a marketing generalist at eesel AI, where she helps turn powerful AI tools into stories that resonate. She’s driven by curiosity, clarity, and the human side of technology.