How to restrict Zendesk macros to specific groups
Stevia Putri
Last edited February 24, 2026
As your support team grows, keeping your macro library organized becomes essential. One of the most effective ways to maintain order is by restricting macros to specific groups. This ensures agents only see the responses relevant to their role, reducing confusion and speeding up ticket handling.
In this guide, we'll walk through exactly how to set up group restrictions for your Zendesk macros. We'll also cover the limitations you should know about and introduce a modern alternative for teams that have outgrown traditional macro-based workflows.
What you'll need to get started
Before diving in, make sure you have a few basics covered:
- Administrator access to your Zendesk account. Only admins can create and modify shared macros with group restrictions.
- A clear understanding of your group structure. You'll need to know which agents belong to which groups before restricting macros.
- Familiarity with macro basics. If you're new to macros, spend a few minutes understanding how they work before adding complexity.
- The right plan. Group restrictions require Suite Growth or higher, or Support Professional or higher. Team plans don't have this feature.
Understanding macro availability options in Zendesk
When you create a macro in Zendesk, you have three options for controlling who can use it. These settings appear in the "Available for" section of the macro creation form.
All agents makes the macro available to everyone in your organization. This works well for common responses like password resets or general acknowledgments that any agent might need.
Agents in group restricts the macro to specific groups only. This is the option we'll focus on in this guide. It's ideal when you have specialized teams (like Billing or Technical Support) that need responses other groups shouldn't see.
Me only creates a personal macro visible only to you. Agents often use these for responses they personally use frequently but that wouldn't benefit the broader team.
The key thing to remember is that group restrictions control visibility in the agent interface. An agent who doesn't belong to the specified group simply won't see the macro in their list. This keeps their workspace clean and prevents accidental use of responses meant for other teams.
How to restrict a macro to a specific group
Let's walk through the actual process of setting up group restrictions. These steps assume you're already logged in as a Zendesk administrator.
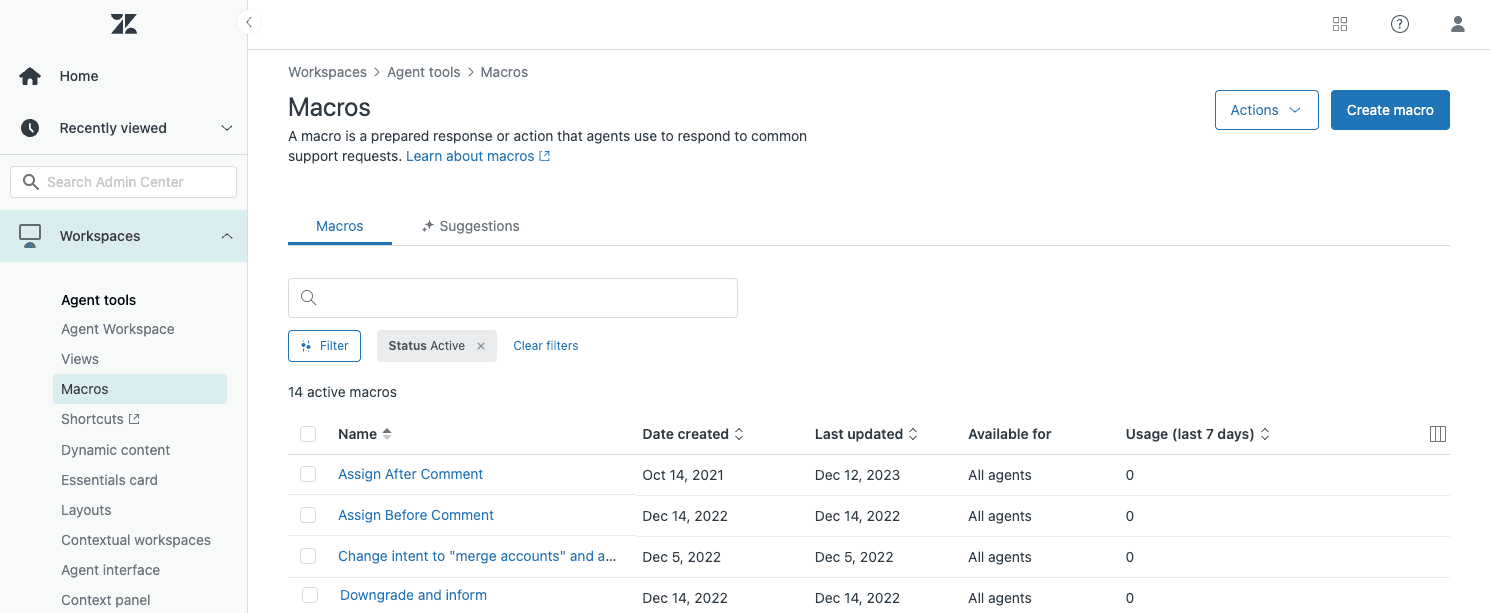
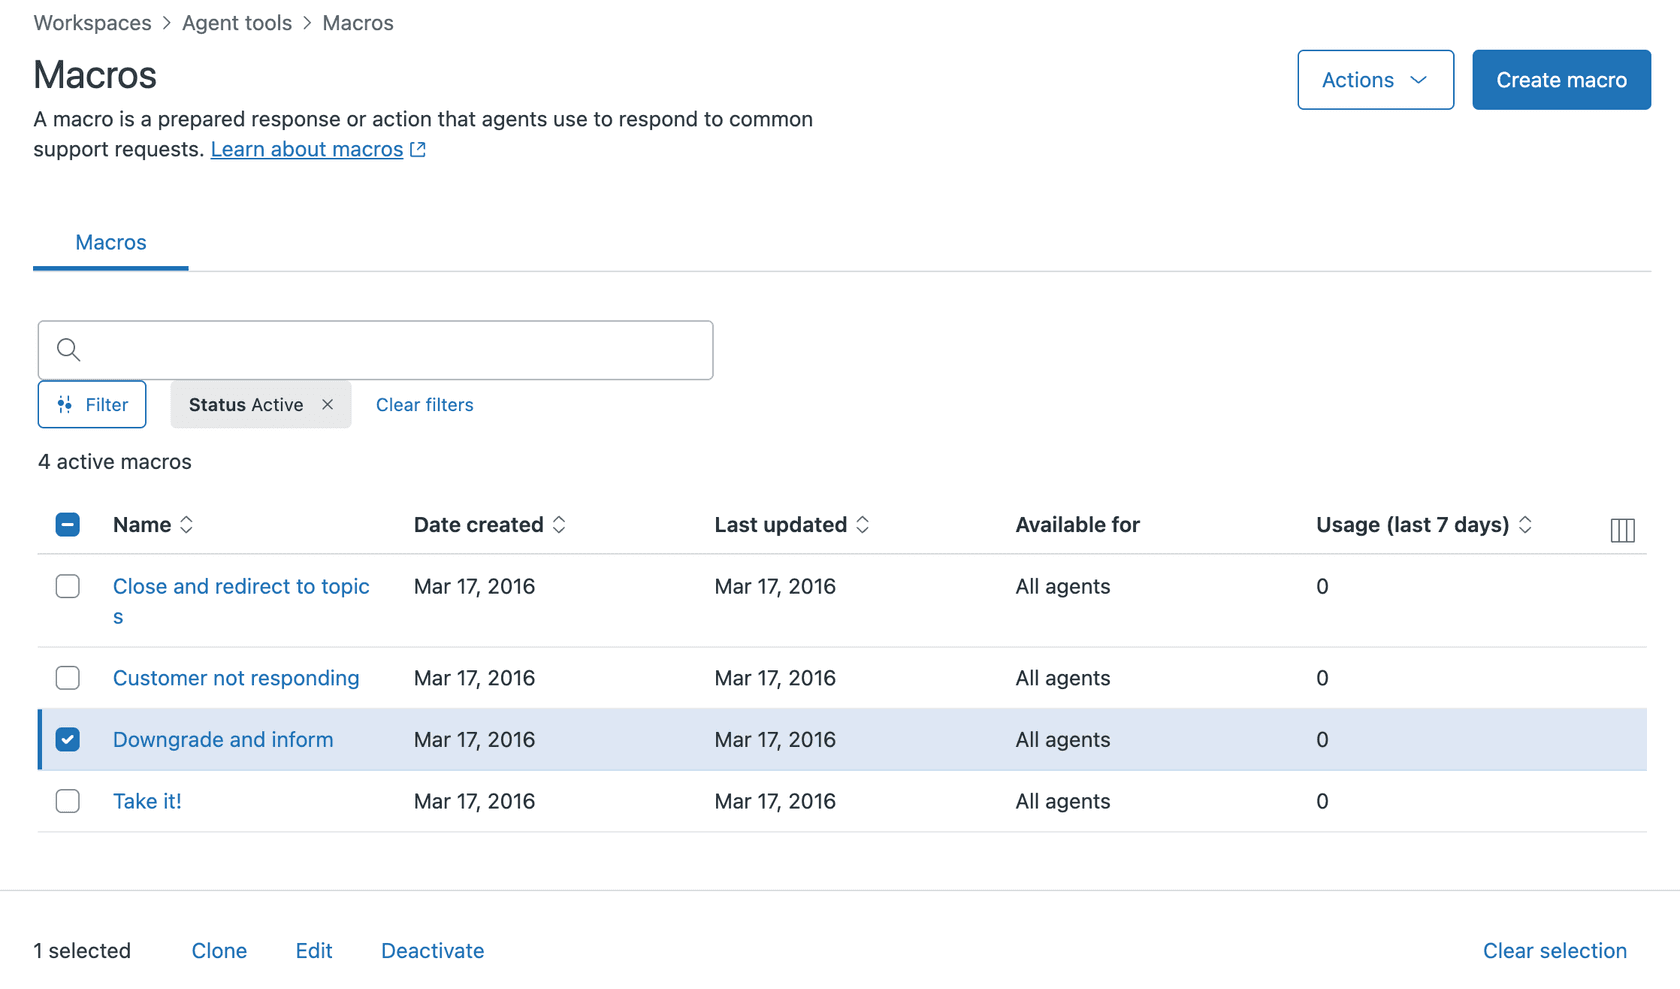
Step 1: Access the Macros page
Navigate to Admin Center, then click Workspaces in the sidebar. Select Agent tools, then Macros. This opens the macro management interface where you can view, edit, and create macros.
Step 2: Create or edit a macro
To create a new macro, click Add Macro. To modify an existing macro, find it in the list and select the checkbox next to its name, then click Edit.
When creating a new macro, you'll see a form with several sections: Title, Available for, Actions, and Description. The Title field is where you'll name your macro. Consider using the double-colon syntax (like "Billing::Refund Request") to keep things organized.
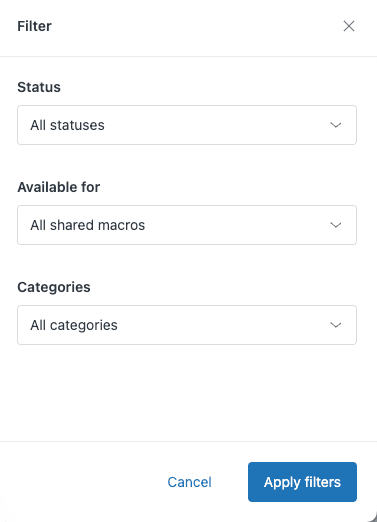
Step 3: Set the availability restriction
In the "Available for" section, click the dropdown and select Agents in group. A new field will appear allowing you to select which group or groups should have access.
You can select multiple groups if needed. For example, you might want a macro to be available to both your "Tier 2 Support" and "Escalations" groups. Agents who belong to any of the selected groups will see the macro.
Step 4: Save and verify
Click Create (for new macros) or Save (for existing macros). The restriction takes effect immediately.
To verify the restriction is working, ask an agent from the selected group to check if they can see the macro. Then confirm with an agent who is NOT in that group that they cannot see it. This quick sanity check prevents surprises later.
When Zendesk macro restrict to group works (and when it doesn't)
Group restrictions are powerful, but they have important limitations you should understand.
The feature works perfectly when agents belong to discrete groups that don't overlap. If your Billing team handles only billing tickets and your Technical team handles only technical tickets, group restrictions will keep their macro libraries clean and separate.
But what happens when agents belong to multiple groups? Here's where it gets complicated. An agent who belongs to both the Billing and Technical groups will see macros restricted to either group. Zendesk doesn't have a way to show macros only when an agent is working on tickets from a specific group.
This creates a significant challenge for multi-brand support operations. Consider a team with 40 hybrid agents cross-trained to support multiple brands. These agents need to belong to groups for each brand they support. When they handle Brand A tickets, they still see Brand B macros because they belong to both groups. There's no way to restrict macros by the brand of the ticket being worked.
The Zendesk community has been requesting brand-based macro restrictions for years. The current workarounds involve using custom fields combined with triggers, or simply training agents to be careful. Neither solution is ideal for high-volume environments where brand integrity is critical.
If you're facing this limitation, you have a few options:
- Use the double-colon naming convention to make brand ownership obvious (like "BrandA::Refund Policy")
- Implement custom ticket fields with triggers to handle brand-specific workflows
- Consider whether an AI-powered solution might better serve your needs
Best practices for organizing macros by group
Once you've set up group restrictions, keep your macro library manageable with these practices.
Use consistent naming conventions. The double-colon syntax creates automatic categories in the agent interface. A macro named "Returns::Standard Refund" appears under a "Returns" folder. This works alongside group restrictions to make macros easy to find.
Create group-specific patterns. Consider prefixing macro titles with group indicators when the same topic exists across multiple groups. For example, "Billing::Escalation" and "Technical::Escalation" make it clear which is which.
Filter regularly. The Macros page lets you filter by group to see exactly what each team has access to. Do this monthly to catch outdated or duplicate macros.
Document your structure. Create an internal guide explaining your naming conventions and group assignments. This helps new admins understand the system and maintains consistency as your team grows.
Review usage stats. If you're on a Professional plan or higher, you can see how often each macro gets used. Remove or update macros that haven't been used in months.
For a deeper dive into macro organization strategies, check out our practical guide to managing and organizing Zendesk macros by category.
Troubleshooting common issues
Even with proper setup, you might run into these common problems.
Macro not appearing for agents. First, verify the agent actually belongs to the group you restricted the macro to. Check Admin Center → People → [Agent Name] → Groups. Remember that group membership changes take effect immediately, but the agent may need to refresh their browser to see new macros.
Agents see macros that "don't work." This often happens with restricted agents who use macros that assign tickets to other groups. The macro appears to run, but the assignment doesn't stick because the agent lacks permission to assign outside their groups. Consider using the custom field plus trigger workaround described in Zendesk's documentation for restricted agent escalations.
Changes not taking effect. Macro availability updates immediately, but cached views in the agent interface might not refresh instantly. Ask agents to log out and back in if they don't see expected changes.
Managing macros when team structure changes. When you restructure groups, audit your macro restrictions before making changes. Create a spreadsheet mapping macros to groups, then update both the group structure and macro restrictions in a coordinated way.
Beyond macros: Modern alternatives for scaling teams
Macros work well for small to medium-sized support operations. But as ticket volume grows and responses become more complex, maintaining a macro library becomes a burden.
Here's the challenge: every new product, policy change, or brand update requires manually editing dozens of macros. Agents spend time searching through categories instead of helping customers. And macros can't adapt to the specific context of each ticket, they just insert the same text every time.
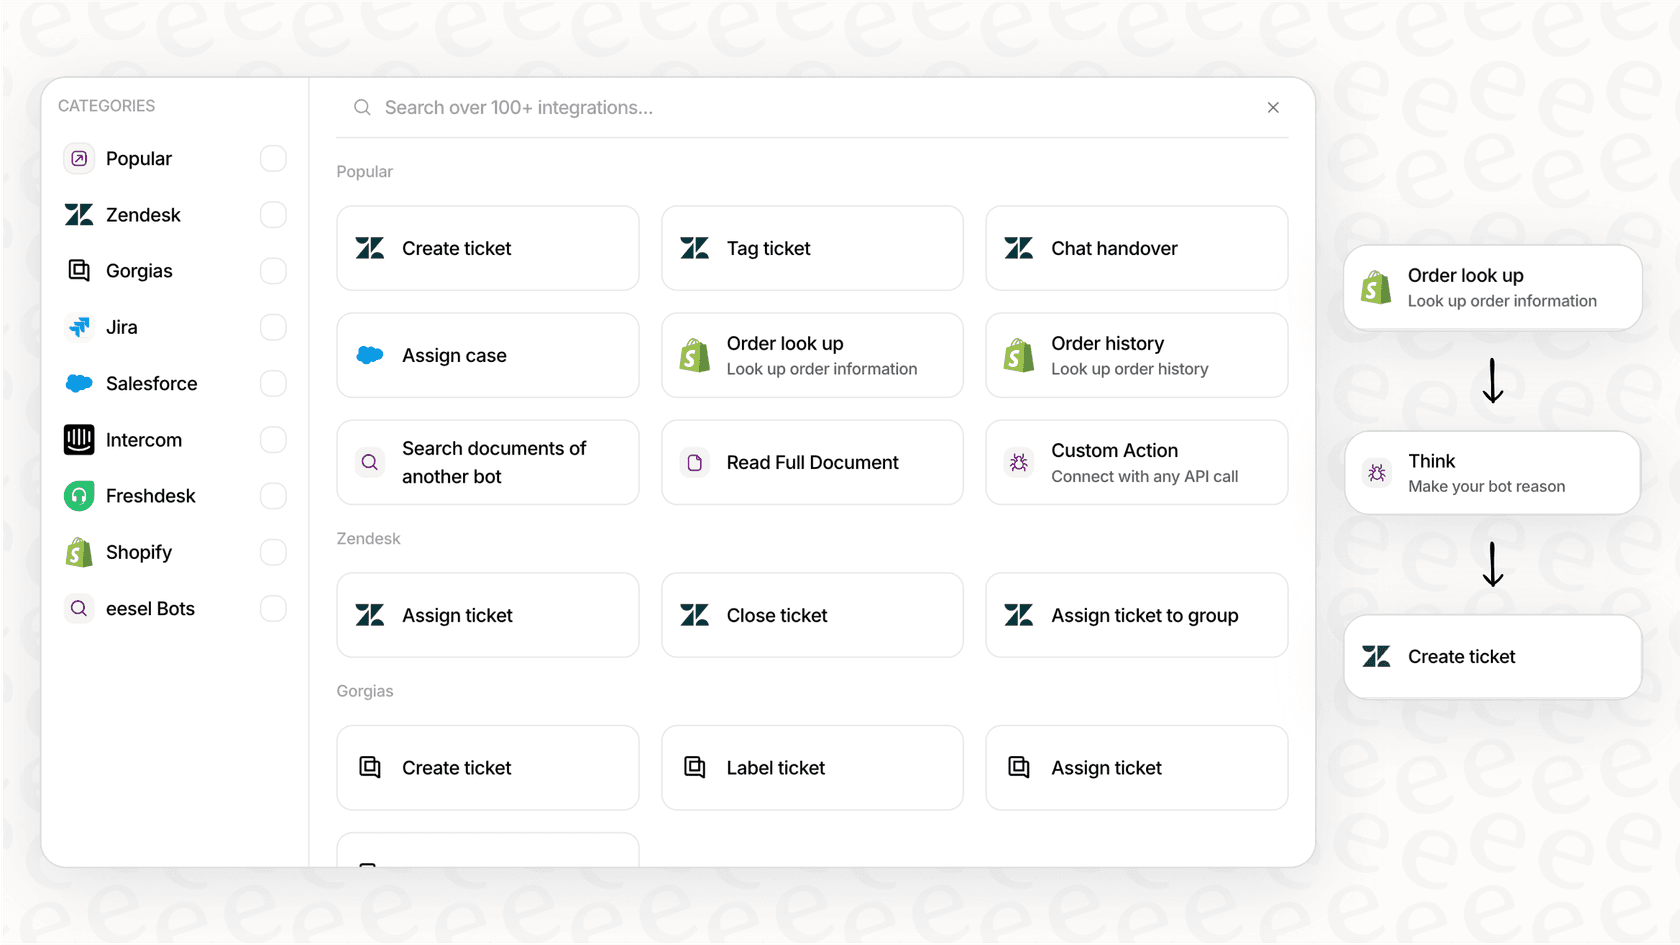
This is where AI-powered support tools change the game. Instead of maintaining a static library of canned responses, modern AI learns from your actual support history. It reads your past tickets, help center articles, and macros to understand how your team actually responds to different situations.
With eesel AI's Zendesk integration, you get dynamic response suggestions that adapt to each ticket's specific context. The AI drafts responses in your team's voice, pulling from your collective knowledge rather than rigid templates.
You can start gradually. Use eesel AI Copilot to draft responses that agents review before sending. As confidence builds, level up to eesel AI Agent for full automation of routine tickets. You define escalation rules in plain English, and the AI handles the rest.

The difference is flexibility. Macros give the same response every time. AI gives the right response for each specific situation, learning and improving as your team provides feedback.
If you're spending hours maintaining macros, struggling with the limitations of group restrictions, or simply ready for a more scalable approach, it might be time to explore what AI can do for your support operation.
Start organizing your Zendesk macros more effectively
Restricting macros to specific groups is a straightforward way to keep your support operation organized. The process is simple: navigate to the macro settings, select "Agents in group" in the Available for section, and choose your groups. This keeps agent workspaces clean and prevents misuse of specialized responses.
But remember the limitations. Group restrictions work best when agents belong to discrete, non-overlapping groups. If you're managing a multi-brand operation or have cross-trained agents, you'll need to supplement restrictions with clear naming conventions and agent training.
For teams that have outgrown macro-based workflows, modern AI alternatives offer a path forward. Rather than maintaining hundreds of static templates, you can leverage your existing support history to generate dynamic, context-aware responses.
Ready to explore a different approach? See eesel AI in action or check out our pricing to see how AI-powered support might fit your team.
Frequently Asked Questions
Share this article

Article by
Stevia Putri
Stevia Putri is a marketing generalist at eesel AI, where she helps turn powerful AI tools into stories that resonate. She’s driven by curiosity, clarity, and the human side of technology.


