When a customer hits the limits of what your AI agent can handle, the transition to a human agent needs to feel invisible. A clunky handoff frustrates customers and wastes agent time. Done well, it preserves context, routes to the right team, and keeps resolution times low.
This guide breaks down exactly how Zendesk handoff context works, from the underlying architecture to step-by-step configuration. Whether you're setting up AI agents for the first time or troubleshooting timing issues, you'll find practical instructions that match your Zendesk tier.
What is Zendesk handoff context?
Handoff context is the information that travels with a customer conversation when it moves from an AI agent to a human agent. It includes the conversation history, customer details, issue categorization, and any metadata your systems have collected.
Zendesk uses two terms that sound similar but mean different things:
-
Handoff is the moment an AI agent transfers a customer conversation to a live human agent. The AI agent is removed as the conversation's first responder, and a human takes over. This typically happens when the customer explicitly requests help beyond what the bot can provide, or when the AI detects an issue that needs human judgment.
-
Handback is the reverse. When a ticket closes, the live agent is removed as first responder. This clears the way for the AI agent to handle any new conversations from that customer. Think of it as resetting the conversation loop.
The switchboard architecture makes this possible. Sunshine Conversations uses a switchboard system to manage bot-to-agent handoffs, similar to how an operator patches phone calls. The switchboard controls which integration handles each conversation and enables smooth transfers between AI bots and human agents.
Without proper handoff context, customers repeat information they already shared with the bot. Agents waste time asking for details that were already collected. Context preservation is what separates good escalations from painful ones.
Understanding the Zendesk conversation lifecycle
To configure handoffs correctly, you need to understand how conversations flow through Zendesk's system. There are two independent but connected elements at play: conversation states and ticket statuses.
Conversation states
Messaging conversations move through three states:
- Active: The customer is actively engaged, typing and responding
- Inactive: 10 minutes have passed since the last message
- Ended: The conversation is resolved or closed
These states determine how the system handles customer messages and agent capacity. When a conversation turns inactive, it no longer counts against an agent's capacity limit, allowing them to receive new assignments.
Ticket statuses
Tickets follow a different path:
- New: Ticket created, not yet assigned
- Open: Agent is actively working on it
- Pending: Waiting for customer response
- Solved: Agent marked as resolved
- Closed: Ticket finalized, read-only
Here's where things get tricky: an agent remains the first responder until the ticket status changes to Closed, not Solved. By default, Zendesk waits 4 days between Solved and Closed.
During that window, if a customer returns to the messaging widget, they can't start a new conversation. Their message goes to the existing ticket instead. The previous agent remains assigned, and context gets muddled. Customers expect to report new issues, but they're stuck in an old conversation thread.
AI Agent tickets vs. Support tickets
When AI agents are enabled, new conversations create an AI Agent ticket in Agent Workspace. This ticket contains the entire conversation between the customer and the AI agent.
When a handoff occurs, the AI Agent ticket gets converted into a regular Support ticket and assigned to a human agent. From that point forward, it follows the standard ticket lifecycle.
Understanding these distinctions matters because the handback process (returning control to the AI) only happens when a ticket reaches Closed status, not Solved.
How to configure Zendesk conversation handoff
Configuration depends on which Zendesk tier you're using and whether you're building custom integrations or using native features.
What you'll need
Before starting, ensure you have:
- Zendesk Messaging with Sunshine Conversations enabled
- Zendesk Agent Workspace configured
- Admin access to Zendesk Admin Center
- API access if building custom switchboard integrations
Step 1: Set up the switchboard integration
The switchboard is the routing layer that determines which system (AI agent or human agent) controls a conversation at any given time.
To configure it:
-
In your Zendesk Messaging settings, ensure Conversation control is set to Pass control. This allows the system to transfer conversations between integrations.
-
In Zendesk Admin Center, add your AI agent as the first responder. Go to Admin Center > Channels > Messaging and social > AI agents and connect your bot.
-
Verify the switchboard integrations are configured correctly. By default, your account contains integrations representing AI agents (as firstResponder) and Zendesk Agent Workspace (as nextResponder).
The switchboard uses three key operations:
- passControl: Immediately transfers ownership from one integration to another
- offerControl: Shares control until the target accepts
- releaseControl: Returns the conversation to its default state
When your bot determines escalation is needed, it calls the passControl endpoint with metadata about the conversation.
Step 2: Configure handoff triggers in your AI agent
The configuration differs based on your Zendesk tier.
For AI Agent Essential:
- Go to Admin Center > AI > AI agents
- Select your AI agent and open the Messaging behavior tab
- Look for "Talk to a human" options in each response type
- Configure when the option appears (always visible, after failed attempts, etc.)
- Open the Escalation tab to customize the message customers see during handoff
- Click Publish and test in a sandbox environment
The Essential tier doesn't give you granular control over escalation paths. If you need conditional routing (different teams for billing vs. technical issues), you'll need Advanced or a third-party tool.
For AI Agent Advanced:
The dialogue builder gives you visual workflow tools for complex escalation logic.
- In AI agents - Advanced, select your AI agent
- Navigate to Content > Use cases
- Open the dialogue you want to modify (or create a new reply)
- Add an Escalation block where you want the handoff to occur
- Configure the escalation message and channel (messaging or email)
- Optionally add an Availability block before escalation to check if agents are online
- Use Actions to add tags or populate ticket fields for context
- Click Validate dialogue to check for errors
- Publish when ready

Key blocks you'll use:
| Block Type | Purpose |
|---|---|
| Escalation | Defines the handoff path to human agents (must be last in branch) |
| Availability | Checks business hours and agent status before escalating |
| Conditional | Routes different escalation paths based on parameters |
| Actions | Adds tags or populates ticket fields for context |
Step 3: Set up routing for escalated conversations
After handoff, the ticket needs to reach the right team or agent.
Ticket triggers are the most common approach. Create triggers that fire when a messaging ticket is created and assign it based on conditions like:
- Custom ticket field values (collected during the conversation)
- Tags added by the AI agent
- Channel source
Chat routing rules determine which agents see notifications. You can broadcast to all agents or assign to specific groups. These rules fire after ticket triggers, so the two work together.
Omnichannel routing is available on Professional and Enterprise plans. It routes across email, calls, and messaging based on agent availability and capacity. Note that skills-based routing isn't available for messaging tickets specifically.

Step 4: Configure context preservation
Nothing frustrates customers more than repeating information they already shared with the bot.
Custom ticket fields let you capture specific data points during the conversation. In the dialogue builder, add "Ask for details" steps that map to ticket fields like order number, product category, or issue type. These appear prominently in the ticket sidebar.
Metadata passing handles technical data like account IDs or session information. This requires code in your chat widget to pass custom data into the ticket. It's more work to set up but valuable for e-commerce or SaaS support.
Internal notes can include AI-generated summaries. Some teams configure the AI to write a brief summary of the customer's issue before escalating. This gives agents the "TL;DR" without digging through transcripts.
The goal is simple: agents should know what the customer needs within seconds of opening the ticket.
Fixing the handback timing problem
The default 4-day gap between Solved and Closed causes the customer confusion we mentioned earlier. There are two ways to fix this.
Solution 1: Create an immediate-close trigger
Create a trigger that closes tickets immediately when tagged:
- Condition: Tags | Contains at least one of the following |
close - Action: Status | Closed
Then add the close tag via macro or automation when solving tickets. This gives you control over which tickets close immediately and which keep the buffer.

Solution 2: Modify the default automation
Zendesk includes an automation called "Close ticket 4 days after status is set to solved." You can reduce this to 1 hour or even less:
- Go to Admin Center > Objects and rules > Automations
- Find and edit the default close automation
- Change the time condition from 4 days to your preferred duration
- Save and test
One caveat: if you're using CSAT surveys, don't close tickets immediately. The survey sends when the ticket is marked Solved, so closing too fast can conflict with the survey experience. Keep at least a small buffer.
Preserving context during Zendesk handoff context transfers
Let's talk specifics about what actually transfers and how to make it useful.
What context automatically transfers
Zendesk automatically attaches the full conversation transcript to the ticket. Agents see everything the customer said to the AI agent. But raw transcripts can be long, and busy agents don't always read them thoroughly.
How to pass structured data
Configure dialogue builder actions to populate custom ticket fields during the conversation. When a customer mentions their order number, capture it. When they select a product category from a menu, map it to a field.
These fields appear in the ticket sidebar, making them impossible to miss.
Metadata passing for technical data
For account IDs, session information, or other technical data, use metadata passing. This requires your chat widget to include custom data when initiating conversations. The data then flows through to the ticket fields you specify.
Best practices for agent training
Even with perfect context preservation, agents need to know where to find it. Train your team on:
- Where the conversation transcript appears in Agent Workspace
- Which custom fields contain key information
- How to read internal notes for AI-generated summaries
If agents ask customers to repeat information that was already collected, you've lost the efficiency gains AI was supposed to provide.
Troubleshooting common Zendesk handoff context issues
Even with proper configuration, handoff problems pop up. Here are the most common issues and their fixes.
Customers can't start new conversations
Symptom: A customer returns to the messaging widget but their previous conversation reopens instead of starting fresh.
Cause: The ticket status is Solved, not Closed. Until it's Closed, the customer can't begin a new conversation.
Fix: Reduce the Solved to Closed delay using the automation or trigger methods described earlier. For most teams, 1-4 hours is enough buffer for CSAT surveys without causing confusion.
Agents missing conversation context
Symptom: Agents ask customers to repeat information they already shared with the AI agent.
Cause: Metadata isn't mapped to visible ticket fields, or agents don't know where to find the transcript.
Fix: Configure dialogue builder actions to populate custom ticket fields during the conversation. Train agents on where context appears in Agent Workspace (the conversation pane and sidebar fields). Consider adding an internal note with a summary before escalation.
Wrong team receives escalated tickets
Symptom: Technical issues go to the billing team, or vice versa.
Cause: Transfer group not configured in the escalation block, or triggers aren't firing correctly.
Fix: In the dialogue builder, specify the correct transfer group in each escalation block. Review your ticket triggers to ensure messaging tickets route based on the right conditions (tags, custom fields, etc.). Test by submitting test conversations through each flow.
Simplify handoff with eesel AI
If the dialogue builder feels like overkill for your team, or you need escalation logic that's easier to maintain, eesel AI offers a simpler approach.
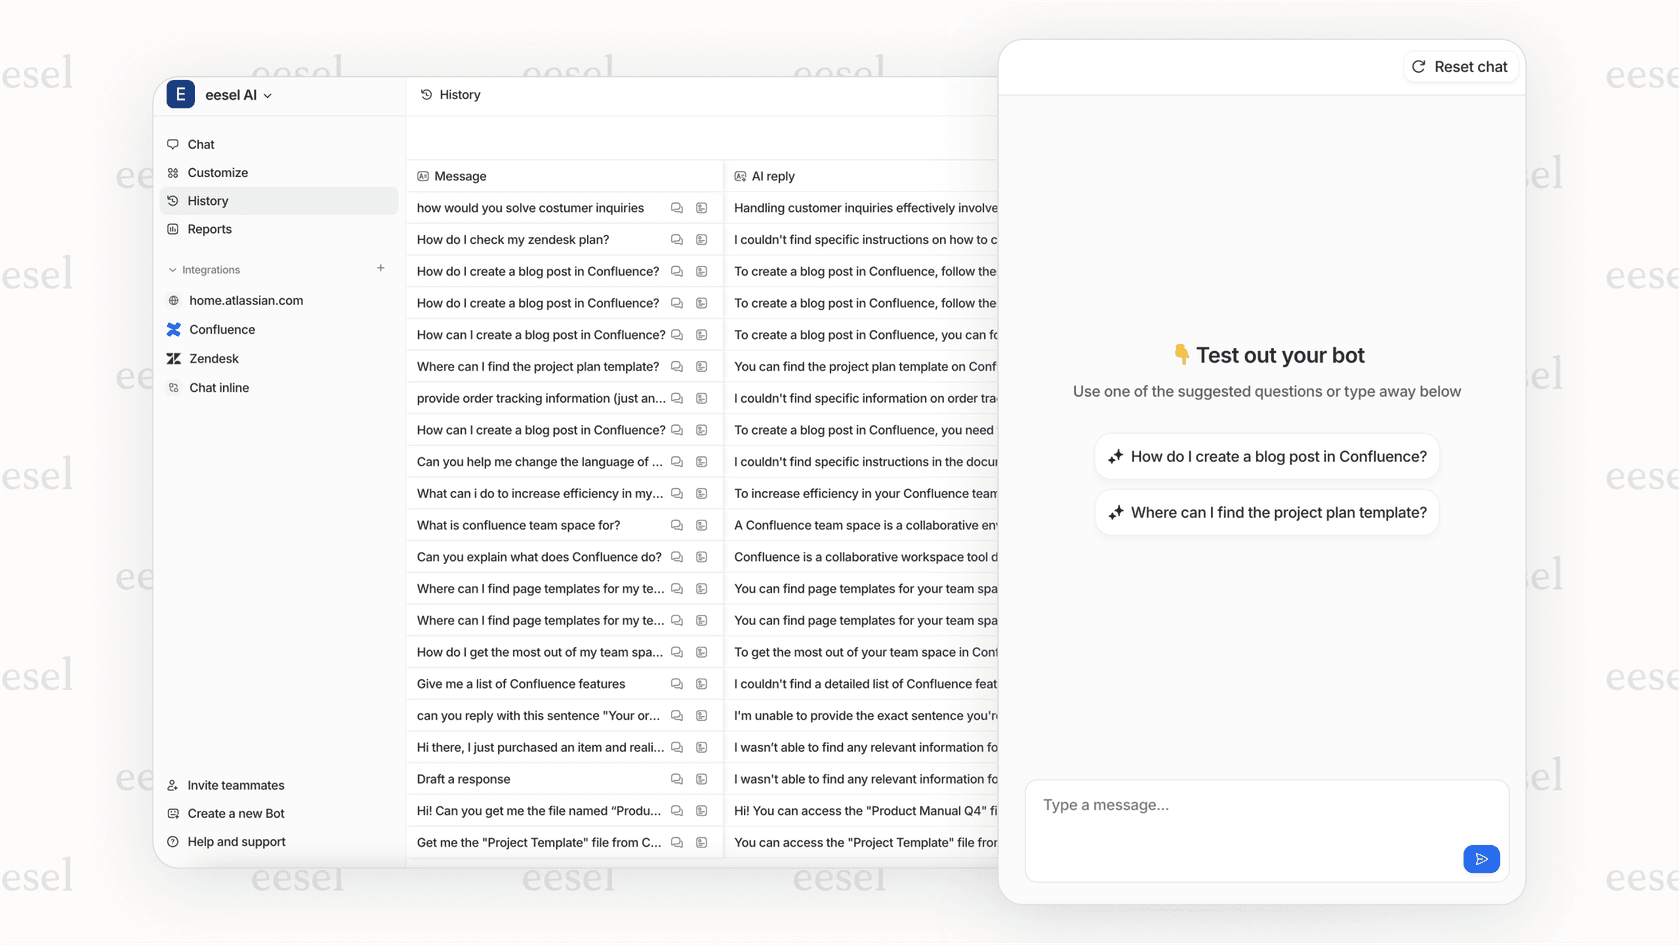
We integrate directly with Zendesk and let you define escalation rules in plain English. Instead of dragging blocks in a visual builder, you write instructions like:
- "If the refund request is over 30 days old, politely decline and offer store credit"
- "Always escalate billing disputes to a human agent"
- "For VIP customers (tagged 'enterprise'), route to the dedicated support team"
The AI interprets these rules and applies them during conversations. No coding, no complex workflows.
Key differences from native Zendesk AI:
| Feature | Zendesk Native | eesel AI |
|---|---|---|
| Escalation configuration | Dialogue builder required | Plain-English rules |
| Knowledge sources | Help Center + macros | 100+ integrations (Confluence, Google Docs, Notion, etc.) |
| Pre-launch testing | Live dashboards only | Historical simulation on past tickets |
| Pricing model | Per resolution | Per interaction |
The simulation feature is particularly useful for Zendesk AI agent escalations. You can run our AI against your historical tickets before going live, see exactly how it would handle each situation, and tune rules until you're confident.
We also pull knowledge from sources beyond Zendesk. If your team documents processes in Confluence or shares policies in Google Docs, eesel learns from those too. The AI agent gets full context, not just help center articles.
Setup takes minutes:
- Connect eesel AI to your Zendesk account
- Train on your existing tickets, macros, and docs
- Define escalation rules in plain text
- Run simulations on past tickets
- Go live with confidence
Try eesel AI free to see how plain-language escalation rules compare to the dialogue builder.