How to manage multiple theme versions in Zendesk Guide
Stevia Putri
Last edited February 25, 2026
If you're managing a Zendesk help center, you've probably run into this scenario: you want to test a new design, but you can't risk breaking your live site. Or maybe you need different layouts for different types of content. This is where understanding how to manage multiple theme versions in Zendesk Guide becomes essential.
Zendesk Guide gives you powerful tools for theme management, but the terminology can be confusing. What's the difference between a "theme version" and a "templating version"? How do you safely test changes without affecting customers? And when should you consider bringing in AI tools to handle the content side of things?
Let's break it down.
Understanding theme versions in Zendesk Guide
First, let's clear up some terminology that trips people up.
Templating versions (also called the Templating API) are the underlying framework versions that Zendesk uses to render your help center. Think of these like the engine in your car. There have been four versions released since 2014:
| Version | Release Date | Key Changes |
|---|---|---|
| v1 | November 20, 2014 | Original release |
| v2 | February 24, 2020 | Major architecture update |
| v3 | June 1, 2023 | Enhanced features and performance |
| v4 | July 2, 2024 | Latest capabilities and improvements |
Theme versions are your actual custom themes, the files and templates that control how your help center looks. You can have multiple themes in your account (live, draft, backup), and you can switch between them as needed.
Here's the short version: templating versions are controlled by Zendesk and determine what features are available. Theme versions are controlled by you and determine what your customers see.
You'll want multiple theme versions when:
- Testing a redesign before going live
- Creating seasonal variations (holiday themes, promotional periods)
- Maintaining a staging environment for development
- Running A/B tests on different layouts
- Keeping a rollback copy of your stable theme
And while you're optimizing your help center's appearance, don't forget about the content. We integrate seamlessly with Zendesk to help you manage and improve your help center articles.

What you'll need to get started
Before diving into theme management, make sure you have the right setup:
Required:
- Zendesk Suite Growth, Professional, Enterprise, or Enterprise Plus
- OR Guide Professional/Enterprise (if using Support separately)
- Knowledge admin permissions
Optional but recommended:
- A local development environment (text editor/IDE)
- Git for version control
- Zendesk Theme Preview tool for local testing
- A sandbox environment for safe testing
If you're on Guide Enterprise, you get access to multiple templates for articles, sections, and categories (up to 100 additional templates per content type). On Guide Professional, you can create multiple templates but only in non-live themes for testing purposes.
Step-by-step: Managing multiple themes
Step 1: Access the theme editor
Navigate to Knowledge admin > Customize design in your Zendesk admin panel. This opens the Themes page where you can see your current live theme and any other themes in your library.
The theme editor is your control center. From here, you can customize existing themes, add new ones, or switch your live theme. If you're just starting out, you'll see the default Copenhagen theme.
Step 2: Create or import a new theme
You have three options for adding themes:
- From the Marketplace: Browse pre-built themes from Zendesk and third-party developers
- Duplicate existing: Copy your current theme as a starting point
- Import: Upload a ZIP file of a theme you've developed locally

When purchasing from the Marketplace, you'll choose between a Standard license (settings panel only) or Developer license (full code access). The Developer license is what you need if you plan to customize templates, CSS, or JavaScript.
Step 3: Work with multiple templates (Enterprise)
On Enterprise plans, you can create up to 100 additional templates for each content type (articles, sections, and categories). This lets you have different layouts for different kinds of content.

To create a new template:
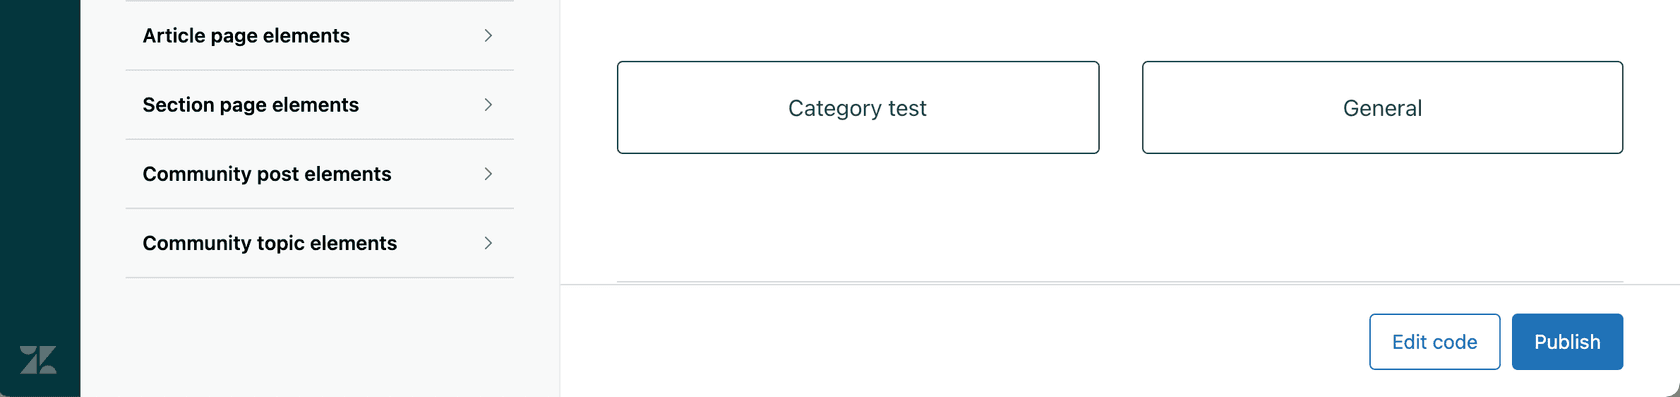
- In the theme editor, click Edit code
- Click Add new in the Files area
- Select the template type (article, section, or category)
- Name it (25 characters max, snake_case format)
- Choose whether to start from an existing template or blank
Important: Custom templates can only be selected if the theme is live. This means you need to activate your theme before you can apply custom templates to content.
Step 4: Set your live theme
When you're ready to make a theme active:
- On the Themes page, find the theme you want to activate
- Click the options menu (three dots)
- Select Set as live theme
- Confirm the change

Your new theme goes live immediately. There's no staging period or approval workflow, so make sure you've tested thoroughly first.
Step 5: Download and version control
For serious theme development, you'll want to work locally:
- Download your theme as a ZIP file
- Extract it to your local development environment
- Make changes using your preferred code editor
- Use the Zendesk Theme Preview tool to test locally
- Commit changes to Git for version control
- ZIP and import back when ready
Teams can also integrate with GitHub for collaborative development. You can develop and maintain themes on GitHub, then preview or publish directly from there. Just remember: once you set up GitHub integration, making changes in the Zendesk admin will break that connection. Always work locally and sync through GitHub.
Best practices for Zendesk Guide multiple theme versions
Managing themes effectively requires some discipline. Here are practices that will save you headaches:
Use descriptive naming conventions Instead of "Theme v2," use "Theme v2.1 - Holiday 2026" or "Copenhagen-Custom-Q1-2026." Include version numbers and context so you know what each theme is for.
Maintain a changelog Document what changes in each version. This is especially important if multiple people work on your help center. Note what was changed, why, and when.
Always test in sandbox first Zendesk provides sandbox environments for a reason. Test theme changes there before touching production. Check across different devices and browsers.
Keep a production backup Before making significant changes, duplicate your live theme and name it something like "PROD-BACKUP-[DATE]." If something goes wrong, you have a clean rollback option.
Have a rollback plan Know exactly how you'll revert if issues arise. This usually means keeping a stable backup theme ready to activate immediately.
Deploy during quiet hours Even with testing, things can go differently in production. Deploy when your help center has the lowest traffic.
Working with templating API versions
Your theme's templating version determines what features and helpers are available. Here's how to manage them:
Checking your version
When editing a theme, look under the theme name in the code editor. You'll see something like "Templating API v2." You can also check the api_version field in your manifest.json file.
When to upgrade Consider upgrading when:
- You need new features only available in newer versions
- Zendesk announces deprecation of your current version
- You want performance improvements or accessibility updates
The upgrade process
- Download your theme locally
- Open manifest.json and change the
api_versionvalue - Preview locally using the Zendesk Theme Preview tool
- Check for deprecated helper warnings
- Replace any deprecated helpers with supported equivalents
- Test thoroughly
- Upload the updated theme
Version 4 (released July 2024) includes the latest capabilities. If you're on an older version, upgrading gives you access to newer helpers and better performance.
Streamline your help center with eesel AI
Themes control how your help center looks, but what about the content inside it? That's where eesel AI comes in.
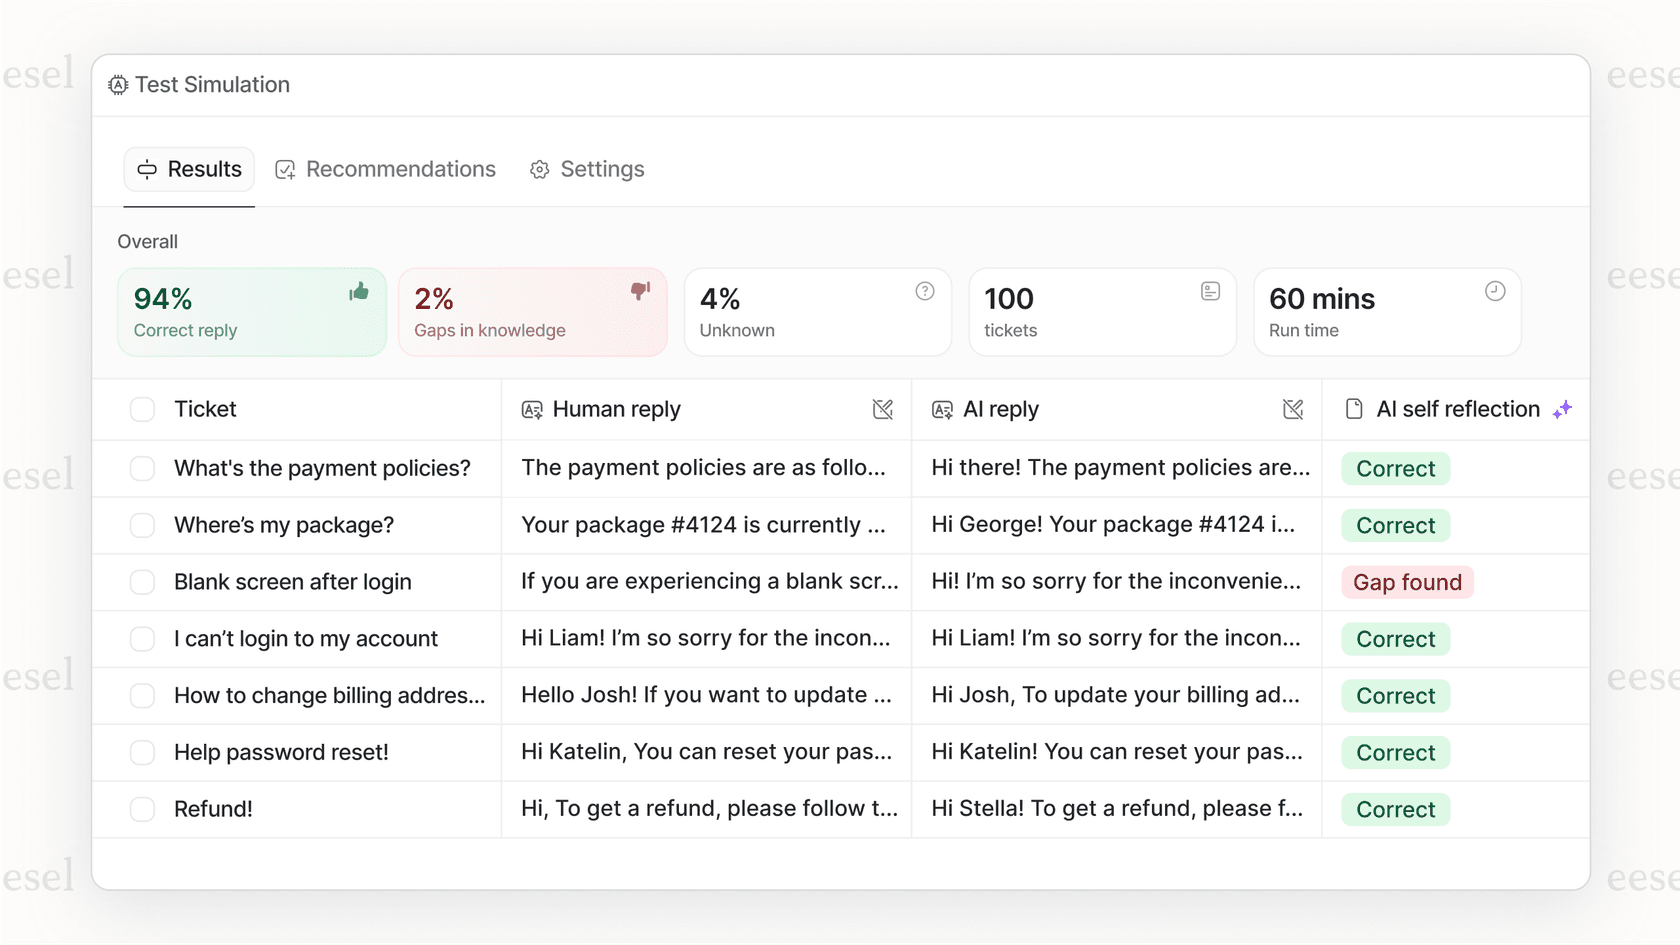
Our AI chatbot integrates directly with your Zendesk help center to provide instant, accurate responses to customer questions. While you're perfecting your theme's appearance, we can help ensure your content is working just as hard.
Here's how it works:
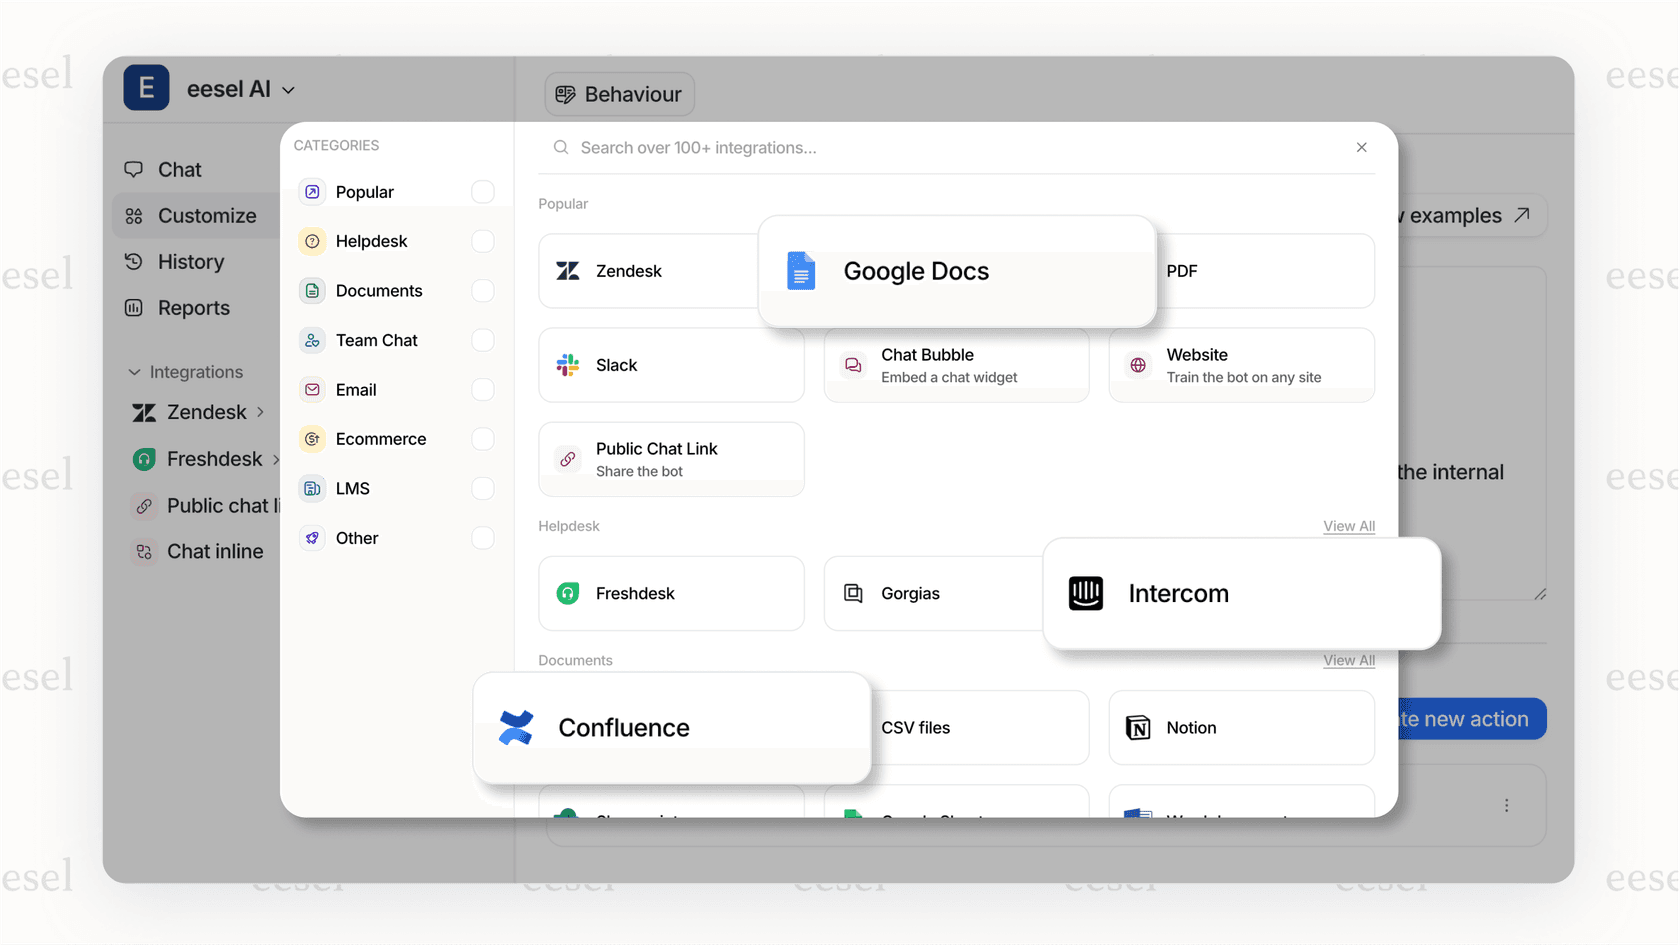
- We connect to your help center and learn from your existing articles
- Customers get instant answers without waiting for an agent
- The AI cites sources, so customers know where information comes from
- You can customize responses to match your brand voice
- It works with any Zendesk Guide theme version
The combination is powerful: a beautiful, custom theme that represents your brand, paired with AI that delivers the right content at the right time. You handle the design, we handle the intelligent content delivery.
Frequently Asked Questions
Share this article

Article by
Stevia Putri
Stevia Putri is a marketing generalist at eesel AI, where she helps turn powerful AI tools into stories that resonate. She’s driven by curiosity, clarity, and the human side of technology.