Let's be real, AI is pretty much becoming a must-have for customer support teams these days. The whole idea is to let it handle the easy, repetitive questions so your team can focus on the tricky stuff and customers get instant answers. Zendesk provides a powerful, industry-leading built-in AI to help teams master automation, which is an excellent place to start.
If you're just getting started, it’s helpful to understand the landscape. You might even find yourself wondering about a specific Zendesk AI login page. You'll actually find everything you need right within your existing, reliable dashboard. If you're looking for where to start, don't worry, we've got you covered.
We're going to make this simple. This guide will walk you through exactly how to access and set up Zendesk's native AI features for the first time. We'll also cover a few practical tips to help you get the most out of your new AI agent.

What you'll need before you get started with your Zendesk AI login
Okay, before we jump in, let's do a quick check to make sure you have everything you need. Setting up Zendesk's AI is a straightforward process. There are just a few things you'll want to have lined up to ensure a smooth launch.
Here’s a quick checklist of what you should have in place:
-
A Zendesk Suite plan: Zendesk's AI features are a key part of their robust Suite plans (typically Professional or above). It’s always a good idea to check your current subscription to confirm your access to these advanced tools.
-
Admin access: To activate and configure your AI agents, you’ll need to be an administrator on your company's Zendesk account. This ensures that the setup is managed by the right team members.
-
A quality knowledge base: Zendesk's AI is built to leverage the information you've already created. Having a well-kept help center in Zendesk Guide is a great way to ensure the agent provides accurate, helpful answers.
-
A clear goal: It helps if you know which areas you want to automate first. Whether you're focusing on "where is my order?" questions or common "how-to" queries, a clear goal will make the setup process very efficient.
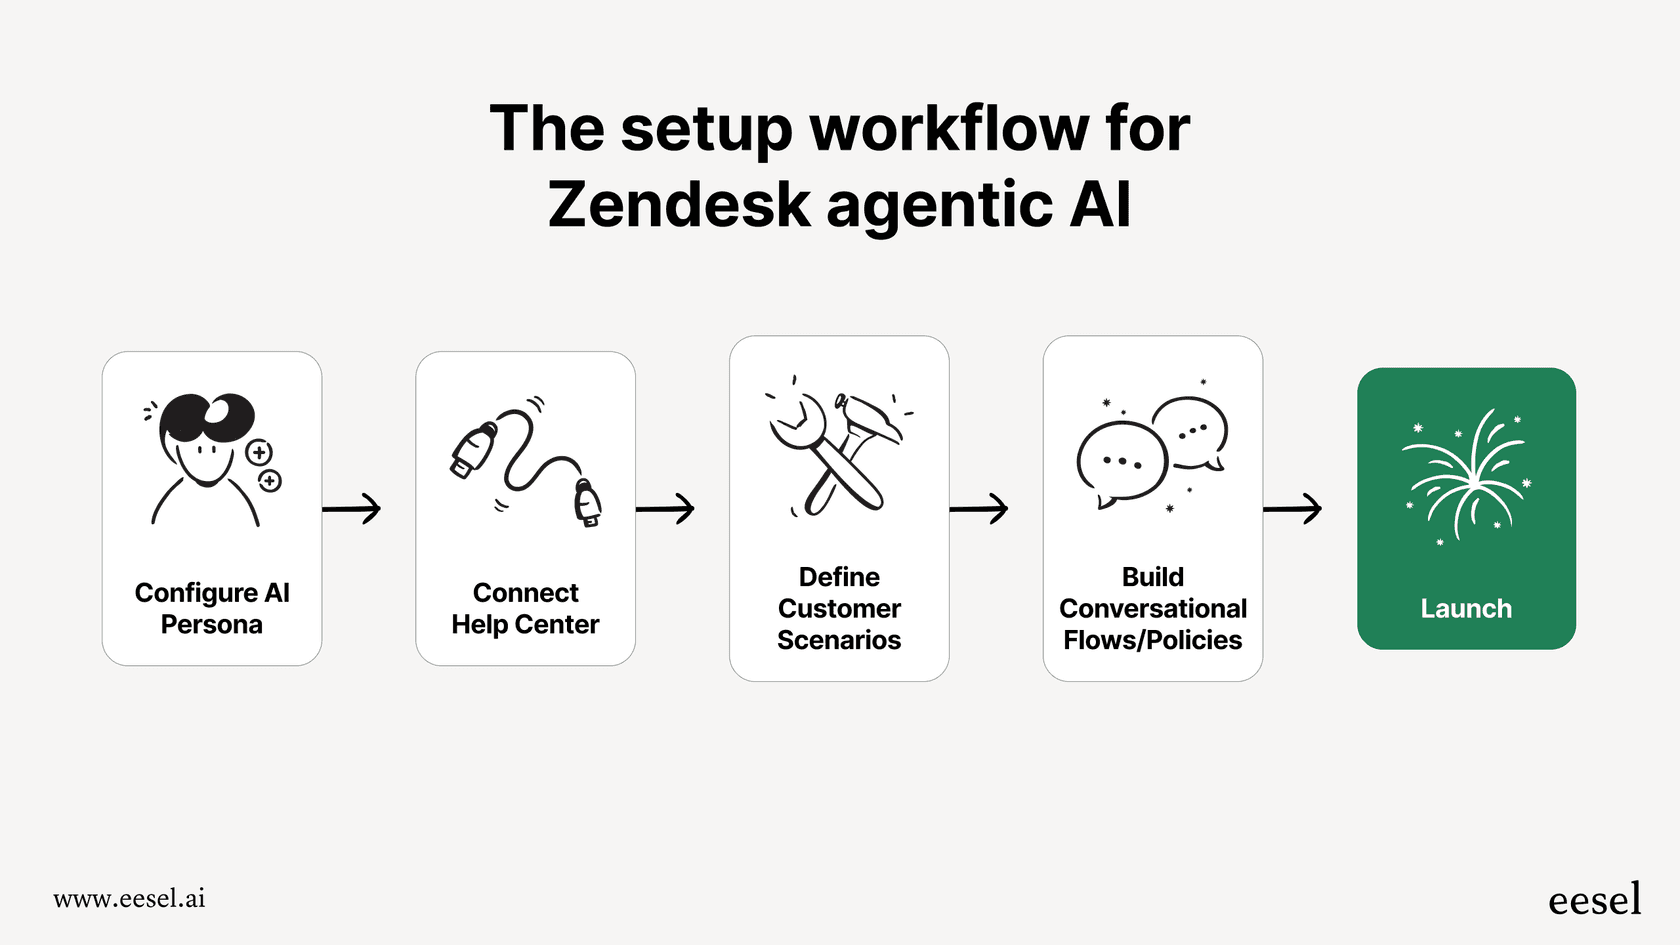
A step-by-step guide to your Zendesk AI login and setup
Alright, let's get this thing set up. Here's a simple walkthrough to get you from login to a working AI agent.
1. Finding your Zendesk AI login and accessing the admin center
The great thing about Zendesk is that everything is integrated. There isn't a separate Zendesk AI login portal; you get to all the AI features right from your regular Zendesk account.
Here’s how to get there:
-
Head to your company’s unique Zendesk URL (e.g., "yoursubdomain.zendesk.com").
-
Log in with your administrator account details.
-
Once you’re on the main dashboard, look for the Admin Center. You can find it by clicking the gear icon in the left-hand sidebar.
From there, you'll find the AI-specific settings under the "Bots" or "AI Agents" section.
2. Using your Zendesk AI login to activate and name your AI agent
Once you're in the right spot, turning on your AI agent is a smooth process. Zendesk provides a helpful setup wizard that will guide you through the first few steps.
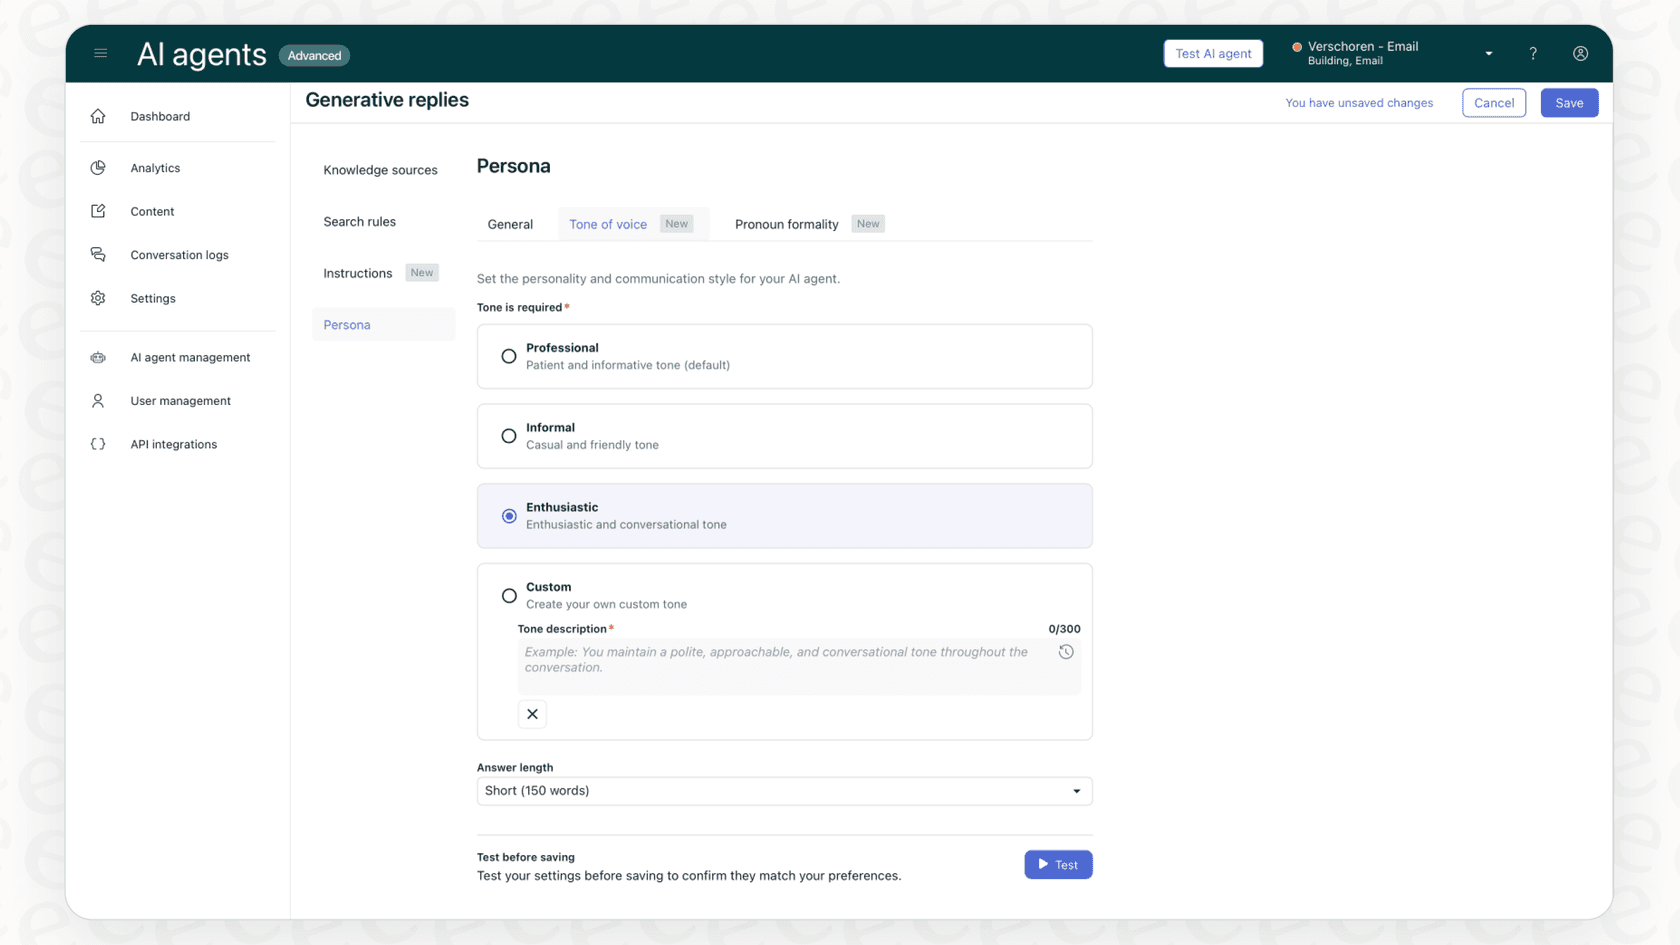
You'll be asked to enable the AI agent and give it a name. This is a great opportunity to give your automation a personality that fits your brand's voice. You can also set the AI's tone here, ensuring it matches the professional and helpful image your company projects.
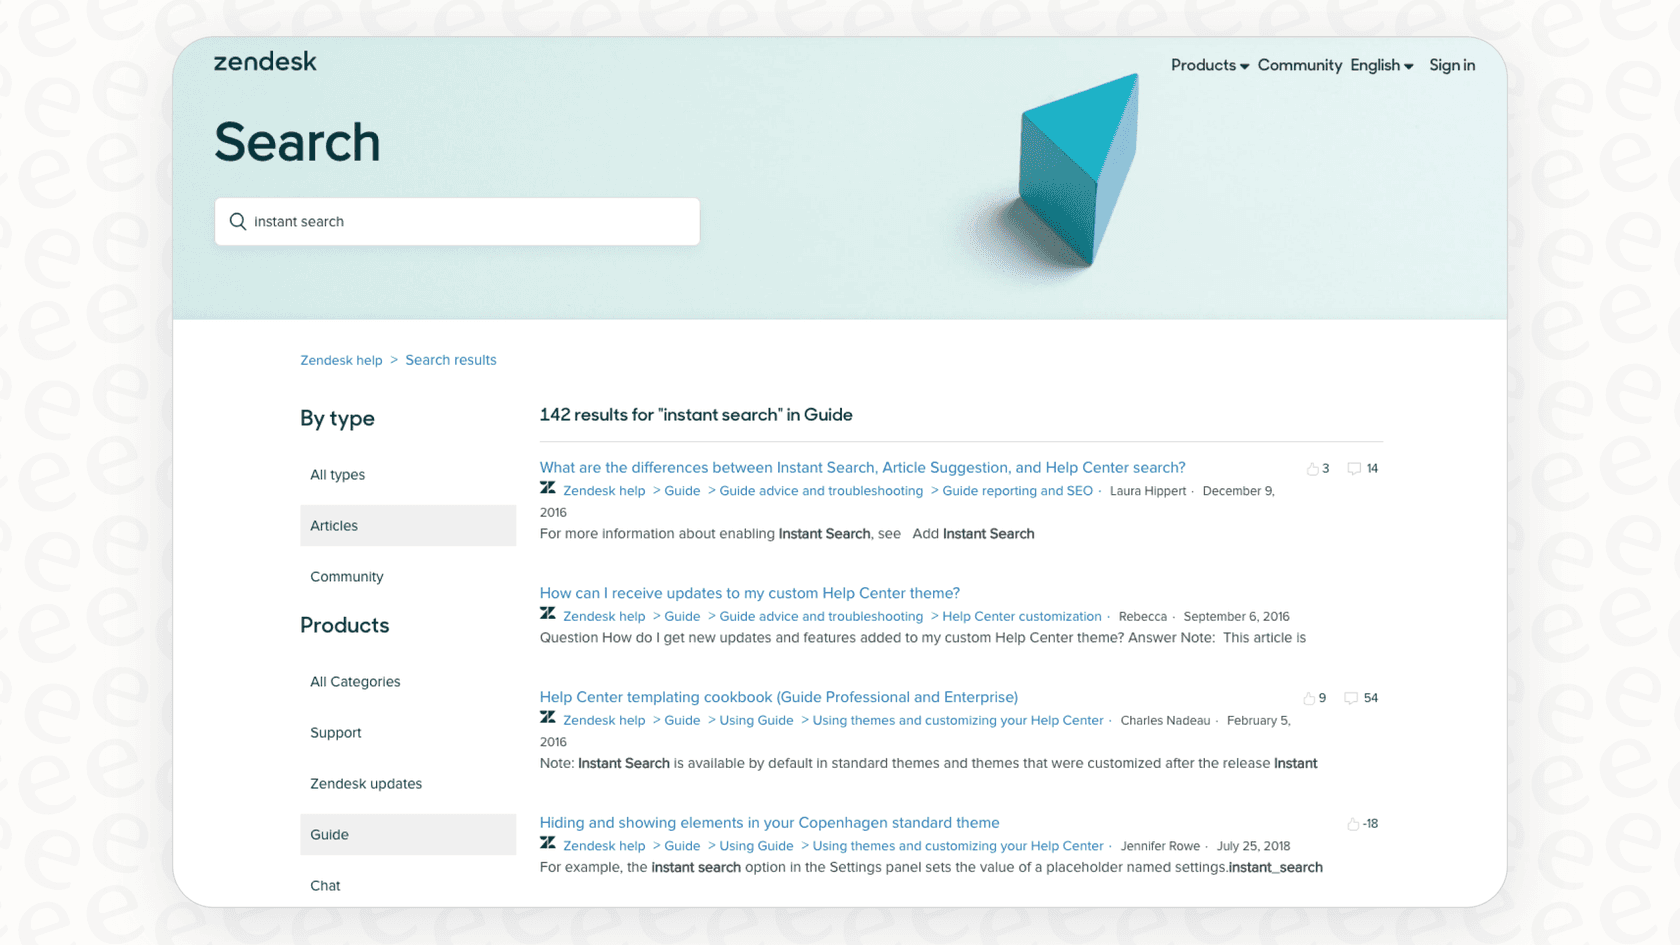
3. Connecting your Zendesk help center
A sophisticated AI thrives on high-quality information. For Zendesk's native AI, that information comes directly from your Zendesk Guide help center, which is the heart of your support operation.
In this step, you’ll link your help center articles to the AI agent. This allows it to scan your existing documentation and provide instant, accurate answers to customers. The setup is designed to be intuitive, letting you choose exactly which categories the AI should use.
To make the most of this, it’s a good idea to keep your Zendesk articles current. If your team has valuable knowledge stored in other applications, you can also look into complementary tools that allow Zendesk to access that information, ensuring your AI never misses a beat.
4. Configuring basic behaviors and answers
Last up, you'll want to configure how your AI agent interacts with your customers. This involves setting clear paths for the conversation to follow.
This means setting up things like:
-
A friendly, professional greeting to start the interaction.
-
A clear path for escalation when a customer needs to speak with a human agent.
-
Specific predefined answers for your most common inquiries.
You’ll be able to use generative answers, which the AI creates from your help center content, alongside predefined responses you've scripted for consistency.
Pro tips for making your support AI truly effective
Getting a basic AI agent running is a great milestone. To truly maximize your return on investment, here are a few ways to enhance your setup.
Challenge 1: Your company knowledge lives across multiple tools
It’s common for a growing company to have knowledge in several places: Zendesk Guide, Google Docs, Confluence pages, and more. While Zendesk's AI is an expert at using its internal help center, you may want it to know about your other documents too.
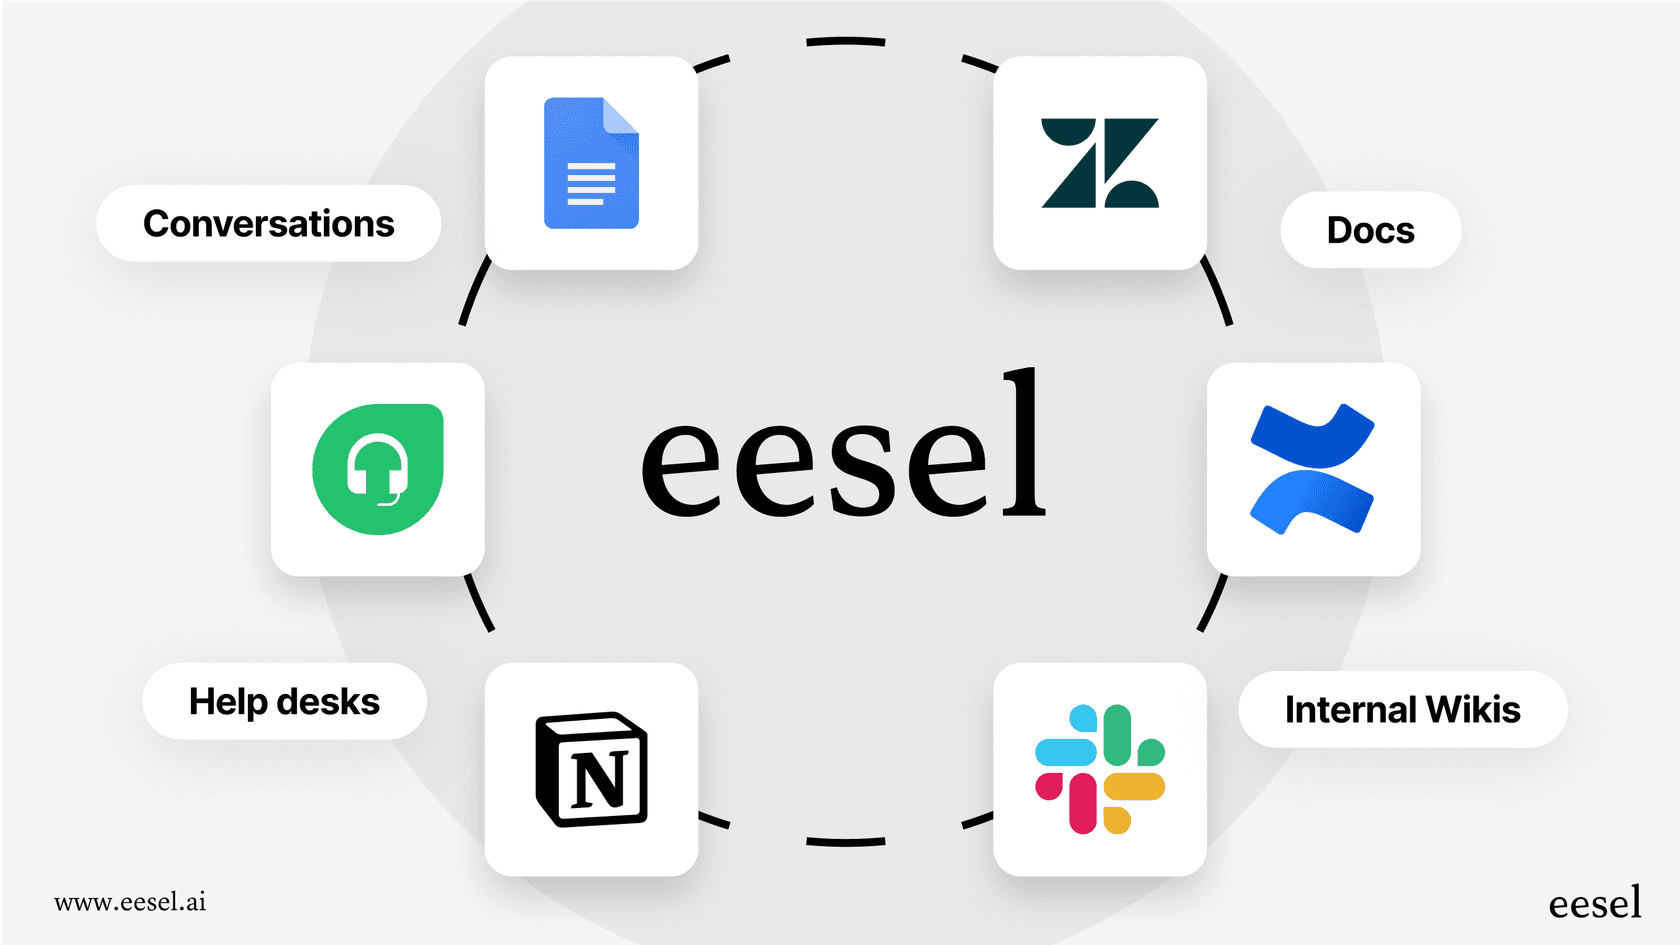
Solution: A great way to handle this is with a complementary tool like eesel AI. It works alongside your Zendesk setup to pull in knowledge from your Confluence pages, Google Docs, and other sources. This gives your AI a broader view so it can be even more helpful, without you needing to migrate any data.
Challenge 2: Ensuring the AI is perfectly tuned for your customers
When launching new automation, you want to be sure it understands your customers' needs from day one. It's always beneficial to know exactly how your agent will respond to various scenarios.
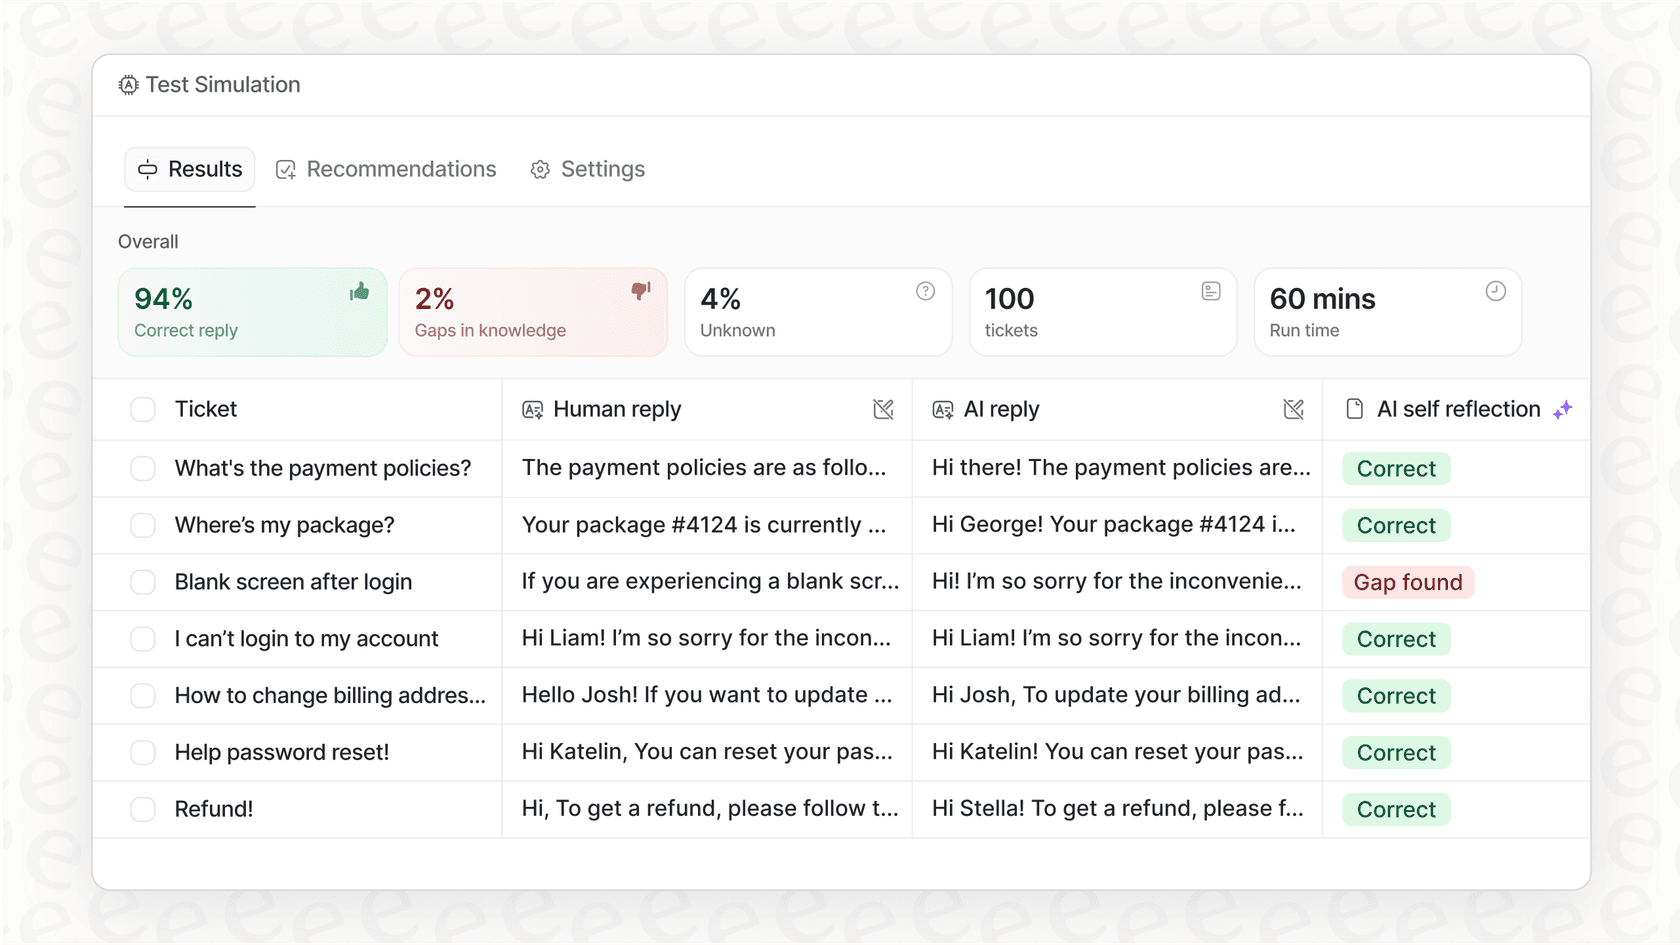
Solution: You can gain extra peace of mind by using a testing tool like eesel AI's simulation mode. You can run it against your actual past tickets to see how it would have performed. This provides a great forecast of your automation success and helps you refine your knowledge base before going live.
Challenge 3: Expanding your AI's capabilities with specialized actions
Modern support automation can go beyond answering questions. You might want an AI that can also look up order information from Shopify or create a Jira issue directly.
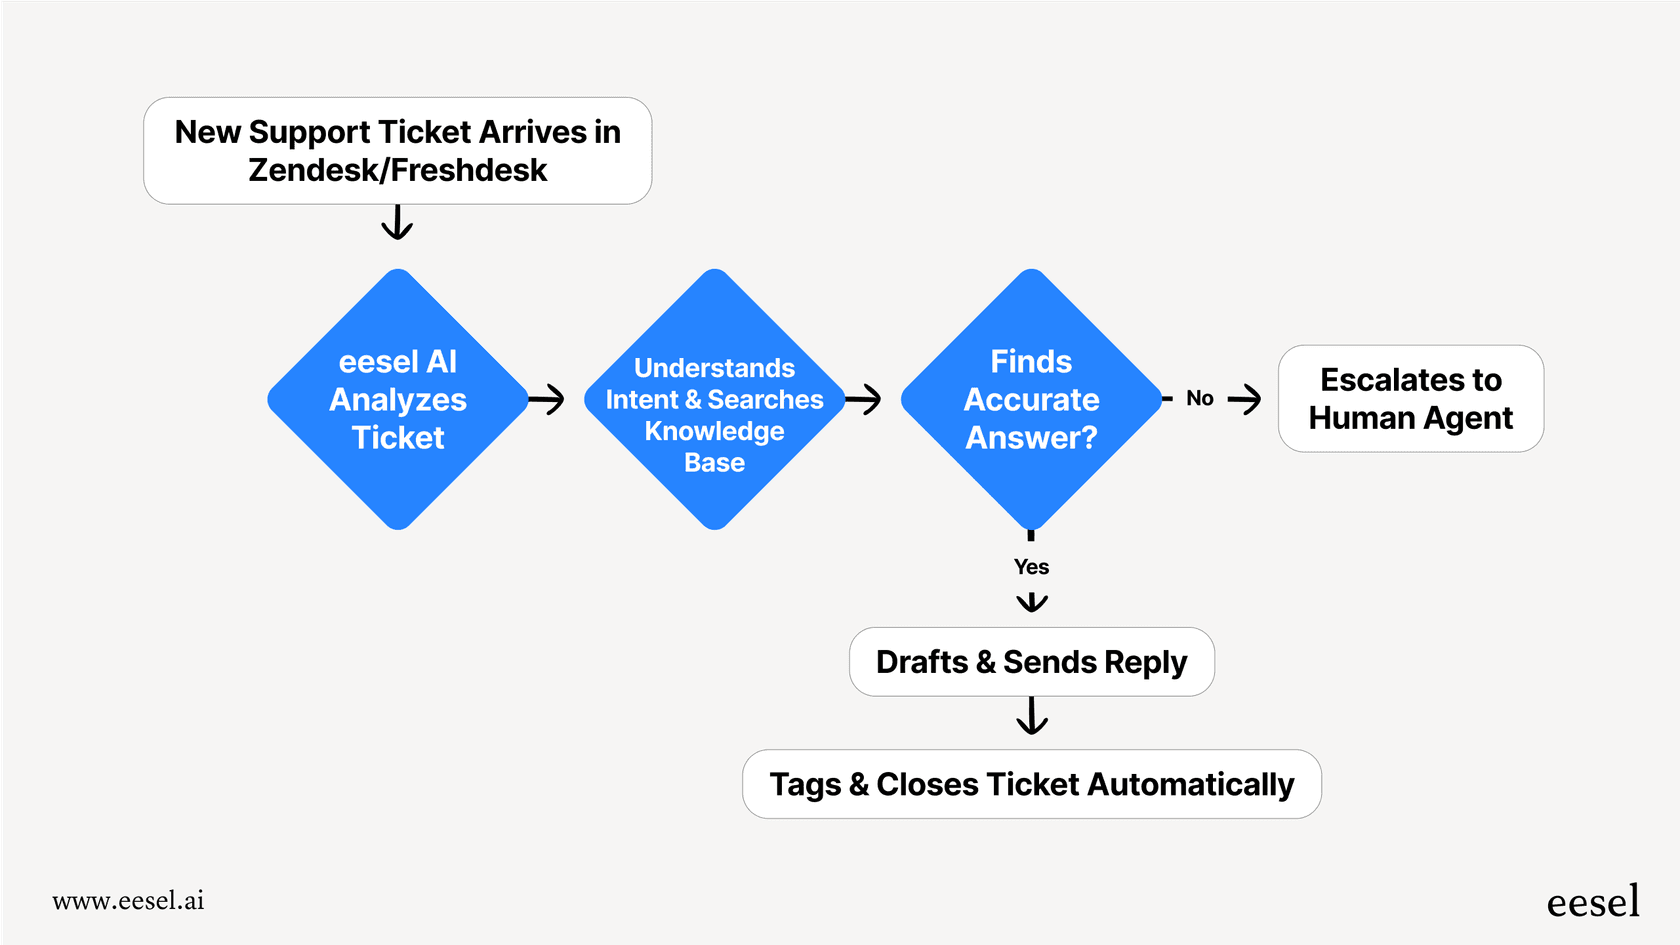
Solution: To add these specialized capabilities to your Zendesk ecosystem, eesel AI offers a flexible workflow engine. It’s designed to handle custom actions and connect to your other business tools. This allows you to automate entire processes seamlessly within your Zendesk environment.
Your AI agent is ready to learn
And there you have it. You know how to navigate the Zendesk AI login process, find the admin center, and get your agent running. Zendesk provides a world-class platform that makes entering the world of AI support easy and reliable.
The best AI setups are the ones that grow with your team. By leveraging Zendesk’s mature platform and plugging into the tools you're already using, you can provide a truly exceptional customer experience.
Ready for an even more powerful Zendesk AI?
If you're looking to build on the strong foundation Zendesk provides, eesel AI is a fantastic complementary option.
Whether you're looking to connect to external knowledge bases or automate complex cross-tool workflows, eesel AI is built to enhance your existing setup.
Try eesel AI for free and see how easily it integrates with Zendesk to create a comprehensive AI layer for your team.
Frequently asked questions
Is there a separate Zendesk AI login portal I need to find?
No, there isn't a dedicated Zendesk AI login portal. You access all AI features directly from your standard Zendesk account using your administrator credentials. Simply log into your company's Zendesk URL and navigate to the Admin Center.
What are the main prerequisites before I can effectively set up and use the Zendesk AI login features?
Before you start, you'll need a Zendesk Suite plan (Professional or above), administrator access to your Zendesk account, and a well-maintained knowledge base in Zendesk Guide. It also helps to have a clear goal for what you want the AI to automate.
How do I actually access the Zendesk AI login settings within my Zendesk account once I'm logged in?
After logging into your Zendesk account, click the gear icon in the left-hand sidebar to enter the Admin Center. From there, look for sections typically labeled "Bots" or "AI Agents" to find the relevant AI-specific settings.
Why is a comprehensive help center crucial for the effectiveness of my Zendesk AI login agent?
Your Zendesk AI agent learns and generates answers primarily from your Zendesk Guide help center. A comprehensive, up-to-date knowledge base ensures the AI has accurate information to provide helpful and relevant responses to customer inquiries.
What if our company's essential knowledge isn't solely within Zendesk Guide; how does this impact the Zendesk AI login agent's performance?
If your crucial company knowledge is stored across various tools like Google Docs or Confluence, Zendesk's native AI is optimized to prioritize its internal ecosystem. To ensure the AI has access to all your external information without moving files, you can use a complementary tool like eesel AI to bridge those sources.
Can I test my Zendesk AI login agent's performance with real customer scenarios before fully deploying it?
While Zendesk offers robust configuration tests, advanced simulation tools like eesel AI's simulation mode allow you to test your AI on thousands of past tickets. This provides a helpful forecast of its automation rate and helps identify knowledge gaps before interacting with live customers.
Can the Zendesk AI login agent do more than just answer questions, like performing actions or updating tickets?
Zendesk's native AI is excellent at answering questions from your knowledge base. For teams requiring specialized automated actions like sorting tickets, updating information in other apps (e.g., Shopify), or creating issues in Jira, you can add a complementary workflow engine like the one offered by eesel AI.