Most customer service teams have experienced this: a conversation ends, but nothing happens. The ticket sits there. No tags get applied. No routing occurs. No one knows what happened or why. The data you need for reporting never gets captured.
Zendesk AI agent event triggers solve this problem. They're part of the Advanced AI add-on and let you automate actions based on specific events during AI agent conversations. When a conversation escalates, ends, or goes inactive, you can trigger workflows automatically.
Here's the short version: event triggers watch for specific moments in AI agent conversations and execute actions when those moments occur. They're different from standard Zendesk triggers (which react to ticket updates) because they respond to real-time conversation events.

This guide covers how event triggers work, what events are available, and how to set them up.
What are Zendesk AI agent event triggers?
Zendesk AI agent event triggers are automated rules that fire when specific events occur during AI agent conversations. They're part of the AI agents - Advanced add-on, which builds on top of the Essential AI agent features included in Zendesk Suite plans.
The key distinction: standard Zendesk triggers react to ticket properties and updates. Event triggers react to conversation moments. A ticket trigger might fire when a ticket's priority changes. An event trigger fires when a conversation escalates to a human, when a session ends, or when a customer goes inactive.
This matters because AI agent conversations happen in real time. You need automation that responds to the flow of the conversation, not just the resulting ticket.
How event triggers differ from other Zendesk automation
| Automation Type | What It Reacts To | Timing | Use Case |
|---|---|---|---|
| Standard triggers | Ticket updates (status, priority, tags) | Immediate | Route tickets, send notifications |
| Automations | Time-based conditions (hours since update) | Hourly | Follow-ups, escalations |
| Event triggers | Conversation events (escalation, session end) | Immediate | Capture conversation outcomes, trigger CRM actions |
The Advanced AI add-on is required for event triggers. It's available for any Suite or Support plan, but you will need to contact Zendesk Sales to add it to your account.
How event triggers work
Event triggers follow a simple pattern: Event → Condition → Action.
- Event: Something happens in the conversation (customer escalates, session ends, etc.)
- Condition: The system checks if criteria are met (optional)
- Action: Something happens (add tags, update fields, trigger external workflows)
Here is how the process works in practice. When a customer is chatting with your AI agent and decides they need a human, the escalation attempt fires an event. Your trigger catches that event and can add an "escalated" tag, update a custom field with the escalation reason, or even call an external API to notify another system.
The power here is that you are capturing data at the moment it matters. Instead of trying to reconstruct what happened from ticket history, you have precise event data you can act on immediately.
Where actions can trigger
Actions can happen in two places:
- Within the conversation: Add tags, update ticket fields, add internal notes
- In external systems: Trigger webhooks to update CRM records, notify Slack channels, or integrate with other tools via the integration builder
This dual capability means event triggers can connect your AI agent conversations with the rest of your tech stack.
Available events for messaging AI agents
Messaging AI agents have access to ten different events. Which ones you use depends on what you're trying to automate.
Conversation lifecycle events
These events track the basic flow of a conversation:
- Conversation started: Fires when a new conversation begins. Use this for initial tagging or routing setup.
- Conversation ended: Fires when the customer ends the conversation or the session duration expires. Good for cleanup actions.
- Session ended: Fires when AI agent automation completes. This happens when the conversation ends, an escalation occurs, or the session times out. After this event, the conversation is evaluated for an automated resolution. Use this to mark the end of automation with tags or labels.
Escalation events
These events track handoffs to human agents.
- Conversation escalation attempt: Fires when the AI agent tries to hand over to a human. This is your early warning signal.
- Conversation escalated to human: Fires when the handover succeeds. Use this for routing and reporting.
- Conversation escalation failed: Fires when the handover encounters an issue. You will want to track these for operational awareness.
Activity and engagement events
These events track customer behavior.
- Conversation inactive: Fires when there's no customer activity for the configured inactivity duration. Useful for managing queue hygiene.
- Suggestion used: Fires when a human agent uses an AI-suggested answer. Helps measure AI assistance effectiveness.
Agentic AI events (Advanced only)
These events are only available for AI agents with agentic AI capabilities:
- End of procedure reached: Fires when the AI agent reaches the end of a generative procedure and the specified time has passed.
- Knowledge answer shared: Fires when the AI agent shares an AI-generated answer.
Source: About events for advanced AI agents
Available events for email AI agents
Email AI agents have a different event model because the interaction pattern is different. Instead of real-time chat, you're dealing with asynchronous ticket-based communication.
The four email events follow a specific sequence:
-
Ticket received by AI agents - Advanced: A message arrives and a ticket is created. This is your entry point. Best used for actions that affect the rest of the process, like collecting user information.
-
(Use case-level and block-level actions happen here)
-
Ticket processed by AI agents - Advanced: The AI has processed the message contents. Best for updating the platform with dynamic session data like phone numbers or emails using entities.
-
Reply delay timer started: The AI agent reply node is reached and the delay timer begins. Only available if you've set up a ticket reply delay. Use this to add tags and internal notes.
-
Reply sent after delay: The AI agent reply is sent after the delay. Use this for post-reply ticket updates to ensure agents can see issues that were previously hidden but later answered.
The sequence matters because each event represents a different stage in the email handling process. You might capture customer data when the ticket is received, process intent when the AI analyzes it, and update status when the reply actually goes out.
Source: About events for advanced AI agents
Setting up event triggers in Zendesk
Configuring event triggers requires the Advanced AI add-on and admin access to your Zendesk account.
Prerequisites
Before you start, make sure you have:
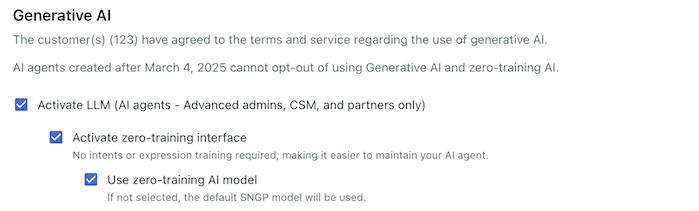
- The AI agents - Advanced add-on purchased and activated
- Admin permissions in Zendesk
- An AI agent configured for either messaging or email
Configuration steps
-
Navigate to AI agent settings
Go to Admin Center, then select AI → AI agents. Choose the AI agent you want to configure.
-
Access the events and actions section
Within your AI agent settings, find the section for managing actions. This is where you'll configure what happens when events fire.
-
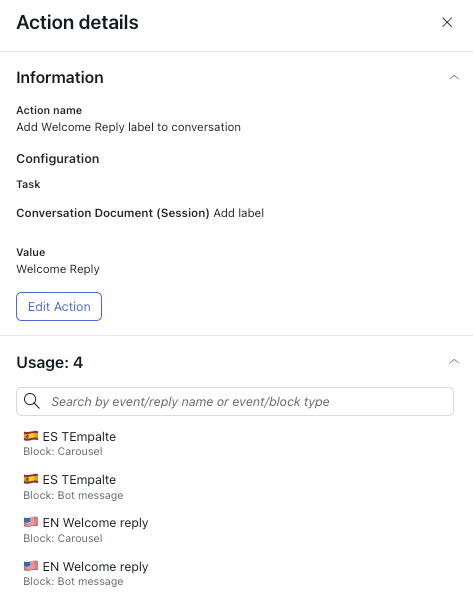
Create actions for your events
For each event you want to handle, create an action. Actions can include:
- Adding tags to tickets
- Updating custom fields
- Adding internal notes
- Triggering external integrations

-
Test your triggers
Before going live, test your event triggers in a sandbox or with test conversations. Verify that:
- Events fire when expected
- Actions execute correctly
- Data is captured accurately
Managing email automation triggers
For email AI agents specifically, you'll manage the email automation trigger separately. This controls how the AI agent handles incoming email tickets and when it sends replies.
The trigger configuration lets you set reply delays, define when the AI should respond versus escalate, and configure how ticket fields get updated throughout the email handling process.
Source: Managing the email automation trigger
Common use cases for event triggers
Event triggers solve specific operational problems. Here are the patterns that work well for teams using AI-powered customer support.
Intelligent ticket routing
When a conversation escalates, you often need different routing logic than standard tickets. Event triggers let you:
- Tag escalated conversations with the escalation reason
- Route based on conversation content captured during the AI interaction
- Prioritize tickets that required escalation versus those that started with humans
Automated tagging and categorization
Manual tagging is inconsistent. Event triggers automate it:
- Apply "ai-handled" tags to conversations the AI resolved
- Tag escalations with the topic that caused the handoff
- Mark inactive conversations for queue cleanup
Internal context for agents
When a conversation reaches a human agent, they need context. Event triggers can:
- Add internal notes summarizing what the AI did
- Capture customer intent identified during the AI conversation
- Flag conversations where the AI was uncertain
Post-conversation actions
After a session ends, you often need cleanup or follow-up:
- Update CRM records with conversation outcomes
- Trigger satisfaction surveys for AI-resolved conversations
- Archive or categorize completed conversations
Managing reply delays for email
Email AI agents with reply delays need careful handling. Event triggers let you:
- Hide tickets from agent views while the delay timer is running
- Reveal tickets after the AI reply is sent
- Add internal notes explaining the delay timing
Best practices for organizing triggers
Event triggers are powerful, but they can become unmanageable if you're not thoughtful about organization.
One trigger, one job
The best practice from experienced Zendesk admins: each trigger should do one thing. Don't create a single trigger that adds tags, updates fields, sends notifications, and calls webhooks. Create separate triggers for each action.
This makes troubleshooting easier. When something isn't working, you know exactly which trigger to check.
Order triggers logically
When you have multiple triggers firing on the same event, order matters. Zendesk processes triggers sequentially. A common pattern:
- Categorization triggers (add tags, identify intent)
- Routing triggers (assign to groups, set priorities)
- Action triggers (update external systems, send notifications)
Document your triggers
Every trigger should have a clear name and description explaining:
- What event it responds to
- What conditions it checks
- What actions it takes
- Why it exists (business purpose)
Your future self (and your teammates) will appreciate the clarity.
Test thoroughly
Event triggers fire in real time. A misconfigured trigger can create chaos quickly. Test in a sandbox environment first. Verify that:
- Events fire when you expect them to
- Conditions work as intended
- Actions produce the right results
- Triggers don't conflict with each other
Extending automation beyond Zendesk with eesel AI
Event triggers handle the Zendesk side well. But many teams need to connect AI agent conversations to other systems in their stack. That's where we come in.
At eesel AI, we integrate directly with Zendesk and extend what you can automate. While Zendesk's event triggers work within the platform, we help you connect those events to external systems without complex webhook configuration.
Here's how we complement Zendesk's event triggers:
-
Connect to your full tech stack: We integrate with Shopify, Salesforce, Jira, and 100+ other tools. When an escalation event fires, we can look up order details, create CRM records, or generate Jira tickets automatically.
-
Plain-English escalation rules: Instead of configuring complex trigger conditions, you define escalation logic in natural language. "If the customer mentions a billing dispute over $500, escalate to the finance team."
-
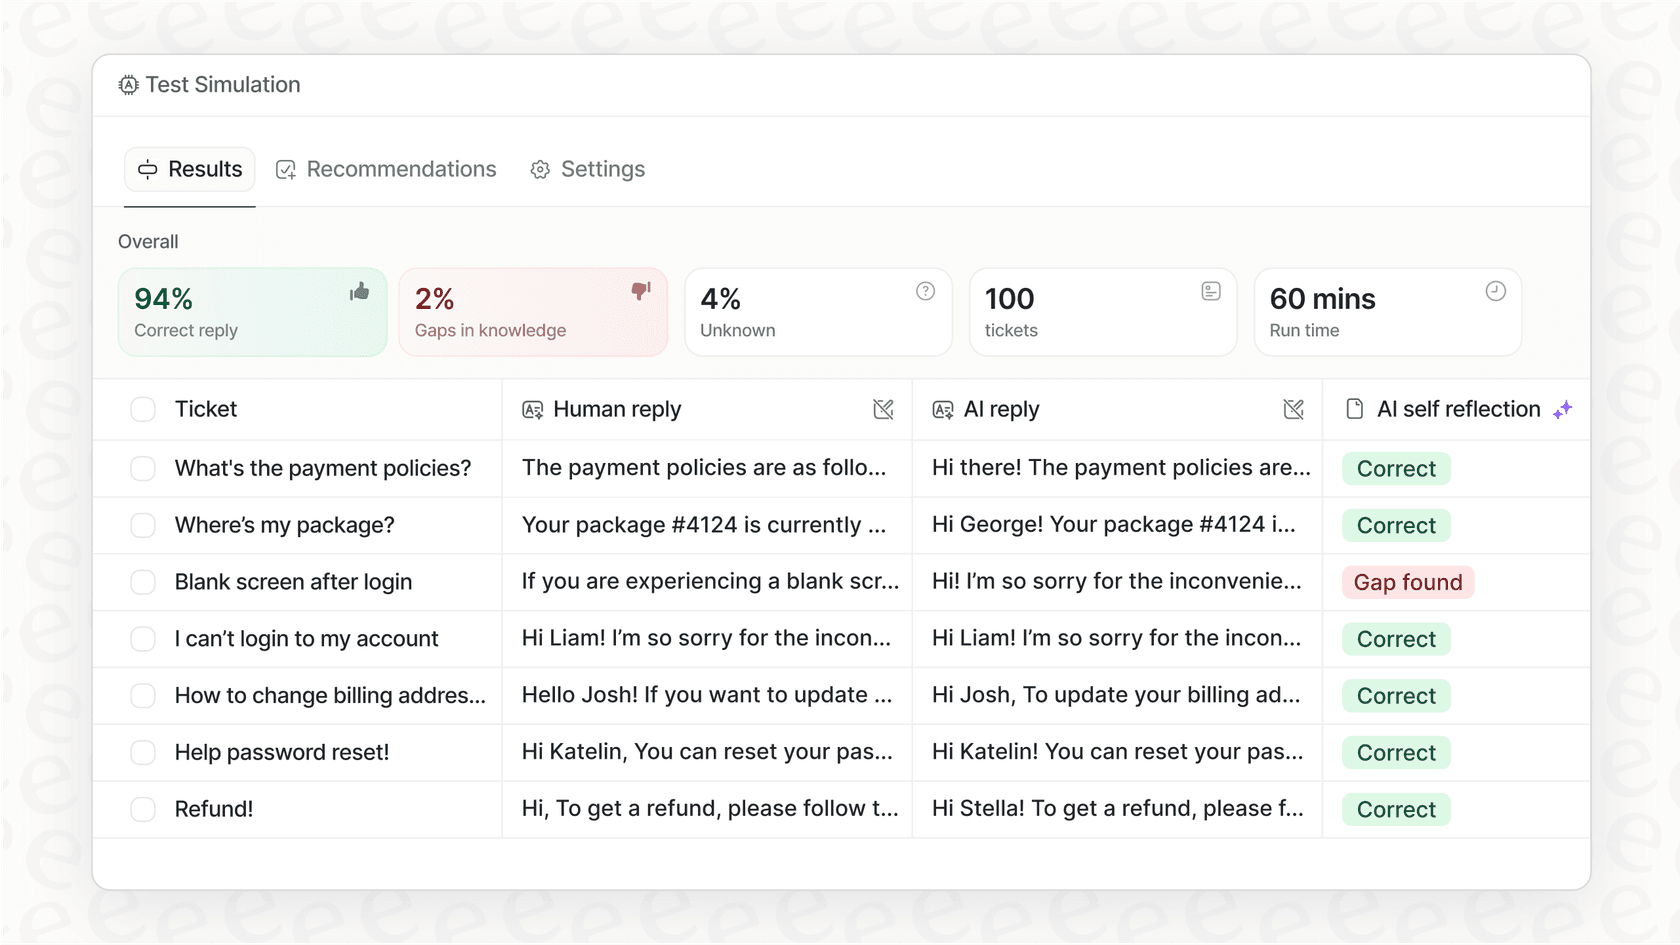
Simulation mode: Test your automation on past tickets before going live. See exactly how your event triggers and connected workflows would have performed on historical data.
-
Gradual rollout: Start with AI Copilot drafting replies for agent review, then expand to full AI Agent automation as you gain confidence. You control the pace.
We work alongside Zendesk's event triggers. Use Zendesk's native triggers for platform-specific actions, and use eesel AI when you need deeper integrations or more flexible logic.
If you're managing high-volume support and need to connect AI agent events to your broader workflow, see how we integrate with Zendesk.
Key takeaways
Zendesk AI agent event triggers give you real-time automation based on conversation events rather than ticket updates. Here's what to remember:
- Event triggers require the Advanced AI add-on for Zendesk
- Messaging AI agents have ten available events; email AI agents have four
- Follow the Event → Condition → Action pattern when designing triggers
- One trigger should handle one job for easier troubleshooting
- Test thoroughly in a sandbox before going live
If you need to connect AI agent events to systems beyond Zendesk, tools like eesel's Zendesk integration can extend your automation capabilities with deeper integrations and plain-English configuration.