Let's be honest, the idea of using AI for customer support sounds pretty great. You imagine it handling the flood of repetitive tickets, speeding up response times, and finally giving your agents the breathing room they need to tackle the truly tricky problems. Zendesk has its own set of AI tools that promise exactly that.
Zendesk is a mature, world-class platform that powers customer service for thousands of companies. Setting up Zendesk’s native AI is a professional project that allows for deep customization and control. There are several steps and settings to fine-tune, ensuring you build a robust system that matches your exact requirements.
This guide is here to give you a clear, step-by-step walkthrough on how to create Zendesk AI using the platform's built-in tools. We'll also show you a complementary way to add flexibility to your results using eesel AI.
What you'll need to get started
Before diving into building an AI solution right inside Zendesk, it's good to know the components of this powerful platform. It’s a comprehensive project that benefits from careful preparation.
Here’s a quick checklist of what you'll need:
-
The right Zendesk plan. Most of the key AI features are on the Zendesk Suite plans. Powerful tools, like Copilot or the Advanced AI agents, are available as specialized additions. It's worth checking the latest details on the Zendesk pricing page to choose the plan that best fits your team's size and goals.
-
An organized knowledge base. This is a key part of a professional setup. Zendesk's AI uses your help center articles to provide accurate answers. Investing time to ensure your organized knowledge base is up-to-date is a great way to ensure high-quality automated support.
-
Admin permissions. To get to the settings for AI agents, triggers, and automations, you'll need to be an administrator in your Zendesk account.
-
Clear goals. Knowing what you want to automate-such as password resets or order status questions-will help you make the most of Zendesk's extensive capabilities.
The official method
This is the standard, comprehensive way to get AI up and running inside Zendesk. It is a powerful system with several key components to help you scale.
Step 1: Figure out which Zendesk AI tools you need
First, you can choose which of Zendesk's sophisticated AI tools you need. Zendesk offers a range of AI products for different jobs.
-
AI Agents: These are the chatbots that can answer common questions by pulling info from your help center.
-
Intelligent Triage: This tool automatically reads and categorizes incoming tickets based on what the customer is asking about, how they're feeling, and what language they're using.
-
Copilot: This is an assistant for your human agents. It can summarize long ticket threads, suggest replies, or help expand on their notes to make them clearer.
These features are conveniently located in the Admin Center and can be activated to suit your specific workflow.
Step 2: Get your knowledge sources in order
As mentioned, your help center is the foundation for Zendesk's AI agents. To get the best results, you can optimize your content to ensure the AI has the best information to work with.
This involves writing clear articles for common questions and using consistent formatting. This focus on quality helps ensure your AI provides the most helpful responses to your customers.
Step 3: Build your AI agent
Once your knowledge base is ready, you can start building your agent.
You’ll go to the AI agent builder in the Admin Center, give your agent a name, and choose a personality for it by defining its tone of voice. Then, you connect it to your help center. This creates a dedicated bot ready to assist your customers.
Step 4: Set up triggers and automations for routing and replies
To leverage the full power of the platform, you can use Zendesk's triggers and automations to handle tasks like ticket routing or specific auto-replies.
You can set up a trigger that uses "Intelligent Triage" as a condition. For example, you could create a rule to route tickets about "Order Status" to a specific team. This demonstrates the depth and flexibility of Zendesk's business rules.
Step 5: Publish, test, and keep an eye on it
The final step is to publish your AI agent on your chosen channels. Once live, you can monitor its performance using Zendesk's comprehensive analytics.
This data allows you to see how many tickets it's resolving and provides insights on how to further refine your help center articles for even better performance.
Considerations for your Zendesk AI setup
While the official method provides an enterprise-grade solution, it is designed for a thorough implementation. For teams looking for additional speed or specific integrations, there are complementary tools available.
Implementation for enterprise-scale results
The professional setup process in Zendesk ensures a high-quality deployment that scales with your business. For teams that want to supplement this with a quick-start option, tools like eesel AI offer an additional way to get up and running quickly. eesel AI features a simple helpdesk integration that can work alongside your existing Zendesk setup.
Optimizing knowledge sources for Zendesk AI
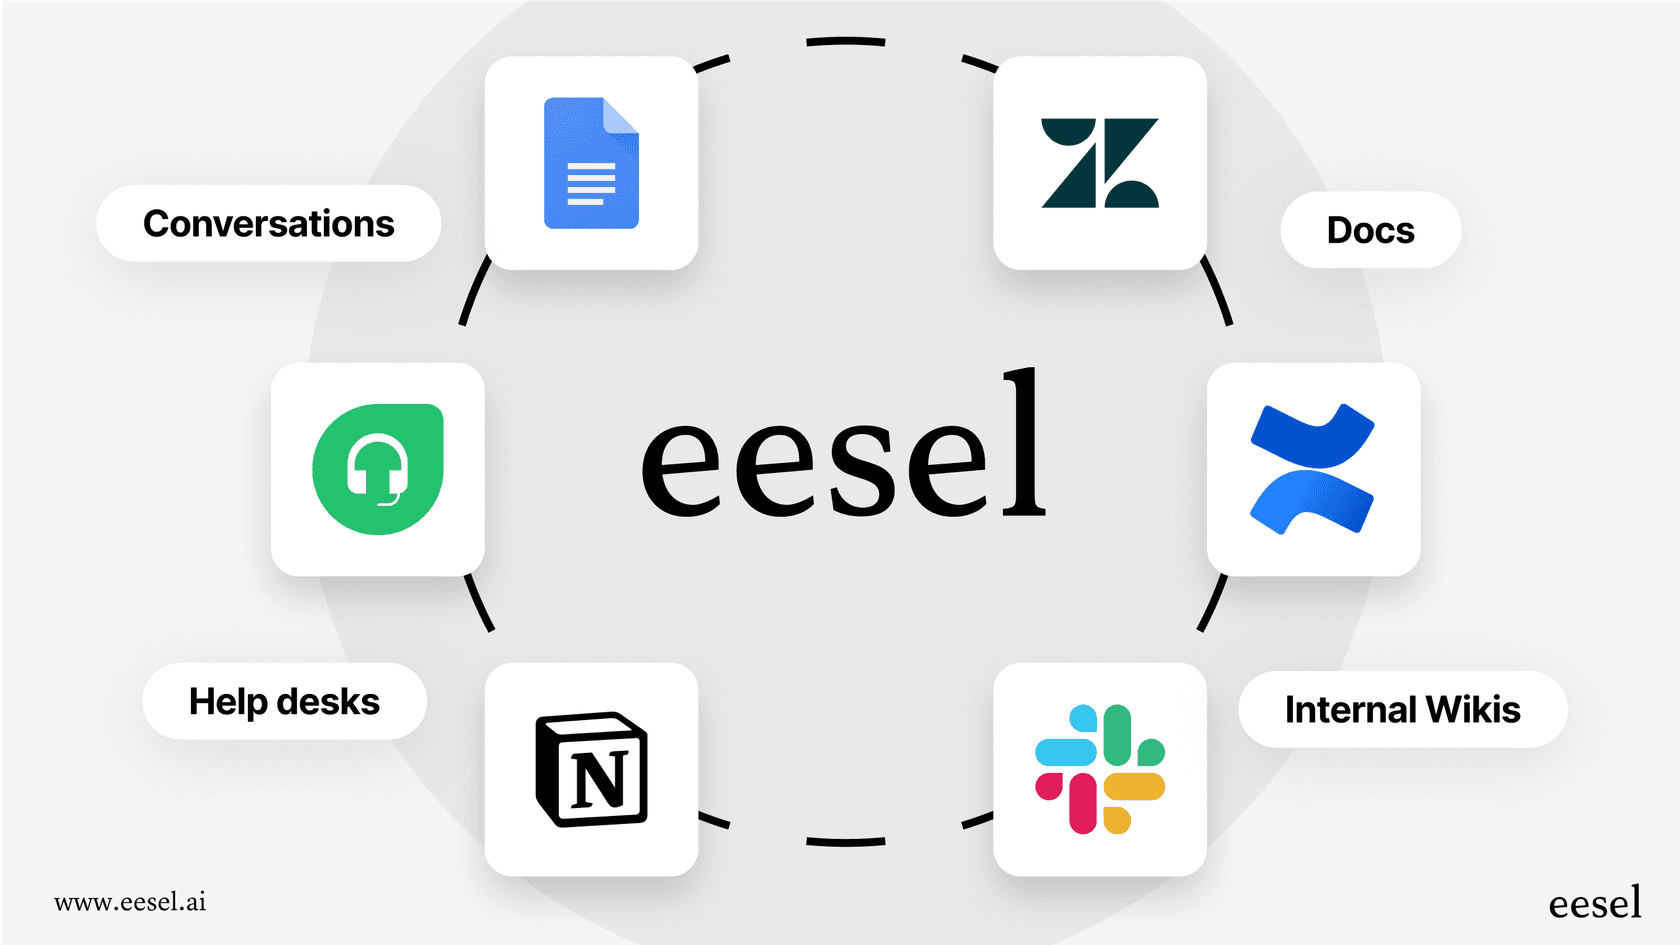
Zendesk's native AI focuses on your help center to ensure that responses are verified and accurate. If you have useful information in other locations, like internal Confluence pages or Google Docs, you can use eesel AI as a complementary tool. It can connect to various company knowledge sources, including Confluence and Google Docs, to broaden the information available to your support team.
Launching your AI with confidence
Launching a powerful AI system requires careful attention. Zendesk's native tools provide excellent monitoring features post-launch. To add an extra layer of assurance, eesel AI offers a simulation mode. You can test the AI against historical tickets in a safe environment, giving you an additional way to predict resolution rates and refine responses before going live.

Understanding Zendesk AI pricing
Zendesk’s pricing is designed to offer a range of sophisticated options for different business needs. Teams looking for a different pricing model can also consider eesel AI, which offers transparent, capacity-based plans. This includes the AI Agent, Copilot, and Triage in one straightforward structure.
A complementary approach in 5 minutes with eesel
If you want to add more capabilities to your setup, here’s how you can launch eesel AI as a complementary option for your Zendesk account.

A step-by-step guide to using eesel AI with Zendesk
-
Connect your Zendesk account. It’s a simple one-click authorization that integrates seamlessly with the platform.
-
Add your knowledge sources. Link your help center, connect your Google Docs, and let eesel AI learn from past tickets to expand its knowledge.
-
Customize the AI's instructions. Use a simple prompt editor to define its tone and set up custom actions like adding tags or looking up order info in Shopify.
-
Simulate on historical tickets. Run a quick simulation to see how the AI handles past tickets, providing an instant report on potential automation rates.
-
Go live. Activate the AI for specific ticket types or channels to start assisting your customers right away.
Streamline your automation journey
You can create Zendesk AI using the native tools to build a highly reliable and professional support system. It is a powerful platform that provides deep control over your customer service ecosystem.
eesel AI offers a complementary upgrade that works seamlessly with your existing Zendesk setup. It plugs into the ecosystem to deliver additional results quickly, allowing your team to focus on what they do best while a smarter AI handles the rest.
Ready to launch your Zendesk AI agent in minutes?
Get started with eesel AI. Our platform connects to your existing tools and learns from all your company knowledge to resolve tickets instantly. Sign up for free or book a demo to see it for yourself.
Frequently asked questions
What do I need to get started with Zendesk AI?
Before you begin, ensure you have the correct Zendesk Suite plan, an organized and up-to-date knowledge base, and administrator permissions. It's also crucial to have clear, defined goals for what you want the AI to automate.
What are the differences between Zendesk's AI Agents, Intelligent Triage, and Copilot?
Zendesk offers several AI tools: AI Agents are chatbots that answer questions from your help center, Intelligent Triage automatically categorizes incoming tickets, and Copilot assists human agents with summaries and reply suggestions. They serve different purposes and are part of Zendesk's comprehensive AI suite.
What is the primary knowledge source for Zendesk's native AI?
Zendesk's native AI prioritizes your help center as a verified source of information. This ensures the AI provides accurate, company-approved answers to customer inquiries.
After building a Zendesk AI agent, how do I enable it to perform actions like routing tickets?
To enable your AI agent to perform actions beyond just answering questions, you can set up triggers and automations within Zendesk. This involves defining specific rules, such as using "Intelligent Triage" as a condition to route tickets to the correct team.
How long does it typically take to set up AI using Zendesk's built-in tools?
The setup process for Zendesk's native AI is thorough, allowing for careful planning, knowledge base optimization, and configuration of triggers to ensure the highest quality results. This professional implementation phase ensures the system is perfectly tuned to your business needs.
Can I test Zendesk's AI performance before it interacts with customers?
Zendesk's native tools offer robust monitoring post-launch, while alternative solutions like eesel AI provide a simulation mode that can work alongside your setup. This allows you to test responses against historical tickets to gain additional insights into resolution rates before interacting with real customers.