How to build a Hubspot AI chatbot

Kenneth Pangan
Last edited January 16, 2026

Ever feel like you're trying to manage way too many conversations all at once? In today's busy world, people really expect quick answers, whether it's the middle of the workday or late at night. This is where chatbots become incredibly useful, acting like helpful team members who are ready to assist around the clock. And with AI joining the party, these aren't just simple bots following a script anymore; they can actually understand things better and give more helpful responses.
HubSpot, a mature and reliable platform many businesses already use for keeping track of customers and running marketing campaigns, offers powerful tools to build these conversational helpers. They started with helpful bots that followed rules, and HubSpot has been adding impressive AI features to make them even smarter over time.
This guide is here to help you walk through building a chatbot using HubSpot's Chatflows tool. We'll cover everything from getting things set up to figuring out how the conversation should flow, and we'll point out where HubSpot's AI features fit in. We'll also chat a bit about how specialized AI solutions, like eesel AI, can work as a complementary add-on to take support automation even further, especially if you're looking for additional flexibility that works alongside HubSpot.
What you'll need to get started
Before you jump into building your chatbot in HubSpot, there are a few things you'll want to have ready. Think of these as the must-have items for your project:
-
A HubSpot account. HubSpot offers tiered plans to match different team sizes, so the specific chatbot features you can use might depend on the plan you have.
-
The right permissions inside your HubSpot account. Specifically, you'll need Chatflows permissions under the CRM tab so you can create and change chatflows, according to HubSpot's own documentation.
-
A connected chat channel or inbox set up in HubSpot. This is where your chatbot conversations will happen and where you'll manage everything.
-
If your website isn't hosted directly on HubSpot, you'll need to make sure the HubSpot tracking code is installed on the pages where you want the chatbot to show up. If that code isn't there, the bot won't appear.
Understanding Hubspot's chatbot capabilities
HubSpot gives you a few robust ways to automate conversations, and it helps to know how they work before you start.
The main tool is Chatflows, where you build bots that follow rule-based flows - like a script you map out using clicks and responses. These are great for tasks like answering common questions or guiding users to the right page.

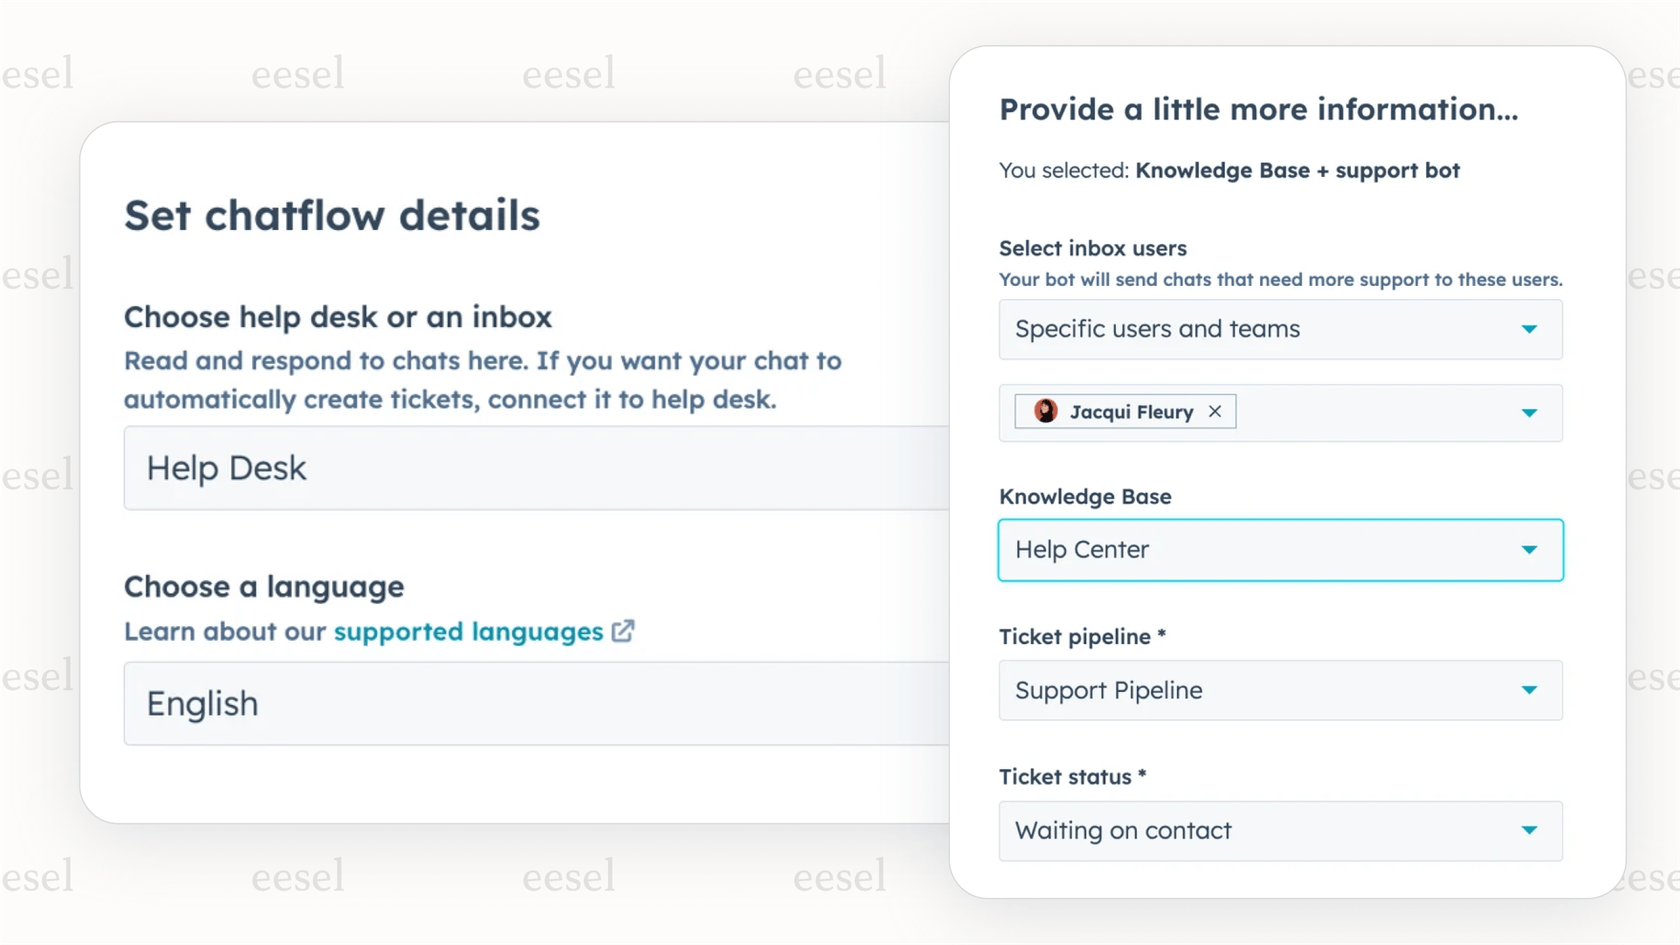
HubSpot has also added sophisticated AI-powered features. Most notably, you can connect your bot to your Knowledge Base, so it can pull helpful articles directly to assist your users.
In contrast, HubSpot’s AI Assistants (or Copilots) are for internal use. These help your team draft emails, summarize content, or find info, providing a powerful internal boost while your customer-facing chatbot handles visitor queries.
If you're looking for even more specialized automation, tools like eesel AI can complement your setup. They can train on support tickets, internal docs, and over 100 sources, working alongside your HubSpot Knowledge Base to give the bot more context and accuracy.
Knowledge source comparison:
-
HubSpot AI: Pulls directly from your HubSpot KB articles, ensuring your official documentation is the primary source.
-
eesel AI: Pulls from help desks (like Zendesk or Freshdesk), tickets, docs, FAQs, and wikis to supplement your existing data.
Step-by-step guide to building your Hubspot AI chatbot
Ready to put together your conversational helper? Let's walk through the steps in HubSpot, one by one.
Step 1: Find the chatflows tool
Your journey starts inside your HubSpot account. Once you're logged in, head over to the main menu.
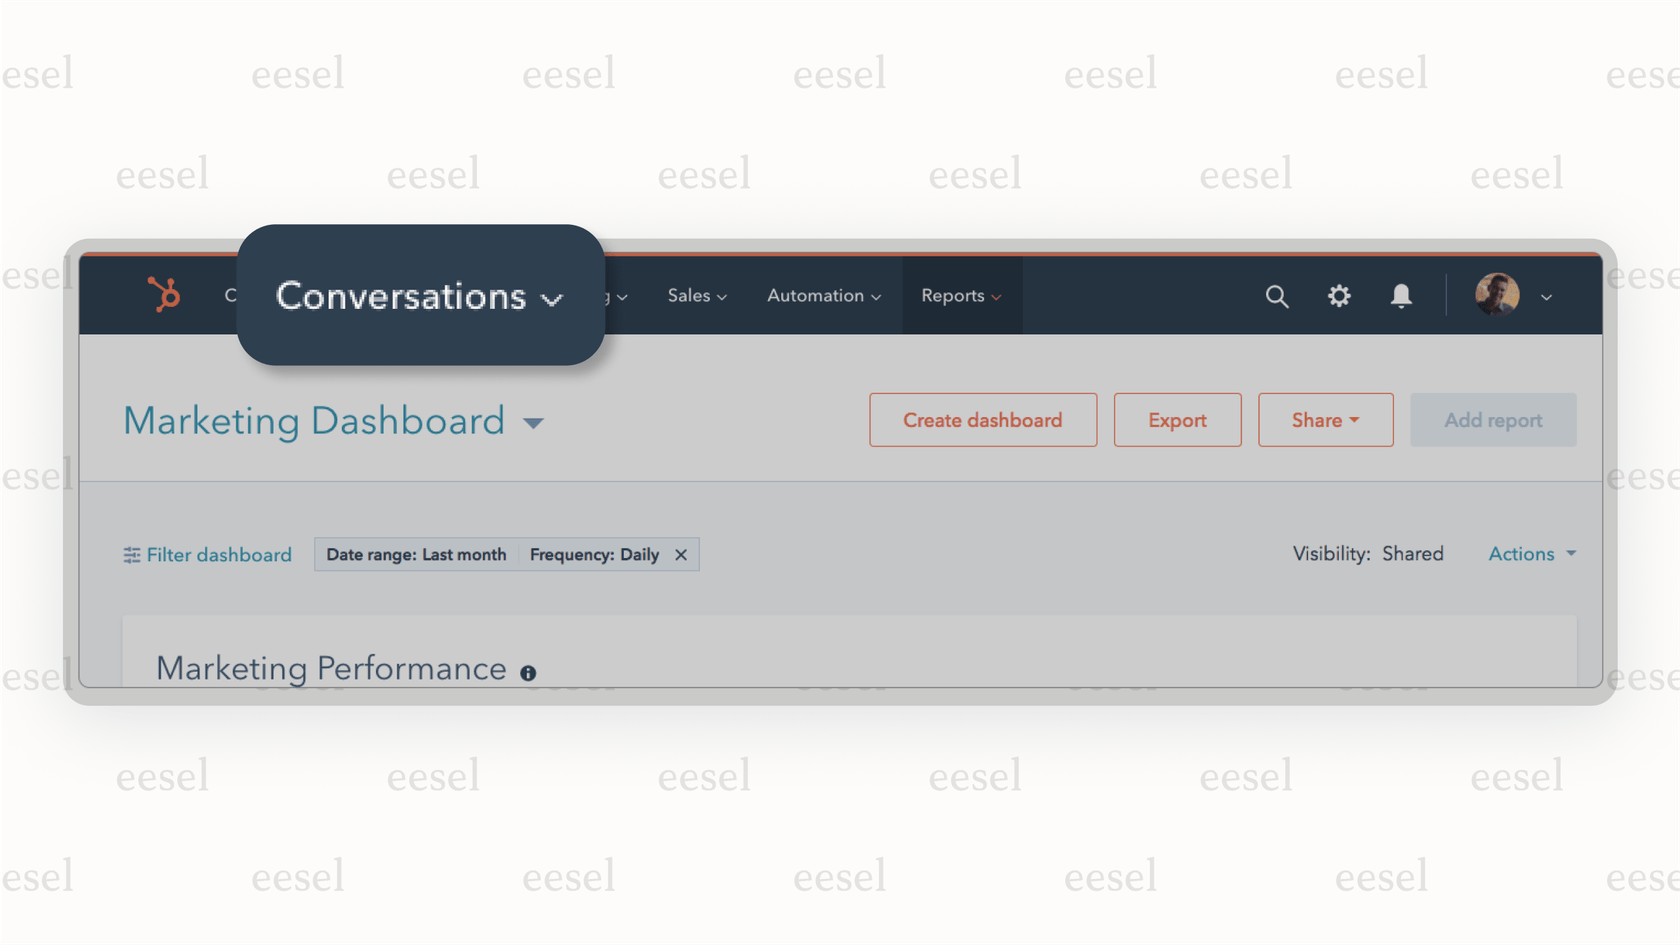
You'll want to find the "Conversations" section. Click on that, and then pick "Chatflows" from the list that drops down. This is your main spot for creating and managing all your chatbot and live chat setups in HubSpot.
Step 2: Make a new chatflow
Now that you're in the Chatflows area, you'll see a button to create a new chatflow. Go ahead and click it.
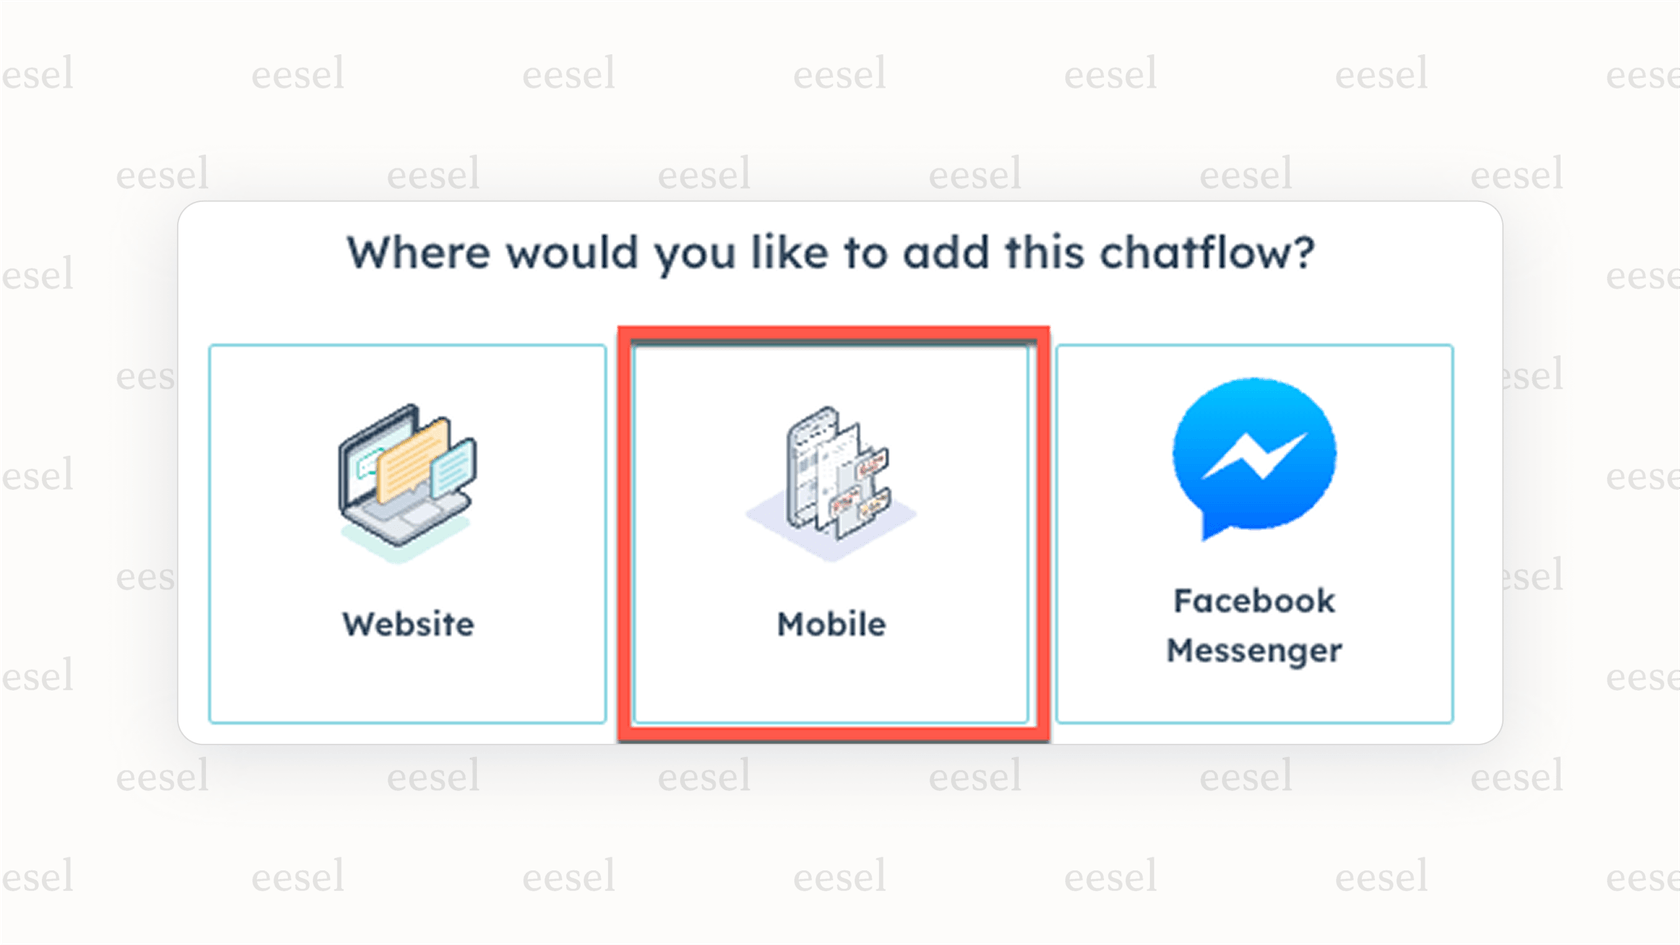
HubSpot will ask you what kind of chatflow you want to make. For a chatbot on your website, choose "Website." (You can also make bots for Facebook Messenger, but we're focusing on websites here). On the next screen, you'll pick the type of chat experience. Select "Rules-Based Chatbot." This reliable tool lets you build a bot and include HubSpot's AI features like linking to your Knowledge Base.
You'll choose between:
-
Website: For embedding the chatbot on your website pages.
-
Facebook Messenger: For connecting the chatbot to your Facebook page.
And then select the chat experience:
-
Live chat: For connecting visitors directly to a human agent.
-
Rules-Based Chatbot: For building an automated conversation flow.
Step 3: Set up your chatbot's main actions
After you've picked the type, you'll land in the chatbot builder area. First, choose the inbox or help desk you want to connect this chatflow to and set the language.
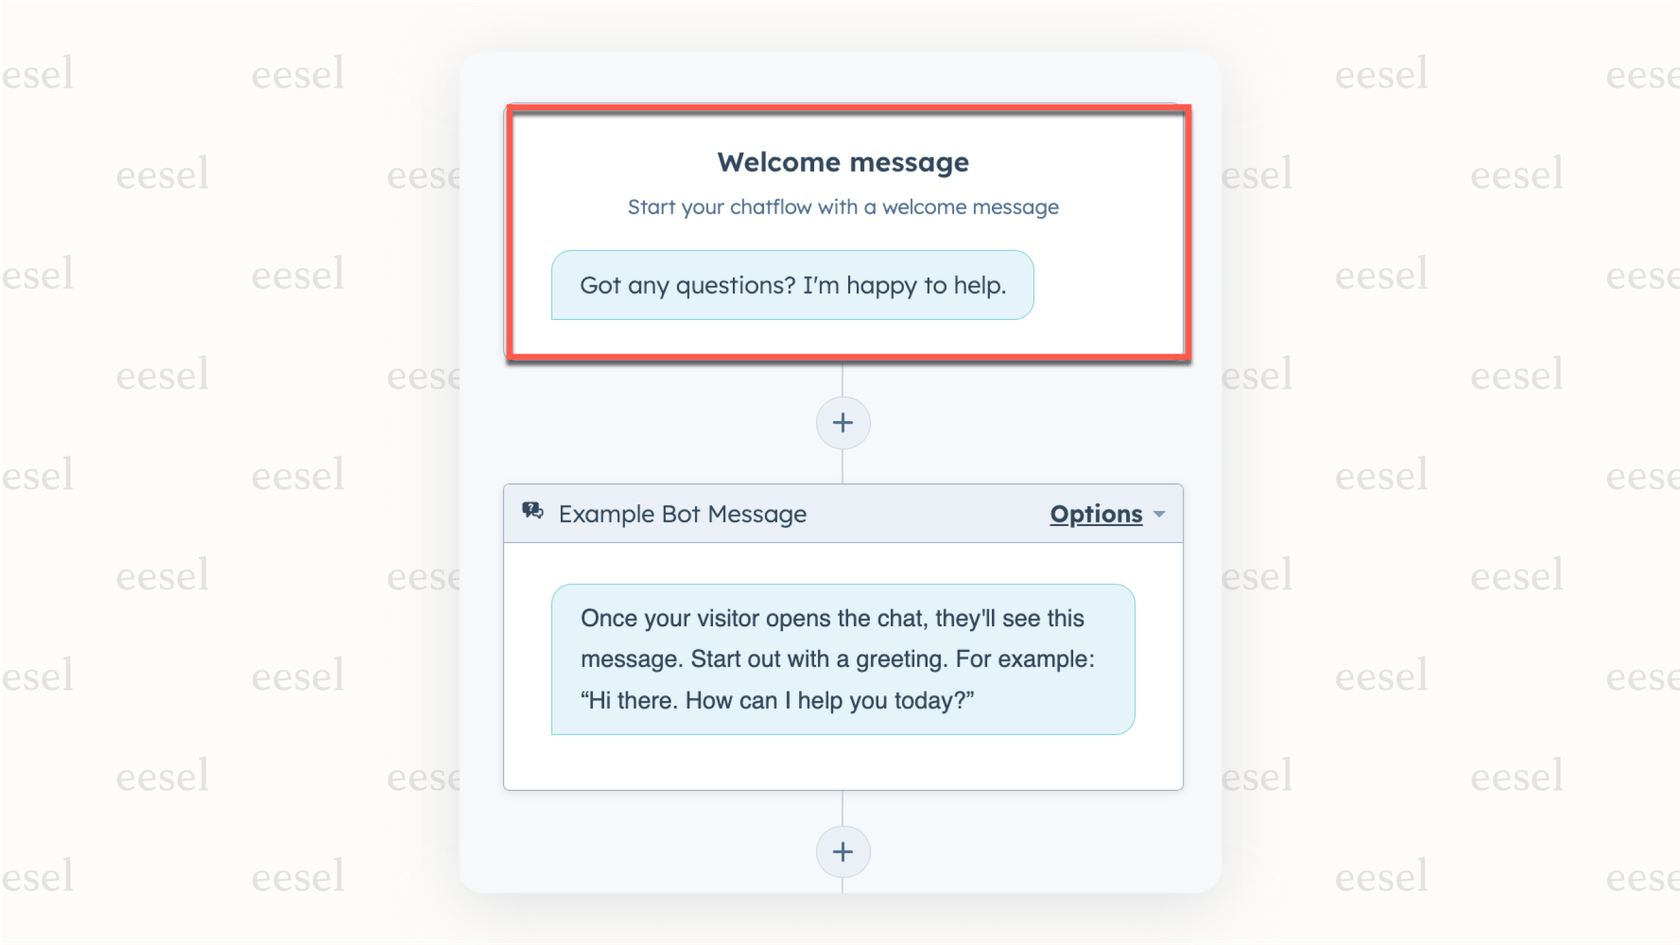
Next, you can either pick a template or start from scratch. Either way, you'll need to set up the first message that greets visitors.
Now for the fun part: adding actions. Click the "+" icon in the builder to add steps to the conversation. You can add things like:
-
Asking questions to get information from the visitor.
-
Setting details about the contact based on their answers.
-
Sending the chat to a specific team member or team.
-
Adding a "Knowledge base lookup" action.
This "Knowledge base lookup" is where HubSpot's AI feature within the builder really helps, letting the bot search your connected HubSpot Knowledge Base and share relevant articles or summaries.
While it's helpful that HubSpot can pull from its own Knowledge Base, specialized AI solutions like eesel AI can also learn from a wide variety of sources to complement the HubSpot KB. This includes things like past support tickets, internal company documents, and outside wikis, which can provide additional context for your team.
Step 4: Design how your conversation flows
The builder gives you a visual way to map out the conversation path. You'll connect the actions you added in the last step to create a logical flow.
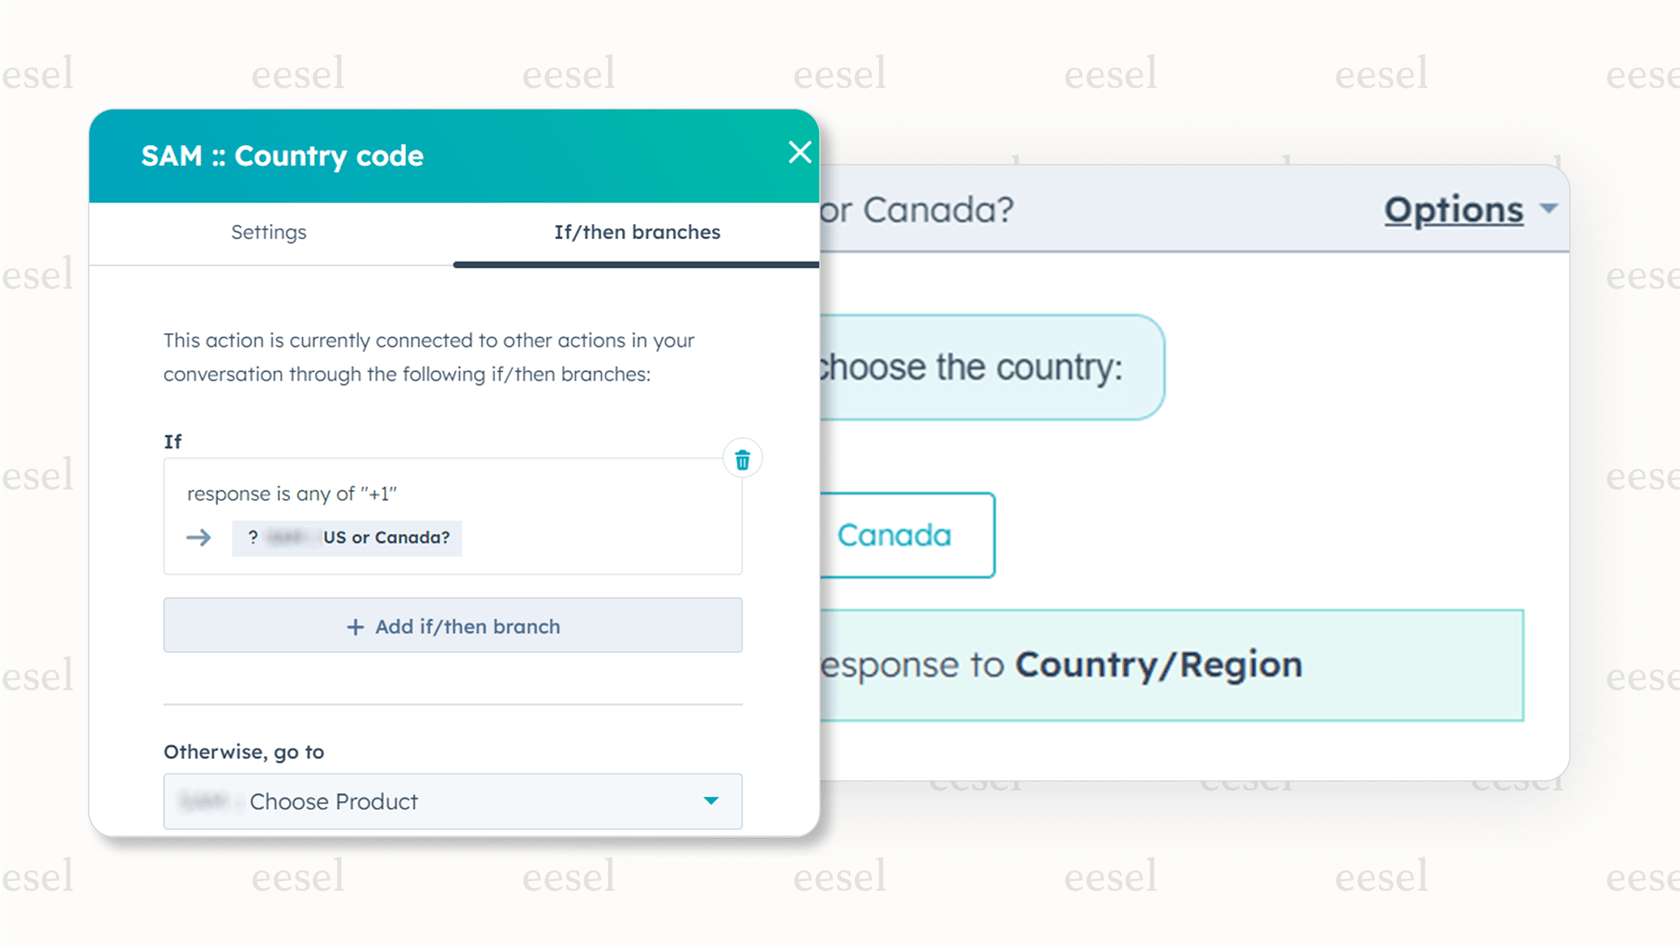
To make your conversations dynamic, use "if/then branches." These let the bot go down different paths depending on what a user says, a detail about the contact, or other conditions. For example, if someone says their issue is "Billing," the flow can branch off to ask billing-specific questions or show relevant Knowledge Base articles.
It's a good idea to design paths that make sense and try to guess common questions and situations. Map out how the chat should go for different reasons people might contact you, and make sure there are clear ways for users to get the help they need.
For teams building highly complex flows that connect with many outside systems, platforms like eesel AI offer additional specialized features that can complement HubSpot's standard logic and AI lookups.
Step 5: Customize how it looks and its settings
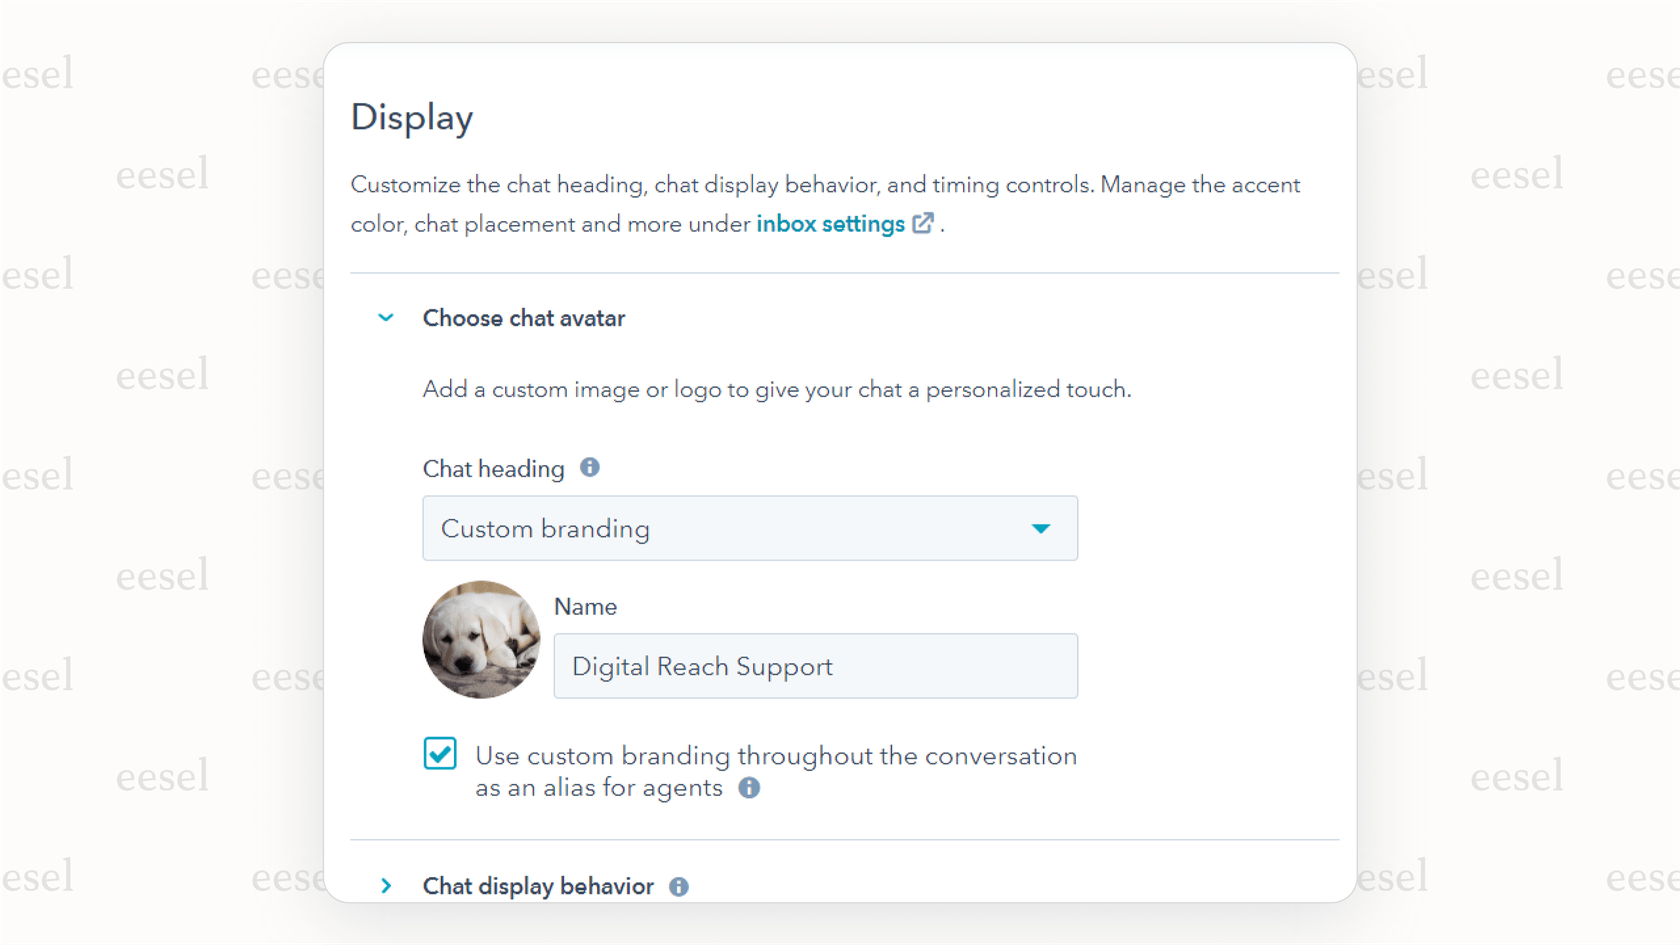
Once you've mapped out how your conversation should go, head over to the "Display" tab. Here, you can change how the chatbot looks on your website.
You can customize:
-
The chat picture and the title at the top of the chat window.
-
When the bot shows up (decide if the welcome message pops open right away or if just the little chat icon appears).
-
Rules for when the bot appears, like after someone has been on the page for a certain amount of time or when they look like they're about to leave.
Next, check out the "Options" tab. Here you can set things like:
-
How long the bot pauses before typing.
-
How long a chat session lasts before it resets.
-
The general message users see if something goes wrong.
-
The bot's language.
-
If it should be available based on your team's working hours.
-
Data privacy settings, including asking for cookie consent and permission to use data.
Step 6: Set rules for where it appears
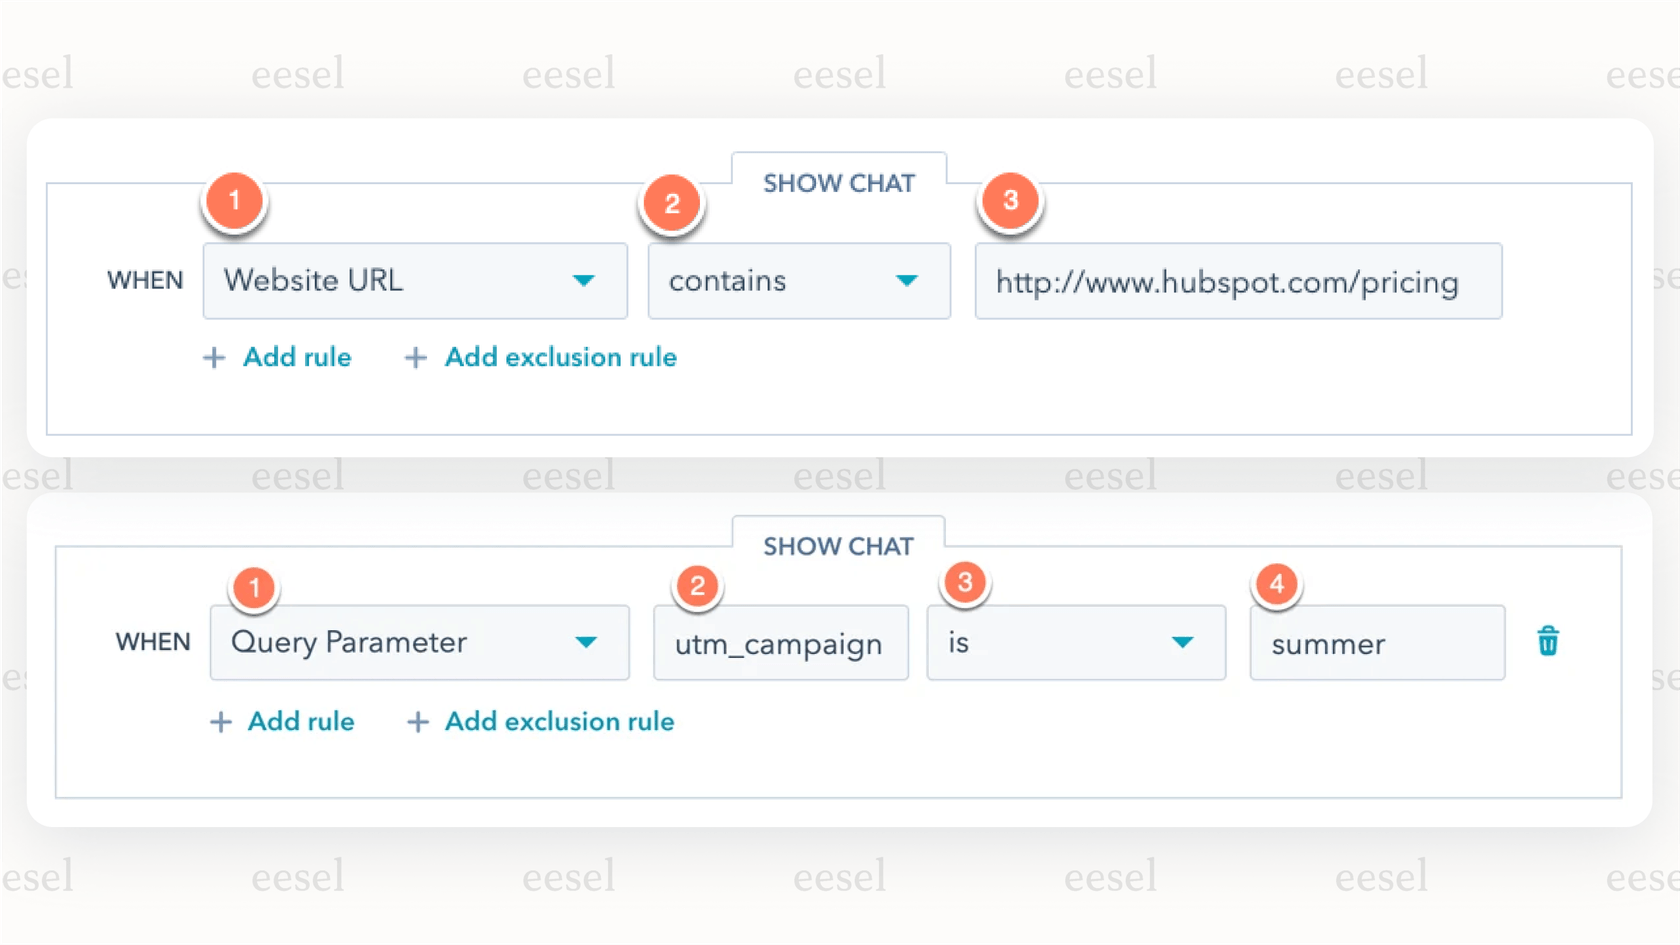
Now, you need to tell HubSpot exactly where you want your chatbot to show up. Go to the "Target" tab.
You can set rules based on:
-
Specific web page addresses.
-
Pages that include certain words.
-
Information you already know about your visitors, like details you have in their contact profile.
Use inclusion rules to say where the bot should be and exclusion rules to stop it from showing up on certain pages, like your privacy policy or checkout page. This lets you make the chatbot experience just right for different parts of your website.
Step 7: Test it out and turn it on
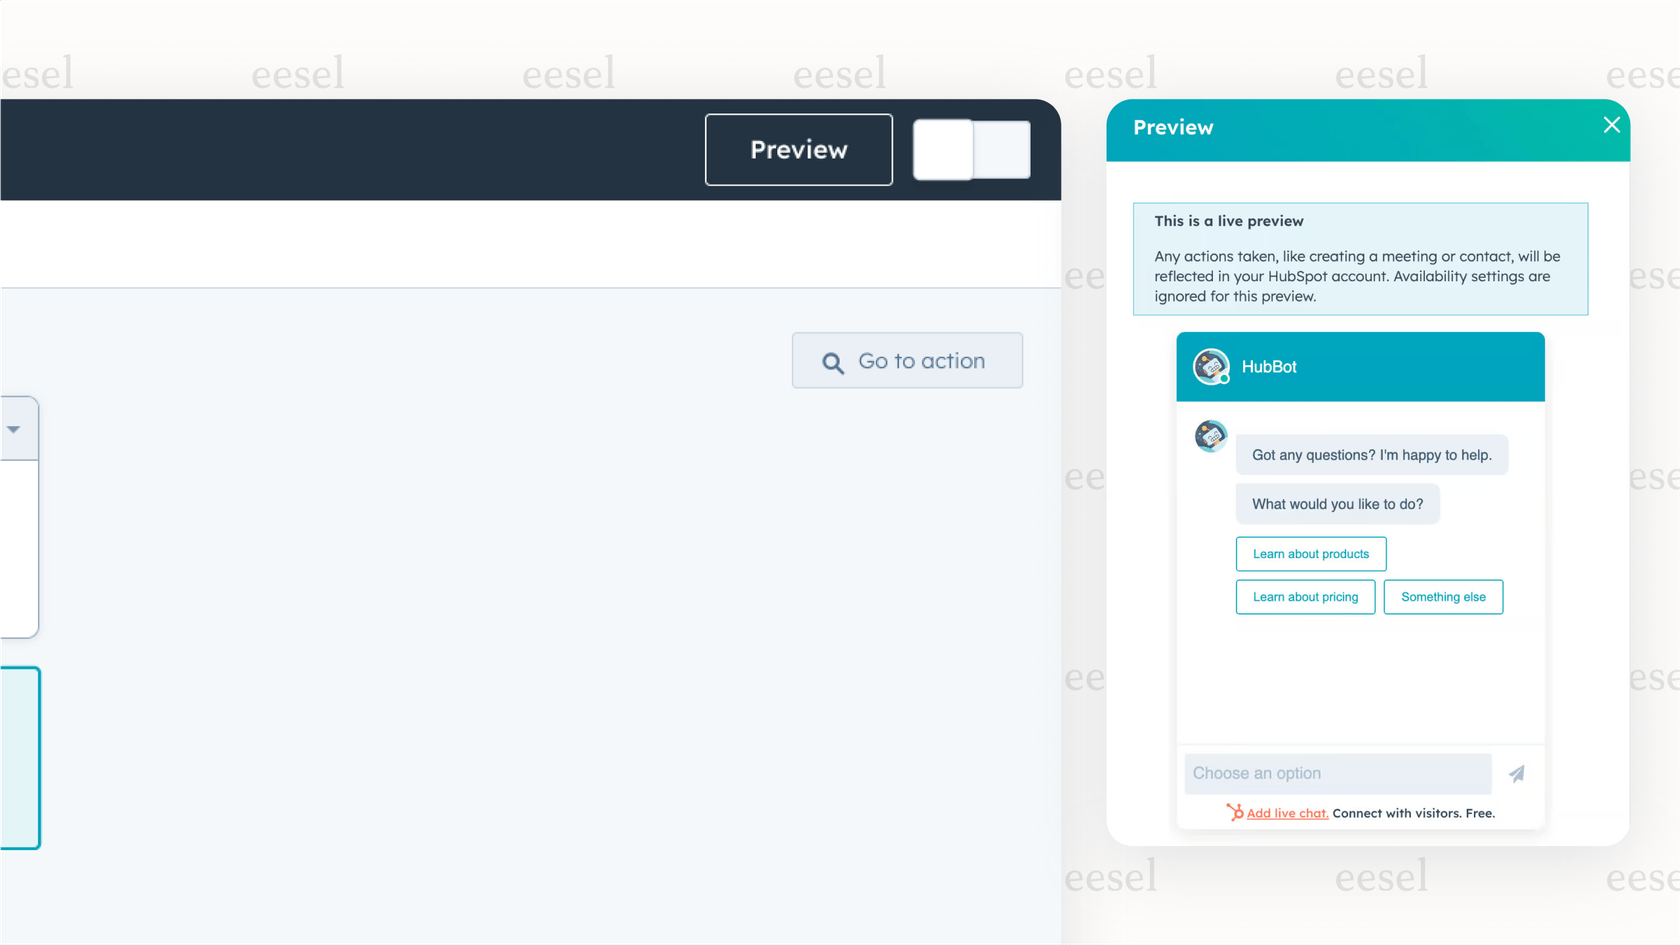
Before you let your chatbot loose on the world, it's really important to test it. Use the "Preview" function in the builder to go through the conversation flow just like a visitor would. Try out different things people might type to make sure the bot answers the way you expect.
Once you feel good about it, go back to the main chatflows list and click the little toggle switch next to your chatbot's name to turn it on. It will then start appearing live on the pages you picked in your targeting rules.
HubSpot's preview is excellent for checking the flow. If you want to take testing a step further, tools like eesel AI offer complementary options to simulate how the bot would respond to actual past support tickets, giving you even more confidence before going live.
Tips and best practices for your Hubspot AI chatbot
Building the chatbot is just the start. To make it work really well, especially when you're using its AI features, here are some tips and good practices to keep in mind:
-
Define its purpose: Be clear on what your chatbot is solving, whether it's support, lead gen, or bookings.
-
Know your audience: Match the bot’s tone and flow to how your users talk and what they usually ask.
-
Organize your content: Keep your HubSpot Knowledge Base accurate and updated. You can also use eesel AI to pull from wider sources like past tickets or internal docs.
-
Keep flows logical: Build clear paths for common questions and always allow an easy option to reach a human.
-
Review and refine: Use reports to spot where the bot can improve. Tools like eesel AI’s Knowledge Gap Analysis can help you identify areas to strengthen its answers.
-
Enable smooth handoffs: Set up a clear handoff process, so agents can jump in with full context.
-
Involve the team: Coordinate with support, marketing, and devs to keep the chatbot useful and on-brand.
Enhancing your Hubspot AI chatbot with eesel AI
While HubSpot gives you a strong starting point for building chatbots with great built-in AI, specialized solutions like eesel AI can act as a complementary partner to provide even more advanced support automation.
Here are some key areas where eesel AI works alongside HubSpot to enhance your experience:
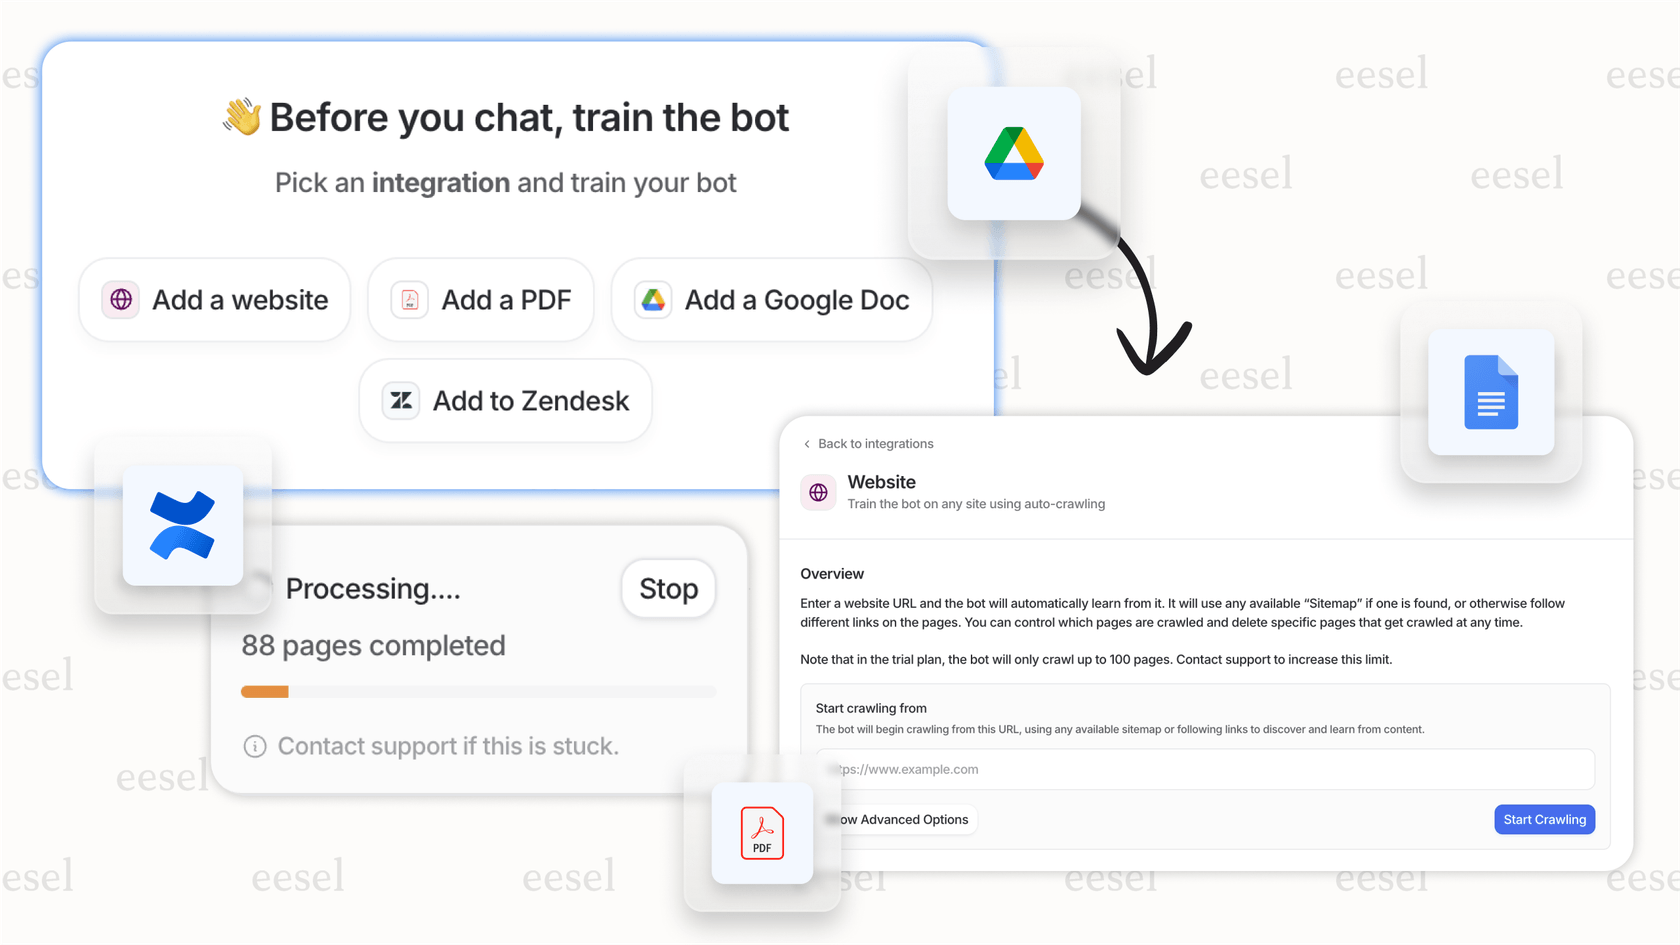
- Expanded knowledge sources: HubSpot's built-in AI is designed to work seamlessly with its own HubSpot Knowledge Base. To supplement this, eesel AI can learn from over 100 different sources, including Google Docs, Confluence, and internal wikis, ensuring your bot has access to all your team's collective knowledge.
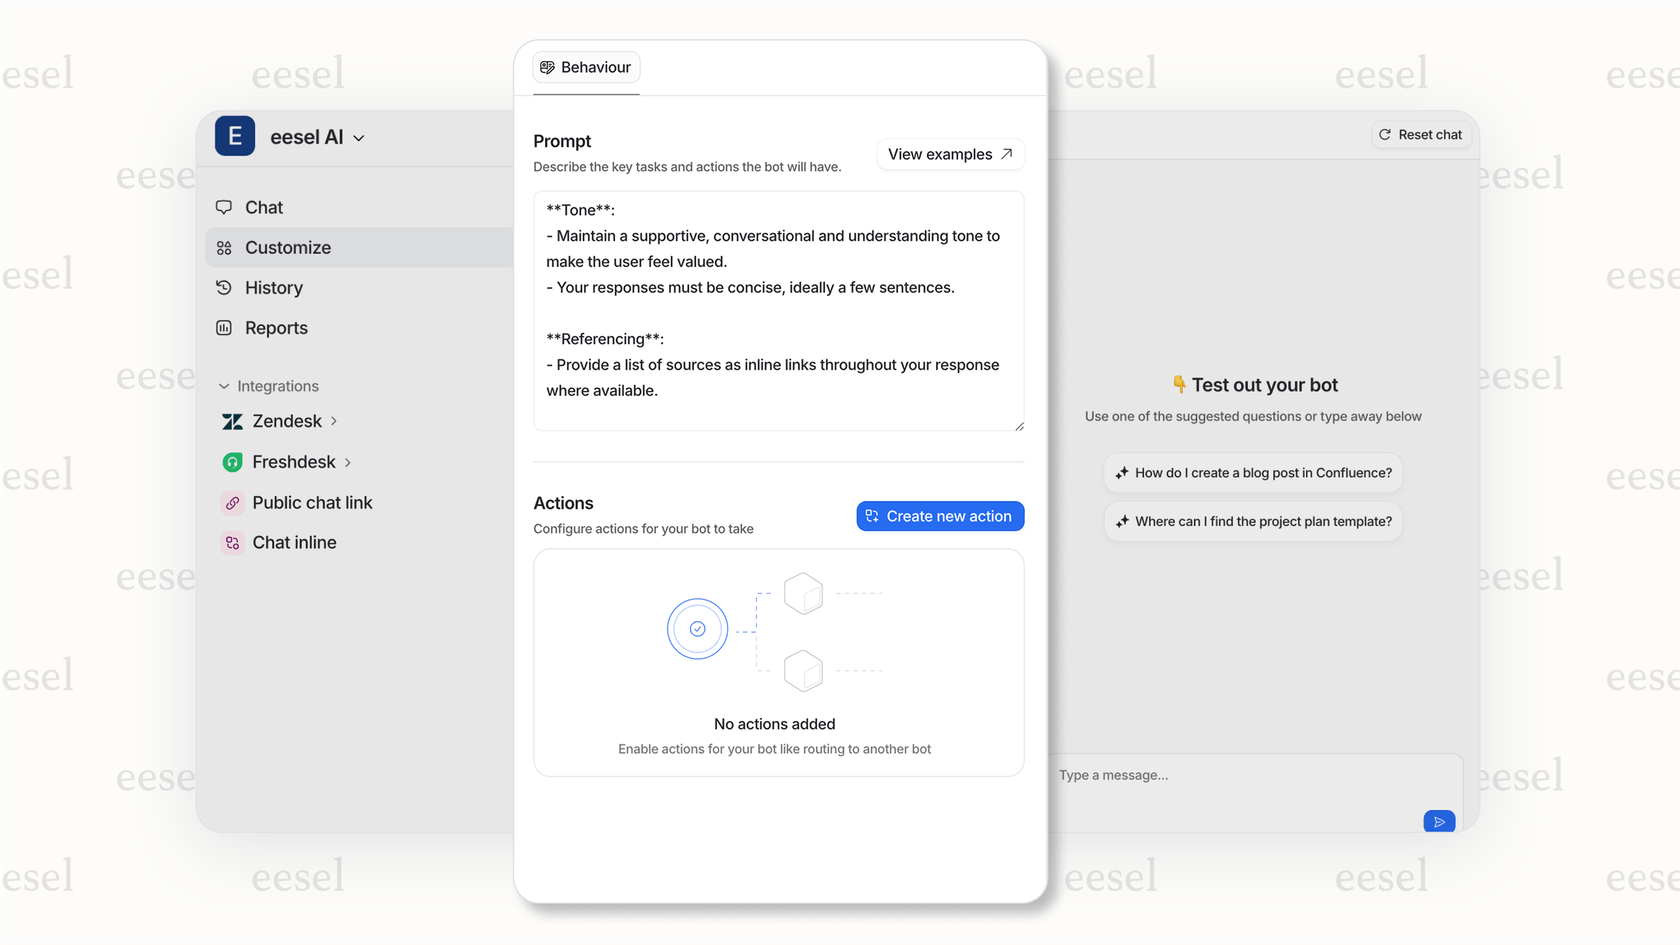
- Detailed tone control: HubSpot offers great preset options for how your bot sounds. eesel AI can provide even more granular control over the bot's personality, allowing you to give specific instructions for unique cases.
- Advanced testing: HubSpot offers a reliable preview feature. eesel AI provides complementary testing features, letting you see how the bot performs on historical data from past tickets, helping you predict how well it will work in the real world.

- Extended actions: HubSpot's built-in actions are powerful for managing CRM data. eesel AI can expand these capabilities by performing custom API actions, such as interacting with other specialized tools in your stack.
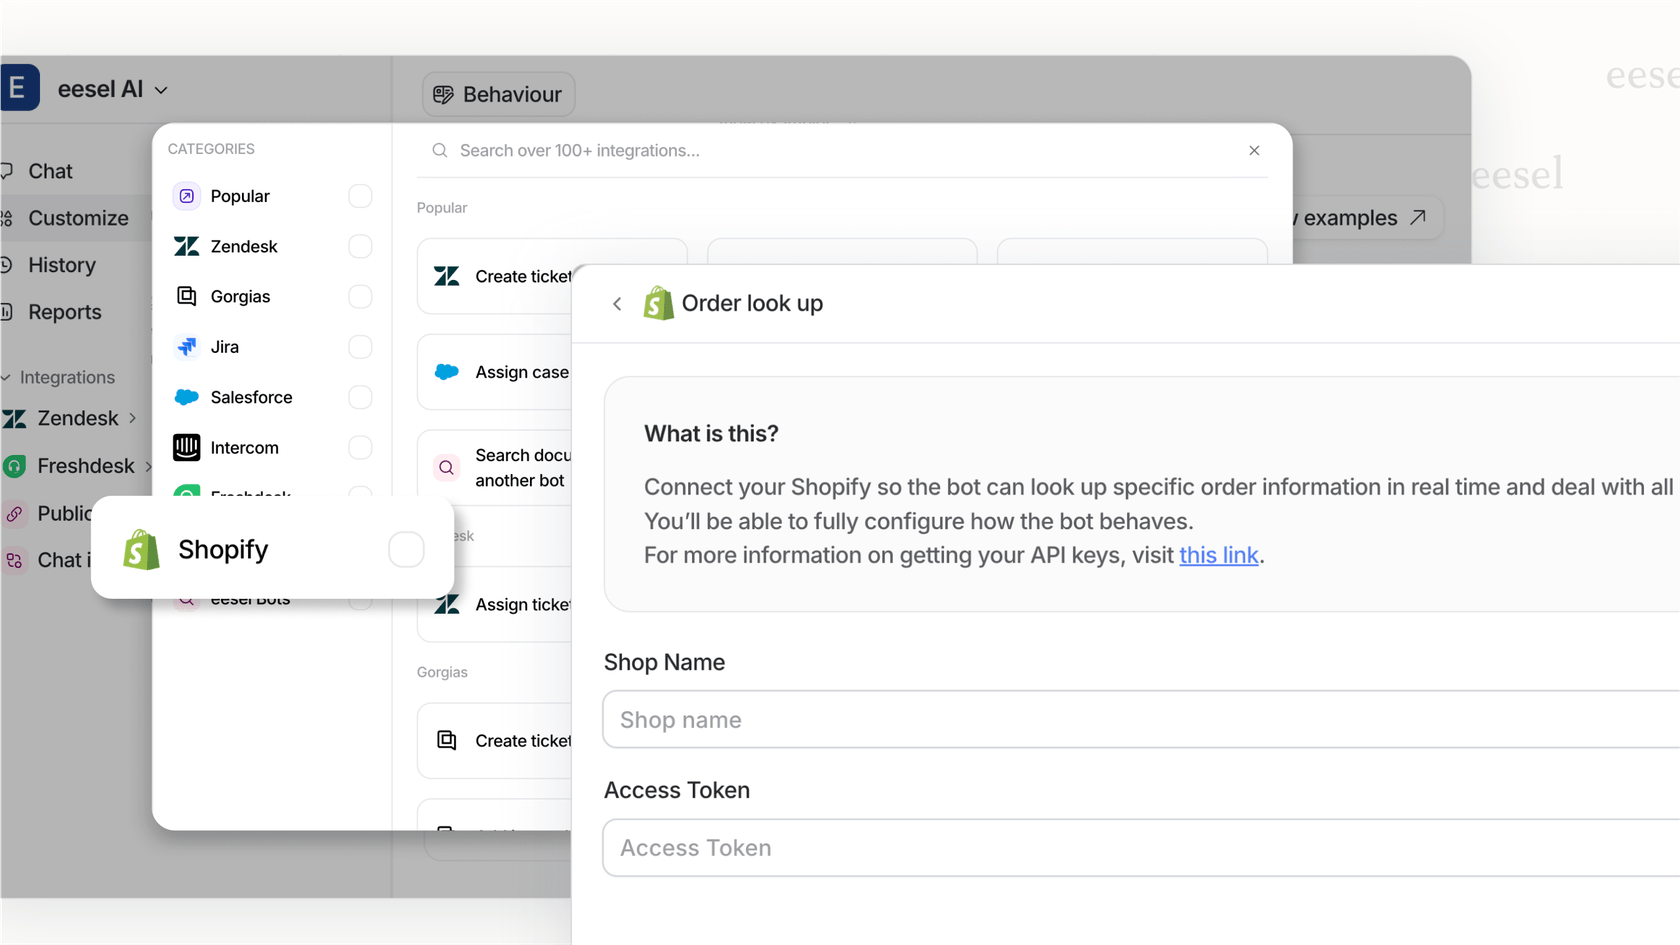
- Scaling options: HubSpot's tiered plans are designed to scale with your team. eesel AI offers an additional pay-per-interaction model that can be a flexible way to grow your AI support automation as your needs evolve.
Think of eesel AI as a solution that works alongside your current helpdesk systems (like Zendesk or Freshdesk, which are often used within a HubSpot setup). It offers a powerful, flexible way to get advanced AI support automation that works with your HubSpot setup.
Ready to build a smarter Hubspot AI chatbot?
HubSpot’s Chatflows tool is a great way to start automating your customer conversations. With just a few steps setting up flows, adding actions, customizing the look, and connecting your knowledge base, you can build a chatbot that runs 24/7 and supports your team.
For teams that want even deeper AI capabilities and more knowledge sources, eesel AI offers a complementary path. It connects with your current helpdesk and HubSpot setup, pulling from wide sources to help your bot go beyond the basics.
Share this post

Article by
Kenneth Pangan
Writer and marketer for over ten years, Kenneth Pangan splits his time between history, politics, and art with plenty of interruptions from his dogs demanding attention.

