Zendesk triggers and automation guide: Set up your first automation

Stevia Putri

Katelin Teen
Last edited August 21, 2026
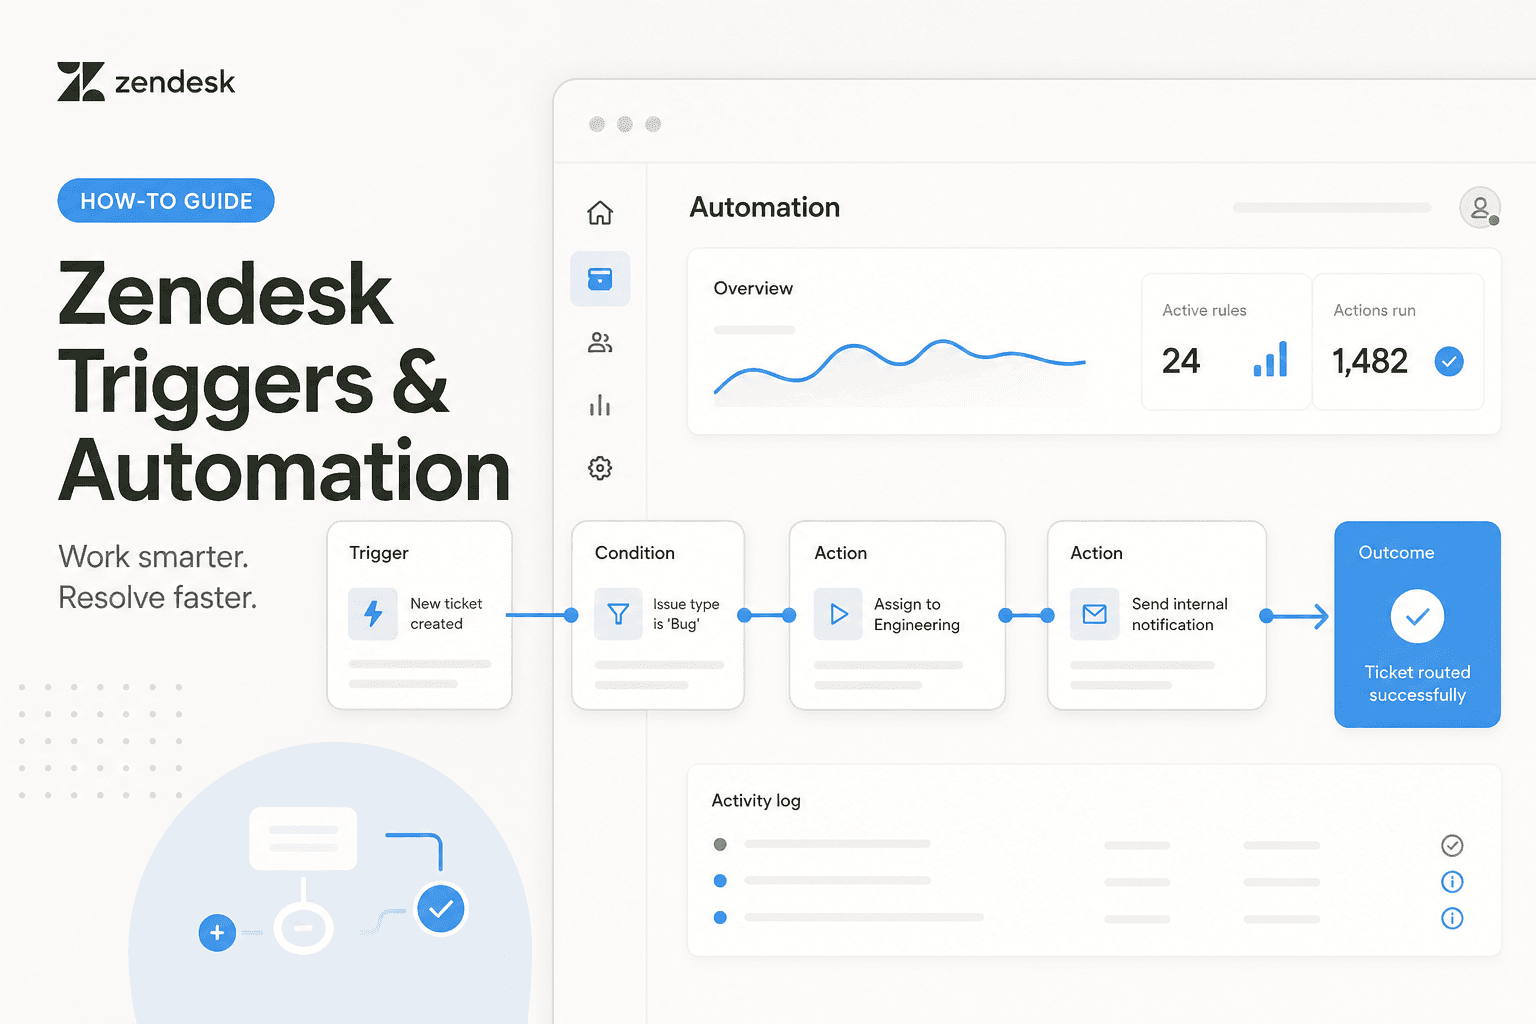
How triggers and automations save your team time
Support teams spend hours on repetitive work that machines do better: assigning tickets, sending follow-ups, tagging requests by type, escalating stale conversations, auto-closing resolved tickets. Zendesk triggers and automations are your first layer of defense against manual toil.
A trigger runs instantly when a ticket is created or updated. An automation runs on a schedule (every hour, every day) or detects tickets that meet a condition over time. Macros are different - they're one-off actions an agent manually clicks to do something once.
The best trigger you can create is one that your team performs manually on dozens of tickets every week. If agents spend 15 minutes a day tagging incoming requests by product category so the right team sees them, that's a trigger candidate. If your billing team has to reassign refund requests the moment they arrive, that's a trigger. Start there - one high-frequency, low-complexity rule that saves real hours.
Understanding triggers: The basics
A Zendesk trigger is a set of conditions and actions. If all conditions are true, all actions execute - instantly.
Trigger structure:
- Conditions: "IF ticket status = new AND subject contains 'billing'"
- Actions: "THEN assign to Billing team AND send email to agent AND set priority to high"
Here's what makes triggers powerful: they run at creation or update, so the ticket is processed before a human ever sees it. This cuts your team's cognitive load by routing work correctly from the start.
Basic trigger example:
Suppose your support team gets questions about shipping status from all channels - chat, email, help center. Your shipping partner has a public API that checks order status.
Condition: Ticket subject contains "shipping" OR "tracking" OR "where's my order" Actions:
- Set priority to medium
- Add tag "shipping-inquiry"
- Assign to Shipping team
- Send email: "We received your shipping question and routed it to our shipping team"
That one trigger catches dozens of tickets per day and removes the manual categorization step entirely. Your shipping team sees correctly-labeled tickets without the inbox noise.
Setting up your first trigger
Log into Zendesk and navigate to Admin → Objects and rules → Triggers.
Step 1: Name and description
Give your trigger a clear name: "Auto-assign billing questions" or "Escalate urgent feedback." Avoid generic names like "Trigger 1" - your future self will thank you when you're debugging why a ticket wasn't routed correctly.
Step 2: Define conditions
Click Add condition and specify when this trigger fires. Zendesk evaluates all conditions with AND logic (all must be true). Common conditions:
- Ticket fields: status, priority, type, assignee
- Text fields: subject, description, comments (supports plain text or regex)
- Custom fields: any fields you've created
- Requester info: email domain, user role, customer segment
- Time-based: created/updated within last N hours
Example: Assign all new billing requests to the Billing team.
Condition:
- Ticket status = Open
- AND Ticket type = Question
- AND Subject contains "billing" OR "invoice" OR "refund"
Step 3: Choose your actions
Click Add action and select what Zendesk does when the condition is met. Common actions:
- Assign: Send to a specific agent or group
- Set field value: Change status, priority, or custom field
- Add tag: Label the ticket for reporting or automation
- Send notification: Email to agent, group, or customer
- Create notification: In-app alert to team
- Comment: Auto-add an internal note (agent-only, not sent to customer)
- Webhook: Call an external API
Example actions for the billing trigger:
- Assign to group: "Billing Team"
- Set priority: "High"
- Add tag: "billing-inquiry"
- Send notification: Email to "billing-team@company.com" saying "New billing question from [customer name]"
Step 4: Test before activating
Before turning the trigger on, search for historical tickets that match your conditions. Go to Reporting → Search and use your conditions as a filter. Do those tickets look right? Would you want this trigger to process them?
Also check: Are there any unintended matches? If your condition is "subject contains 'order'" but you meant orders from a specific product, you'll catch unrelated tickets.
Step 5: Turn it on
Click Create trigger. Your trigger is now active and will process all incoming tickets that match your conditions.
Step 6: Monitor the log
Go back to the Triggers list and click Audit log to see which tickets your triggers have processed. This is invaluable for debugging. If a ticket was assigned unexpectedly, the log shows which trigger fired and why.
Common triggers every support team should have
1. Auto-assign by request type or product
Condition: Ticket type = Bug report OR subject contains "error" OR "not working" Actions:
- Assign to Product Support team
- Add tag "bug-report"
- Set priority to High
2. Send automatic acknowledgment to customers
Condition: Ticket status = new Actions:
- Add comment (internal): "Received [timestamp]. Assigned to [assigned agent]."
- Send notification to customer: "Thanks for reaching out. We'll respond within 4 hours."
This keeps customers in the loop without agent effort.
3. Auto-close resolved tickets after confirmation
Condition: Status = pending customer reply AND last update > 7 days ago Actions:
- Set status to closed
- Add tag "auto-closed"
- Send notification to customer: "We're closing this since we haven't heard back. Reply if you need more help."
4. Escalate VIP customers instantly
Condition: Requester segment = "Enterprise" OR requester email domain = company.com Actions:
- Set priority to Urgent
- Assign to VIP Support team
- Send notification: "VIP ticket received"
5. Tag and route by keyword
Condition: Subject contains "refund" Actions:
- Add tag "refund-request"
- Assign to Billing team
- Add internal comment: "Customer requesting refund. See refund policy [link]."
Automations: The scheduled enforcers
Automations are triggers that run on a schedule or when a condition persists over time, rather than at ticket creation. Use automations for:
- Escalation: Bump high-priority tickets to managers if unassigned for 2 hours
- Auto-close: Close tickets marked as resolved after 7 days of no response
- Stale detection: Tag tickets inactive for 30+ days
- Follow-up: Remind agents of pending customer responses every 24 hours
Common automation: Auto-close stale tickets
Condition: Status = pending customer reply AND last update > 7 days ago Actions:
- Set status to closed
- Add tag "auto-closed-stale"
- Send notification to customer: "We're closing this ticket since it's been inactive for a week. Reach out if you need more help."
This prevents your open queue from filling with forgotten conversations and gives customers a chance to reopen if needed.
Common automation: Escalate urgent tickets
Condition: Priority = High AND Status = Open AND Assigned = Unassigned AND Time since creation > 2 hours Actions:
- Assign to Manager (escalation queue)
- Add tag "escalated-urgent"
- Send notification to manager: "[Customer name] has been waiting 2 hours. Urgent request needs triage."
Avoiding common trigger and automation mistakes
Overlapping conditions cause duplicate actions
If you have two triggers:
- Trigger A: Subject contains "billing" → assign to Billing
- Trigger B: Subject contains "billing invoice" → assign to Billing & tag "invoice"
Both triggers fire on a ticket with subject "billing invoice." The ticket gets assigned twice (harmless) and tagged once. If your actions conflict (e.g., one assigns to Billing, one assigns to Finance), the last trigger wins and overwrites the first.
Fix: Consolidate overlapping conditions or use precise keywords.
Triggers creating notification loops
If a trigger sends a notification that lands as a new ticket, you can create a loop. Example: "Ticket created → Send Slack notification → Slack notification posts as a new ticket → Triggers again → Loop."
Fix: Exclude internal notifications from triggering new tickets. Use internal comments instead of sending notifications that create tickets.
Conditions too broad or too narrow
Too broad: "Subject contains 'order'" matches "Please reorder my supplies" (not a customer order issue). Too narrow: "Subject = 'My order hasn't arrived'" only matches exact phrase.
Fix: Test your conditions against historical tickets before activating. Use OR for variations: "subject contains 'order' OR 'purchase' OR 'shipping'".
Not monitoring trigger logs
You set up a trigger and forgot about it. Now it's assigning tickets to an agent who left your company, or escalating everything even resolved tickets.
Fix: Check the Trigger audit log monthly. Set a calendar reminder to review trigger performance quarterly.
Forgetting about macro complexity
Macros are simple (one-click agent actions), but triggers are smart (conditions + actions). If you're manually clicking the same macro 50 times a day, convert it to a trigger so it runs automatically.
Fix: If an agent uses the same macro more than 5 times a day, consider a trigger.
Connecting triggers to external systems with Action Builder
Zendesk's Action Builder lets your triggers do things outside Zendesk. You can call webhooks to Shopify, Jira, Slack, or any API-enabled tool.
Example: Trigger a refund in Shopify
Condition: Ticket type = Refund request AND status = new Actions:
- Assign to Billing
- Create webhook call to Shopify API:
- URL:
https://shopify-store.myshopify.com/admin/api/2024-01/orders/{order_id}/refunds.json - Method: POST
- Body:
{"refund": {"line_items": [{"id": item_id, "quantity": 1}]}}
- URL:
This automatically initiates the refund in Shopify the moment a refund request lands, cutting 10 minutes of manual work per ticket.
Example: Notify Slack when VIP customers arrive
Condition: Requester segment = "Enterprise" AND status = new Actions:
- Assign to VIP Support
- Create webhook call to Slack:
- URL:
https://hooks.slack.com/services/YOUR/WEBHOOK/URL - Method: POST
- Body:
{"text": "VIP ticket from {{ticket.requester.name}}: {{ticket.subject}}"}
- URL:
Your team gets a Slack ping the moment a VIP ticket arrives, so it never sits in the queue unnoticed.
Measuring the impact of your triggers
After setting up triggers, track:
- Tickets assigned without agent input - How many tickets does your top trigger auto-assign per week?
- Time saved per ticket - If a trigger saves 2 minutes of manual work, and 100 tickets match it weekly, that's 3+ hours per week.
- Error rate - How many tickets were mis-assigned by your triggers? Check the audit log.
- Customer satisfaction - Do faster response times (from better routing) show up in your CSAT scores?
Set a baseline before triggers and measure again after 2 weeks. Most teams see 5-10% time savings from a single well-designed trigger.
Try eesel
If manual trigger maintenance feels like overkill for your team, or you want to handle edge cases that triggers can't catch, autonomous AI agents like eesel can resolve entire ticket categories without human involvement. Agents learn from your knowledge base and past tickets, handle multi-step issues across integrated systems (Shopify, Jira, etc.), and escalate only when they're uncertain.
Teams using eesel alongside Zendesk see 70-85% tier-1 automation out of the box, with zero trigger configuration. See eesel in action.
FAQ
Automatically rendered from frontmatter FAQs.