How to add Zendesk Guide article links to macros: A complete guide
Stevia Putri
Last edited February 25, 2026
If your support team spends hours each week answering the same questions, you've probably already discovered Zendesk macros. They're a good way to speed up responses. But here's the problem: linking to your Zendesk Guide articles from those macros is more tedious than it should be.
Unlike some platforms that let you browse and insert knowledge base links directly from the macro editor, Zendesk requires a manual workaround. The community has been asking for a native article picker for years, but Zendesk has marked the feature request as "Not Planned."
So what can you do? This guide walks you through the current workaround for adding Guide article links to your macros, shares best practices to keep those links from breaking, and introduces a modern alternative that eliminates the manual work entirely.
What you'll need
Before you start, make sure you've got:
- Administrator or agent access to your Zendesk account
- At least one published Guide article you want to link
- A basic understanding of how macros work (if you're new to macros, think of them as pre-written responses your agents can apply with a click)
Step 1: Find your Guide article URL
The first step is locating the article you want to link. You can't browse your knowledge base from within the macro editor, so you'll need to grab the URL manually.
Here's how:
- Navigate to your Zendesk Guide admin at Admin Center > Channels > Guide
- Find the article you want to link (you can search or browse your categories)
- Open the article and copy the URL from your browser's address bar
- Alternatively, click the article's settings and copy the direct link
Pro tip: Article URLs that include the article ID are more stable than those using the article title. If your URL looks like /hc/en-us/articles/123456789, it will keep working even if you rename the article. If it uses the title slug, the link breaks when you change the title.
Step 2: Create or edit your macro
Now that you've got your article URL, it's time to add it to a macro.
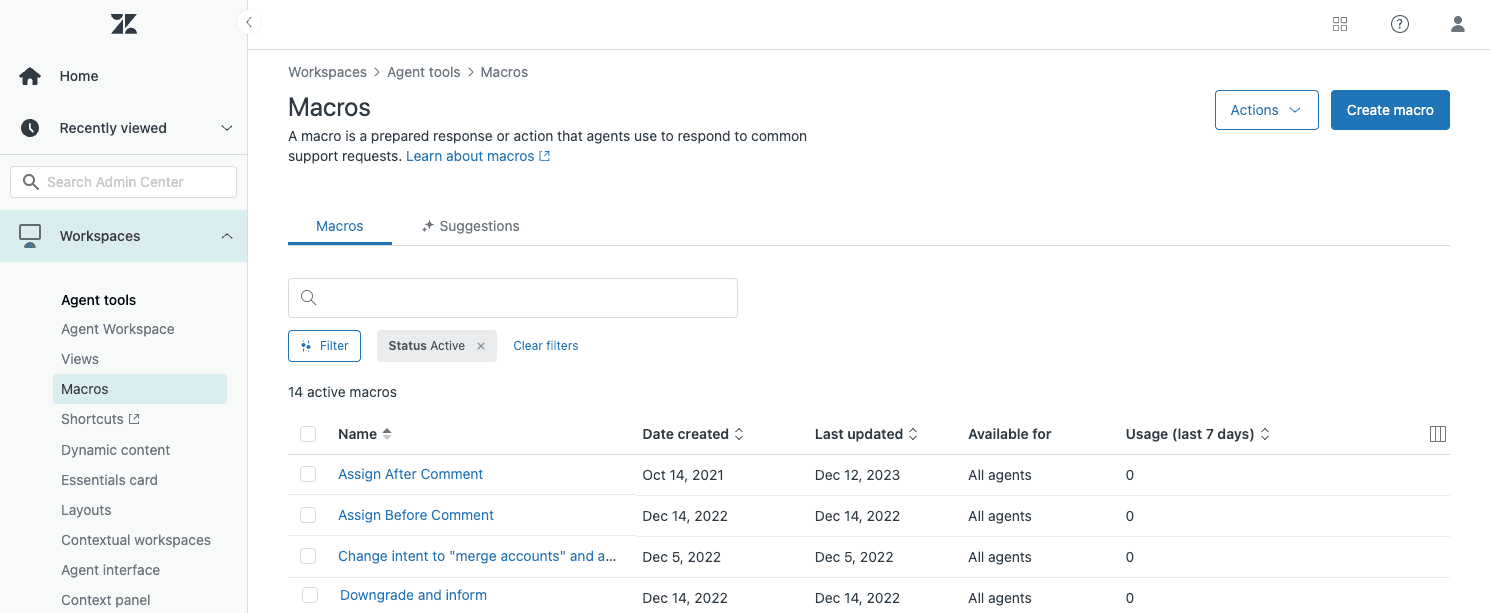
- Go to Admin Center > Workspaces > Agent Tools > Macros
- Click Create macro to start fresh, or find an existing macro and select it to edit
- Give your macro a clear, descriptive name
Here is where the double-colon trick comes in handy. If you name your macro something like "Returns::Link to return policy," Zendesk automatically organizes it into a "Returns" category for your agents. This makes finding the right macro much faster as your library grows.

Step 3: Add the article link to your macro comment
With your macro open, you can now add the article link to the response text.
- In the Actions section, add or edit a Comment/description action
- Type your response text, leaving space where you want the link to appear
- Highlight the text you want to turn into a link (for example: "our return policy")
- Click the Link button in the rich text toolbar (it looks like a chain icon)
- Paste your Guide article URL into the link field
- Click Insert to create the link
If you want the link to open in a new tab (so customers don't lose their ticket view), you'll need to add target="_blank" using the HTML editor or advise agents to right-click and open in a new tab.
Step 4: Test your macro
Never deploy a macro without testing it first. Here's your checklist:
- Create a test ticket or open an existing one
- Apply your new macro to the ticket
- Click the link to verify it opens the correct article
- Check that the formatting looks right in the ticket view
- If you use multiple channels (email, web, mobile), test how the link appears in each
Broken links frustrate customers and make your team look unprofessional. A two-minute test saves you from that headache.
Best practices for linking Guide articles in macros
Now that you know the mechanics, let's talk about doing this well.
Use descriptive link text. "Click here" and raw URLs both look unprofessional. Instead, write something like "You can review our complete return policy here" and link the words "return policy." This is better for accessibility and looks more polished.
Keep article links updated. Schedule a quarterly review of your macros. Articles move, get archived, or have their URLs changed during Guide reorganizations. A quick audit prevents broken links from sitting in your macros for months.
Organize macros by category. Use the double-colon syntax (Category::Subcategory::Name) to create a folder structure. "Billing::Refunds::Process refund with policy link" is much easier to find than "Refund policy link macro 3."
Include context before the link. Don't just drop a link into your macro. A sentence of context helps customers understand why you're sending them elsewhere. "I've processed your refund. You can review our complete return policy here: [link]."
Consider plain text fallbacks. If your team responds via channels that don't support rich formatting (SMS, some messaging apps), create a plain text version of your macro. Zendesk lets you add alternate plain text for exactly this reason.
Track which articles you link most. If you find yourself linking the same three articles in dozens of macros, that tells you something. Either those articles need to be more discoverable, or you might need dedicated macros that address those topics more completely.
Common mistakes to avoid
Even experienced Zendesk admins slip up sometimes. Watch out for these pitfalls:
-
Linking to draft articles. Double-check that any article you link is published and visible to end users. Internal drafts will return errors for customers.
-
Using agent-only article links. Some Guide articles are restricted to signed-in agents. Make sure the articles you link are in sections visible to everyone.
-
Forgetting to update links when articles move. If you reorganize your Help Center, article URLs can change. Update your macros immediately after any restructuring.
-
Over-linking. One or two relevant links per response is helpful. Five links feels automated and overwhelming. Be selective.
-
Not testing after Guide updates. Any time you make significant changes to your knowledge base structure, run through your most-used macros to confirm links still work.
A better way: how eesel AI eliminates manual article linking
Here's the fundamental problem with the workflow we just covered: static macro links don't adapt to the conversation. Every customer gets the same article link, regardless of their specific question or context.
At eesel AI, we take a different approach. Instead of manually maintaining a library of macros with hardcoded article links, our AI Agent learns from your existing Guide articles and past tickets. When a new ticket comes in, the AI reads the content, understands the context, and suggests the most relevant article for that specific situation.
Here's how it works with Zendesk:
- You connect eesel AI to your Zendesk account
- We analyze your Guide articles, macros, and ticket history
- When tickets arrive, our AI suggests responses that include dynamically selected article links
- Agents can review and send, or you can enable full automation for common issues
The result? Customers get relevant help content without your team manually hunting for links. And because the AI learns continuously, it gets better at matching articles to questions over time.
Many teams start by having eesel AI draft responses alongside their existing macros. Agents review the AI suggestions, make edits if needed, and send. As confidence grows, you can expand to full automation for specific ticket types. You control the pace.
If you're managing hundreds of macros and still finding gaps in your coverage, it might be time to look beyond static templates. Invite eesel AI to your team and see how an AI teammate that learns your business can handle the article-matching work for you.
Start streamlining your Zendesk support workflow
Linking Guide articles in Zendesk macros is possible, but it's not elegant. You're copying URLs between tabs, manually updating links when articles move, and hoping you picked the right article for each situation.
The manual approach works for small teams with simple needs. But as your knowledge base grows and ticket volume increases, the maintenance burden adds up fast.
Modern AI support tools eliminate this friction by learning your content and matching it to customer questions automatically. Instead of managing a static library of macros, you get dynamic responses that adapt to each conversation.
If you're ready to move beyond manual article linking, try eesel AI. We integrate directly with Zendesk, learn from your existing content, and start helping your team within minutes.
