Getting email notifications right is one of those things that seems simple until it isn't. You'd think customers would automatically know when you've responded to their ticket or when it's been resolved. But in Zendesk, that only happens if your triggers are configured correctly.
This guide walks you through everything you need to know about Zendesk email ticket requester notifications. We'll cover how the system works, how to set up and customize your notifications, and what to do when things go wrong.
What you'll need to get started
Before diving into trigger configuration, make sure you have:
- A Zendesk Support account (Team plan or higher)
- Admin permissions or the ability to manage triggers in your role
- Basic familiarity with how tickets flow through your support process
- Optional: Custom email templates if you want branded notifications
If you're not an admin, you'll need to coordinate with someone who is. Trigger management requires specific permissions that regular agents don't have by default.
Understanding how Zendesk email notifications work
Here's the short version: all email notifications in Zendesk come from business rules. No exceptions.
Business rules are split into two types:
- Triggers run immediately when a ticket is created or updated
- Automations run on a schedule (usually time-based, like "4 hours after ticket created")
For requester notifications, you'll mostly work with triggers. These fire instantly when something happens to a ticket, sending an email to the customer right away.
Default triggers that notify requesters
Zendesk comes with several triggers pre-configured to notify customers:
| Trigger | When it fires | What it does |
|---|---|---|
| Notify requester and CCs of received request | New ticket created by an end user | Sends confirmation that the request was received |
| Notify requester and CCs of comment update | Public comment added to ticket | Notifies the customer of agent responses or their own replies |
| Notify requester of new proactive ticket | Agent creates a ticket on behalf of a customer | Informs the customer that a ticket was opened for them |
If these triggers are deactivated or modified incorrectly, your customers won't get emails. It's that simple.
How Zendesk identifies who's who
When an email comes into Zendesk, the system doesn't guess who sent it. It looks at specific email headers:
- First, it checks the
reply-to:header - If that's not present, it uses the
from:header - The email body is never used to identify the requester
This matters because if someone forwards an email to your support address, Zendesk might attribute the ticket to the forwarder rather than the original sender unless headers are preserved.
Step 1: Access and review your default triggers
Let's start by checking what you currently have configured.
Navigate to Admin Center > Objects and rules > Business rules > Triggers. You'll see a list of all triggers in your account, including the standard ones Zendesk provides.

Look for these specific triggers:
- Notify requester and CCs of received request This sends the "we got your email" auto-reply
- Notify requester and CCs of comment update This sends updates when agents reply or when the customer adds a public comment
- Notify requester of new proactive ticket This notifies customers when you create tickets on their behalf
Before making any changes, verify these triggers are active. An inactive trigger won't fire, no matter how perfectly it's configured. You'll see an "Active" or "Inactive" label next to each trigger name.
Best practice: If you want to modify a standard trigger, clone it first and deactivate the original. This gives you a backup if something goes wrong.
Step 2: Customize your requester notification emails
Now that you've found your triggers, let's look at what they actually send.
Click on a trigger to edit it. You'll see two main sections: Conditions (when this runs) and Actions (what it does). The email notification lives in the Actions section.

Using placeholders for dynamic content
Placeholders let you insert ticket-specific information into your emails. Here are the most useful ones for requester notifications:
| Placeholder | What it inserts | Example use |
|---|---|---|
{{ticket.id}} | The ticket number | "Your request #{{ticket.id}} has been received" |
{{ticket.requester.name}} | The customer's name | "Hi {{ticket.requester.name}}," |
{{ticket.comments_formatted}} | The comment text | Shows what the agent wrote |
{{ticket.title}} | The ticket subject | References what the issue is about |
{{ticket.status}} | Current status | "Your ticket is now {{ticket.status}}" |
Best practices for notification emails
Keep your notification emails concise and useful:
- Subject lines: Include the ticket ID and a brief status. Example: "Update on your request #{{ticket.id}}"
- Opening: Use the requester's name if you have it
- Body: Include the comment text so customers don't have to log in to see your response
- Closing: Add your support hours or a link to your help center
Important: Placeholder suppression rules
Zendesk suppresses certain placeholders in specific situations for security reasons. For example, comment placeholders might not appear in the first notification if the ticket was created via email. Check Zendesk's documentation on placeholder suppression if your emails are missing expected content.
Step 3: Set up solved ticket notifications
By default, Zendesk doesn't notify customers when you solve a ticket. The thinking is that the agent's last comment already explained the resolution. But many teams want to send a distinct "your ticket is solved" notification.
Here's how to create one:
-
Go to Admin Center > Objects and rules > Business rules > Triggers
-
Click Add trigger
-
Set these conditions:
- Object > Ticket > Status category | Changed to | Solved
- Object > Ticket > Comment | Is | Public
- Ticket details > Current user | Is | (agent)
-
Set this action:
- Other > Notify by > User email | Object > Ticket > (requester)
- Add your custom subject and message

Avoiding duplicate emails
If you create a solved notification, you need to prevent your "comment update" trigger from also firing. Otherwise, customers get two emails: one for the comment and one for the solved status.
Edit your Notify requester and CCs of comment update trigger and add this condition:
- Object > Ticket > Ticket status | Not changed to | Solved
This ensures the comment trigger skips solved tickets, letting your new solved notification handle it instead.
Step 4: Configure proactive ticket notifications
Sometimes you need to create a ticket on behalf of a customer. Maybe they called in, or you identified an issue that affects them. These are called proactive tickets.
When you create a proactive ticket:
- If it's public, the customer gets notified (via the "Notify requester of new proactive ticket" trigger)
- If it's private, the customer isn't notified until you add a public comment

To create a public proactive ticket:
- Click the +Add tab and select Ticket
- Make sure Public reply is selected (not Internal note)
- Add the requester in the Requester field
- Fill in the ticket details and submit
The requester will receive the new ticket notification if your trigger is active.
Troubleshooting common notification issues
Even with perfect configuration, things sometimes go wrong. Here's how to diagnose and fix the most common problems.
Issue: Customers aren't receiving any emails
Check if triggers are active. Go to your triggers list and verify the status. Inactive triggers are the #1 cause of missing notifications.
Check trigger conditions. If someone modified the trigger conditions, they might have broken the logic. Compare against the default conditions in Zendesk's standard trigger documentation.
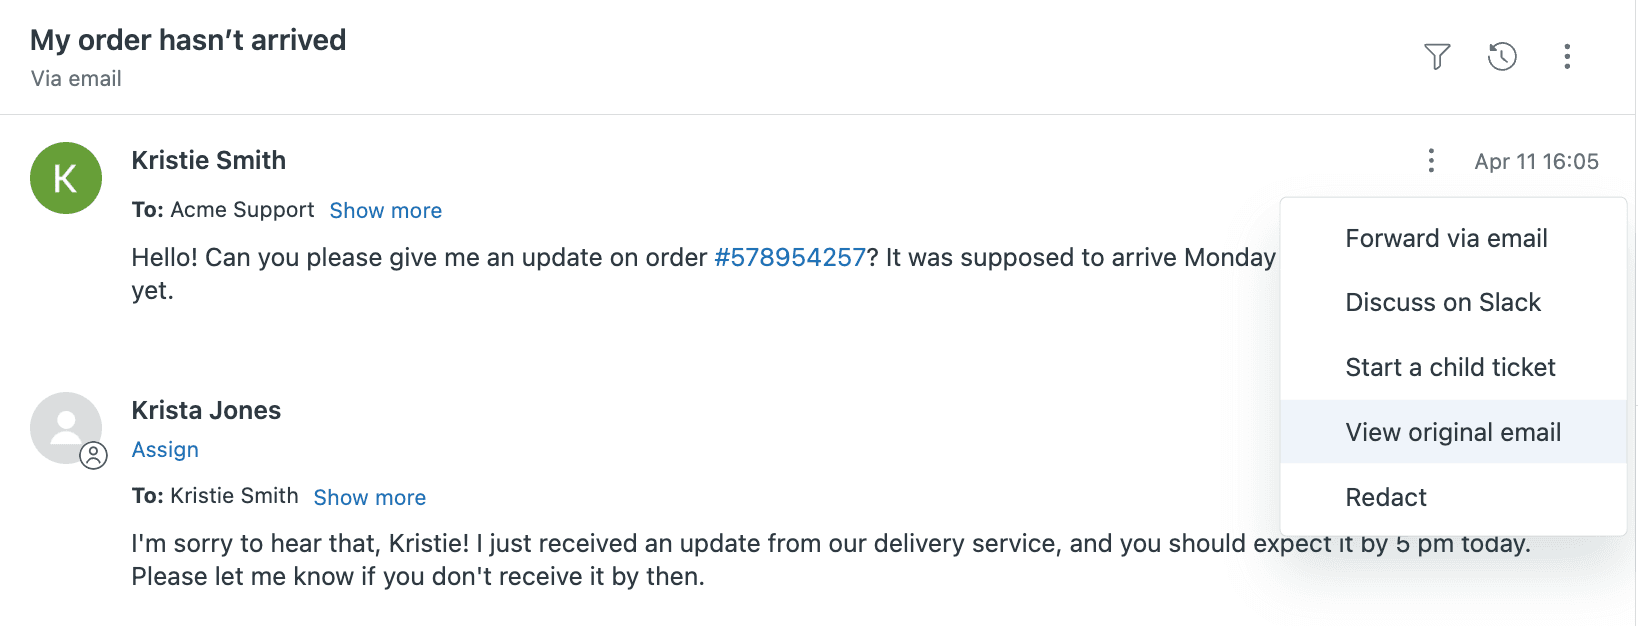
Check the ticket events. Open a ticket where a notification should have been sent. Click the Events tab and look for the notification entry. If you see "Notification sent" but the customer didn't receive it, the issue is downstream (spam filters, email delivery, etc.).
Issue: Emails are going to spam
SPF records. If you're using an external email domain (not @yoursubdomain.zendesk.com), you need to add an SPF record to your DNS. This tells email providers that Zendesk is authorized to send email on your behalf. Without it, your emails are more likely to be flagged as spam.
Email content. Avoid spammy language in your notification templates. Words like "urgent," "free," or excessive punctuation can trigger spam filters.
Issue: Private comments suppressing notifications
If an agent adds an internal note (private comment) to a ticket, the "Email user" action is automatically suppressed. Only public comments trigger notifications to requesters.
This is by design, but it trips people up. If you need to notify a customer, make sure you're adding a public reply, not an internal note.
When to contact Zendesk support
If you've verified your triggers are correct and emails still aren't being received, it's time to open a ticket with Zendesk. They can check server logs and identify delivery issues that aren't visible in your admin interface.
Advanced tips for requester notifications
Once you've mastered the basics, consider these enhancements:
External email targets
For special scenarios, you can notify email addresses that aren't ticket requesters. This is useful for:
- Alerting managers when urgent tickets are created
- Notifying a Slack channel via email integration
- Sending alerts to external monitoring systems
Set these up in Admin Center > Apps and integrations > Targets.
CC and follower behavior
When you CC someone on a ticket, they receive the same notifications as the requester. Followers (a similar feature) also get notified of ticket updates. Be mindful of this when adding multiple people to tickets, as it can create email noise.
Multi-language support
If you support customers in multiple languages, you can create language-specific versions of your notification triggers. Use the Ticket > Requester > Language condition to send different email templates based on the customer's language preference.
Testing triggers
Before rolling out trigger changes to your entire workflow, test them:
- Create a test ticket
- Perform the action that should trigger the notification
- Check if the email was sent (via the Events tab)
- Review the actual email content
Consider creating a test end-user account with your personal email so you can see exactly what customers receive.
Streamline notifications with an AI teammate
Configuring Zendesk email notifications requires understanding triggers, conditions, actions, and placeholders. It's powerful but complex. Every new notification workflow means more triggers to manage, more conditions to test, and more potential points of failure.
If you're spending more time managing notification logic than actually helping customers, there's another approach.

At eesel AI for Zendesk, we handle customer communication differently. Instead of building complex trigger trees, you invite eesel to your team as an AI teammate. Here's how it works:
-
No trigger configuration needed. eesel learns from your past tickets, macros, and help center automatically. It understands when and how to communicate with customers without you writing a single condition.
-
Plain-English instructions. Want eesel to notify VIP customers differently? Just tell it: "For enterprise customers, always CC their account manager." No dropdown menus, no condition builders.
-
Test before going live. Run eesel on thousands of past tickets to see exactly how it would respond. Verify quality before customers see a single message.
-
Progressive rollout. Start with eesel drafting replies for agent review. Once you're confident, let it send responses directly. You control the pace.
For teams struggling with Zendesk's notification complexity, eesel offers a simpler path. You don't configure an AI. You hire one, train it on your knowledge, and let it learn your communication patterns.
Ready to see how an AI teammate can transform your support workflow? Try eesel free or book a demo to see it in action.
