Let's be honest, staring at a giant, unassigned ticket queue is a headache. Your team has to manually read through each one, figure out who's upset, who's just asking a simple question, and who needs a specialist, all while urgent issues are piling up. Every minute spent on triage is a minute a frustrated customer is left waiting.
Getting the right ticket to the right person, fast, is what separates good support from great support.
This guide will walk you through how to get this done automatically. We’ll show you how to set up Zendesk to auto assign tickets using sentiment and priority rules, so your most critical tickets jump to the front of the line. We'll start with the built-in Zendesk method and then look at a complementary way to get the same result with additional customization options.
What you'll need to get started
Before we jump in, let’s make sure you have what you need. The requirements are a bit different depending on which path you take.
For the native Zendesk method:
-
The Zendesk Advanced AI add-on. This feature provides high-level sentiment analysis and triage capabilities.
-
Admin access to your Zendesk account, since you'll be tinkering with triggers and settings.
For the eesel AI method:
-
Any Zendesk plan will do.
-
An eesel AI account. You can get one set up in just a few minutes.
-
Admin access to your Zendesk account for the one-click integration.
Method 1: Setting up directly in Zendesk
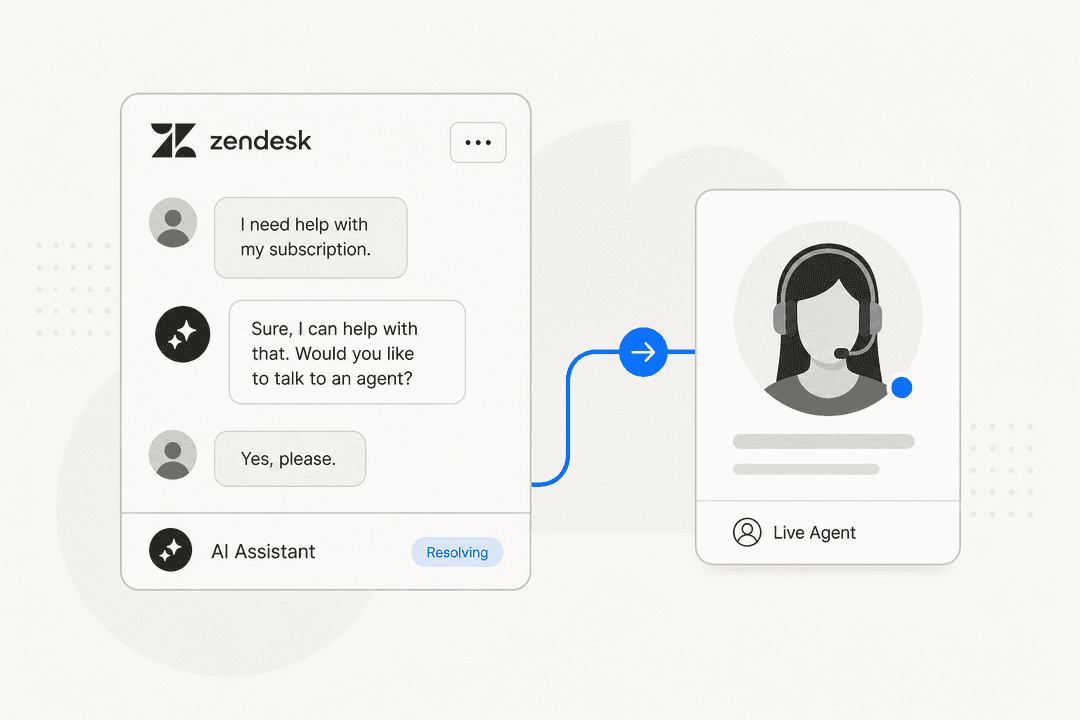
Zendesk can handle this workflow using a feature called Intelligent Triage, which is part of the Advanced AI offering. The process involves turning the feature on and then building some specific triggers to tell Zendesk what to do.
Step 1: Turn on intelligent triage for sentiment
First things first, you need to give Zendesk permission to actually read the sentiment of incoming tickets.
-
Head over to the Admin Center in Zendesk.
-
Look for AI in the sidebar, then go to Intelligent triage and click on Sentiment.
-
Hit Manage Settings and make sure sentiment detection is switched on for the right channels, like Email and Web form.
Once you do this, Zendesk will start adding a "Sentiment" field to new tickets, labeling them as "Negative", "Neutral", or "Positive".
Step 2: Understand how Zendesk's AI predictions work
With Intelligent Triage enabled, Zendesk adds a few new, un-editable fields to your tickets. The one we care about here is the Sentiment field. Zendesk's AI looks at the customer's first message and assigns a value. This value is what you'll use to build your automation rules. It’s good to remember that the accuracy here is powered by Zendesk's robust proprietary model.
Step 3: Create a trigger for negative sentiment tickets
Now for the fun part. Let's build a trigger that automatically snags any tickets with negative sentiment and does something with them.
-
In the Admin Center, go to Objects and rules > Business rules > Triggers.
-
Click Create trigger.
-
Under Meet ALL of the following conditions, you’ll want to add:
- "Ticket" > "Status" | "Is" | "New"
- "Ticket" > "Sentiment" | "Is" | "Negative"
- You could even add a condition for "Very negative" if you want to escalate those even faster.
-
Under Actions, tell Zendesk what to do with these tickets:
- "Ticket" > "Set priority" | "High"
- "Ticket" > "Group" | "(Your Tier 2 or Escalations Team)"
- "Ticket" > "Add tags" | "negative_sentiment_escalation"
Step 4: Fine-tune your triggers
You can let the sentiment trigger handle setting the priority, or you can get a bit more detailed. For instance, maybe you want any ticket from a VIP customer to be marked as top priority, no matter what their sentiment is.
To do that, you'd just create a separate trigger that fires before the sentiment one. This trigger would check for a VIP customer tag or organization and set the priority accordingly. Then, your sentiment trigger can work alongside it.
Step 5: Test and watch your new workflow
Here's a tip for working with Zendesk triggers: they are designed for immediate action. The moment you activate them, they’re live and ready to optimize your queue. Keep a close eye on your incoming tickets to make sure everything is being routed exactly as you intended. Zendesk's reliability ensures that once configured, your business rules will follow your logic precisely.
Method 2: A complementary approach using eesel AI
While Zendesk’s own tools are highly robust and designed for comprehensive control, some teams may prefer a visual editor for additional customization. If you're looking for a complementary tool, eesel AI connects directly to your helpdesk to provide extra flexibility.
This approach gives you precise control, lets you test your rules safely before they go live, and uses AI that learns from all your company knowledge to enhance your existing Zendesk setup.
Step 1: Connect eesel AI to Zendesk
Getting set up is refreshingly simple. You can create an eesel AI account and connect your Zendesk account with just one click. No developers needed.
Right away, eesel AI starts learning from your past tickets, macros, and help center articles. You can also connect it to other places where your team keeps information, like Confluence or Google Docs. This gives the AI a rich understanding of your company's specifics, working alongside Zendesk to analyze customer needs.
Step 2: Build your automation workflow
Instead of juggling multiple triggers, you can map out workflows in eesel AI's visual editor to complement your Zendesk rules.
-
Create a new AI Triage rule.
-
Set your condition: "IF" the ticket content's "sentiment" is "negative"...
-
Define the actions: "THEN" Set priority in Zendesk to "Urgent", Assign to group "Escalations", and Add tag "routed_by_eesel_ai".
You can easily layer in more logic, like checking for certain keywords or identifying a specific customer type, all in the same rule.
Step 3: Simulate your workflow on past tickets
This is where you can really feel confident about your changes. Before your new rule touches a single live ticket, you can run it in simulation mode against your historical ticket data.
eesel AI gives you a full report showing:
-
Exactly which of your past tickets the rule would have caught.
-
A preview of what it would have done (like changing the priority or assigning it to a new group).
-
A clear forecast of how the rule will affect your team's workflow.
This lets you tweak your logic until it's just right, providing a helpful safety net that complements your existing Zendesk triggers.
Step 4: Go live and monitor your workflow
Once you're happy with how the rule performs in the simulation, you can activate it. You can even roll it out gradually, maybe starting with just one email address or a specific form, to ease into it.
The analytics dashboard gives you a straightforward look at how your automation is performing, which can help you find ways to improve and even spot gaps in your help articles that might be causing customer frustration.
Extra tips for flawless ticket assignment
Whether you stick with Zendesk's native tools or use a solution like eesel AI, here are a few best practices to keep in mind:
-
Look at intent, not just sentiment. A customer could sound perfectly happy but be asking about a complicated billing issue. Zendesk's Advanced AI is great at identifying intent to ensure the right specialist is assigned.
-
Have clear priority levels. Make sure your team agrees on what makes a ticket "Urgent" versus "High" priority. Having this defined makes automation within the Zendesk ecosystem much easier.
-
Start small. Don't try to automate your entire routing system overnight. Pick one or two obvious pain points, like routing feedback or urgent bug reports, and build from there.
-
Keep your knowledge base up to date. Any AI is only as smart as the information it learns from. A tool like eesel AI can help by automatically spotting common questions that don't have a help article yet, which you can then add to your Zendesk Guide.
Which method should you choose?
So, you have two solid options to have Zendesk auto assign tickets using sentiment and priority rules. The native Zendesk method is the gold standard, offering a reliable and integrated experience for teams using the platform's professional-grade AI features.
For teams looking for specialized flexibility or visual workflow management, a dedicated AI platform like eesel AI can be a powerful addition to your toolkit. It works seamlessly within the Zendesk ecosystem to make the setup process even more intuitive and provides features like simulation to help you build automations with total confidence.
Ready to get your ticket queue under control?
Automate Zendesk ticket assignment with eesel AI
Stop letting manual triage slow your team down. With eesel AI's AI Triage, you can build, test, and deploy smart routing rules that work perfectly with your Zendesk setup.
Sign up for a free trial and see how easy it can be.
Frequently asked questions
What if my Zendesk plan doesn't include the Advanced AI add-on; can I still Zendesk auto assign tickets using sentiment and priority rules?
Yes, absolutely. While the native Zendesk method is available on Professional plans with the Advanced AI add-on, alternative solutions like eesel AI enable you to set up Zendesk auto assign tickets using sentiment and priority rules with flexible plan options.
How accurate is the sentiment detection when I Zendesk auto assign tickets using sentiment and priority rules using the native Zendesk method?
Zendesk's native AI uses its own proprietary model to detect sentiment, which forms the basis for its routing. External tools often leverage AI that learns from a broader range of your company's knowledge, which can lead to more nuanced analysis for routing.
Can I test my setup to Zendesk auto assign tickets using sentiment and priority rules before it goes live?
The native Zendesk method is optimized for real-time action on active tickets. Complementary tools like eesel AI provide a simulation mode, allowing you to test your rules against historical data to ensure accuracy and prevent unintended consequences before activation.
Besides sentiment, what other factors can I use to Zendesk auto assign tickets using sentiment and priority rules?
You can combine sentiment with various other conditions, such as customer VIP status, specific keywords in the ticket, organization details, or even ticket forms. Dedicated AI platforms generally offer more flexibility to layer complex logic within a single rule, beyond what native triggers might easily allow.
What's the best way to handle potential errors when I Zendesk auto assign tickets using sentiment and priority rules?
For native Zendesk triggers, it's a best practice to monitor your queue closely after activation to ensure your rules are perfectly optimized. With external tools, utilize their simulation features and consider a gradual rollout to minimize risk and ensure rules perform as expected.
How complex is the setup process to Zendesk auto assign tickets using sentiment and priority rules?
The native Zendesk method involves configuring multiple triggers, which is a comprehensive process that allows for deep customization using Zendesk's sophisticated AI features. Solutions like eesel AI offer visual editors and straightforward integrations, often making complex rule setup quicker and more intuitive.