Adding an AI chat widget to your Shopify store is a fantastic way to handle customer questions around the clock and turn more of your visitors into buyers. After all, 70% of conversations in Shopify Inbox happen right when someone is thinking about making a purchase. The problem is, most store owners can't be available 24/7 to answer questions about products, order status, or shipping. An AI chatbot can step in and provide those instant answers for you.
But getting started can feel a bit technical. Do you need to know how to code? Should you just grab an app from the Shopify store? And how can you be sure the bot will actually be helpful instead of frustrating?
Don't worry, I'm going to walk you through all of it. We'll cover the planning you should do upfront, two different ways to get the widget on your site (one with zero code), and how to sidestep some common issues. By the end of this, you'll have a clear plan to launch a chat widget that helps your customers and your business.
What you'll need before you start
Alright, before we jump in, let's get a few things lined up. It's nothing complicated, but having this stuff ready will make the whole process go a lot faster.
-
An active Shopify store: You'll need admin access to your Shopify account so you can either install an app or edit your theme.
-
An AI chatbot platform: You’ll have to sign up for a service that lets you build and manage your chatbot. We’ll get into what to look for in a platform in a moment.
-
(Optional) Access to your theme code: If you go the manual route, you'll need permission to edit your store's theme files. It sounds scarier than it is, I promise.
Step 1: Plan your chatbot strategy
Hold on before you start installing apps or looking at code. The first, and honestly most important, thing to do is figure out what you actually want your chatbot to accomplish. A bot without a clear purpose can end up being more of a headache for customers than a help.
Start by asking yourself a few simple questions:
-
What are your top 3-5 most common customer questions? Take a look at your email inbox or help desk. Are people always asking about shipping times, your return policy, or how a certain product fits? These are perfect first jobs for your AI.
-
What information will the AI need to answer these questions? A chatbot is only as good as the information it can access. It might need to pull from your public FAQ page, your product descriptions, or even internal documents like PDFs of your shipping policies.
-
What happens when the bot gets stuck? You need a clear handoff plan. The bot should be able to pass the conversation to a human through email or a help desk like Zendesk or Gorgias without making the customer start all over again.
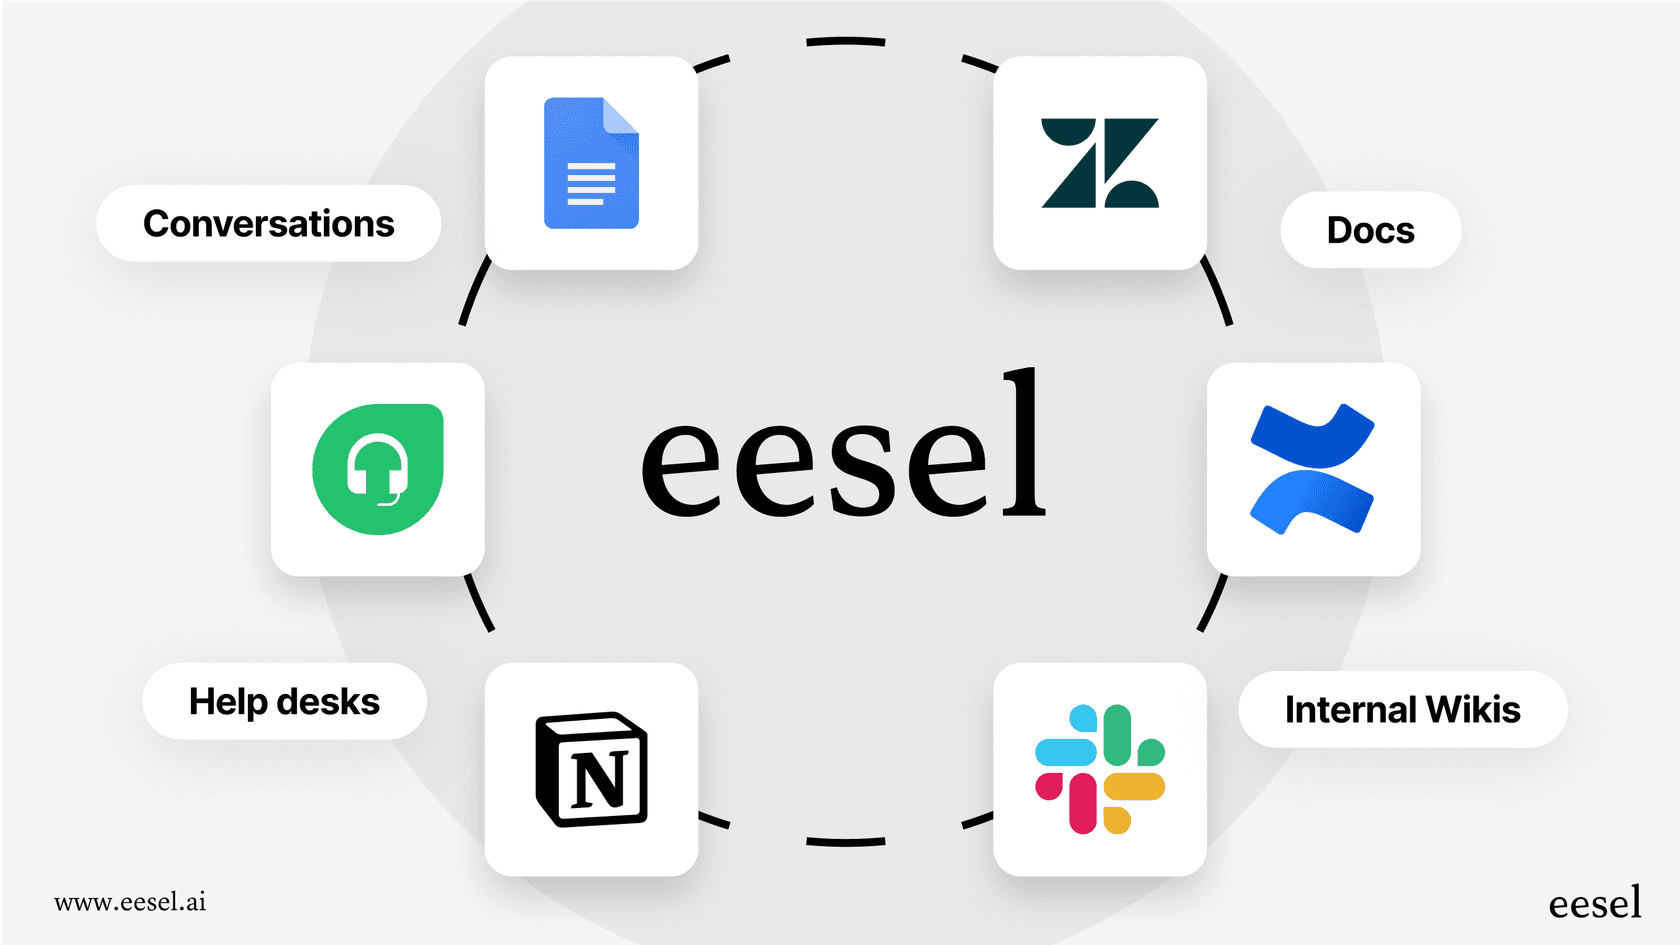
Thinking through this first helps you pick the right tool. Some basic chatbot platforms can only work off a single FAQ page. But a more flexible tool like eesel AI can connect to all of your company’s knowledge at once. It can learn from your website, help center, internal Google Docs, and even your Shopify product catalog to give much more complete and accurate answers from day one.
Step 2: Set up and train your AI chatbot
Once you've got a plan, it’s time to pick a platform and start building your bot. This is where you’ll teach it what it needs to know and customize its personality and look.
Generally, setting up your chatbot will look something like this:
-
Sign up and create a new bot: Most services have a pretty straightforward dashboard to get you started.
-
Add your knowledge sources: This is the most important part. You'll give the AI the information it needs to answer questions. This could be as simple as pasting a link to your FAQ page or uploading a few documents.
-
Customize the prompt and persona: This is where you decide how your bot should sound. Do you want it to be professional and straight to the point, or more friendly and casual? You can write a "prompt" that gives the AI instructions on its tone of voice.
-
Configure the appearance: Tweak the colors, logo, and welcome message of the chat widget so it feels like a natural part of your store's brand.
The platform you choose can make a huge difference here. A basic tool might have you manually typing out every single question and answer pair. But a more modern system like eesel AI makes this part much easier. You just connect your knowledge sources, and the AI learns everything on its own. It can cut your setup time down from weeks to just a few minutes.

Step 3: Integrate the AI chat widget
Okay, your bot is trained and ready to go. Now for the fun part: getting it onto your store. You’ve got two main options here, and both are solid choices. Just pick the one that feels right for you.
The easy way (via the Shopify App Store)
This is the simplest, no-code option. It's perfect if you'd rather not poke around in your theme's code. Many chatbot companies offer a dedicated app that does all the heavy lifting for you.
Here's what that usually looks like:
-
Head over to the Shopify App Store and search for the chatbot tool you signed up for.
-
Click Add app and just follow the on-screen instructions to install it.
-
You'll be asked to review and approve some permissions.
-
The app will then take you to its own dashboard to finalize the setup and turn the widget on. It handles putting the widget on your site automatically.
The flexible way (editing your theme code)
This method gives you a little more control and is pretty standard for AI chatbot platforms that don't have their own Shopify app. It just involves pasting a small snippet of JavaScript code into your theme.
Here’s how you do it:
-
Get your code snippet: In your chatbot platform's dashboard, look for a section called "Install," "Publish," or "Embed." Copy the JavaScript code they give you.
-
Go to your Shopify theme editor: In your Shopify admin dashboard, go to Online Store > Themes.
-
Edit your theme code: Find the theme you're using, click the three-dots menu (...), and choose Edit code.
-
Find the "theme.liquid" file: In the file list on the left, open the Layout folder and click on "theme.liquid". This is the main template file for your entire store.
-
Paste the code: Scroll all the way to the bottom of the file. Paste your code snippet right before the closing "" tag.
-
Save your work: Click the Save button in the top right corner.
And that's it! Your chat widget should now be live on your storefront.
Step 4: Test and customize your chat widget
You've installed the widget, awesome! But don't close the tab just yet. You've got to put it through its paces first to make sure it's giving customers a good experience.
Open your Shopify store in a new window and start chatting with the bot just like a customer would.
-
Ask it the common questions you thought of back in Step 1.
-
Throw it a curveball, ask a tricky question to see how it responds when it doesn't know the answer.
-
Make sure the handoff to a human agent actually works.
Instead of just poking at the live widget on your site, some platforms have a much smarter way to do this. For instance, eesel AI has a simulation mode where you can test your bot against thousands of your past customer conversations in a safe environment. This lets you see how well it will perform and find any gaps in its knowledge before it talks to a single real customer. It's a great way to launch with confidence.

Common mistakes to avoid
Most of the time, this process is pretty painless. But just in case you hit a snag, here are a few common tripwires and how to get around them.
-
The invisible chatbot: Sometimes, the code in your Shopify theme can clash with the chatbot's code, causing it to be hidden. If your widget isn't showing up after you've installed it, this is the most common reason. You might need to add a little bit of custom CSS to fix it, which is a common topic in the Shopify community forums.
-
Outdated information: A chatbot giving wrong answers is definitely worse than no chatbot at all. If you change your return policy or update product info, you have to remember to update your chatbot's knowledge base, too. Using a platform that can automatically sync with your documents helps avoid this problem.
-
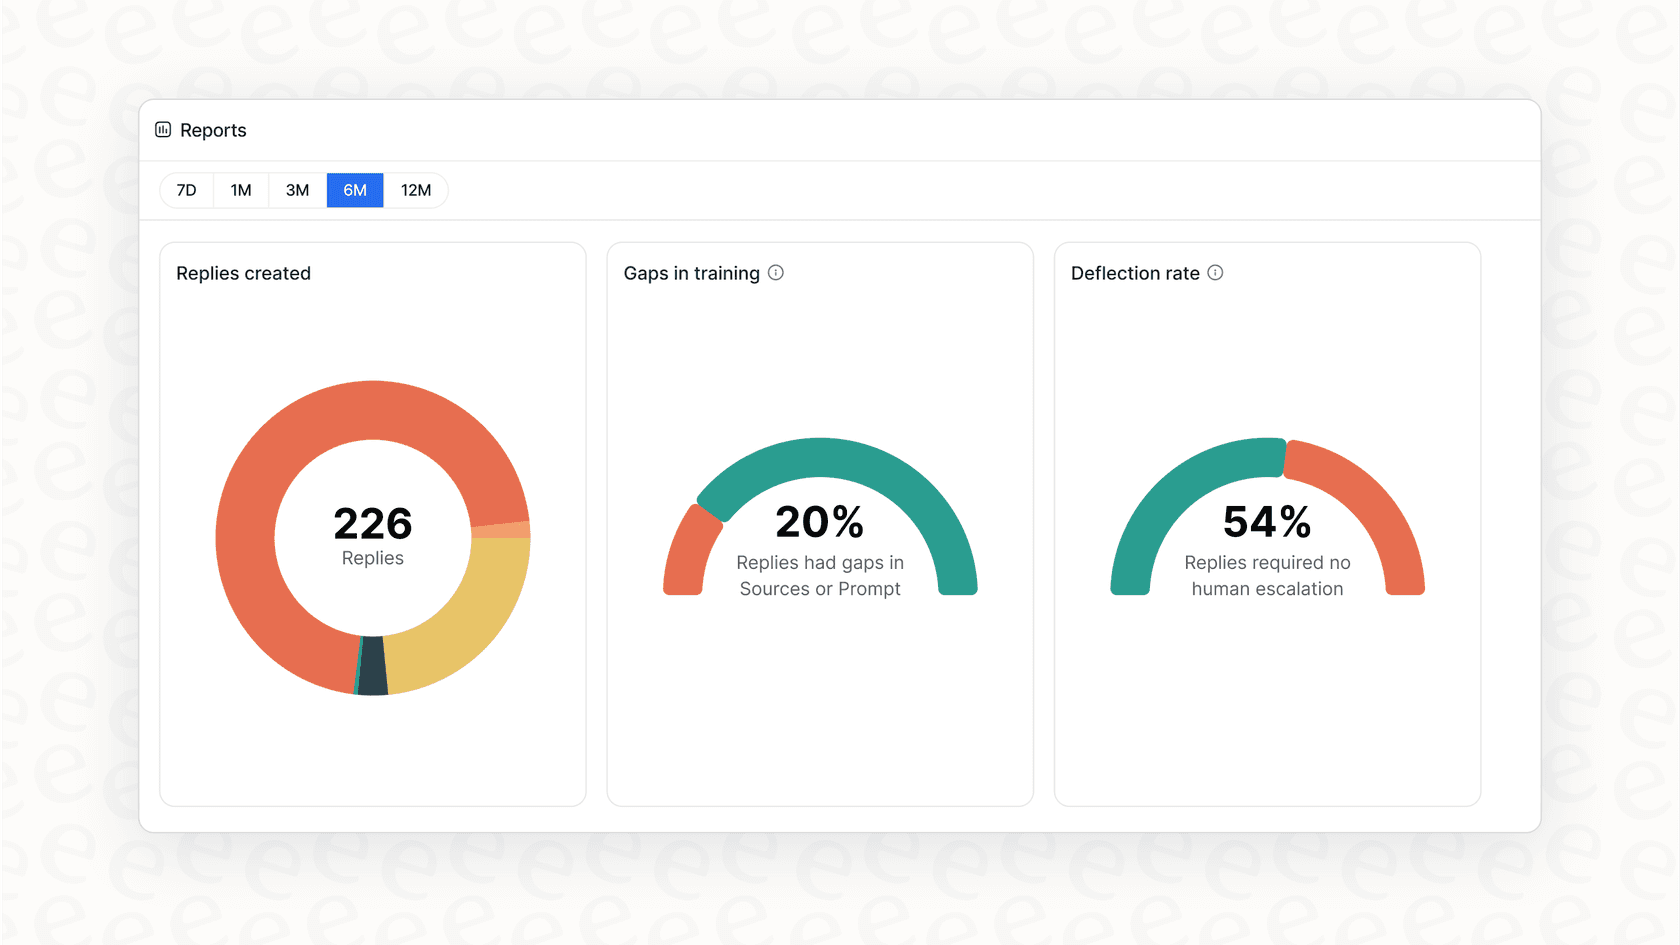
Setting it and forgetting it: Your chatbot is a tool that needs occasional check-ups. Look at its analytics to see what kinds of questions people are asking. You might find gaps in your help docs or even get ideas for new products. The reports in eesel AI, for example, are designed to give you useful insights so you can keep making your customer support better over time.
Go beyond basic chat with a true AI agent
So there you have it, a full guide on how to integrate an AI chat widget in Shopify. Following these steps will get you a 24/7 helper that can answer customer questions and help you make more sales.
But a simple FAQ bot is really just the start. The next step is to set up an AI agent that can do more than just recite answers. Imagine a bot that can look up a customer's order status, automatically tag and route tickets in your help desk, or even apply a discount code for a customer right in the chat.
This is the kind of automation that a platform like eesel AI is built for. It's designed to be a customizable engine for your support workflows, not just a little chat bubble. With custom actions, powerful testing simulations, and easy integrations with help desks, you can build an AI agent that fits perfectly into your existing setup.
Ready to see what a smarter AI assistant can do for your Shopify store?
Get started with eesel AI for free and have your AI chat widget live in minutes.
Frequently asked questions
How difficult is it to integrate an AI chat widget in Shopify if I'm not very technical?
Not difficult at all. The blog provides an "easy way" using the Shopify App Store, which requires no coding. Even the manual code method is just copy-pasting a snippet, made simple with step-by-step instructions.
What are the main benefits for my store when I integrate an AI chat widget in Shopify?
Integrating an AI chat widget allows you to provide 24/7 customer support, instantly answer common questions, and guide visitors towards purchases. This improves customer satisfaction and can significantly boost your conversion rates by engaging customers when they are most likely to buy.
After I successfully integrate an AI chat widget in Shopify, what kind of ongoing maintenance or updates will be needed?
You'll need to regularly test the bot and update its knowledge base if your policies or products change. Platforms like eesel AI can help by automatically syncing with your documents and providing analytics to identify areas for improvement.
Can the AI chat widget be fully customized to match my brand after I integrate an AI chat widget in Shopify?
Yes, most AI chatbot platforms allow for extensive customization. You can typically adjust colors, add your logo, and configure the bot's persona and welcome messages to align perfectly with your store's branding.
What are the key considerations for choosing the right AI platform when deciding how to integrate an AI chat widget in Shopify?
Prioritize platforms that can easily ingest various knowledge sources (like eesel AI), offer robust customization for appearance and persona, and provide clear handoff options for human agents. Also, look for platforms with good testing and analytics features.
What should I do if the chat widget doesn't appear on my store after following the steps on how to integrate an AI chat widget in Shopify?
If the widget is invisible, it might be due to a code clash within your Shopify theme. Check your chatbot platform's installation guide or the Shopify community forums for solutions, which often involve adding a small piece of custom CSS.
How much time should I allocate to learn how to integrate an AI chat widget in Shopify and get it fully operational?
The setup time can vary, but with modern platforms like eesel AI, you can connect your knowledge sources and have a basic bot learning within minutes. The initial planning and strategy (Step 1) might take the most thought, but the technical integration itself can be very quick.