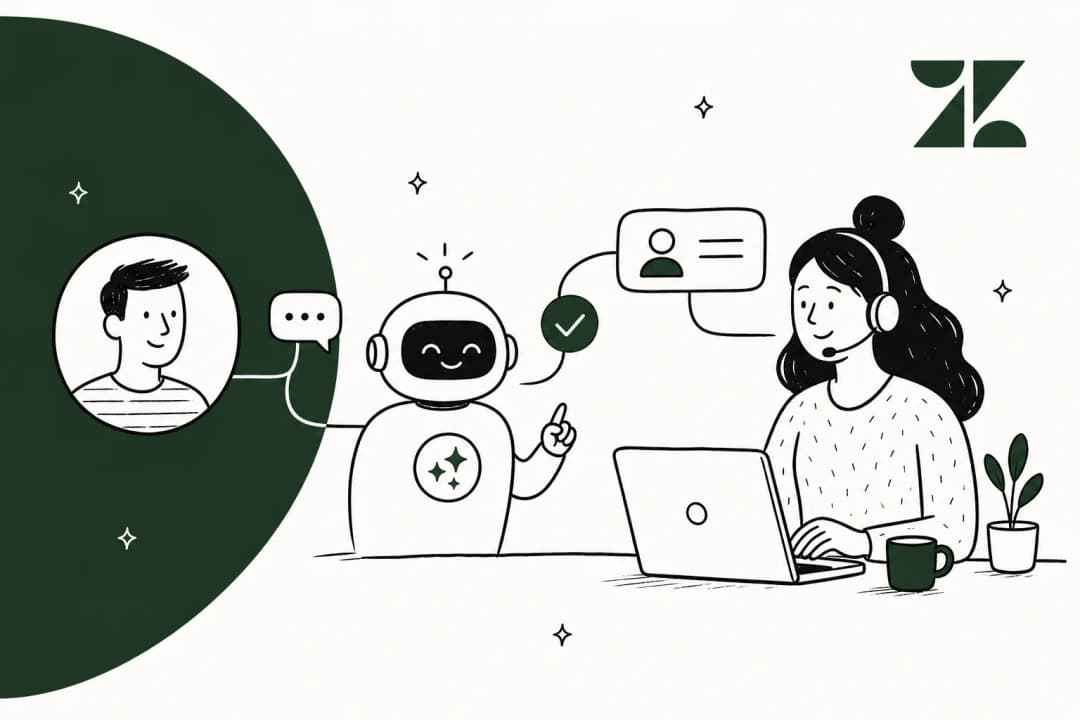
The three ways to add AI to Zendesk
Before you touch a single setting, it helps to know which layer of AI you're turning on, because Zendesk has stacked several of them under the "Resolution Platform" banner and they do different jobs.
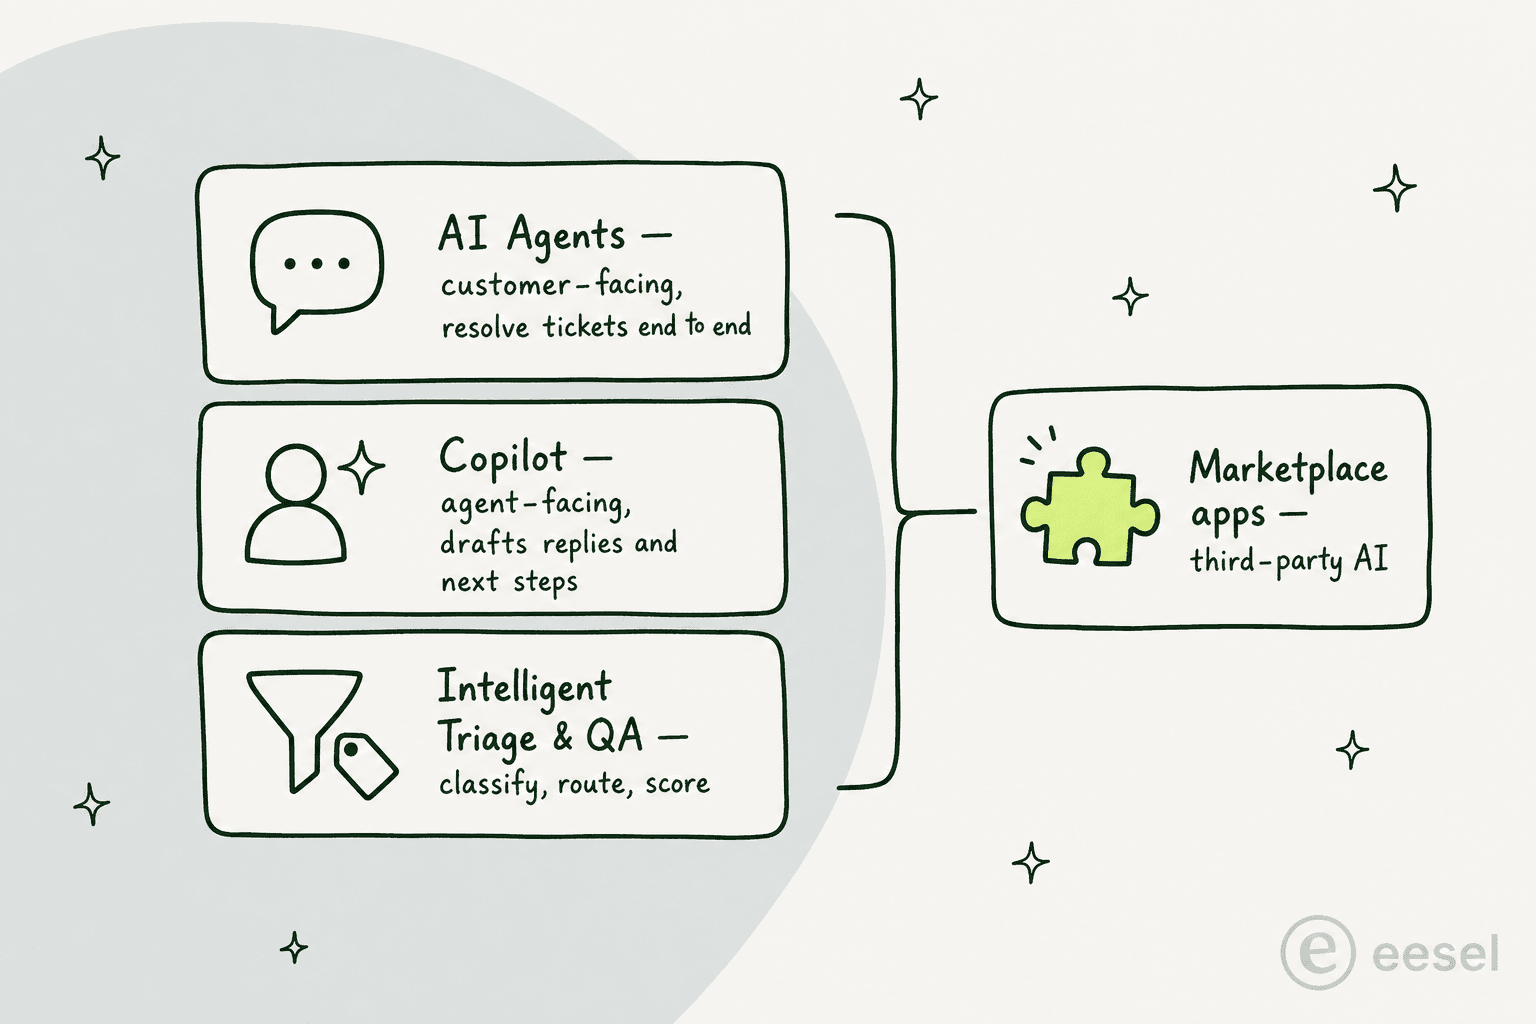
Here's how the options break down:
| Layer | Who it talks to | What it does | How it's priced |
|---|---|---|---|
| AI agents | Your customers | Resolve conversations autonomously across messaging, email, web form, and voice (EAP) | Metered by automated resolutions |
| Copilot | Your human agents | Drafts replies, suggests next steps, runs approved actions in the agent workspace | $50/agent/month add-on (or Enterprise) |
| Intelligent Triage and QA | Your operations | Classifies every ticket by intent, sentiment, and language; auto-QAs interactions | Part of Copilot / Enterprise |
| Marketplace apps | Either | Third-party AI agents and copilots that plug into Zendesk | Set by each vendor |
The reason this matters: a lot of teams turn on the bundled "Essential" agent, get a thin knowledge-base Q&A bot, and conclude Zendesk AI "doesn't feel like AI at all," to quote one r/Zendesk thread. Knowing which layer you actually need saves that disappointment. If you want the deeper background on each, our Zendesk AI agents review and Copilot breakdown go feature by feature.
Before you start: get your knowledge base ready
This is the step everyone wants to skip, and it's the one that decides whether your AI is any good. Zendesk's AI agents draw their answers from your connected knowledge sources, primarily your help center, and they cannot browse external pages or follow links. If the answer isn't in a clean, indexed article, the agent has nothing to surface.
The people running this in production are blunt about it:
"The Co-Pilot stuff is decent, but we found its effectiveness really depends on having a perfectly curated Zendesk knowledge base, which... ours isn't, lol."
u/ToastBix, r/Zendesk
Teams that launch without a tidy knowledge base typically see around 20% automation in the first month, climbing toward 70% only after sustained cleanup. So before anything else: mine your past tickets for the questions customers actually ask, write or update the articles that answer them, and run a generative-AI readiness pass on your help center content. If you've built up a backlog of macros, those are useful raw material too, since they encode answers your team already trusts.
The single biggest predictor of AI answer quality in Zendesk is knowledge-base hygiene, not the model. Budget real time for it.
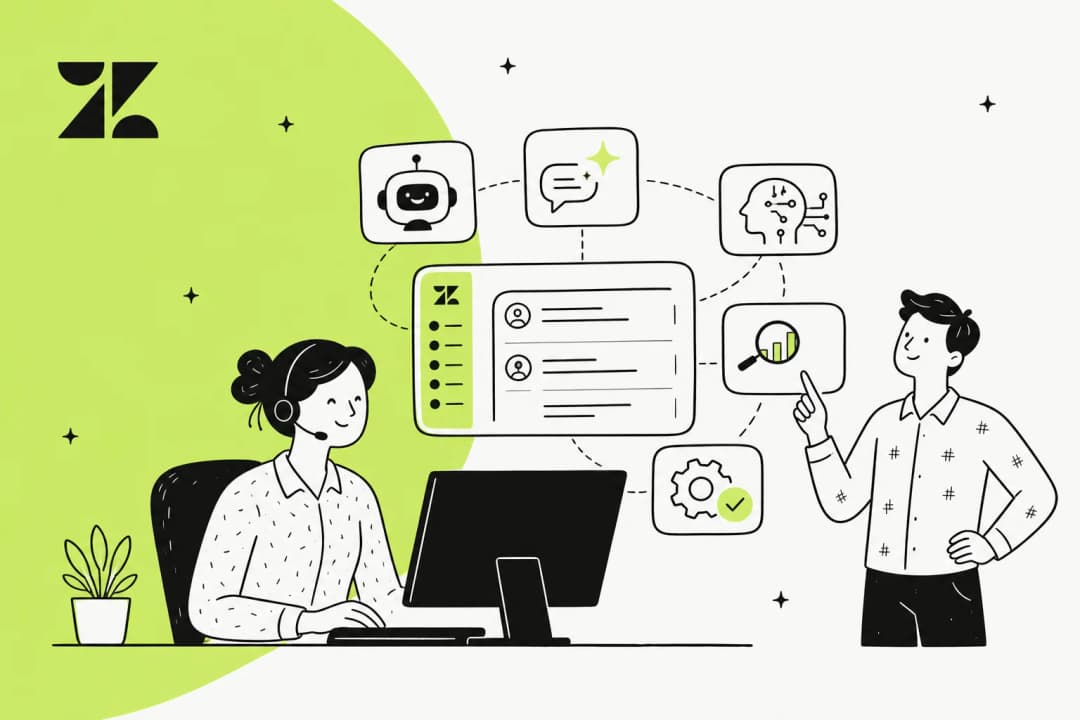
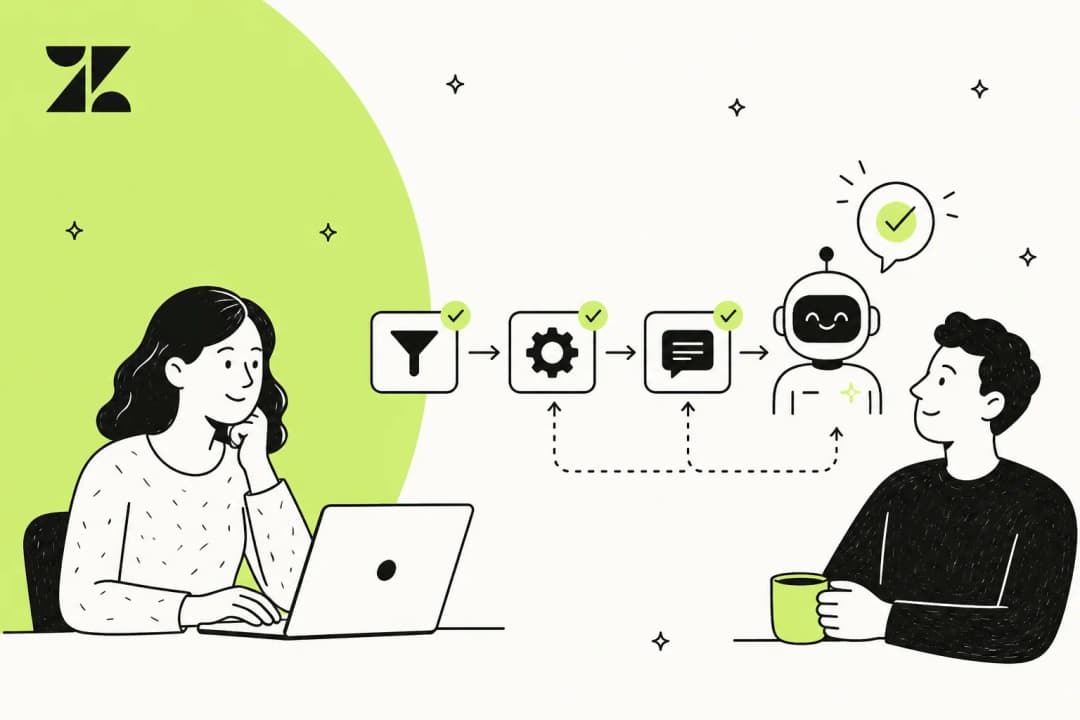
How to set up a Zendesk AI agent, step by step
Once your knowledge base is in shape, the actual creation flow is a three-page wizard. You need a client admin role in AI agents to create one, and each agent is bound to a single channel type, so you build one for messaging, a separate one for email, and so on.
Step 1: power your AI agent with knowledge
In the AI agents workspace, click Dashboard, then Create AI agent, and choose the channel (Messaging or Email). The first page asks you to select one brand and its knowledge base, which auto-attaches so the agent can generate grounded answers.
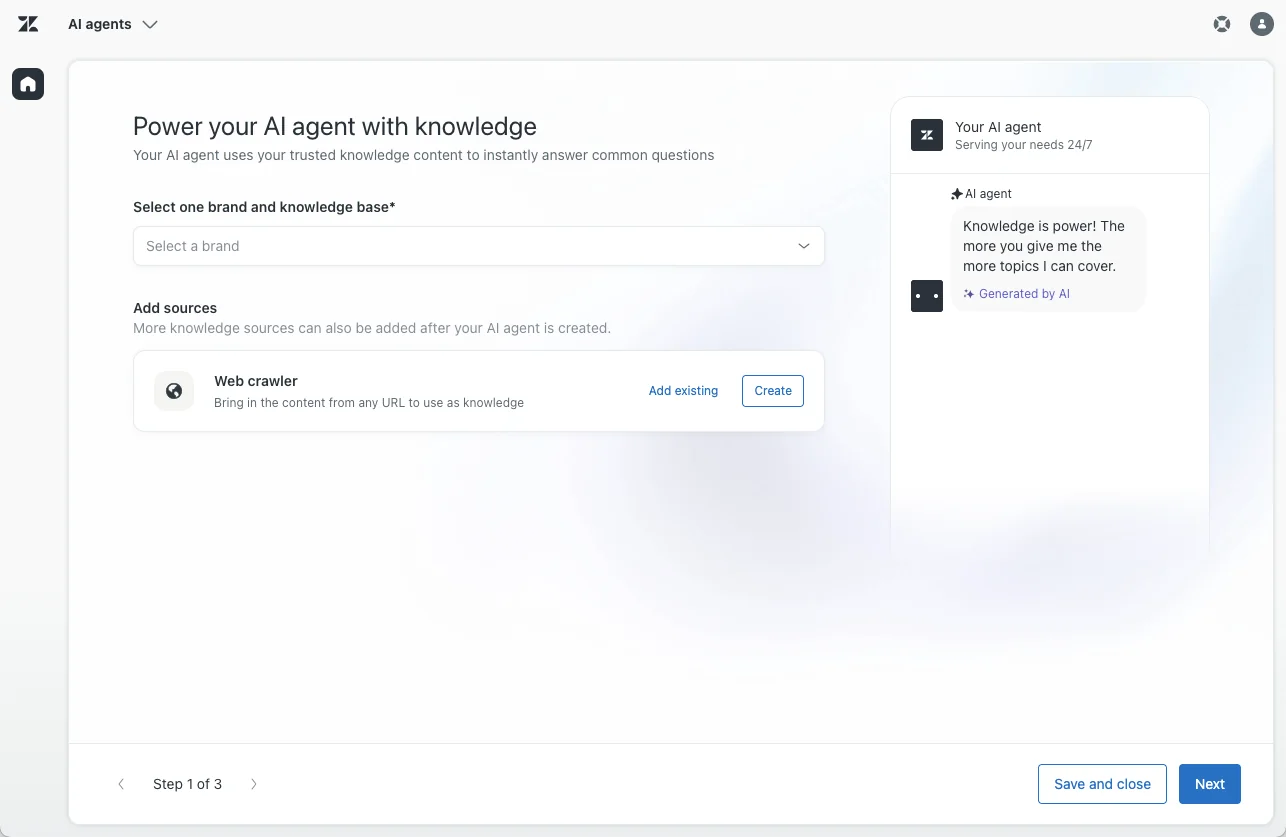
If the brand's knowledge base hasn't been created or activated yet, the page gives you inline prompts to do it. You can also add a web crawler to index external website content. You need at least one knowledge source connected before you can move on.
Step 2: personalize the agent
The second page is where you set the agent's name, a short factual business profile, and its tone of voice. Zendesk offers four presets: Professional (the default), Enthusiastic, Informal, and Custom, where you write your own short style guide.
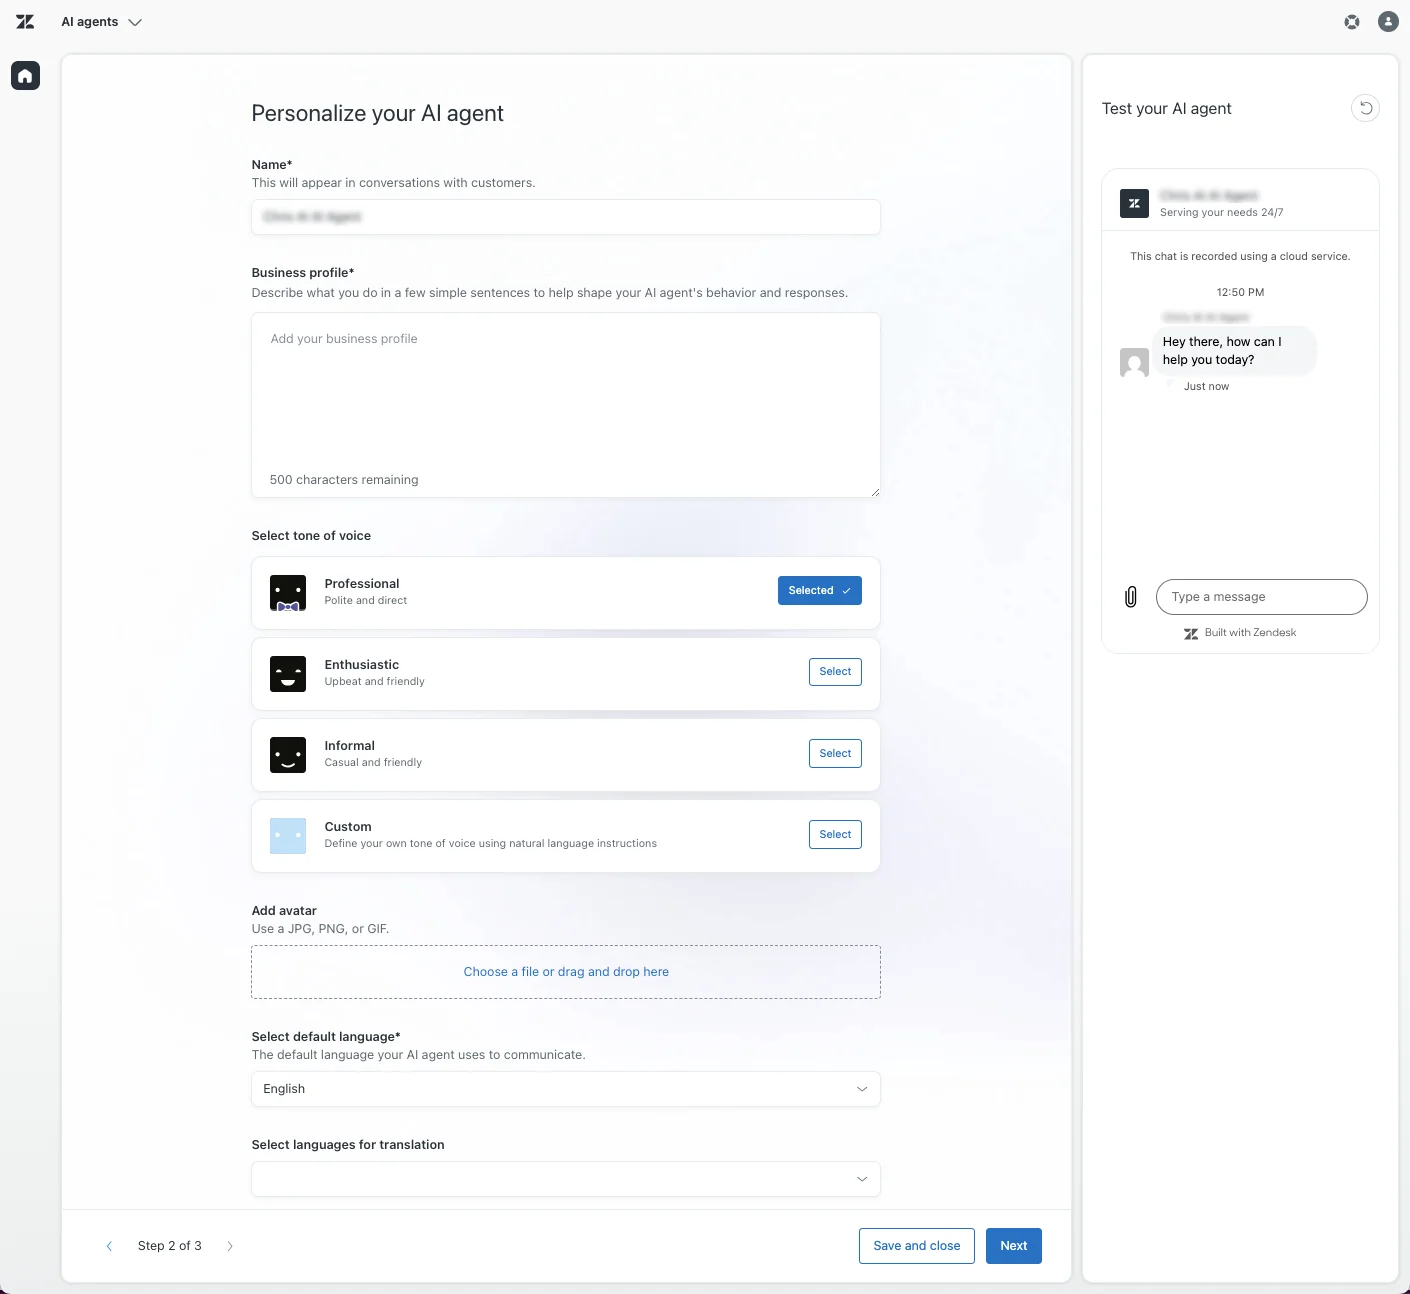
One small but important warning from Zendesk: keep the business profile neutral and descriptive. Don't paste instructions or marketing copy into it, because that can destabilize the agent's behaviour. This is also where you pick a default language and any additional languages for automatic translation, and there's a live test panel so you can chat with the draft agent before continuing.
Step 3: set up system replies and escalation
The third page handles the canned moments in a conversation: the greeting, the wrap-up, the escalation reply (what the agent says when it hands off to a human), and the fallback reply (what it says when no use case matches).
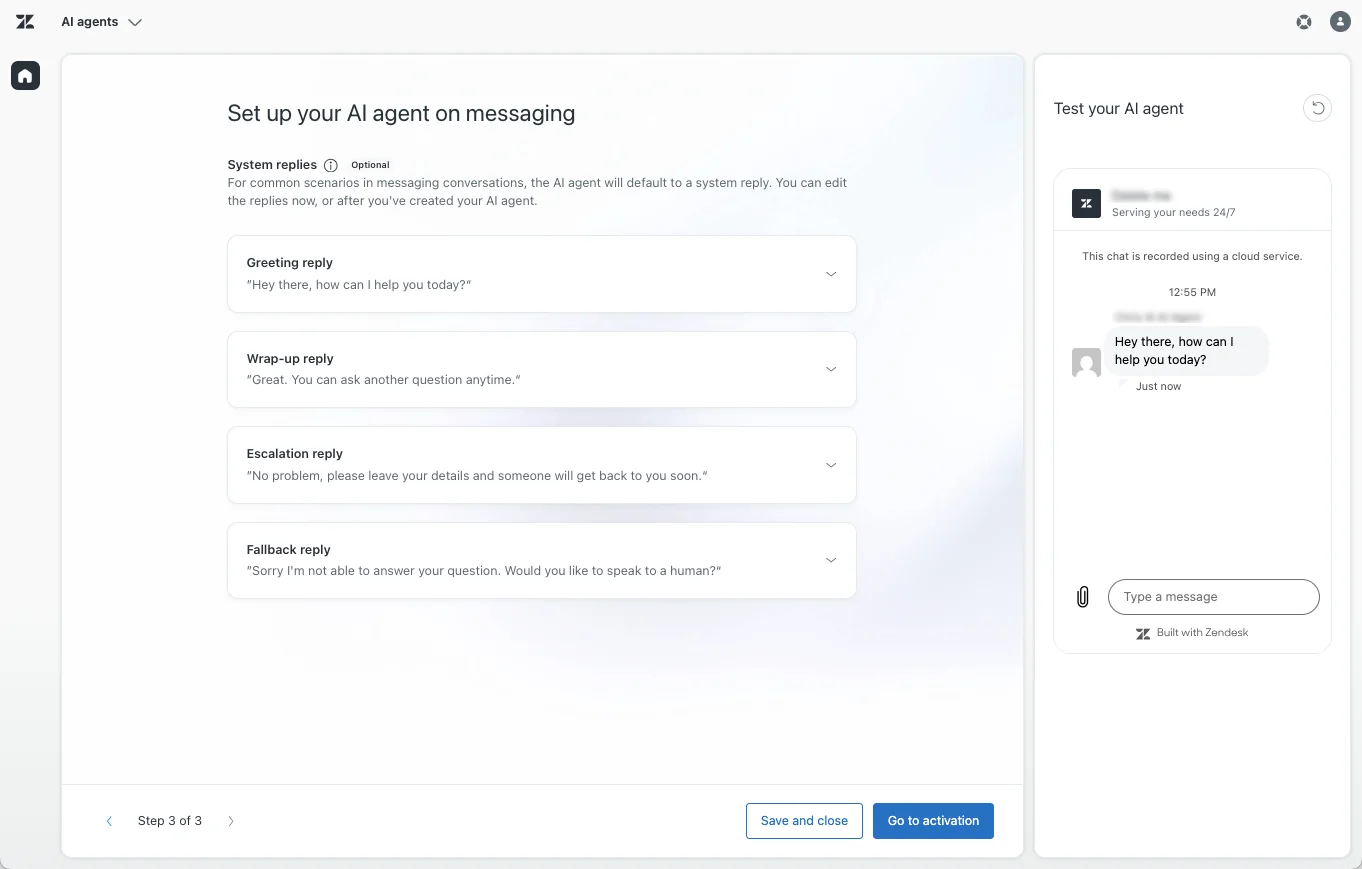
Toggle Add option to talk to a human and escalate on the fallback and unhelpful replies so customers always have an exit. If you want the agent to gather contact details during a handoff, switch on Collect name, email, and reason for contact. Getting escalation behaviour right here is what keeps a bad AI answer from costing you a high-value customer.
When you're happy, click Go to activation, pick your channels, and the agent goes live. Only one AI agent can be active per messaging channel or per email address at a time. From here you can monitor performance from the reporting dashboard. For the full picture including costs and best practices, Zendesk's own flow is documented in our complete AI agents setup guide.
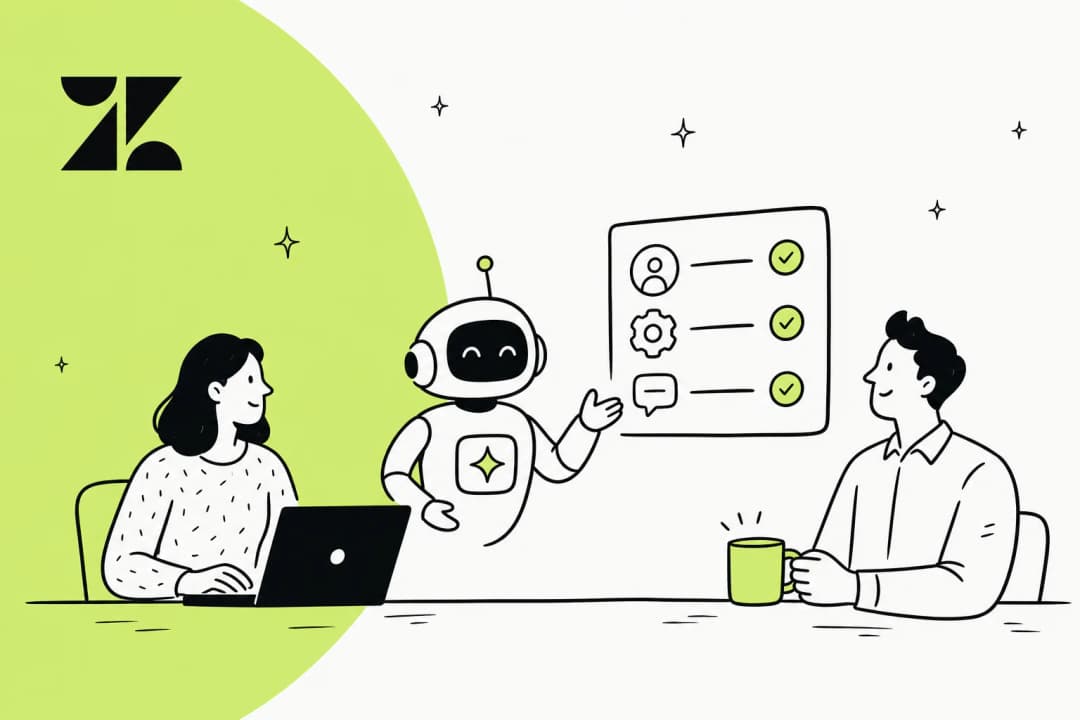
Going further: use cases, procedures, and actions
The wizard alone gives you an agent that answers freeform questions from your knowledge base. To shape conversations or let the agent actually do things, you layer in three more pieces.
Use cases are how the agent recognizes what a customer is asking about (order returns, refund requests) and links it to the right flow. Without them, the agent falls back to pure generative answers. For each use case, you then choose how strictly to script the conversation.

That choice comes down to procedures versus dialogues:
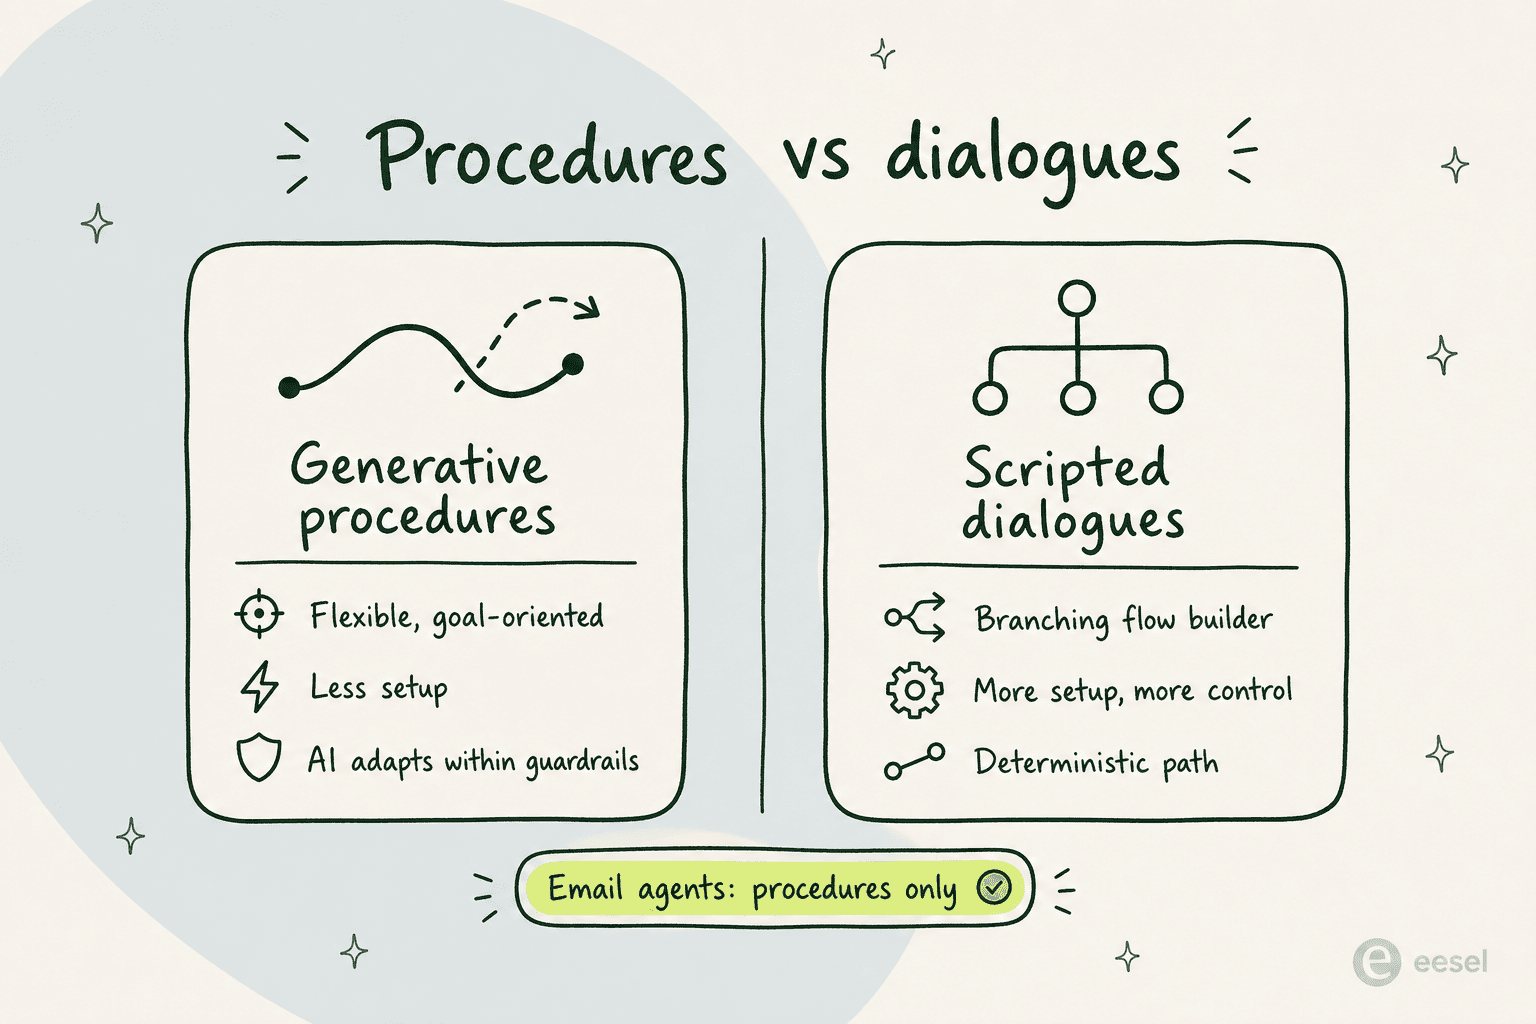
Generative procedures are flexible, goal-oriented flows where the AI adapts to the customer while staying inside your guardrails, with less setup. Dialogues are scripted, branching conversation trees built in the drag-and-drop flow builder: more deterministic, more work to build. One thing to note up front: email AI agents can only use procedures, not dialogues.

A fair warning: the flow builder is the single most-complained-about part of the experience, described in one r/Zendesk comment as "the most annoying interface in the world." If you're scripting more than a couple of paths, expect it to take longer than the demo suggested.
Finally, to make the agent take action rather than just talk, you add actions (operations it's authorized to perform, like updating a field or processing a return), entities (data it extracts from messages, like an order number), and API integrations built through the integration builder.
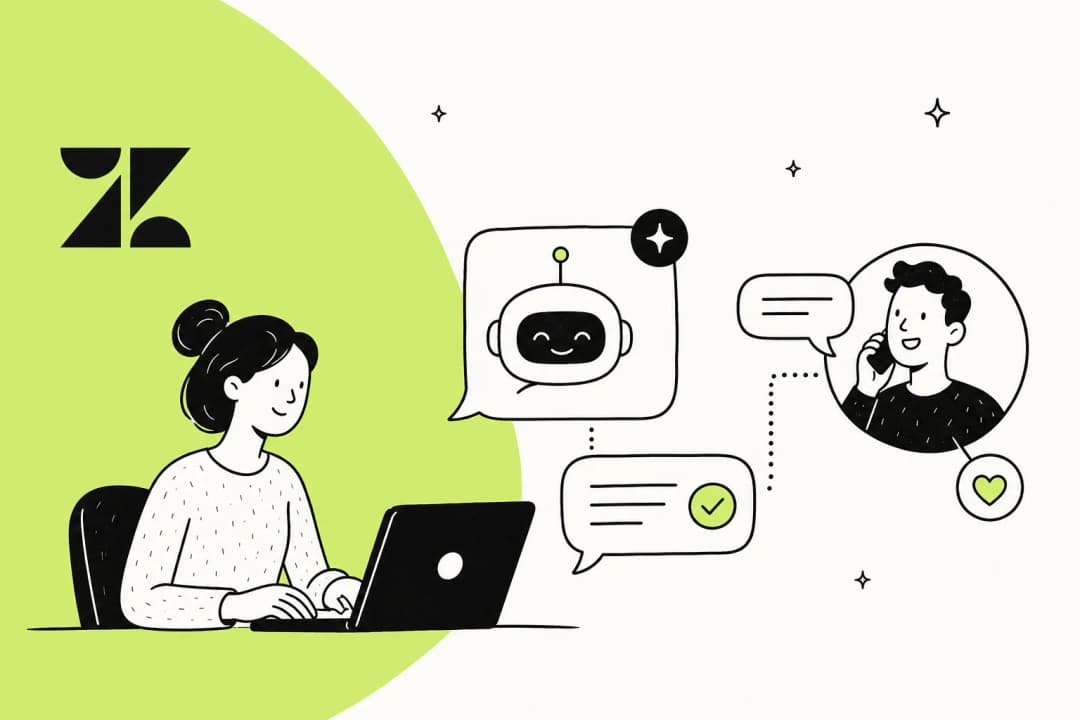
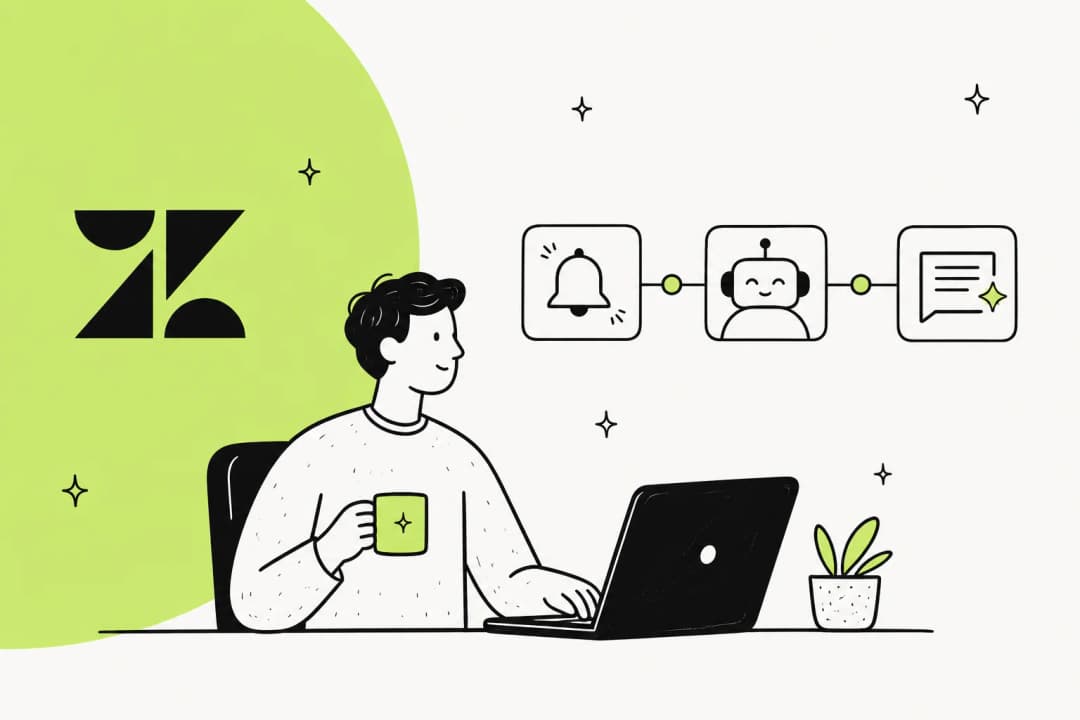
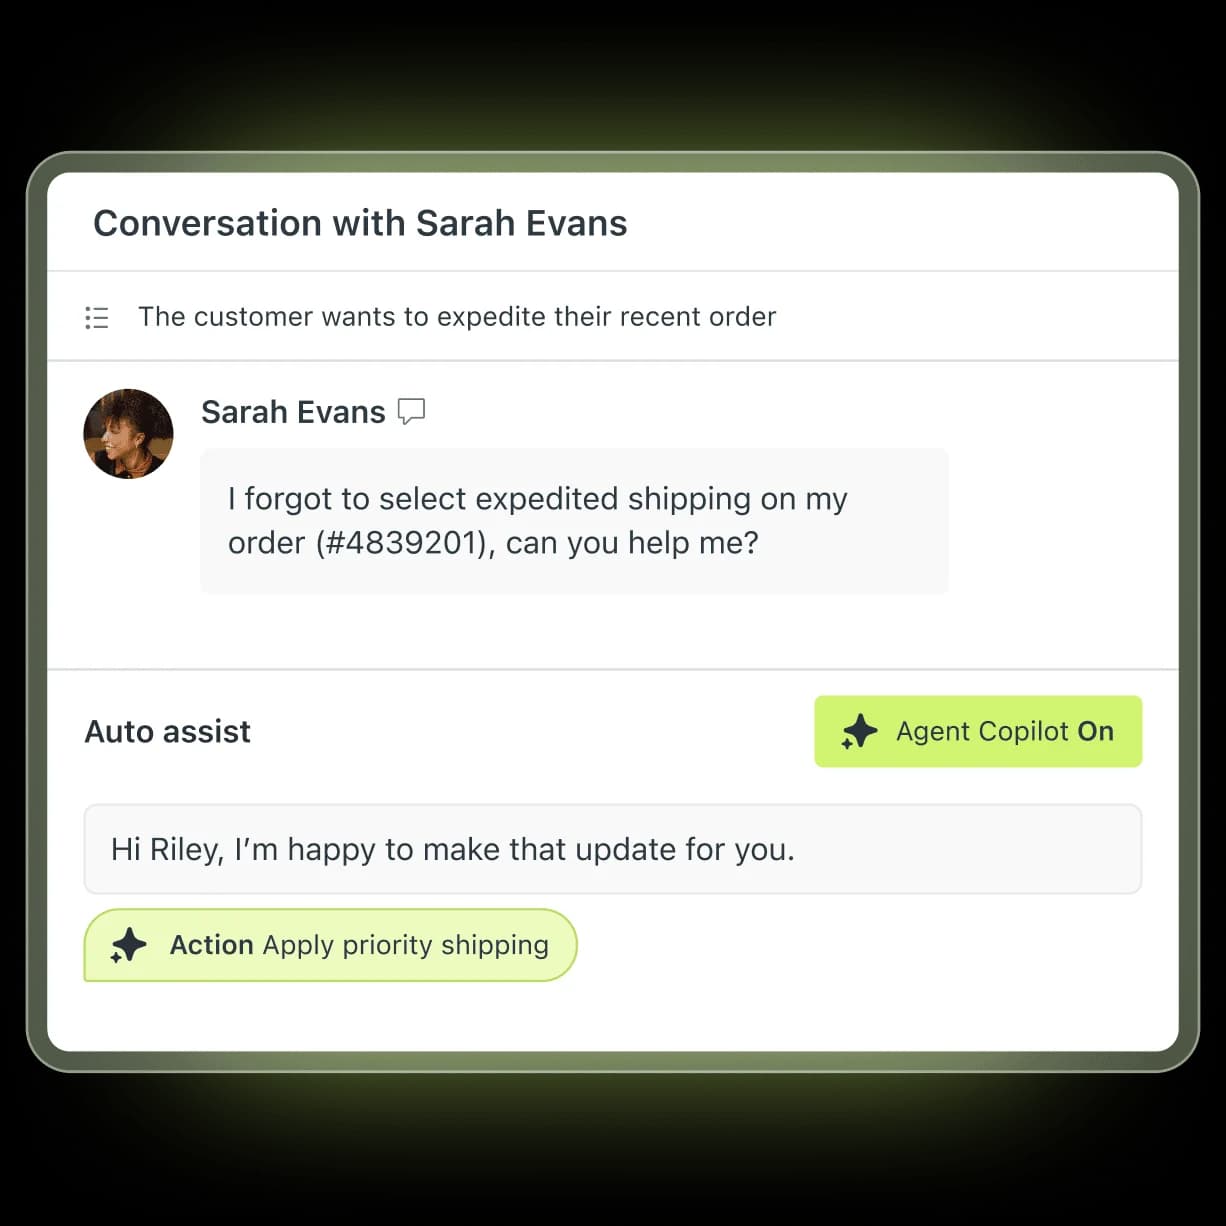
Adding Copilot for your human agents
AI agents handle the customers; Copilot handles the agents. It lives inside the Zendesk agent workspace and gives your team real-time, knowledge-grounded guidance: it drafts replies, surfaces the next best action, and, with agent oversight, executes approved actions inside Zendesk and across systems like Shopify, Jira, and Slack.
Zendesk cites an 82% lift in agent productivity and 5.5 admin hours saved weekly on its Copilot page. The named customer results are concrete: Rotho's expert agents went from 40 to 120 tickets per 8-hour shift, and Yape reported a 15% productivity increase. Copilot is a $50/agent/month add-on below the Enterprise tier, though Professional plans get a limited slice (the AI writing tools) for free.
The honest question worth asking, and one r/Zendesk users openly debate, is whether the add-on earns its $50 per seat versus a third-party copilot. If you're weighing it, our rundown of Auto Assist actions and best agent-assist tools is a good starting point.
What it actually costs to add AI to Zendesk
This is where the planning matters most, because Zendesk's AI is priced on top of your base subscription, not inside it. Here's the ladder:
| Plan | Price (per agent/month, annual) | AI included |
|---|---|---|
| Support Team | $19 | Ticketing only, no AI agents |
| Suite Team | $55 | AI agents, AI knowledge base, action builder |
| Suite Professional | $115 | Adds AI writing tools, quick reports, basic Admin Copilot |
| Suite Enterprise + Copilot | Contact Sales | Adds Intelligent Triage, full Auto Assist, generative voice AI |
| Copilot add-on | +$50 | Full proactive Copilot on sub-Enterprise plans |
On top of the seat price, AI agent usage is metered by the automated resolution. Since May 2026, only Verified Resolutions (where the AI resolved the issue and an LLM verification step confirmed it) draw from your allowance; Assisted Escalations and unconfirmed Contained Resolutions are free. That's a fairer model than the old "silence for 72 hours counts as a resolution" approach, but the per-resolution cost is still the thing teams get burned by.
There's no public rate card, but users consistently report $1.20 to $1.50 per automated resolution above commit. The most-cited reaction sums up the mood:
"ARs are a rip off, and it's a rushed product to get into the AI hype."
u/OGShakey, r/Zendesk
Run the math for a mid-market team: 10 agents on Professional is $1,150/month, the Copilot add-on adds $500, and 6,000 automated resolutions at $1.50 would add roughly $9,000 in AI fees alone. AI can easily run 2 to 3 times your base Zendesk subscription, and the only overage control is to pause AI entirely, with no graceful per-month cap. Our pay-per-resolution pricing guide and dynamic pricing breakdown go deeper if you're forecasting a budget.
Common mistakes when adding AI to Zendesk
A few patterns show up again and again. Avoiding them is most of the battle.
-
Launching before the knowledge base is ready. Covered above, but worth repeating: a thin help center caps your automation rate no matter how good the model is.
-
Switching everything to autonomous on day one. Start the agent in draft or assist mode, watch what it produces against real tickets, and only flip the easy intents to fully autonomous once you trust them. A poll Zendesk ran at its own 2025 ProductLab Conference found only about 10% of AI agents built in the prior six months were still in use, which points to teams launching, getting burned, and quietly switching them off.
-
Letting the AI try to answer everything. This is the trap that erodes trust fastest. As one DTC supplements CX lead told us, the AI "will never be able to answer 100% of the questions... I need an AI who is only handling the tickets that it's confident to handle and all the other ones, leave them alone." Set a sensible confidence threshold and clean escalation rules so low-confidence questions go straight to a human with full context, rather than getting a confident-but-wrong answer.
-
Forgetting the data-privacy review. If you're in a regulated space, square away the AI security and data-privacy questions (where data is processed, whether it trains a model) before you go live, not after.
The third-party route: marketplace AI apps
If the native pricing or the flow builder gives you pause, the Zendesk Marketplace carries roughly 250 apps in its AI and Bots category. They install free and bill on the vendor's own terms, which is often friendlier than per-resolution. A few worth knowing:
| App | Best for | What it does |
|---|---|---|
| eesel AI | Fast, no-code autonomous tier 1 | Native AI agent trained on help center, macros, and past tickets; $0.40/ticket |
| Ada | Enterprise self-service | Generative agent claiming 80%+ auto-resolution across channels |
| Stylo | Agent copilot | Draft replies, ticket summaries, tone matching (5 stars, 54 reviews) |
| Aisera | RPA-heavy workflows | Auto-resolution plus 1,200+ pre-built workflow automations |
| Kaizo | Quality assurance | Auto QA reviews, sentiment sorting, coaching |
For the full list, our roundup of the best Zendesk marketplace apps is a fuller comparison. The reason teams go this route is usually some mix of free AI alternatives being cheaper to run and the setup being less of a project.
Try eesel
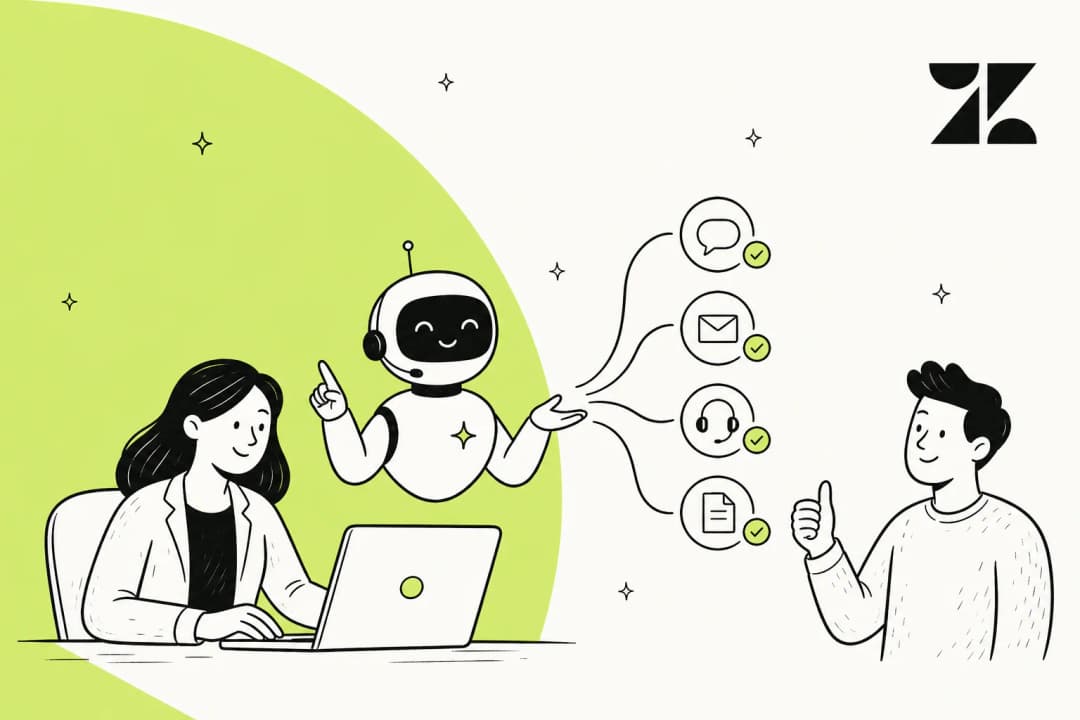
If you want the autonomy of a native AI agent without the per-resolution billing or the multi-week flow-builder project, eesel AI is built for exactly that. It installs from the Zendesk Marketplace, learns from your help center, macros, and full past-ticket history automatically, and behaves like a real agent inside your account: drafting replies, updating fields, routing escalations, and respecting your existing triggers and business hours.
Two things set it apart from Zendesk's native agents. First, you configure behaviour by describing it in plain language, no settings maze or rules engine, so briefing the agent feels like onboarding a new hire.
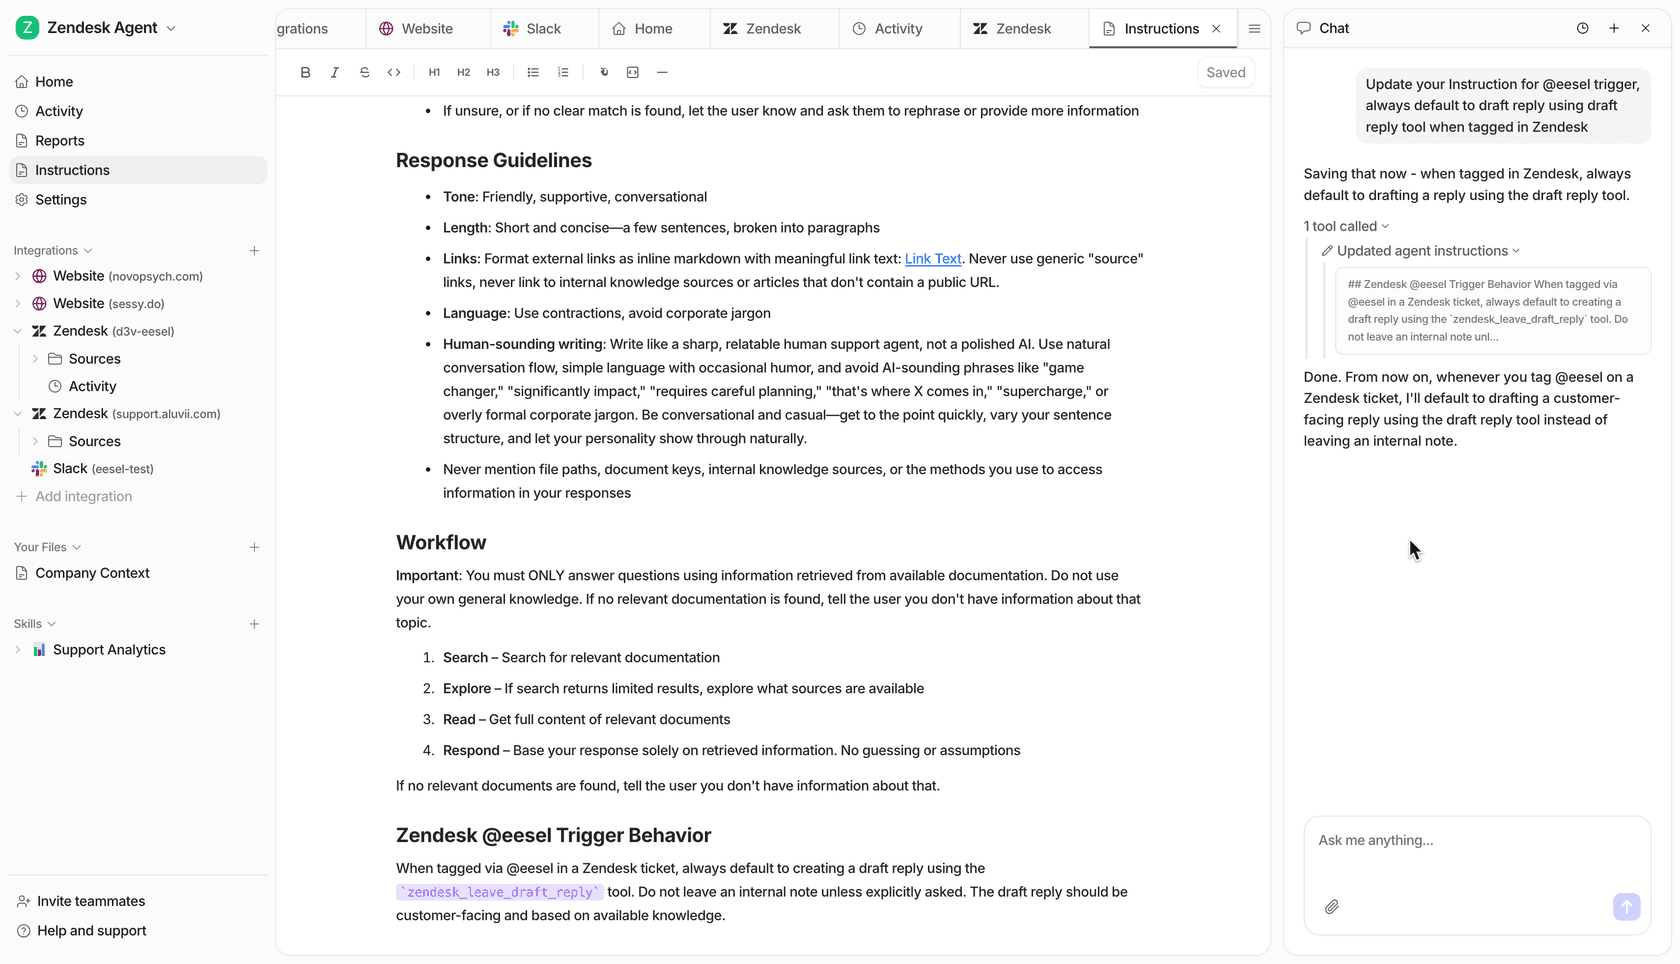
Second, you can simulate the agent on your past tickets before it ever touches a live one, so you see the resolution rate and the gaps up front rather than discovering them in production. Ecosa runs 10,000+ tickets a month through it and integrated in under an hour, and Gridwise's team saw it resolve tier 1 fast:
"In the first month, eesel is resolving 73% of our tier 1 requests... Our team implemented and achieved results quickly during our 7-day trial."
Kim Simpson, Gridwise
Pricing is $0.40 per ticket, with no platform fee, no per-seat charge, and a spend cap you set yourself. You can start free with no credit card, or book a demo to see it run on your own Zendesk data.
Frequently Asked Questions
How do I add AI to Zendesk?
Is Zendesk AI free?
How much does it cost to add AI to Zendesk?
What is the difference between Zendesk AI agents and Copilot?
Can I add a third-party AI to Zendesk instead of the native one?
How long does it take to add AI to Zendesk?
Do I need a perfect knowledge base before adding AI to Zendesk?

Article by
Alicia Kirana Utomo
Kira is a writer at eesel AI with a Computer Science background and over a year of hands-on experience evaluating AI-powered customer service tools. She focuses on breaking down how helpdesk platforms and AI agents actually work so that support teams can make better buying decisions.