Blog
Tips, guides, and insights on AI teammates, smarter support, and building better teams.
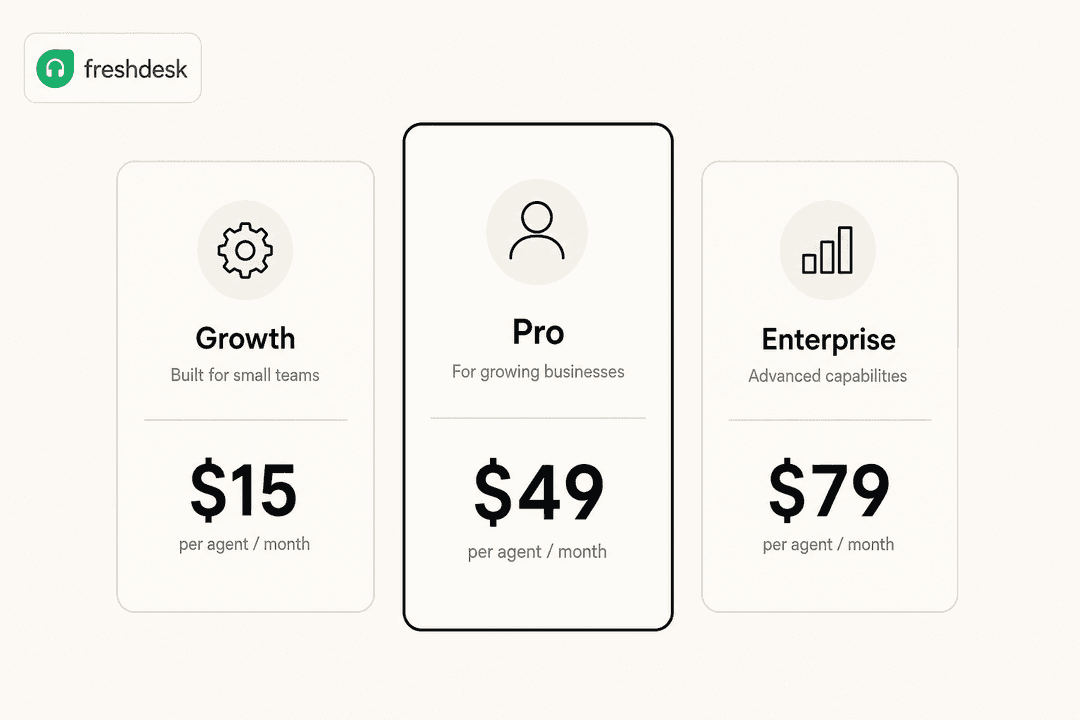
Freshdesk Freddy AI pricing explained: what you actually pay in 2026
Freddy AI is three separate products with three different price tags. Here's what each one costs, what gets included in your plan, and where teams tend to hit surprises.
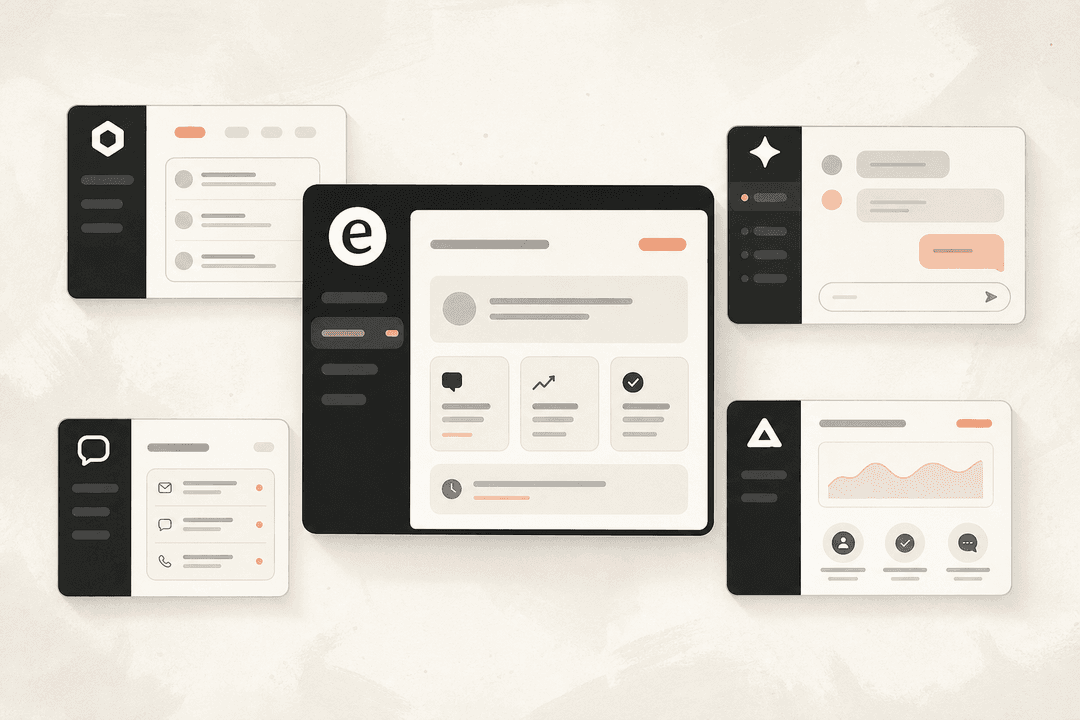
The 6 best Freshdesk Freddy alternatives in 2026
Freddy AI sessions get expensive fast. Here are the 6 best Freshdesk Freddy alternatives - including one that layers on top of Freshdesk with no migration required.
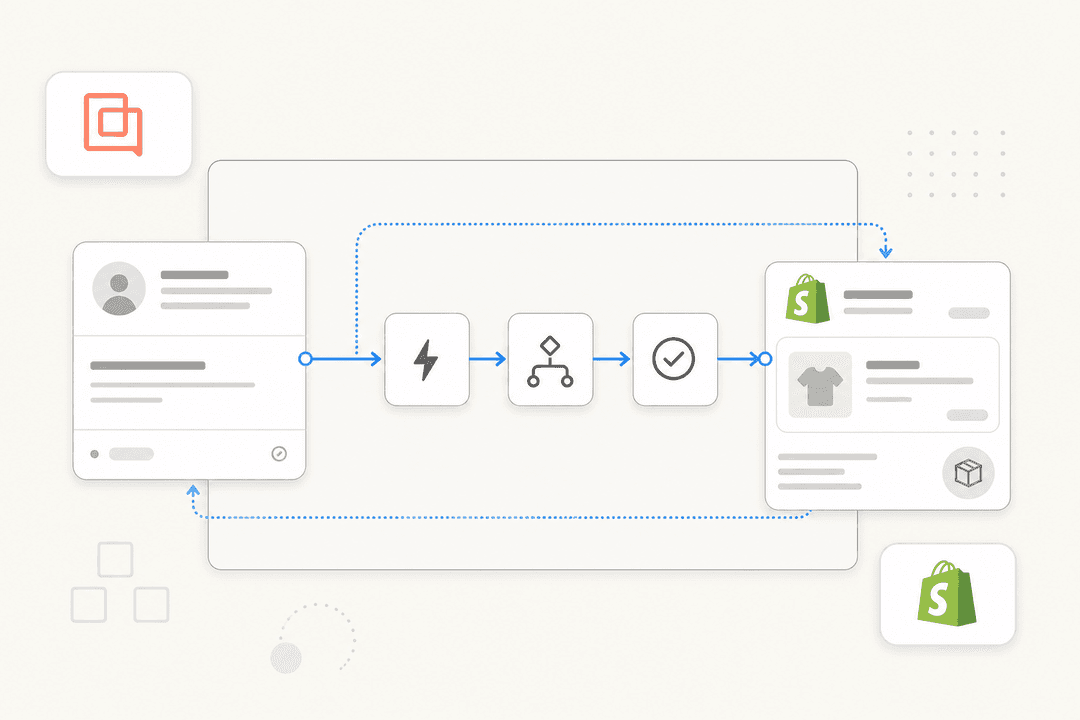
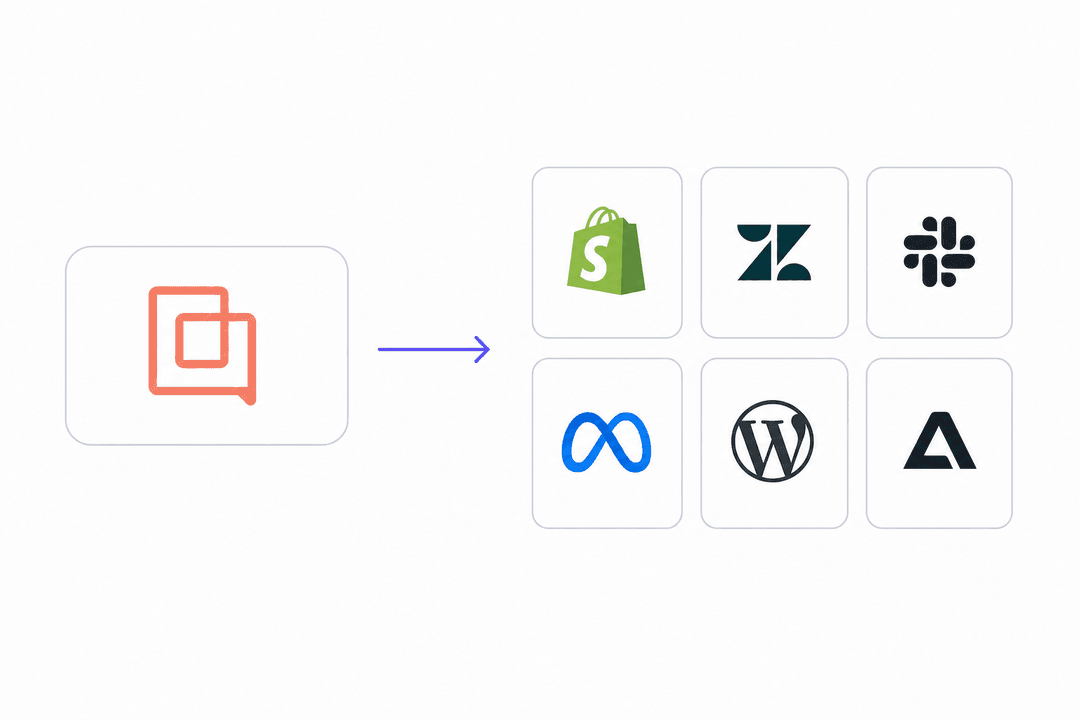
How to set up Gorgias Shopify automation (complete guide for 2026)
Gorgias offers four distinct automation layers for Shopify stores. Here's how each one works, which to set up first, and where they fall short.
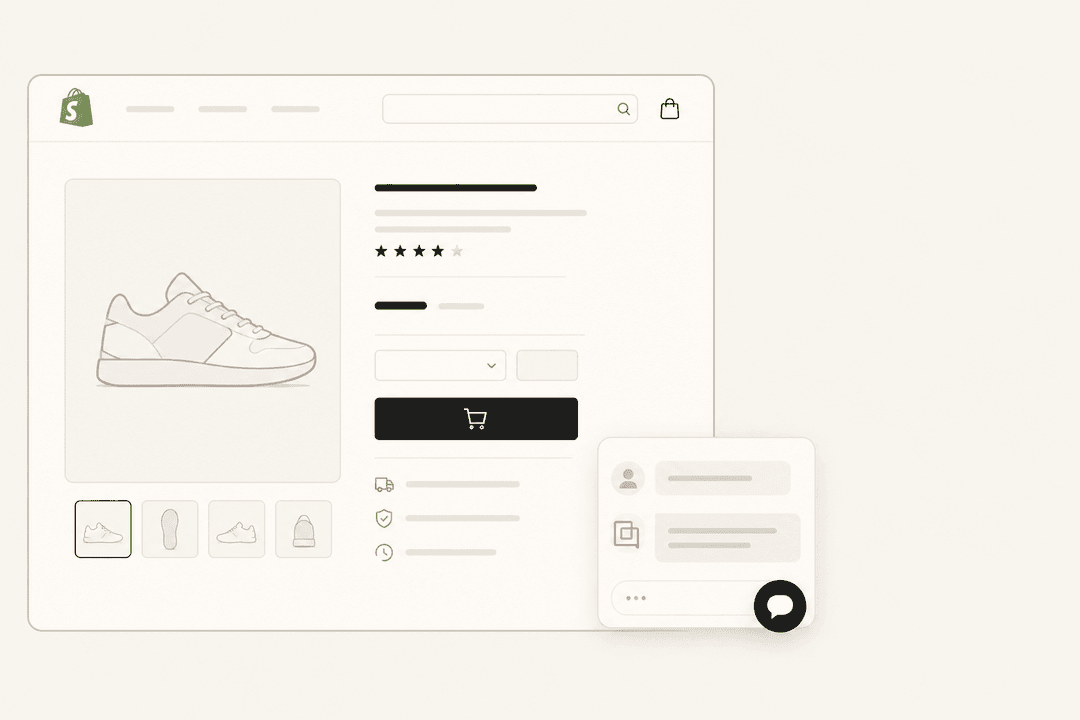
The Gorgias Shopify chat bubble: a complete setup and customization guide (2026)
Everything Shopify merchants need to know about the Gorgias chat bubble - how to install it the right way, customize it, fix it when it breaks, and make the AI actually useful.
Freshdesk AI agent best practices: 7 things that actually move the number
Freshworks claims 80% resolution. Real deployments land anywhere from 23% to 75%+. The difference is almost entirely in how you set it up.
The 6 best Gorgias alternatives in 2026
Gorgias's per-ticket pricing gets expensive fast and its AI isn't built for live product questions. Here are 6 alternatives worth switching to in 2026.
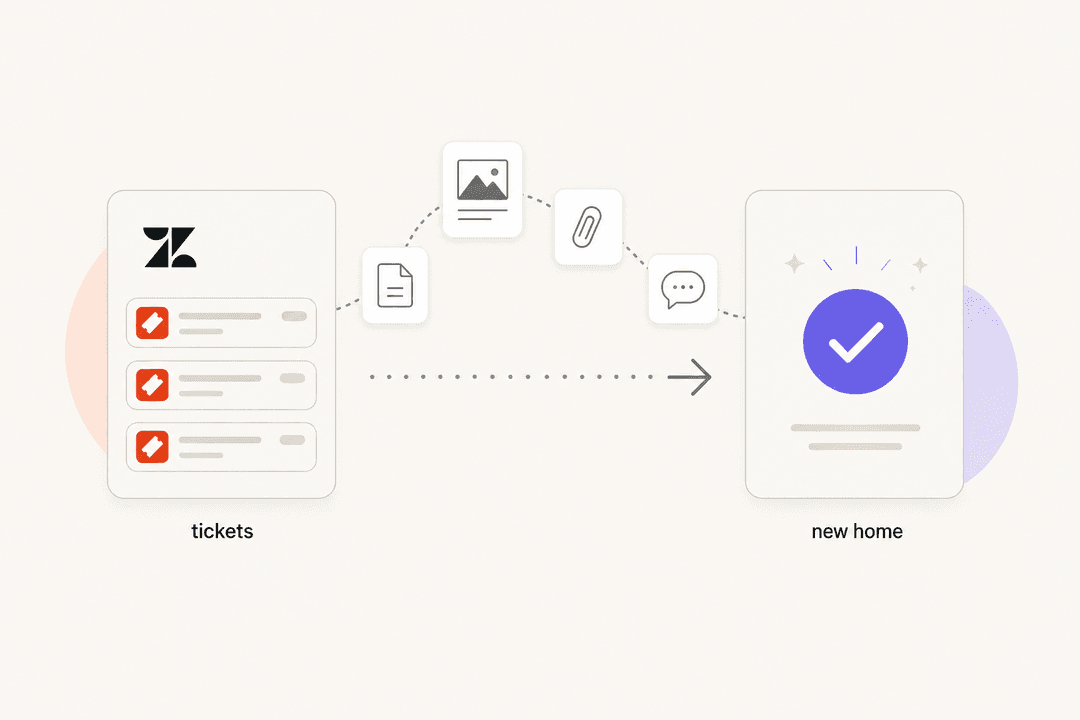
How to migrate from Zendesk: a complete 2026 guide
A practical step-by-step guide to migrating from Zendesk - what to export, which tool to use, what you have to rebuild, and how to keep your team productive during the switch.
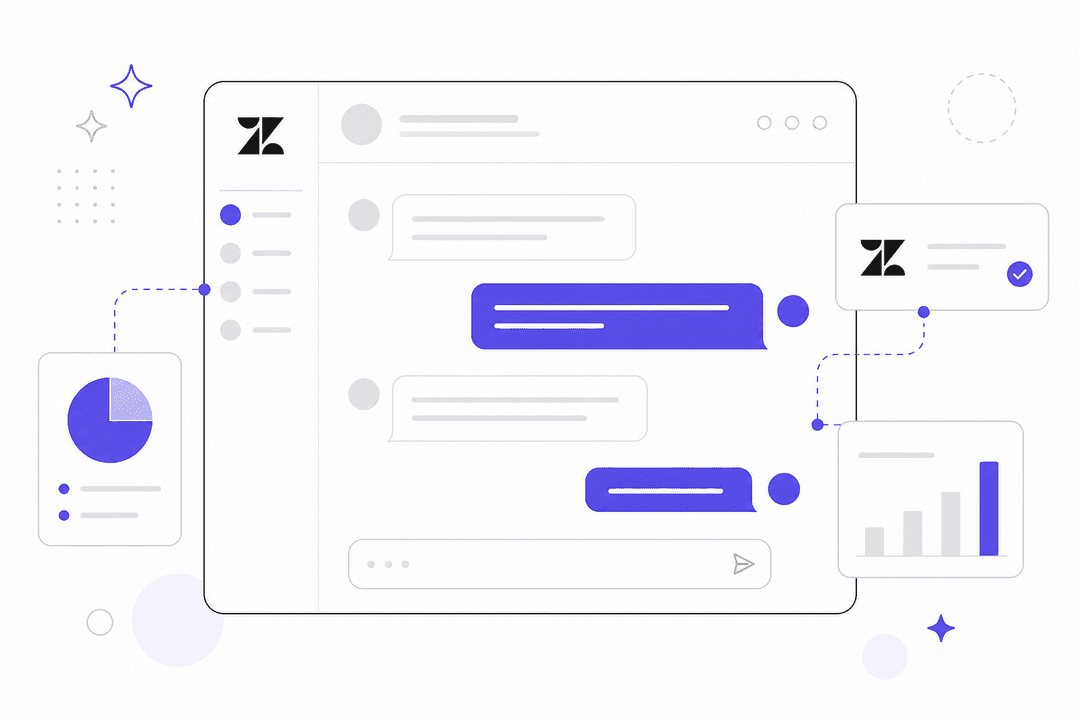
Zendesk AI agent review (2026): features, pricing, and what users actually think
A real-world Zendesk AI agent review for 2026: what agentic AI delivers, how AR pricing works, and what 6,837 G2 users and Reddit actually say.
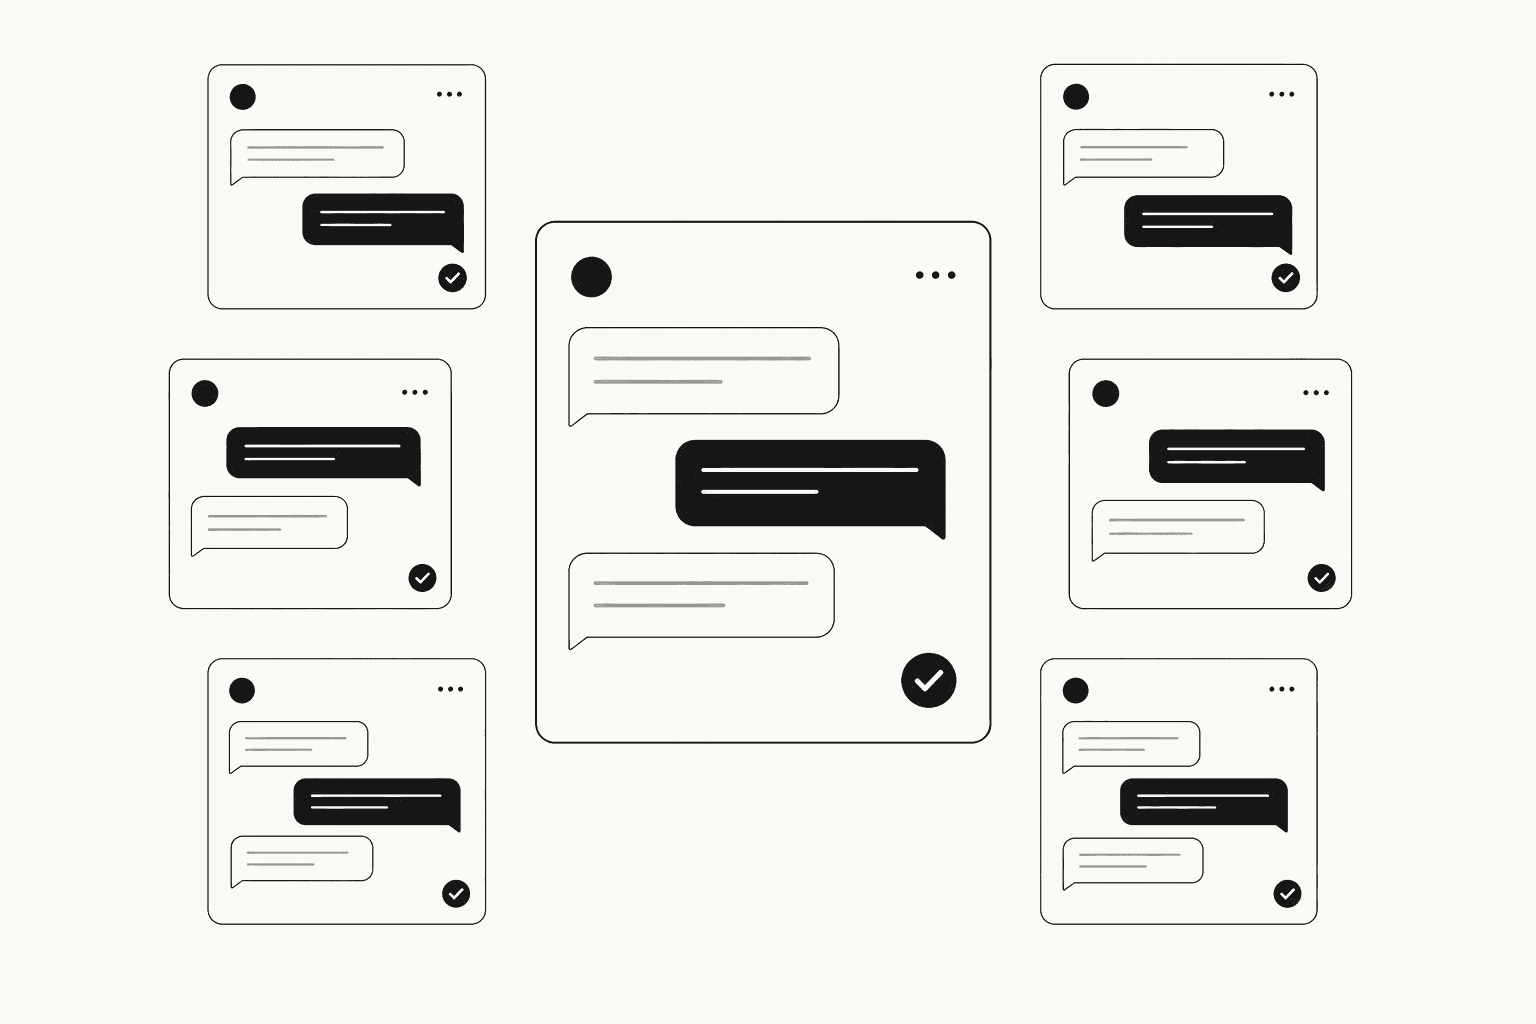
Best shared inbox software for teams in 2026
Six tools that turn a chaotic group email address into a structured, accountable inbox - with real pricing, G2 ratings, and who each one suits.
Ready to hire your AI teammate?
Set up in minutes. No credit card required.