Blog
Tips, guides, and insights on AI teammates, smarter support, and building better teams.

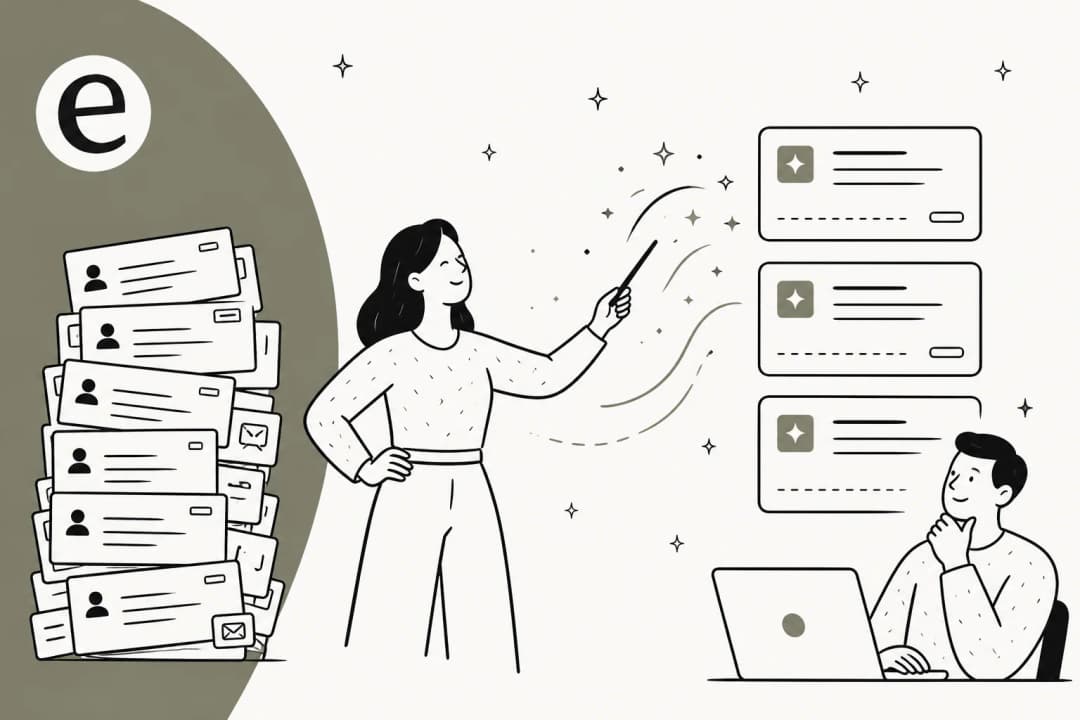
How to use AI to generate support macros from past tickets
A practical, step-by-step guide to mining your resolved tickets with AI and turning the patterns into ready-to-use support macros, plus how to test them before they go live.

The 7 best HubSpot Service Hub AI alternatives in 2026
We compared the 7 best HubSpot Service Hub AI alternatives for 2026 on price, AI billing, and fit, so you can find the right support tool without the seat math.

Is Gorgias AI worth it? An honest 2026 review for ecommerce teams
Is Gorgias AI worth it for your store? A straight review of what the AI Agent does, what it really costs, and the one number that decides it.
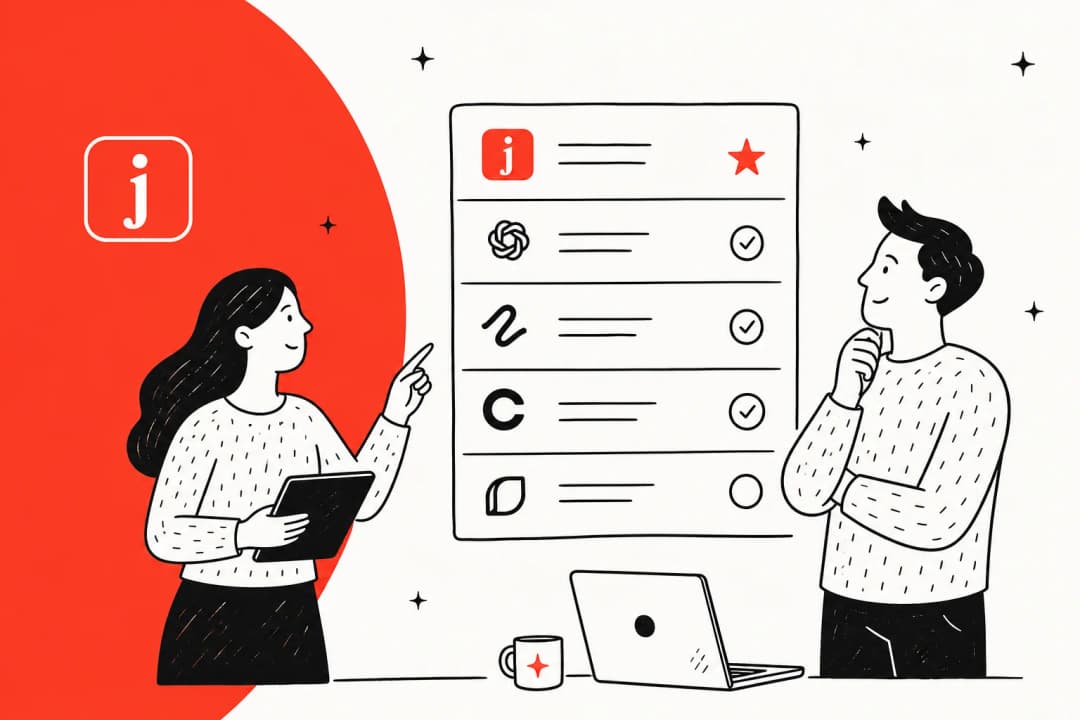
The 9 best Jasper AI alternatives in 2026 (tested and ranked)
We tested the best Jasper AI alternatives in 2026, from budget writers to enterprise platforms, with real pricing, pros, cons, and who each one is actually for.
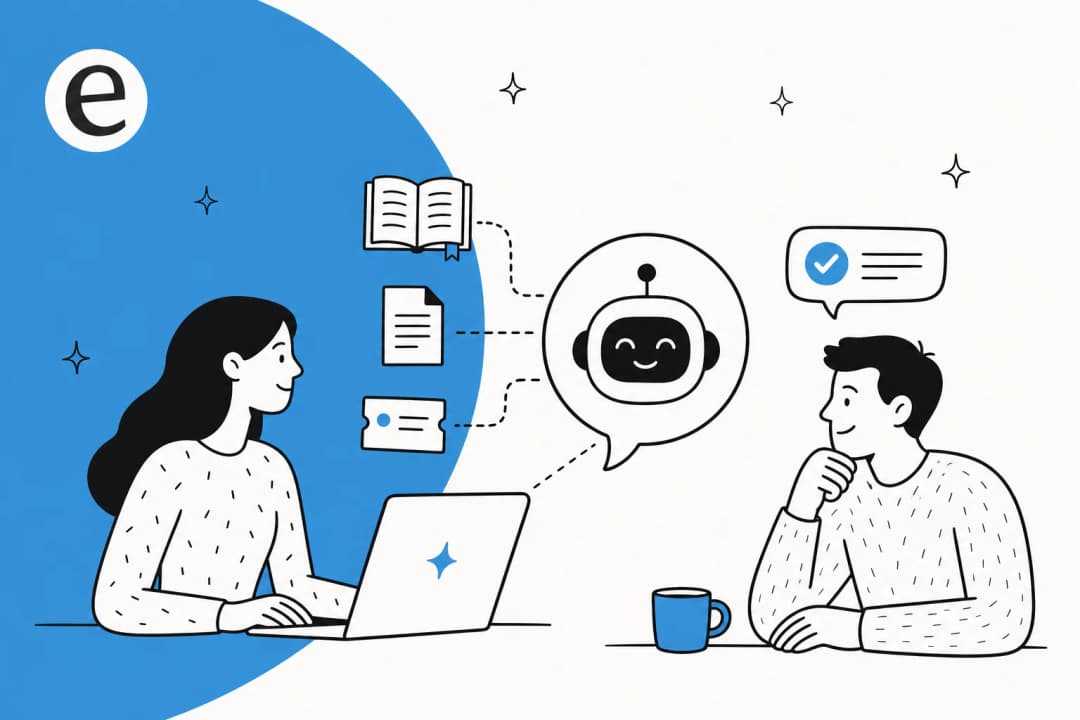
Knowledge base GPT: how to connect a GPT to your knowledge base in 2026
A knowledge base GPT answers questions from your own docs, not the model's memory. Here's how to build one in 2026, the real limits, and when to buy instead.

The 9 best Koala AI alternatives in 2026 (tested and ranked)
We tested the best Koala AI alternatives in 2026, from cheaper SEO writers to ranking optimizers and enterprise platforms, with real pricing, pros, cons, and who each is for.
The best helpdesk tools for startups in 2026 (a hands-on list)
A hands-on list of helpdesk tools for startups in 2026, with real pricing, free tiers, and a clear pick for every stage from your first ten tickets to your first thousand.

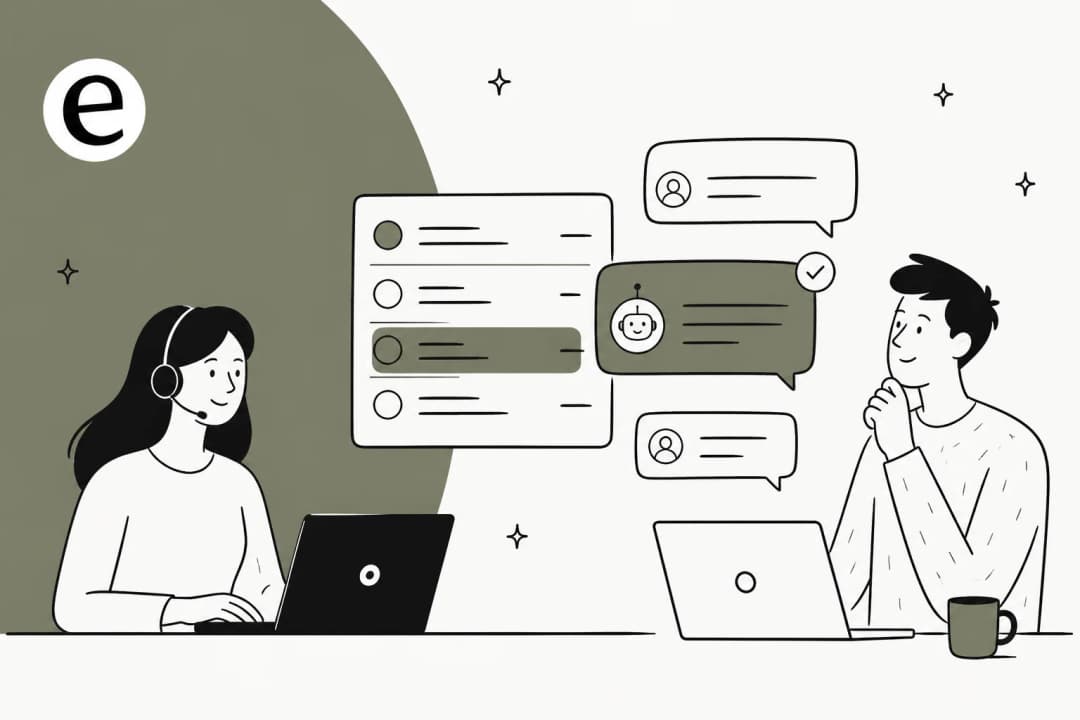
How to manage macros in your helpdesk: a practical 2026 guide
A practical guide to managing helpdesk macros: how to create, organize, audit, and prune them, plus where AI now fits in macro management.

The 8 best AI tools for Salesforce in 2026
A hands-on guide to the best AI tools for Salesforce in 2026, from native Agentforce to the overlay agents that often deliver value faster and cheaper.
Ready to hire your AI teammate?
Set up in minutes. No credit card required.