How to integrate an AI chat widget in Magento
Kenneth Pangan
Stanley Nicholas
Last edited November 14, 2025
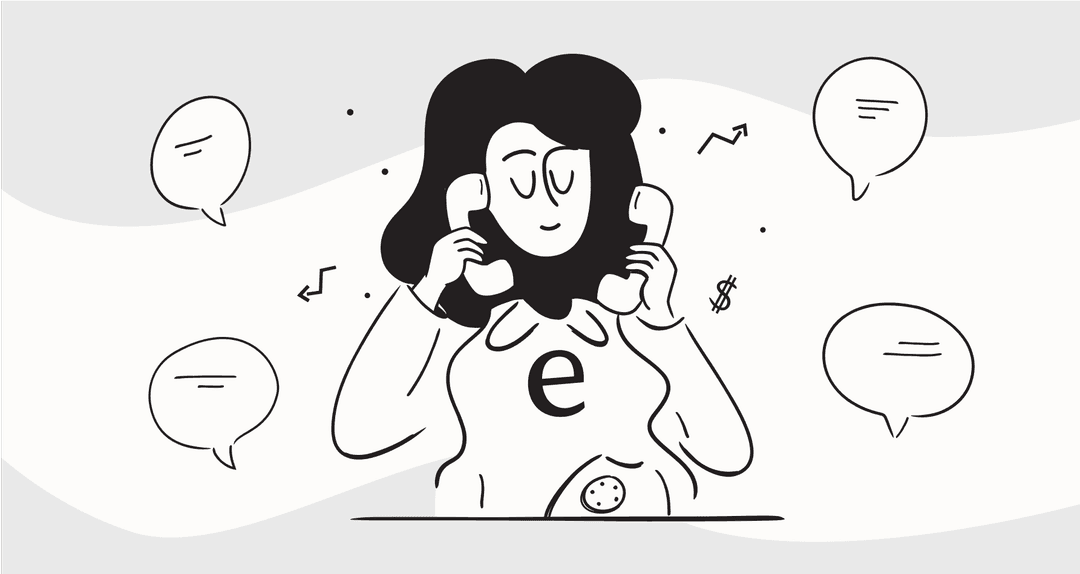
If you’re running a Magento store, you already know it’s a powerhouse for ecommerce. But you also know that today’s shoppers don’t like to wait. They have questions about shipping, returns, and product details at all hours of the day, and if they can’t find an answer fast, they’re likely to click away for good.
This is where an AI chat widget can really help. Think of it as a 24/7 frontline support agent that can instantly answer common questions, guide shoppers to the right products, and free up your human team to tackle the trickier problems.
This guide will walk you through exactly how to integrate an AI chat widget in Magento. The good news? You won’t be writing complex code or hiring a developer. We’ll be using a modern, self-serve platform that you can get up and running in minutes.
What you'll need to get started
Forget the old days of Magento integrations that required a developer on speed dial. Setting up a modern AI chat widget is surprisingly simple.
Here's the short list of what you'll need:
-
Admin access to your Magento store: You just need to be able to log in to your admin panel to paste a single line of code.
-
Your existing knowledge sources: Think about where all your business info lives. Is it a Help Center URL, a Google Doc with FAQs, or your product policy pages? A good AI chatbot learns from the content you already have.
-
An AI chatbot platform: This is the tool you’ll use to build and manage your chatbot. For this guide, we’ll use eesel AI because it's built for simplicity. You can connect your knowledge and go live in minutes, not months.
How to integrate an AI chat widget in Magento
Step 1: Pick and set up your AI chatbot platform
First things first, you need to create your AI chatbot. Instead of messing with clunky plugins that need a lot of manual configuration, a modern platform handles most of the work for you.
With a tool like eesel AI, you can sign up and build your first bot without needing to sit through a sales demo. It’s a completely self-serve process. During setup, you’ll just give your bot a name and a basic instruction, like what its main job is and what kind of personality it should have.
This is a totally different way of doing things compared to older methods that involved a ton of manual setup. Here, you're just laying the groundwork for an AI that will learn directly from your business.
Step 2: Feed your bot some knowledge
An AI chatbot is only as smart as the information you give it. A generic bot can't answer specific questions about your store’s return policy or whether that t-shirt comes in green. This is why connecting your own knowledge sources is so important.
A solid AI platform lets you do this with just a few clicks. In eesel AI, for example, you can:
-
Add your help center URL: The AI will immediately crawl and learn from all your support articles.
-
Connect cloud documents: You can pull in knowledge from places like Google Docs, Confluence, or Notion.
-
Train on past tickets: One of the coolest features of eesel AI is that it can learn from your past customer conversations in help desks like Zendesk or Freshdesk. This helps it understand your brand voice and the solutions that have worked before.
This step ensures your AI chat widget gives accurate answers based on your business, not some generic script.

Step 3: Customize your chatbot's look and feel
Now for the fun part: deciding how your chatbot interacts with customers. Using a simple prompt editor, you can set its tone of voice (maybe friendly and casual, or more formal and professional) and create clear rules for when it should pass a conversation to a human. This keeps you in full control of the customer experience.
You’ll also want to customize the chat widget to match your store’s branding. Tweak the colors, upload your logo, and write a welcome message so it feels like a natural part of your Magento site.

Step 4: Grab the installation code
Once your chatbot is trained and customized, the platform will give you a small snippet of JavaScript code. This little bit of code is all you need to get the widget onto your Magento store.
In the eesel AI dashboard, you’ll find this under the "Install" or "Deploy" section. It's designed for a simple copy-and-paste, so no coding skills are needed. Just copy the whole snippet.
Step 5: Add the code to your Magento store
This is the final step to bring your AI chat widget to life. You’ll be adding the code snippet you just copied into your Magento theme settings. Putting it in the footer is usually the best approach, as it ensures the widget loads on every page without slowing down your site's initial load time.
Here’s how to do it:
-
Log in to your Magento Admin panel.
-
Go to Content > Design > Configuration.
-
Find your current store theme in the list and click Edit.
-
Scroll down and open up the Footer section.
-
Look for the Miscellaneous HTML field and paste the JavaScript code snippet you copied.
-
Click Save Configuration.
-
Finally, you might need to clear your Magento cache. Just go to System > Tools > Cache Management and flush the cache.
And that’s it! Refresh your storefront, and you should see your new AI chat widget pop up.
graph TD; A[Log in to Magento Admin] --> B[Go to Content > Design > Configuration]; B --> C[Find and Edit your current theme]; C --> D[Open the Footer section]; D --> E[Paste JavaScript code in Miscellaneous HTML field]; E --> F[Save Configuration]; F --> G[Flush Magento Cache];
Tips for making your chatbot a success
Getting the widget live is just the start. To make it a genuinely helpful tool for your customers, here are a few things to keep in mind.
Getting the most out of your AI chat widget
-
Start small, then grow. Don't try to have your AI answer every possible question on day one. Begin with your top 5-10 most frequently asked questions. Use your platform’s analytics to see how it’s doing, then gradually add more topics. With eesel AI, you can even simulate the bot on thousands of your past support tickets to see how well it would have performed before you even launch it.
-
Have a clear path to a human. Make sure your chatbot knows exactly when to hand a conversation over to a person. This keeps customers happy and avoids any frustration.
-
Use insights to get better. A good AI platform will show you what questions it couldn't answer. These are gold. They point out the gaps in your help center or FAQs that you need to fill.

Common mistakes to watch out for
-
Setting an untrained bot loose. A chatbot that doesn't know your store's policies is worse than no chatbot at all. It will just frustrate shoppers with generic, unhelpful answers. Always make sure it’s connected to your actual knowledge sources.
-
Hiding the "talk to a person" option. Don't make it a maze for customers to reach a human. AI should be a tool to make your team more efficient, not a wall to hide behind.
24/7 support for your Magento store is just minutes away
So there you have it, a complete guide on how to integrate an AI chat widget in Magento without the technical headaches. By using a modern, self-serve platform, you can skip the long implementation projects and the need for a developer. The whole process is basically just training the AI on your knowledge, customizing how it acts, and pasting a bit of code into your Magento admin.
The result is a powerful tool that improves your customer experience, takes a load off your support team, and helps turn browsers into buyers by giving them the instant answers they’re looking for.
Ready to add a smart AI chat widget to your Magento store? With eesel AI, you can connect your knowledge sources with one click, see how it would perform on your past customer questions, and go live without writing any custom code. It’s the simplest way to get a truly helpful AI chat widget up and running.
Frequently asked questions
What are the benefits of an AI chat widget for a Magento store?
Integrating an AI chat widget provides 24/7 instant support for your customers, answering common queries and guiding them to products. This improves customer satisfaction and frees up your human support team for more complex issues, ultimately helping to convert browsers into buyers.
How much technical expertise is needed to integrate an AI chat widget in Magento?
Very little technical expertise is required. The guide emphasizes using modern, self-serve platforms, which makes the process mostly a matter of configuring the bot, feeding it knowledge, and copying/pasting a single code snippet into your Magento admin panel. No complex coding is necessary.
What kind of information can I use to train the AI chat widget?
You can connect various existing knowledge sources. This includes your help center URL, cloud documents like Google Docs or Notion, and even past customer conversations from help desks like Zendesk or Freshdesk, ensuring the AI learns from your specific business information.
What happens if the AI chatbot can't answer a customer's question?
A well-configured AI chatbot should have a clear path to a human agent. If the AI can't confidently answer a question or if the customer requests it, the system will seamlessly transfer the conversation to your human support team, preventing frustration.
How long does it take to integrate an AI chat widget in Magento?
The setup can be surprisingly quick, often completed in minutes. With self-serve platforms, the steps involve signing up, training the AI on your knowledge, customizing its appearance, and then simply pasting the provided installation code into your Magento store's footer.
Can I customize the look and feel of the chat widget?
Yes, customization is a key part of the process. You can easily adjust the chat widget's colors, upload your store's logo, set its tone of voice, and write custom welcome messages to ensure it seamlessly integrates with your brand's look and feel on your Magento site.