Blog
Tips, guides, and insights on AI teammates, smarter support, and building better teams.
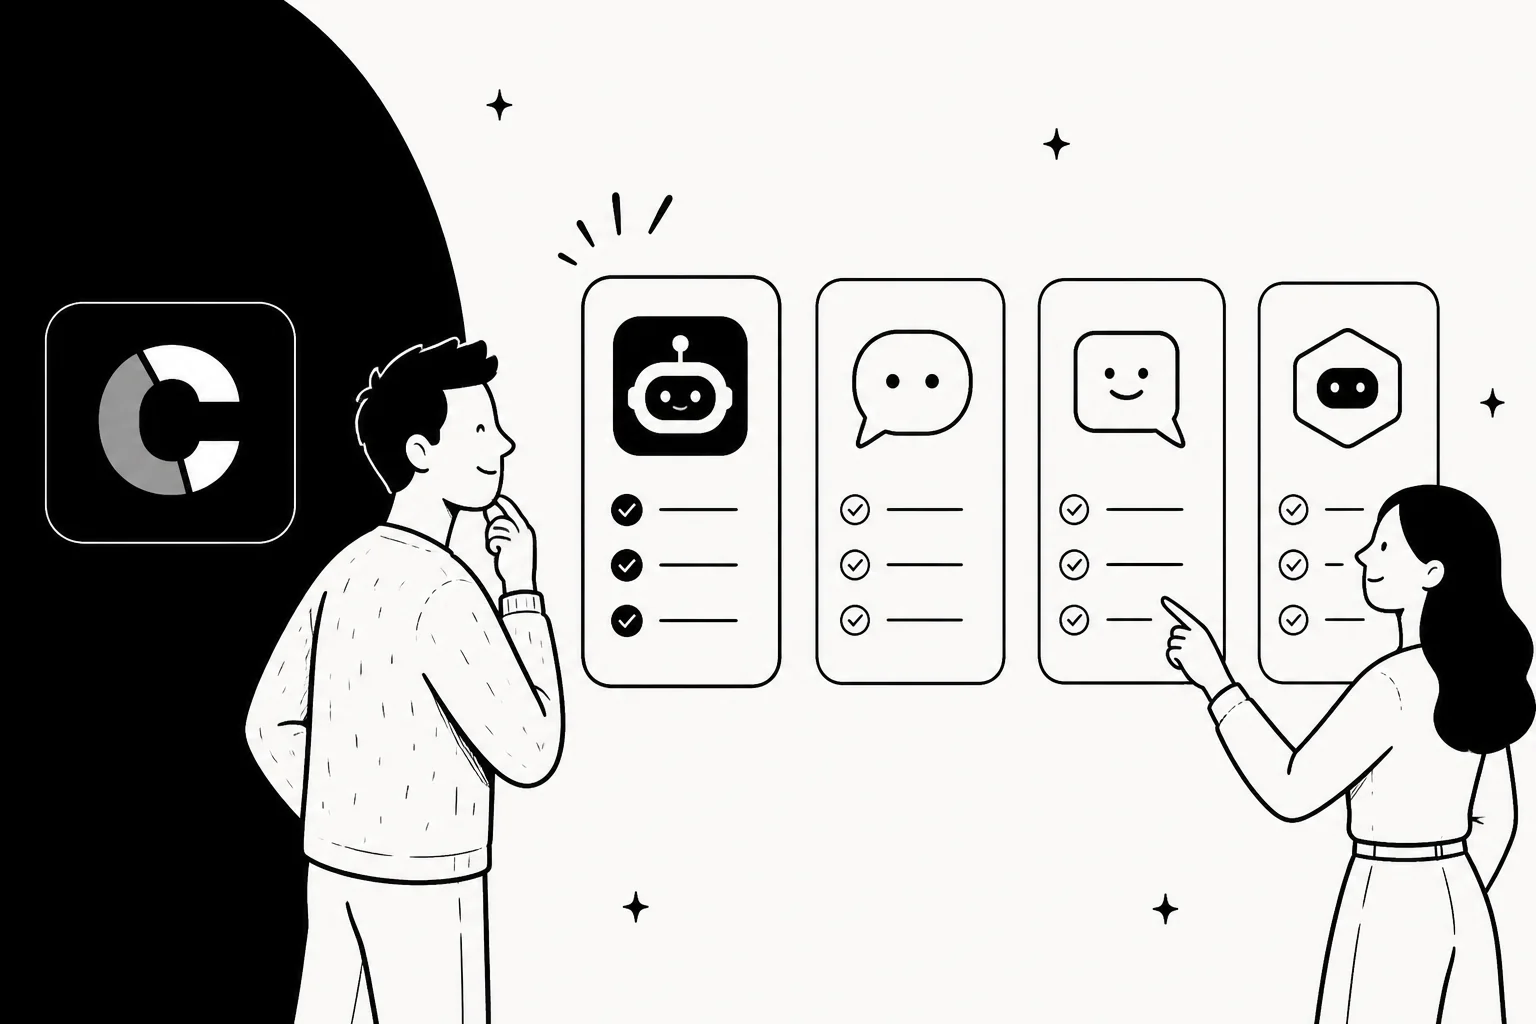

The 9 best customer service AI tools in 2026 (tested and compared)
We compared the 9 best customer service AI platforms in 2026 on price, autonomy, and setup, with a real cost breakdown and an honest pick for each kind of team.

The 10 best chatbot services in 2026
We compared the best chatbot services on real pricing, deployment time, and where the chatbot actually lives, so you can pick one without ripping out your stack.
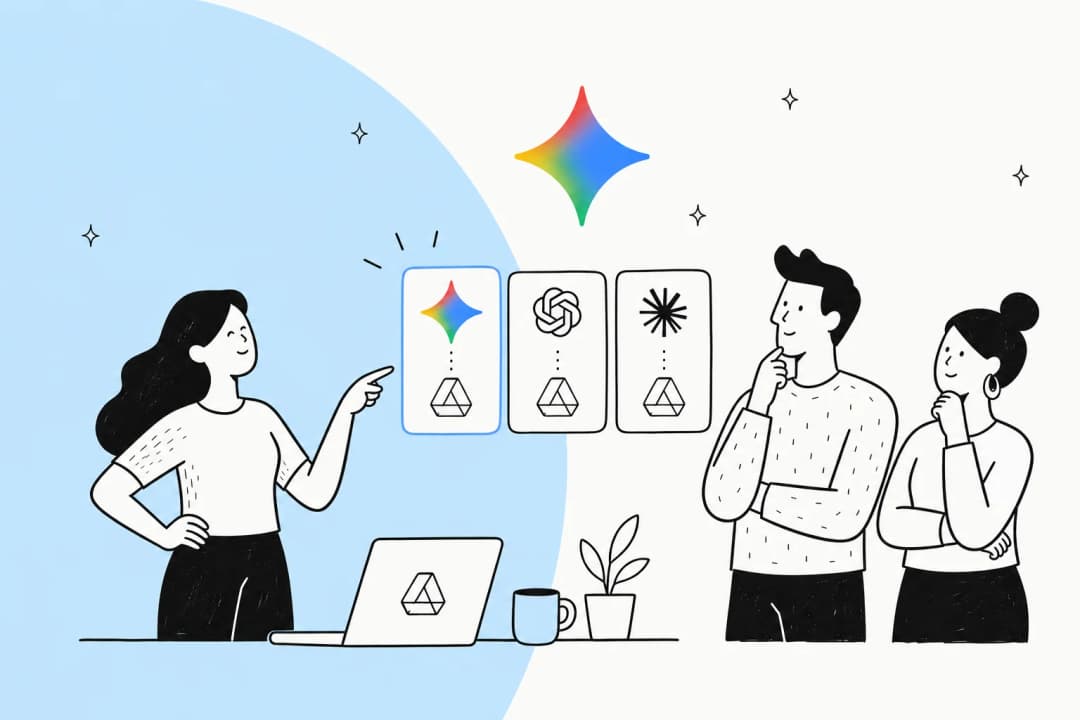
Gemini vs other Google Drive AI assistants: which one actually works better?
We compared Gemini against the other AI assistants that work with Google Drive on finding, summarizing, and answering questions over your files. Here's the honest verdict.

Google Drive AI: what Gemini in Drive actually does (and where it stops)
A clear look at Google Drive AI in 2026: what Gemini in Drive can do, what it costs, where it falls short, and when you need a dedicated AI knowledge layer instead.

Gorgias AI Agent actions and automated tasks: what it does and how to set it up in 2026
A practical guide to Gorgias AI Agent actions and automated tasks: the full action list, how to set up skills and rules, what per-resolution billing costs, and the limits.

The Gorgias AI chatbot: what it does, what it costs, and where it fits
A clear-eyed look at the Gorgias AI chatbot for Shopify stores: how the AI Agent works, what it can actually do, real pricing, and when it's worth it.

The 8 best Gorgias alternatives for 2026 (tested and compared)
We compared 8 Gorgias alternatives on price, AI billing, and Shopify depth, with a real cost example and a clear pick for each kind of team.

Gorgias automation to pull Shopify order data into replies: a 2026 guide
How to set up Gorgias automation that pulls Shopify order data (order status, tracking, address) straight into customer replies, plus the three ways to do it and where each one breaks.

Gorgias for Shopify: the complete 2026 guide to AI-powered support
How Gorgias for Shopify actually works in 2026: the integration, AI Agent, setup, real pricing, and where it's worth it for your store.
Ready to hire your AI teammate?
Set up in minutes. No credit card required.