How to test and debug Zendesk triggers: A complete guide for 2026
Stevia Putri
Last edited February 24, 2026
Broken triggers are silent killers. They don't announce themselves with error messages or red alerts. Instead, they quietly fail while your customers wait for responses that never come, or receive the wrong notifications at the wrong times. Most teams only discover trigger problems when a customer complains or when metrics suddenly drop.
But it doesn't have to be this way. With a structured workflow for testing and debugging, you can catch trigger issues before they impact your customers. This guide walks you through a practical workflow for validating Zendesk triggers, from initial creation through ongoing maintenance.
What you will need
Before you start testing, make sure you have:
- A Zendesk Support account on Team plan or higher (triggers are included in all plans)
- Admin permissions or trigger management rights in your Zendesk instance
- A sandbox environment or permission to create test tickets
- About 15-30 minutes for thorough testing (longer for complex trigger chains)
That's it. You don't need coding skills or special tools. Everything you need is built into Zendesk.
Understanding how Zendesk triggers work
To test triggers effectively, you need to understand what they actually do. Zendesk triggers are automatic if/then statements that run on every ticket update.
When someone creates or updates a ticket, Zendesk immediately checks all your triggers in order. Each trigger evaluates its conditions. If the conditions match, the trigger fires and performs its actions. This happens in seconds, without any manual intervention.

Triggers have two main parts:
Conditions define when the trigger runs. You can set ALL conditions (every one must be true) or ANY conditions (at least one must be true). For example, you might require that a ticket is Open AND the comment is Public AND the current user is an Agent.
Actions define what happens when conditions are met. Common actions include changing ticket status, adding tags, sending email notifications, or assigning to specific groups.
One critical detail: triggers execute in the order they appear in your list. If Trigger A changes a ticket's status, Trigger B (which comes later) will see the new status when it evaluates. This sequencing can cause unexpected behavior if you don't plan for it.
Also, triggers don't run on closed tickets. The only exception is when a ticket is being set to closed during that specific update.

Step 1: Create triggers in inactive mode
Never create a trigger in active mode. It's tempting to save time and enable it immediately, but that's how problems start.
When you create a new trigger, click the dropdown next to the save button and select "Create as inactive." This prevents the trigger from running on real tickets while you're still testing.
While you're at it, use a descriptive name. "Auto-pending trigger" might make sense today, but six months from now you'll wonder what it does. Something like "Set Pending when agent submits public reply" tells the whole story.
Add a description too. Explain what the trigger does and why it exists. Future you (and your teammates) will thank you when they don't have to reverse-engineer your logic.

Taking time to document your triggers during creation saves hours of confusion later. The revision history feature also lets you track changes and roll back if something breaks.
Step 2: Build your test scenarios
Good testing requires planning. Before you activate a trigger, map out what you'll need to verify.
Start by creating test tickets that match your trigger's conditions. If your trigger fires when a ticket status changes to Pending, you'll need tickets in various statuses to test against.
Test as different user types:
- Agent: Submit replies, internal notes, status changes
- End-user: Reply to tickets, create new requests
- Admin: Perform bulk updates, change assignments
Plan both positive tests (the trigger should fire) and negative tests (the trigger should NOT fire). For a status-change trigger, you'd want to verify it fires when an agent replies but doesn't fire when a customer replies.
Document your expected outcomes. Write down what you think should happen before you test. This keeps you from convincing yourself that unexpected behavior was actually what you wanted.
Common test scenarios to consider:
- Status changes (New → Open → Pending → Solved → Closed)
- Tag additions and removals
- Email notifications to different recipients
- Assignment changes between groups
- Priority and type modifications
Step 3: Verify trigger execution with ticket events
This is where the real debugging happens. Zendesk provides a built-in way to see exactly what triggers ran on any ticket.
Open your test ticket and add /events to the end of the URL to view the ticket events log, which shows every trigger that evaluated and whether it fired.
Look for your trigger name in the list. A green checkmark means it fired. A red X means the conditions weren't met. Hover over the X to see which specific condition failed. This is invaluable for debugging.
If your trigger appears with a checkmark but didn't produce the expected result, check if another trigger ran after it and changed things back. Remember, triggers execute in order, and later triggers can override earlier ones.
Test your negative cases too. Create scenarios where the trigger should NOT fire and confirm it stays inactive. This is just as important as positive testing. A trigger that fires when it shouldn't can be worse than one that doesn't fire when it should.

Step 4: Debug common trigger issues
Even experienced administrators run into these problems. Here's how to fix them.
Conditions not matching
The most common issue is expecting conditions to work differently than they actually do. Remember that ALL conditions must be true simultaneously. A common mistake is putting multiple status conditions under ALL, like "Status is Open" AND "Status is Pending." A ticket can only have one status at a time, so this condition will never be met.
Fix: Move status conditions to the ANY section, or use "Status changed to" instead of "Status is" if you're tracking transitions.
Trigger order problems
Earlier triggers can change ticket state before later triggers evaluate. If Trigger A sets status to Pending, and Trigger B only fires on Open tickets, Trigger B will never run after Trigger A.
Fix: Review your trigger order in Admin Center. Move triggers that set fundamental state (like status changes) earlier, and triggers that react to that state later.
Missing "Current User" condition
This one catches everyone eventually. If you have a trigger that changes status when someone submits a comment, you MUST include a condition like "Current User is Agent." Without it, when a customer replies to a Pending ticket, your trigger will immediately set it back to Pending instead of letting it become Open.
The result? Agents never see customer replies. Tickets sit unnoticed in Pending status while customers get increasingly frustrated.
Conflicting triggers
Multiple triggers can modify the same fields. Trigger A adds a tag, Trigger B removes it. Trigger C sets status to Pending, Trigger D sets it to Solved. When this happens, the last trigger wins.
Fix: Audit your trigger list for overlapping conditions. Look for triggers that modify the same fields and consider consolidating them.
Email delivery failures
Sometimes a trigger fires (you see it in the events log) but emails don't arrive. This usually isn't a trigger problem. Check spam filters, verify CC settings, and review Zendesk's email troubleshooting documentation. The trigger did its job; the email system failed downstream.
Step 5: Test edge cases and boundary conditions
Basic testing catches obvious problems. Edge case testing catches the weird issues that only show up in production.
Test with null or empty values. What happens if a field is blank? What if a ticket has no assignee?
Test status boundaries carefully. Create tickets and move them through the entire lifecycle: New → Open → Pending → Solved → Closed. Verify your trigger behaves correctly at each transition.
Test with special characters in fields. Names with apostrophes, companies with ampersands, descriptions with unicode characters. These can break poorly constructed conditions.
Test concurrent updates. Have two people update the same ticket simultaneously. This can reveal race conditions in your trigger logic.
For high-volume scenarios, test rapid ticket creation. Some triggers work fine individually but cause problems when dozens fire at once.
Best practices for trigger management
Testing isn't a one-time event. It's part of an ongoing discipline.
Document your changes. Before modifying a trigger, note what it currently does and why you're changing it. Keep this documentation in a shared wiki or internal knowledge base.
Perform quarterly audits. Review all triggers for orphaned references. If someone deleted a field or tag that a trigger depends on, the trigger might be broken without anyone knowing.
Use change management. For major trigger updates, test in a sandbox first. Zendesk Enterprise plans include sandbox environments for exactly this purpose.
Establish naming conventions. Consistent names make triggers easier to find and understand. Consider prefixes like "STATUS:" for status triggers or "NOTIFY:" for notification triggers.
Maintain a trigger registry. Keep a living document that explains what each trigger does, why it exists, and who owns it. This is invaluable when troubleshooting or when team members leave.
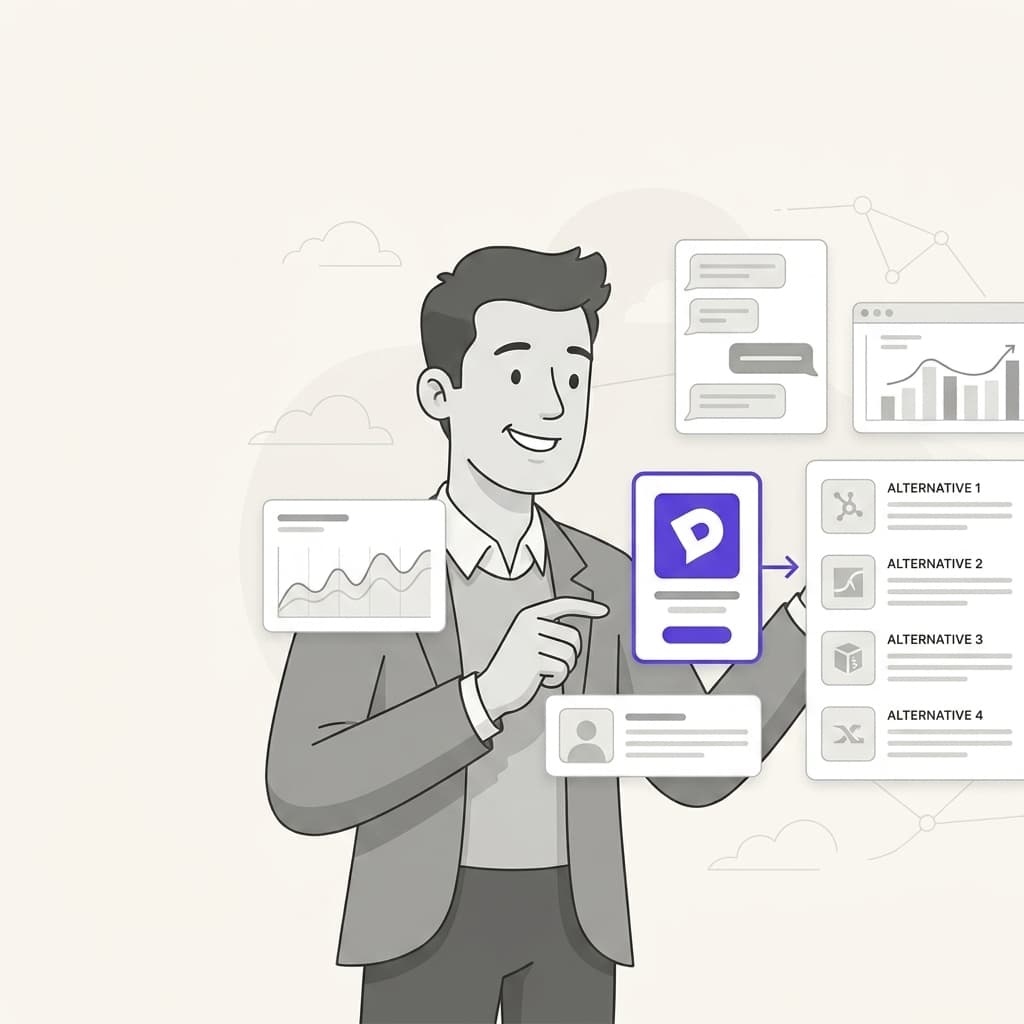
Alternative: Reducing trigger complexity with eesel AI
The reality about triggers is that they work, but they're rigid. Every condition has to be explicitly defined. Every edge case has to be anticipated. As your workflow grows more complex, your trigger list becomes harder and harder to maintain.
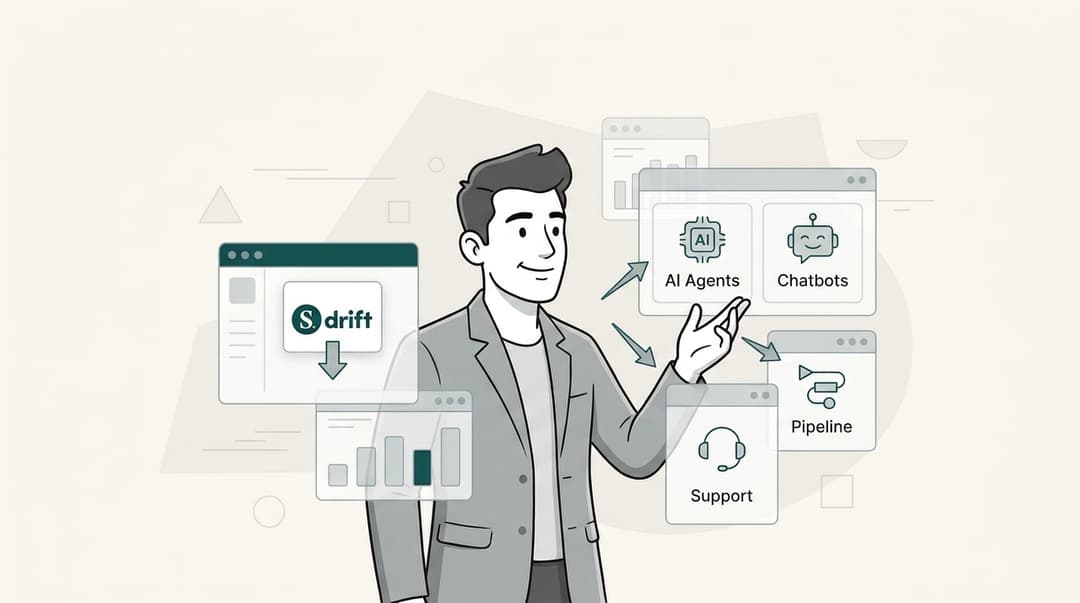
We built eesel AI to solve this problem differently. Instead of configuring complex rules, you hire eesel as an AI teammate. It connects to your Zendesk instance and learns from your past tickets, help center articles, and macros. Within minutes, it understands how your team communicates and what different ticket scenarios mean.

The key difference? eesel reads the actual conversation and decides the appropriate action based on context, not rigid rules. If an agent asks a clarifying question, eesel knows to set the ticket to Pending. If an agent provides a solution, it might suggest setting it to Solved instead. No trigger configuration required.
You can start with eesel drafting replies for your agents to review. Once it proves itself, you'll level up to full autonomy. Our AI Agent handles the entire ticket lifecycle, including intelligent status changes, escalation decisions, and follow-ups. Mature deployments achieve up to 81% autonomous resolution.
Pricing starts at $299 per month for the Team plan, which includes up to 3 bots and 1,000 interactions. Unlike per-seat pricing, you'll pay for what you use, not how many agents you have.
Start testing your Zendesk triggers with confidence
Structured testing prevents the silent failures that damage customer relationships. The workflow is straightforward: create inactive, build test scenarios, verify with ticket events, debug issues, and test edge cases. Make this process a habit, and you'll catch problems before customers do.
The key takeaway? Always test before activating. Always verify with ticket events. And always document what you've done.
If you're tired of maintaining an ever-growing list of complex triggers, consider trying eesel AI as an alternative. It handles the same workflows without the configuration overhead.
Frequently Asked Questions
Share this article

Article by
Stevia Putri
Stevia Putri is a marketing generalist at eesel AI, where she helps turn powerful AI tools into stories that resonate. She’s driven by curiosity, clarity, and the human side of technology.