How to create and customize Zendesk Guide section page templates
Stevia Putri
Last edited February 25, 2026
If you're managing a help center with hundreds of articles, you've probably noticed that one size doesn't fit all. A troubleshooting section needs a different layout than a product documentation section. That's where Zendesk Guide section page templates come in. They let you customize how your section pages look and function, giving visitors a better browsing experience based on the type of content they're viewing.
This guide walks you through everything you need to know about creating and customizing section page templates. Whether you prefer using the theme editor or working with code directly, you'll learn both approaches with practical examples you can implement today.

Understanding section page templates
Default vs. custom templates
Every Zendesk help center starts with a default section page template. This template displays the section name, description, and a list of articles in a standard layout. It works fine for basic needs, but it treats all sections the same way.
Custom section page templates let you:
- Change the layout and visual hierarchy
- Highlight promoted articles differently
- Add custom navigation elements
- Create section-specific CTAs
- Adjust the display based on content type
When to use custom section page templates
Consider creating custom templates when:
- You have different content types that need different presentations (FAQs vs. tutorials vs. troubleshooting)
- Certain sections need unique navigation or cross-linking
- You want to highlight promoted articles more prominently in specific sections
- Branding requirements vary across different parts of your help center
- You need to integrate section-specific widgets or third-party content
How section pages fit in the hierarchy
Zendesk Guide organizes content in a three-level hierarchy:
- Categories top-level containers (hidden if you only have one)
- Sections contain related articles
- Articles individual pieces of content
On Enterprise plans, sections can also contain subsections, allowing up to five levels of nesting with a maximum of 200 sections per parent. This flexibility is useful for complex knowledge bases but requires thoughtful template design.
Method 1: Creating templates in the theme editor
The theme editor provides a visual interface for creating templates without downloading files. Here's how to use it.
Step 1: Navigate to Knowledge admin
Go to Knowledge admin in your Zendesk admin panel, then click Customize design in the sidebar. Your themes will appear on the Themes page.

Step 2: Edit your theme code
Find the theme you want to customize and click Customize. Then click Edit code to access the template files.
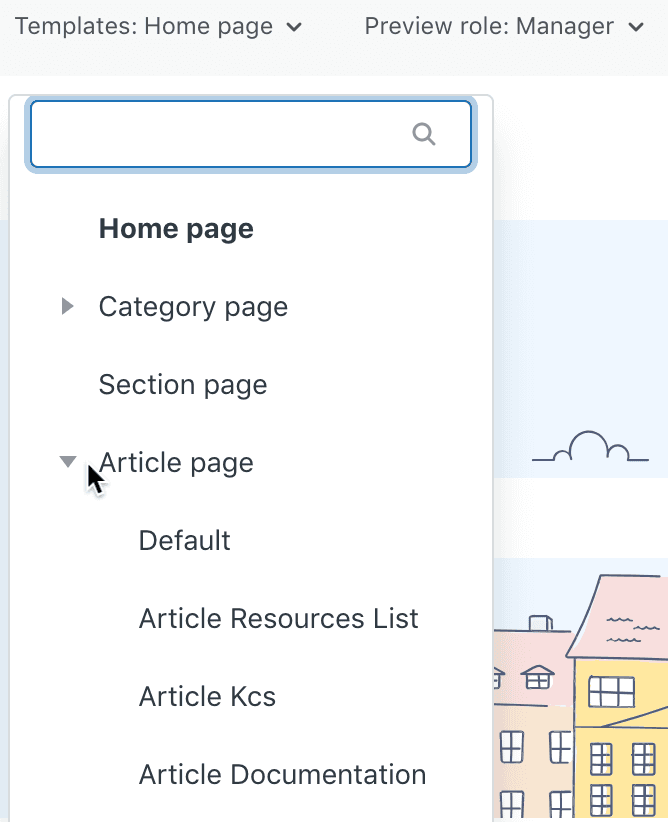
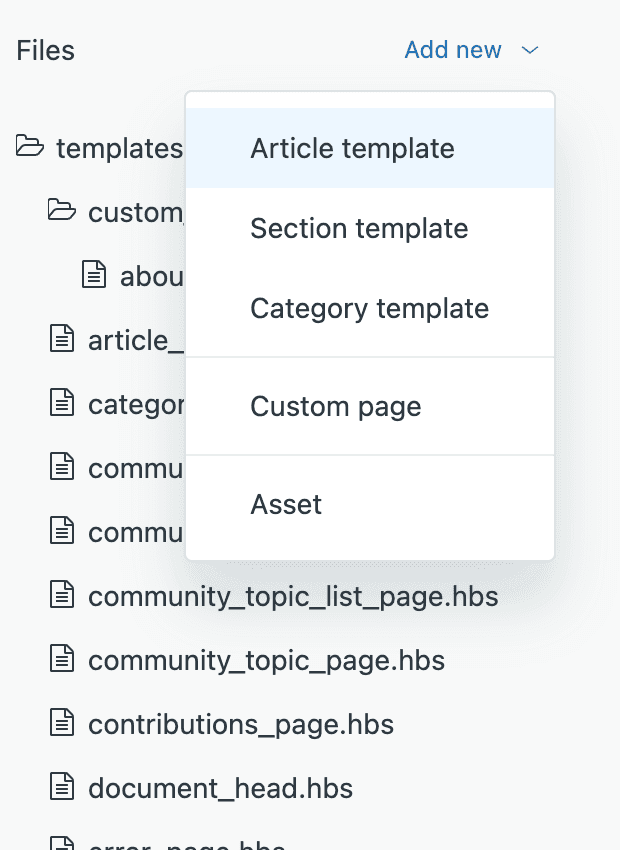
Step 3: Add a new section template
In the Files area, click Add new, then select Section template from the dropdown.
Step 4: Configure your template
You'll need to provide:
- Template name use snake_case (lowercase with underscores), maximum 25 characters. Example:
video_sectionorfaq_layout - Start from choose either a blank template or copy an existing template as your starting point
Step 5: Edit the template code
The new template opens in the code editor. Here's where you write your HTML and Curlybars code. The editor includes syntax highlighting and auto-save functionality.
Click Preview to see how your template looks with live data, then Save when you're satisfied.
Step 6: Apply the template to sections
Once your template is saved and your theme is live, navigate to any section in your help center. Click Edit section and select your custom template from the Template dropdown in the sidebar.

Click Update to apply the template. The change takes effect immediately on the live section page.
Method 2: Creating templates locally
For developers who prefer working in their own environment, you can create templates locally and import them.
Step 1: Download your theme
From the Themes page, click the options menu on your theme and select Download. This gives you a ZIP file containing all theme files.
Step 2: Create the section_pages folder
Extract the ZIP file and navigate to the templates directory. Create a new folder named section_pages if it doesn't exist.
Step 3: Add your template file
Create a new file with the .hbs extension in the section_pages folder. The filename must:
- Use snake_case (lowercase with underscores)
- Be 25 characters or less
- Include only letters, numbers, and underscores
Example filenames: video_gallery.hbs, faq_accordion.hbs, featured_top.hbs
Step 4: Write your template code
Here's a basic structure to get you started:
<nav class="sub-nav">
  {{breadcrumbs}}
  {{subscribe}}
</nav>

<h1>{{section.name}}</h1>
<p class="section-description">{{section.description}}</p>

{{#if promoted_articles}}
  <div class="promoted-articles">
    <h2>Featured Articles</h2>
    <ul>
      {{#each promoted_articles}}
        <li><a href="{{url}}">{{title}}</a></li>
      {{/each}}
    </ul>
  </div>
{{/if}}

{{#if section.articles}}
  <ul class="article-list">
    {{#each section.articles}}
      <li class="article">
        <a href="{{url}}">{{title}}</a>
      </li>
    {{/each}}
  </ul>
{{else}}
  <p>No articles in this section yet.</p>
{{/if}}

{{pagination}}
Step 5: Import your theme
Zip the modified theme folder and return to Zendesk. Click Add theme > Import and upload your ZIP file. Preview the theme to verify your templates work correctly, then publish to make it live.
Section page template code reference
Understanding the available properties and helpers lets you build more sophisticated templates.
Available properties
| Property | Type | Description |
|---|---|---|
section | object | Contains name, description, articles array, and URL |
promoted_articles | array | Articles marked as promoted in the section |
ticket_forms | array | Available ticket forms for the section |
help_center | object | Help center settings and configuration |
settings | object | Custom theme settings defined in manifest.json |
signed_in | boolean | Whether the current user is authenticated |
featured_posts | array | Featured community posts (if enabled) |
brand | object | Current brand information |
user | object | Current user object (if signed in) |
Source: Zendesk Developer Docs
Available helpers
| Helper | Function |
|---|---|
{{breadcrumbs}} | Renders navigation breadcrumbs showing the path to current page |
{{pagination}} | Displays pagination links when articles exceed the per-page limit |
{{subscribe}} | Renders a link for users to follow/unfollow section updates |
Common patterns
Loop through articles with metadata:
{{#each section.articles}}
  <article class="article-item">
    <h3><a href="{{url}}">{{title}}</a></h3>
    <p class="meta">
      Updated {{date updated_at timeago=true}}
      {{#if author}}
        by {{author.name}}
      {{/if}}
    </p>
  </article>
{{/each}}
Conditional content based on user state:
{{#if signed_in}}
  <p>Welcome back! {{user.name}}</p>
{{else}}
  <p><a href="{{signin_url}}">Sign in</a> for personalized help.</p>
{{/if}}
Best practices for section page design
Keep navigation intuitive
Always include breadcrumbs so users understand where they are in your help center hierarchy. The {{breadcrumbs}} helper handles this automatically, but make sure it's visible and styled consistently with your brand.
Use promoted articles strategically
Promoted articles appear at the top of section pages. Use them to highlight:
- Most frequently accessed content
- Getting started guides
- Critical troubleshooting steps
- Recently updated important articles
Consider mobile responsiveness
Test your templates on mobile devices. Section pages with many articles can become unwieldy on small screens. Consider collapsible sections or accordion layouts for long article lists.
Maintain consistent branding
While custom templates let you vary layouts, keep colors, fonts, and spacing consistent with your overall theme. Users should feel they're in the same help center even when section layouts differ.
Test with different article volumes
A template that looks great with 5 articles might break with 50. Test your templates with various content volumes to ensure they scale appropriately.
Troubleshooting common issues
Template not appearing in dropdown
The most common cause: your theme isn't live. Custom templates only show up in the template selector when the theme containing them is the active live theme. On Suite Growth and Professional, you can create multiple templates in a non-live theme to test them, but you cannot apply them until the theme goes live.
Changes not reflecting immediately
Zendesk caches help center pages for performance. If you don't see template changes:
- Clear your browser cache
- Try an incognito/private window
- Wait a few minutes for CDN cache to refresh
Permission errors
Only Knowledge admins can create templates and apply them to sections. Agents can change templates on individual articles they have permission to edit, but section and category template changes require admin access.
Template naming errors
If your template won't save, check:
- Name uses only lowercase letters, numbers, and underscores
- Name is 25 characters or less
- No spaces or special characters
Using AI to optimize your knowledge base
Creating custom templates is just one part of building an effective help center. The real challenge is keeping your content organized, up-to-date, and easy to find. That's where AI teammates can help.
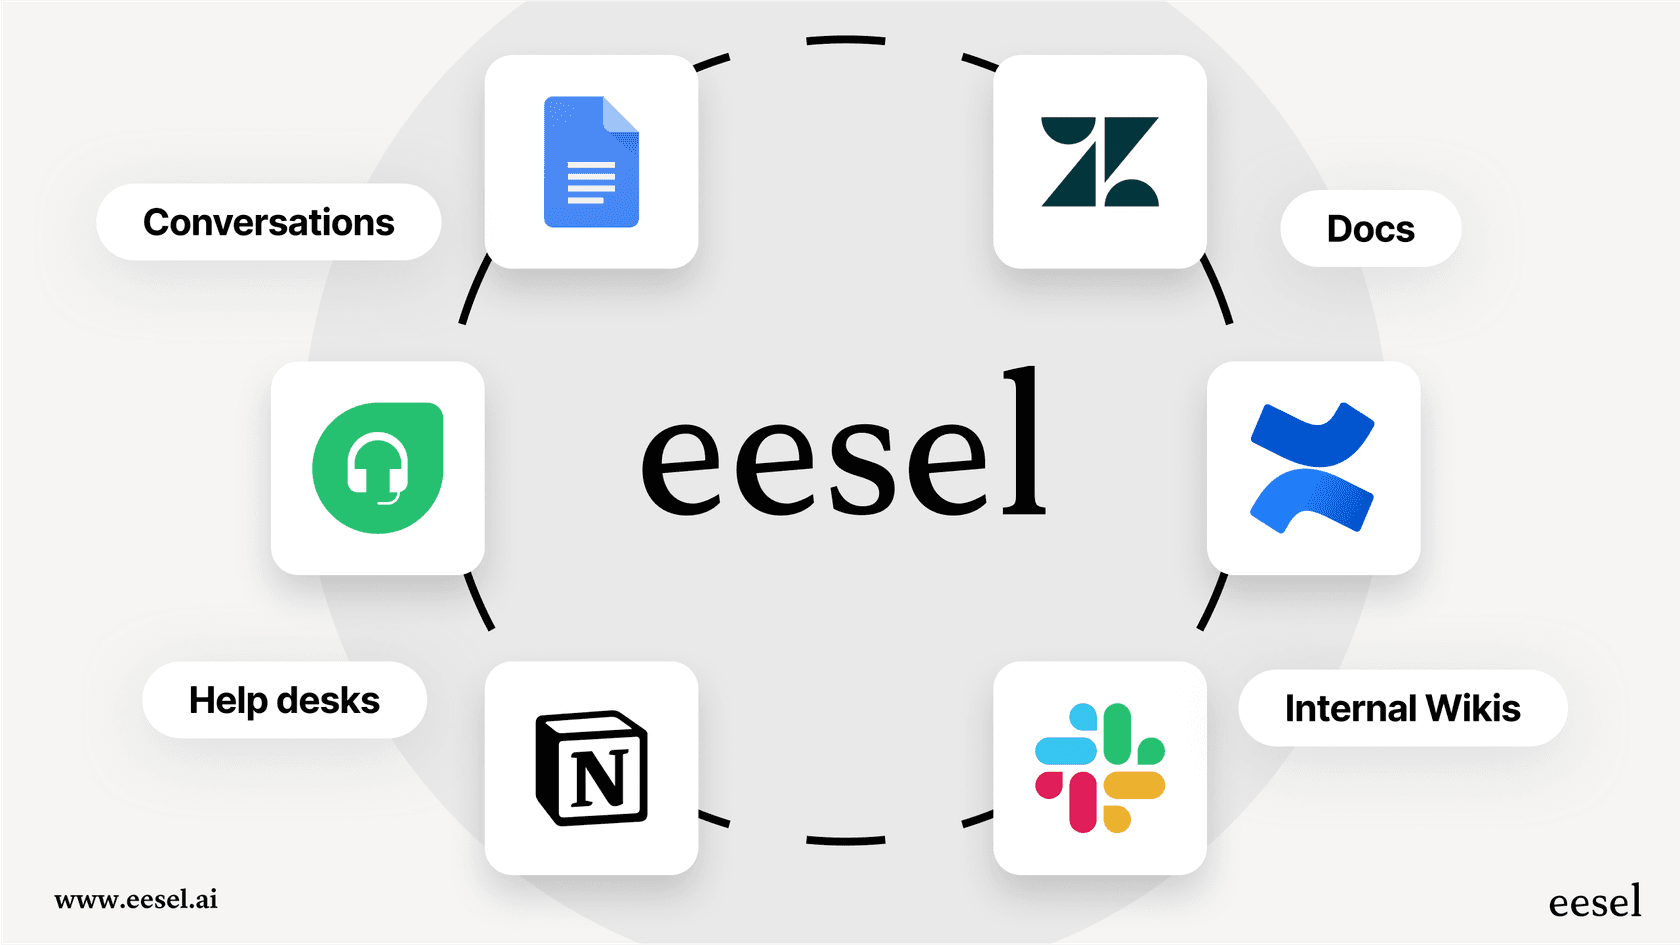
At eesel AI, we approach knowledge management differently. Instead of treating AI as a tool you configure, we think of it as a teammate you hire. Our AI learns your business from your existing content (past tickets, help center articles, macros, and connected docs like Confluence or Notion) and helps you identify gaps in your knowledge base.
Here's how it works: connect eesel AI to your help desk, and it immediately analyzes your content. It identifies which articles are working, which need updates, and what's missing entirely. You can run simulations on past tickets to see how well your knowledge base would handle common questions, then fill the gaps before customers encounter them.
The teammate model means you start with guidance (eesel drafts replies for review) and level up to autonomous operation (eesel handles frontline support directly) based on actual performance. You control the pace based on what you see working.
If you're investing time in custom section page templates to improve user experience, consider what an AI teammate could do for the content that goes inside them. The combination of well-structured templates and continuously optimized content creates a help center that actually helps.
