How to set up redirects in Zendesk Guide: Complete 2026 guide
Stevia Putri
Last edited February 25, 2026
When you delete or move articles in Zendesk Guide, you're left with broken links. Anyone clicking those old URLs hits a 404 error page. That's bad for user experience and worse for SEO. Search engines don't like dead links, and neither do your customers.
The good news? Zendesk now gives you two ways to handle this. You can use the Redirect Rules API (the proper server-side approach) or fall back to JavaScript redirects if you need a quick fix. This guide walks you through both methods so you can choose what works for your situation.
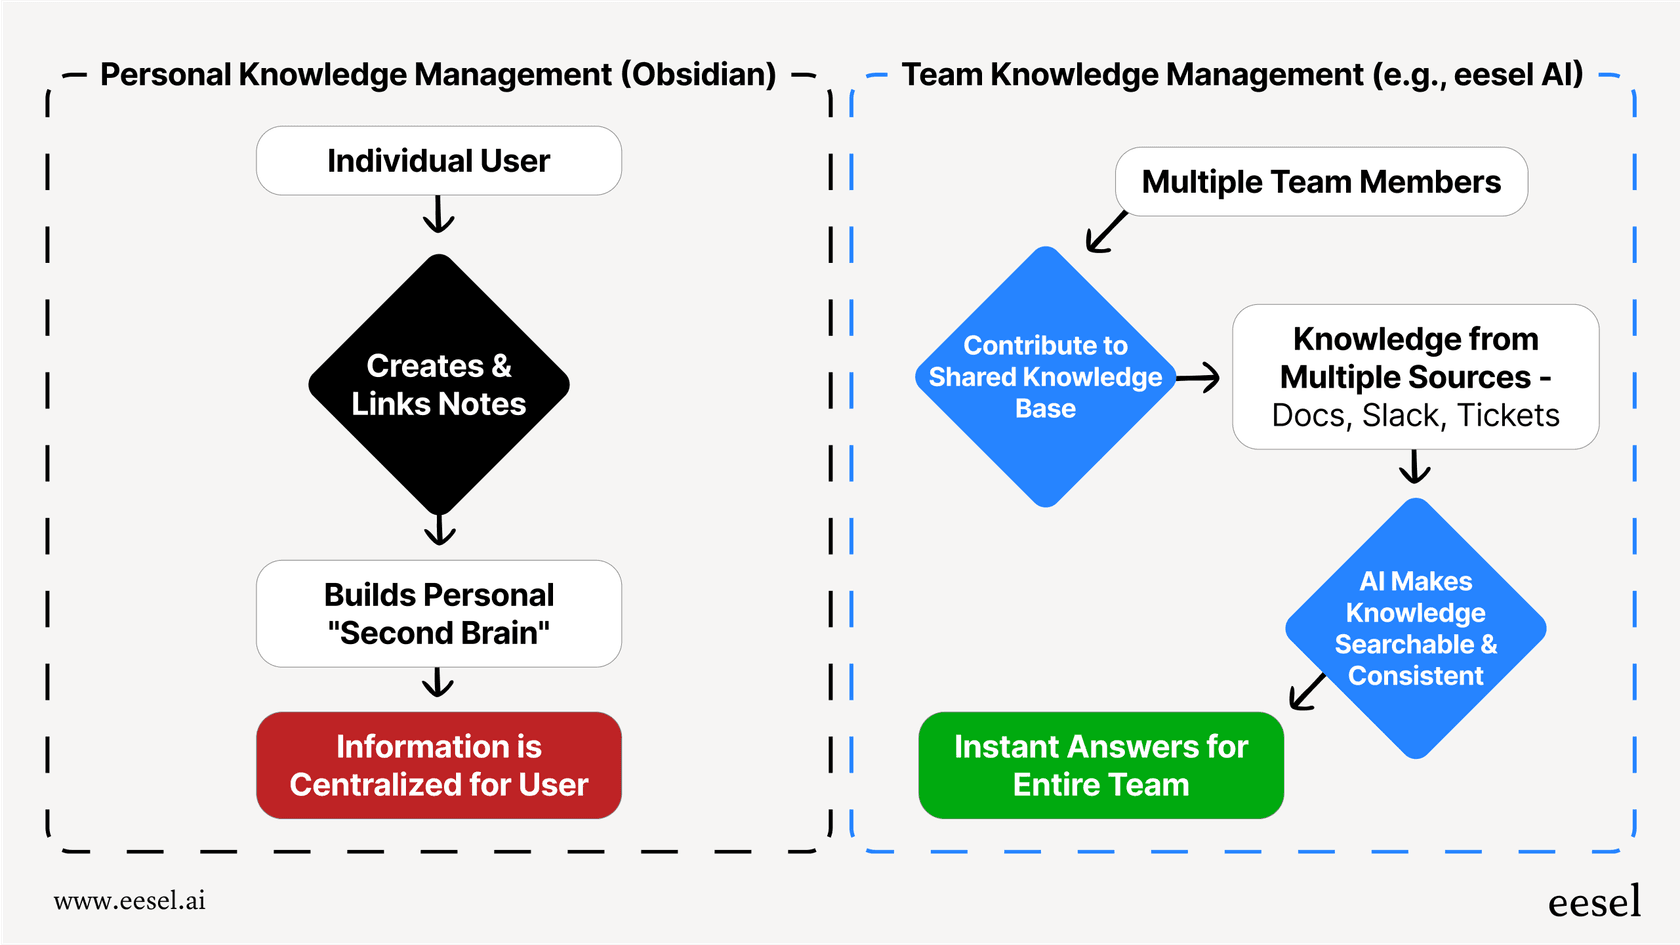
If you're finding Zendesk's redirect limitations frustrating, it might be worth exploring alternatives. We built eesel AI to handle knowledge management without these kinds of workarounds. Our AI teammate learns from your existing documentation and handles redirects automatically when content changes. But let's focus on making Zendesk work for you first.
What you'll need
Before you start setting up redirects, make sure you have:
- Guide admin permissions you need access to customize your help center theme or use the API
- For the API method: An API token set up in your Zendesk account (Admin Center → Apps and integrations → APIs → Zendesk API)
- For the JavaScript method: Access to edit your theme's code (Knowledge admin → Customize design)
- Basic understanding of your URL structure Zendesk URLs follow the pattern
/hc/{locale}/articles/{id}-{slug}
Let's break down both approaches.
Method 1: Using the Redirect Rules API
Zendesk introduced the Redirect Rules API in October 2024. This is the recommended approach for handling redirects because it uses proper HTTP status codes that search engines understand.
Overview of the Redirect Rules API
The API gives you server-side redirects with proper HTTP status codes (301, 302, 303, 307, or 308). This matters because search engines treat server-side redirects differently from JavaScript redirects. A 301 redirect tells Google "this page has permanently moved," which preserves your SEO value.
Key things to know:
- You can create up to 50,000 redirect rules per brand
- Available on all Guide plans except the legacy Guide Lite plan
- Requires Guide admin permissions
- Works for articles, sections, categories, and community posts

Step 1: Create a redirect rule via API
To create a redirect, send a POST request to /api/v2/guide/redirect_rules. Here's the JSON structure you need:
{
  "redirect_rule": {
    "redirect_from": "/hc/en-us/articles/123456",
    "redirect_status": 301,
    "redirect_to": "https://yoursubdomain.zendesk.com/hc/en-us/articles/789012"
  }
}
Important notes about the fields:
- redirect_from: The path to redirect from, starting with
/. Omit the slug (the text after the article ID) just use the ID - redirect_status: Use 301 for permanent redirects (best for SEO), 302 for temporary
- redirect_to: The full URL or path to redirect to, starting with
https://,http://, or/
Here's a curl example:
curl https://yoursubdomain.zendesk.com/api/v2/guide/redirect_rules \
  -X POST \
  -d '{ "redirect_rule": { "redirect_from": "/hc/en-us/articles/123456", "redirect_to": "https://yoursubdomain.zendesk.com/hc/en-us/articles/789012", "redirect_status": 301 } }' \
  -H "Content-Type: application/json" \
  -v -u your_email@company.com/token:your_api_token
Step 2: Test your redirect
After creating a redirect, test it immediately:
- Open an incognito browser window
- Navigate to the old URL
- Verify it redirects to the new URL
- Check the browser's developer tools (Network tab) to confirm the 301 status code
If the redirect doesn't work, double-check that the source article is actually deleted. The redirect only triggers for URLs that return a 404 error.
Step 3: Managing existing redirects
To see all your redirects, use the list endpoint:
curl https://yoursubdomain.zendesk.com/api/v2/guide/redirect_rules \
  -v -u your_email@company.com/token:your_api_token
The API uses cursor pagination. If you have many redirects, you'll get an after_cursor in the response. Use it to fetch the next page:
curl "https://yoursubdomain.zendesk.com/api/v2/guide/redirect_rules?page[after_cursor]=Y3Vyc29yIHR3bw==" \
  -v -u your_email@company.com/token:your_api_token
To update a redirect, simply POST again with the same redirect_from path. The new redirect_to and redirect_status will overwrite the existing rule.
To delete a redirect, you'll need its ID. First find it in the list, then:
curl https://yoursubdomain.zendesk.com/api/v2/guide/redirect_rules/01GFXGBX7YZ9ASWTCVMASTK8ZS \
  -X DELETE \
  -v -u your_email@company.com/token:your_api_token
Method 2: JavaScript redirect workaround
If you don't have API access or need a quick fix for just a few articles, JavaScript redirects are an option. Just know the tradeoffs upfront.
When to use JavaScript redirects
This approach works best when:
- You need to redirect a small number of articles (under 20)
- You don't have developer resources to implement the API
- You're making temporary changes and plan to use the API later
The catch? JavaScript redirects happen after the page loads. Search engines may not follow them as reliably as server-side redirects. Zendesk explicitly notes these "may affect Google search rankings" and are "not suitable for long-term or large-scale deployment."

Step 1: Access your theme code
- Go to Knowledge admin in your Zendesk admin panel
- Click Customize design (the paintbrush icon)
- Click Customize on your active theme
- Click Edit code
- Find and click script.js in the file list

Step 2: Add redirect code
Add this code near the top of your script.js file, before any other functions:
// Map old article IDs to new article IDs
var oldIds = ["217352077", "216552968"];
var newIds = ["216553098", "216552958"];

for (var i = 0; i < oldIds.length; i++){
  if (window.location.href.indexOf(oldIds[i]) > -1) {
    window.location.href = 'https://yoursubdomain.zendesk.com/hc/en-us/articles/' + newIds[i];
  }
}
Replace the IDs in the oldIds and newIds arrays with your actual article IDs. Keep them in quotes and make sure the positions match (first old ID redirects to first new ID, and so on).
For language fallback redirects (sending users to your default language when a translation doesn't exist):
var notDefaultLanguage = window.location.href.indexOf('/en-us/') == -1;
var isArticle = window.location.href.indexOf('/articles/') > -1;
var isErrorPage = document.getElementsByClassName("error-page").length > 0;

if ( isArticle && notDefaultLanguage && isErrorPage ) {
    var newURL = window.location.href.replace(/(.*\/hc\/)([\w-]+)(\/.*)/, "$1en-us$3");
    window.location.href = newURL;
}
Replace en-us with your default language code if different.
Step 3: Publish and test
- Click Publish to save your changes
- Test in an incognito window across multiple browsers
- Check mobile behavior redirects should work the same on mobile
- Clear your browser cache if redirects don't appear immediately
Common redirect scenarios
Redirecting deleted articles to new equivalents
The most common use case: you deleted an old article and wrote a new one covering the same topic. Use the API method with a 301 redirect to preserve SEO value.
For bulk redirects (like after a major content reorganization), script the API calls. Here's a Python example:
import requests

redirects = [
    ("/hc/en-us/articles/111", "/hc/en-us/articles/222"),
    ("/hc/en-us/articles/333", "/hc/en-us/articles/444"),
]

for old_path, new_path in redirects:
    payload = {
        "redirect_rule": {
            "redirect_from": old_path,
            "redirect_status": 301,
            "redirect_to": f"https://yoursubdomain.zendesk.com{new_path}"
        }
    }
    response = requests.post(
        "https://yoursubdomain.zendesk.com/api/v2/guide/redirect_rules",
        json=payload,
        auth=("your_email@company.com/token", "your_api_token")
    )
    print(f"Redirected {old_path}: {response.status_code}")
Handling untranslated content
If you support multiple languages but don't translate every article, set up fallback redirects. When a user tries to access an article in French that only exists in English, redirect them to the English version instead of showing a 404.
The JavaScript example in Step 2 above handles this. For a server-side solution using the API, you'd need to create individual redirects for each untranslated article.
Migration redirects
Moving from another platform to Zendesk? You'll likely have different URL patterns. For example:
- Old:
/support/solutions/articles/1234 - New:
/hc/en-us/articles/5678
Create redirects for each old URL pointing to its new Zendesk equivalent. Note that URLs starting with /knowledge/ (like HubSpot's knowledge base URLs) won't work as redirect sources in Zendesk that path is reserved.
Troubleshooting common issues
Redirects not working at all
Check that the source article is actually deleted. The redirect only triggers for 404 errors. Archived or unpublished articles won't trigger redirects.
Query parameters breaking redirects
If your URLs include tracking parameters (like ?utm_source=email), the redirect might not match. The API matches on the path only, so parameters shouldn't matter, but test to confirm.
Cloudflare proxy complications
If you use Cloudflare with Zendesk host mapping, you might run into issues. When you "orange cloud" (proxy) your CNAME record pointing to Zendesk, Cloudflare for SaaS kicks in and routes traffic directly to Zendesk, bypassing your redirect rules. Solutions include using Origin Rules or a separate proxy hostname.
Host mapping conflicts
If you've mapped a custom domain to your help center, make sure your redirects use the correct domain. Redirects work for both Zendesk subdomains and host-mapped domains.
Caching issues
After publishing theme changes for JavaScript redirects, clear your browser cache. For API redirects, changes are immediate but CDN caching might delay visibility.
SEO best practices for Zendesk Guide redirects
When to use 301 vs 302 redirects
Use 301 (Moved Permanently) when:
- An article is permanently deleted and replaced
- You're migrating content from another platform
- The old URL will never be used again
Use 302 (Found) when:
- The redirect is temporary
- You're A/B testing different article versions
- The original content might return
Avoiding redirect chains
Don't create chains like: Article A → Article B → Article C. Google may stop following after a few hops. Always redirect to the final destination.
Updating internal links vs relying on redirects
Redirects are a safety net, not a strategy. Update your internal links to point directly to new URLs. This reduces server load and ensures users get the fastest experience.
Monitoring 404 errors
Set up Google Search Console for your help center. Check the Coverage report regularly for 404 errors. Each one is a potential redirect you need to create.
Alternative: Consider eesel AI for help center management
If you're spending significant time managing Zendesk redirects, wrestling with theme code, or working around platform limitations, there's a better way.
We built eesel AI for Zendesk as an AI teammate for customer service. Unlike traditional help centers that require manual redirect management, eesel learns from your existing documentation (Confluence, Google Docs, Notion, past tickets) and handles content changes automatically.
When you update or move content, eesel's AI understands the relationships and surfaces the right information without manual redirect configuration. You define escalation rules in plain English ("If the refund request is over 30 days, politely decline"), and eesel handles the rest.

Our customers typically see up to 81% autonomous resolution rates for frontline support. If Zendesk's redirect limitations are part of a broader frustration with the platform, try eesel free and see how an AI-native approach differs.
Start managing your Zendesk Guide redirects effectively
You now have two solid options for handling redirects in Zendesk Guide. For production use, the Redirect Rules API is the clear winner. It gives you proper 301 redirects that preserve SEO value and scales to 50,000 rules per brand.
For quick fixes or small-scale needs, JavaScript redirects work in a pinch. Just remember the SEO tradeoffs and Zendesk's warning that they're not suitable for long-term use.
If redirect management is just one item on a growing list of Zendesk limitations, it might be time to consider whether the platform still fits your needs. Modern AI alternatives like eesel AI handle these problems automatically, letting you focus on delivering great customer experiences instead of maintaining redirect rules.
