How to list Zendesk Guide articles using the API: a complete guide
Stevia Putri
Last edited February 25, 2026
If you're looking to programmatically access your Zendesk help center content, whether for building a custom search index, creating backups, or syncing articles to another platform, the Zendesk Guide API is your go-to tool. But like many REST APIs, getting started can feel overwhelming. There's authentication to figure out, pagination to handle, and a variety of endpoints to choose from.
This guide walks you through everything you need to know to list and retrieve articles from Zendesk Guide using the API. We'll cover authentication, making your first requests, handling pagination for large content libraries, and real-world code examples you can adapt to your needs.
What you'll need to get started
Before diving into API calls, make sure you have these prerequisites in place:
- A Zendesk account with admin or agent access you'll need appropriate permissions to generate API tokens and access help center content
- An API token generated from your Zendesk Admin Center (we'll cover this in step 1)
- Basic familiarity with REST APIs understanding of HTTP methods (GET, POST), JSON format, and request headers
- A tool to make API requests this could be cURL, Postman, or a programming environment like Python or Node.js
- Awareness of your plan's rate limits Zendesk enforces different request limits based on your subscription tier
Speaking of rate limits, here's what you're working with depending on your plan:
| Plan | Requests per minute |
|---|---|
| Essential | 10 RPM |
| Team | 200 RPM |
| Professional | 400 RPM |
| Enterprise | 700 RPM |
| High Volume Add-on | 2,500 RPM |
If you exceed these limits, you'll receive a 429 error. The API follows the Support API's requests-per-minute limits, and requests in one API don't count against the rate limit of the other.
Understanding the Zendesk Guide API structure
The Zendesk Help Center API is a REST API that lets you interact with your knowledge base content programmatically. Before making requests, it helps to understand how content is organized.
Zendesk Guide follows a hierarchical structure:
- Categories are the top-level containers for organizing content
- Sections live within categories and group related articles
- Articles are the actual content pieces (help topics, FAQs, guides)
When you list articles through the API, you can retrieve all articles across your help center, or filter by specific categories or sections. The API returns JSON responses containing article metadata like title, body content, author information, draft status, and more.
Authentication uses Basic Auth with your email address and an API token. The format is {email_address}/token:{api_token}, which gets Base64 encoded for the Authorization header.
One important note: responses are always filtered according to the permissions of the user making the request. So if you're authenticating as an end user rather than an agent or admin, you'll only see articles that user has permission to view.

Step 1: set up API authentication
To start using the API, you need an API token. Here's how to generate one:
- Sign in to your Zendesk account as an admin
- Navigate to Admin Center → Channels → API
- Click the Settings tab
- Enable Token Access if it isn't already
- Click the + button to add a new token
- Give your token a descriptive name (like "Article Export Script")
- Copy the token immediately Zendesk only shows it once
Once you have your token, you can test authentication with a simple cURL request:
curl https://{your_subdomain}.zendesk.com/api/v2/help_center/articles \
  -v -u {your_email}/token:{your_api_token}
Replace {your_subdomain} with your Zendesk subdomain, {your_email} with your account email, and {your_api_token} with the token you just generated.
If authentication succeeds, you'll see a 200 status code and a JSON response with your articles. If you get a 401 error, double-check that your token is active and your email/token combination is correct.
Common authentication issues:
- 401 Unauthorized Token is inactive or email/token format is wrong
- 403 Forbidden User doesn't have permission to access the resource
- 404 Not Found Endpoint URL is incorrect
Step 2: list all articles with basic API call
Now that you're authenticated, let's retrieve articles. The primary endpoint for listing articles is:
GET /api/v2/help_center/articles
Here's a complete Python example using the requests library:
import requests
from requests.auth import HTTPBasicAuth

subdomain = 'your_subdomain'
email = 'your_email@example.com'
api_token = 'your_api_token'

url = f'https://{subdomain}.zendesk.com/api/v2/help_center/articles'

response = requests.get(
    url,
    auth=HTTPBasicAuth(f'{email}/token', api_token),
    headers={'Content-Type': 'application/json'}
)

data = response.json()
articles = data['articles']

for article in articles:
    if not article['draft']:  # Skip drafts
        print(f"{article['id']}: {article['title']}")
The response includes an articles array where each article object contains fields like:
| Field | Description |
|---|---|
id | Unique article identifier |
title | Article title |
body | HTML content of the article |
section_id | ID of the section containing this article |
draft | Boolean indicating if the article is a draft |
created_at | ISO 8601 timestamp of creation |
updated_at | ISO 8601 timestamp of last update |
author_id | ID of the user who created the article |
By default, this endpoint returns 30 articles per page. If you have more articles, you'll need to handle pagination (covered in step 3).
Step 3: handle pagination for large article lists
Pagination is where many developers get stuck. The Zendesk Guide API supports two pagination methods: cursor pagination (recommended) and offset pagination.
Cursor pagination is the modern approach and works by following "next" links in the API response. It's more efficient for large datasets and doesn't have the page limit restrictions of offset pagination.
To use cursor pagination, add ?page[size]=100 to your request (100 is the maximum). Here's a complete Python implementation that retrieves ALL articles across all pages:
import requests
from requests.auth import HTTPBasicAuth

def get_all_articles(subdomain, email, api_token):
    articles = []
    url = f'https://{subdomain}.zendesk.com/api/v2/help_center/articles?page[size]=100'

    while url:
        response = requests.get(
            url,
            auth=HTTPBasicAuth(f'{email}/token', api_token),
            headers={'Content-Type': 'application/json'}
        )

        if response.status_code != 200:
            print(f"Error: {response.status_code}")
            break

        data = response.json()
        articles.extend(data['articles'])

        # Get the next page URL from the links object
        url = data.get('links', {}).get('next')

        print(f"Retrieved {len(articles)} articles so far...")

    return articles

all_articles = get_all_articles('your_subdomain', 'your_email', 'your_token')
print(f"Total articles: {len(all_articles)}")
The key is checking for data['links']['next']. When you reach the final page, this value will be null and your loop ends.
Offset pagination is the older method and is limited to 100 pages maximum. It uses per_page and page parameters. Zendesk recommends cursor pagination for new implementations.
When paginating through large datasets, be mindful of rate limits. If you have thousands of articles, consider adding a small delay between requests:
import time

time.sleep(0.5)  # 500ms delay
Step 4: filter and sort articles
The API offers several ways to filter and sort your article listings.
Filtering by labels: If you use article labels (available on Professional and Enterprise plans), you can filter by them:
GET /api/v2/help_center/articles?label_names=photos,camera
This returns only articles that have ALL the specified labels. Label matching is case-sensitive.
Sorting:
Use sort_by and sort_order parameters to control the order:
| Sort option | Description |
|---|---|
position | Manual order from the Arrange Content page (default) |
title | Alphabetical by title |
created_at | Creation time |
updated_at | Last update time |
edited_at | Last time title or body was edited |
Example: /api/v2/help_center/articles?sort_by=updated_at&sort_order=desc
Incremental exports:
For syncing articles to external systems, use the incremental endpoint with a start_time parameter:
GET /api/v2/help_center/incremental/articles?start_time=1704067200
The start_time is a Unix epoch timestamp. This returns only articles created or updated since that time.
Listing by category or section: To get articles from a specific category:
GET /api/v2/help_center/categories/{category_id}/articles
Or from a specific section:
GET /api/v2/help_center/sections/{section_id}/articles
Sideloading related data: To reduce API calls, you can sideload related resources:
GET /api/v2/help_center/articles?include=users,sections,categories
This includes the full user, section, and category objects in the response, so you don't need to make separate API calls for that information.
Common use cases and code examples
Here are some practical implementations for common scenarios:
Export all articles for search indexing: This script exports all published articles to a JSON file, filtering out drafts and including only essential fields:
import json
import requests
from requests.auth import HTTPBasicAuth

def export_articles_for_search(subdomain, email, api_token, output_file):
    articles = []
    url = f'https://{subdomain}.zendesk.com/api/v2/help_center/articles?page[size]=100'

    while url:
        response = requests.get(url, auth=HTTPBasicAuth(f'{email}/token', api_token))
        data = response.json()

        for article in data['articles']:
            if not article['draft']:
                articles.append({
                    'id': article['id'],
                    'title': article['title'],
                    'body': article['body'],
                    'url': article['html_url'],
                    'updated_at': article['updated_at']
                })

        url = data.get('links', {}).get('next')

    with open(output_file, 'w') as f:
        json.dump(articles, f, indent=2)

    print(f"Exported {len(articles)} articles to {output_file}")
Error handling best practices: Always handle potential errors in your API calls:
response = requests.get(url, auth=auth)

if response.status_code == 429:
    # Rate limit hit   wait and retry
    time.sleep(60)
    response = requests.get(url, auth=auth)
elif response.status_code == 401:
    print("Authentication failed   check your API token")
    sys.exit(1)
elif response.status_code != 200:
    print(f"API error: {response.status_code}")
    print(response.text)
Managing Zendesk Guide content with eesel AI
While the Zendesk Guide API gives you programmatic access to your help center content, managing and leveraging that content effectively is where an AI agent for Zendesk comes in. eesel AI is one option teams use to put their help center content to work automatically.
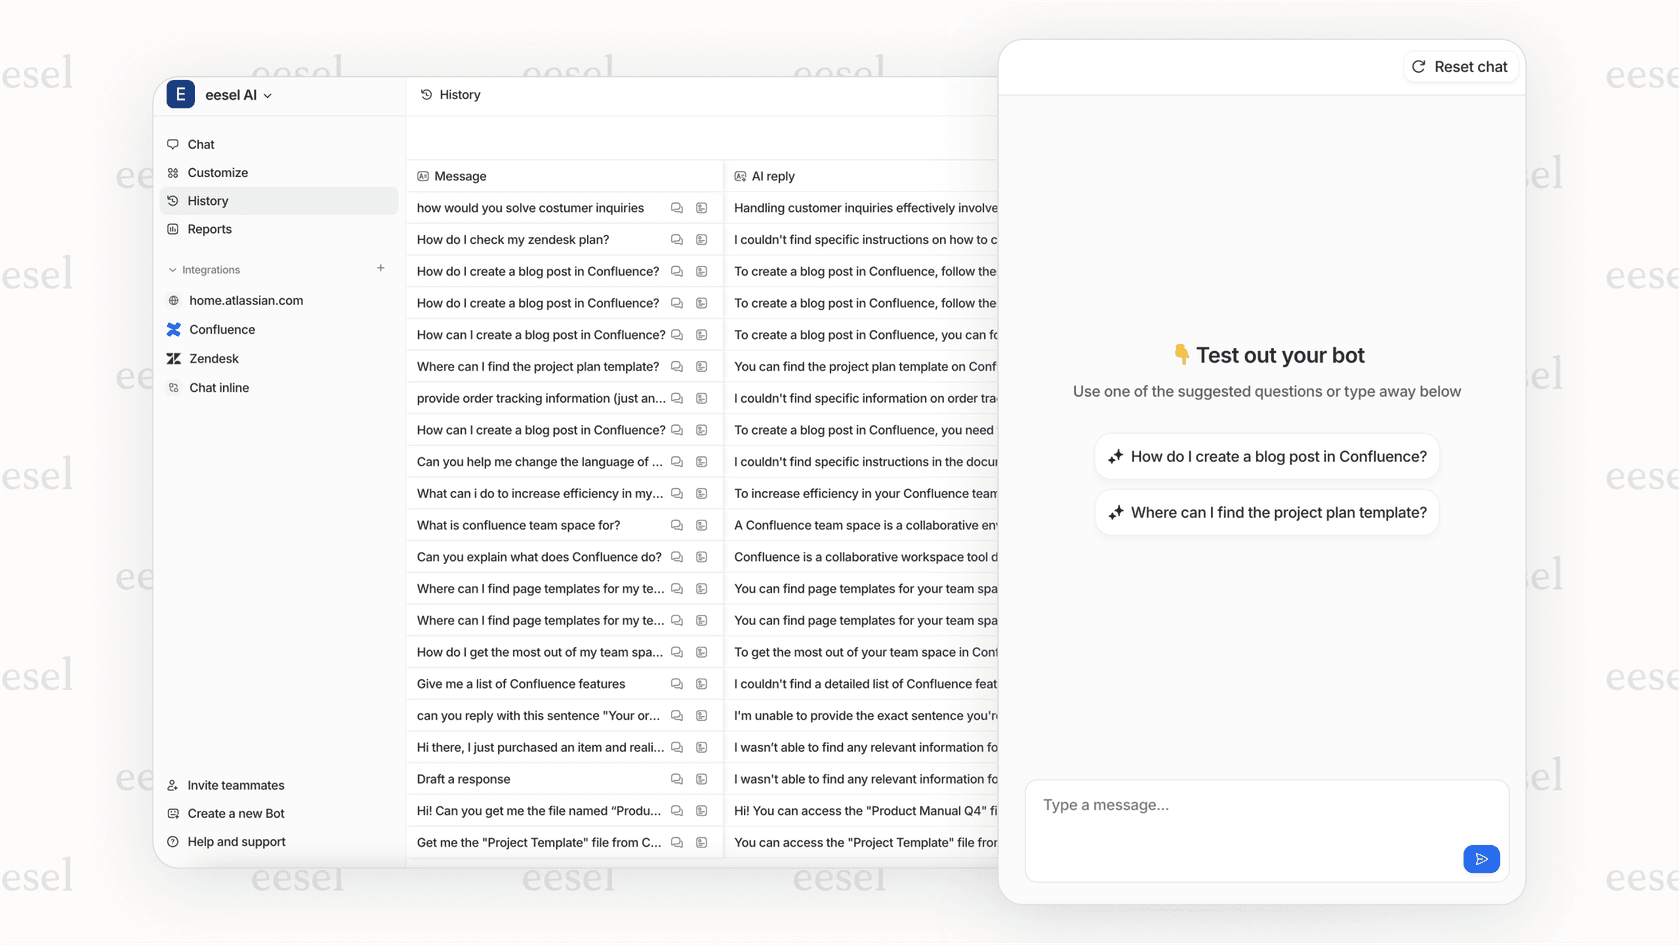
Instead of building custom scripts to sync articles, our AI agent connects directly to your Zendesk Guide and learns from your help center content automatically. This means:
- No-code setup connect your Zendesk account and eesel AI imports your articles automatically
- Always up to date when you update articles in Zendesk, eesel AI learns the changes
- Multi-language support works with articles in any of the 80+ languages Zendesk supports
- Smart responses our AI answers customer questions using your help center content as the source of truth
For teams looking to build AI-powered support without the engineering overhead, eesel AI handles the complexity of syncing, indexing, and retrieving the right article content at the right time. You can start with AI Copilot to draft responses for your agents, then level up to full AI Agent automation as you gain confidence.
Start building with the Zendesk Guide API today
You now have everything you need to start working with the Zendesk Guide API. Here's a quick recap:
- Generate an API token from your Zendesk Admin Center
- Make authenticated requests using Basic Auth with your email and token
- Handle pagination using cursor pagination for large article libraries
- Filter and sort using query parameters to get exactly the data you need
For more advanced features like creating or updating articles, managing translations, or working with article attachments, check the official Zendesk API documentation.
And if you're looking to do more with your help center content like powering AI responses, building custom search, or creating automated workflows consider how eesel AI can help you get there faster without writing custom integration code.
