Whether you're backing up years of customer conversations, preparing for a helpdesk migration, or need data for compliance purposes, exporting your Zendesk data is a task most support teams face eventually. The challenge isn't just getting the data out. It's knowing which method to use, what you'll actually get, and what the limitations are.
This guide covers every way to export data from Zendesk, from the built-in UI options to API-based solutions and third-party tools. We'll walk through the exact steps for each method, explain the trade-offs, and help you choose the right approach for your specific situation.
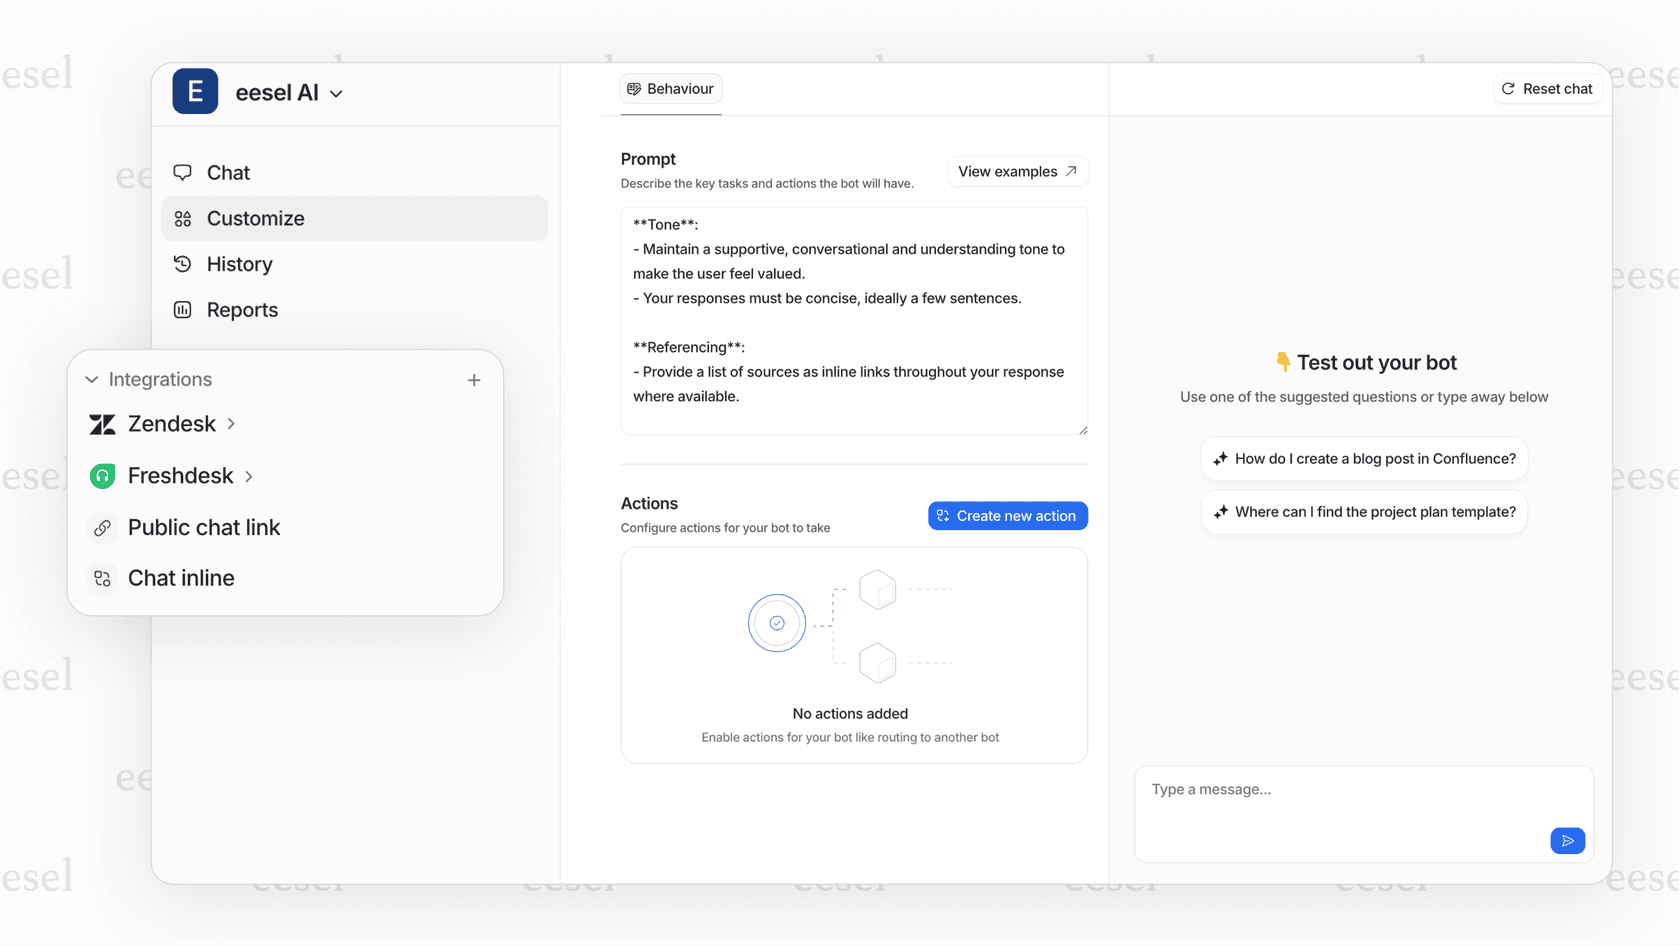
If you're finding yourself exporting data frequently to analyze trends or train AI models, there's a better way. Modern AI platforms like eesel's Zendesk integration can connect directly to your Zendesk account and learn from your historical tickets without you ever exporting a file. You can even deploy an AI agent trained on your past conversations.

We'll start with the traditional methods.
What You'll Need
Before you begin, make sure you have:
- A Zendesk account with appropriate plan permissions (we'll cover the specifics for each method)
- Admin access to request data exports or generate API tokens
- An API token if you're using the programmatic methods (we'll show you how to create one)
- Optional: Python or Node.js installed if you plan to run custom export scripts
Here's the short version: if you're on a Team plan, you'll need to use the API. Professional and Enterprise plans can use the native export UI, but even then the API often gives you more control.

Method 1: Native Data Export (JSON, CSV, XML)
The native export feature in Zendesk is the most straightforward option if you have access to it. But there's a catch: it's only available on Professional and Enterprise plans. If you're on a Team plan, skip ahead to Method 3 (the API). Learn more about Zendesk's export requirements in their official documentation.
Step 1: Enable Data Exports
Data exports aren't enabled by default, even on eligible plans. The account owner must contact Zendesk Customer Support to request activation. Include your Zendesk subdomain in the request.
Once enabled, exports will appear in your Admin Center within a few hours.
Step 2: Run the Export
- Navigate to Admin Center > Account > Tools > Reports
- Click the Export tab if you see one (some legacy versions show exports on a separate tab)
- Select your export format:
| Format | Best For | Limitations |
|---|---|---|
| JSON | Large datasets (200K+ tickets) | Complex NDJSON format |
| CSV | Excel analysis, simple reports | No comments or descriptions |
| XML | Legacy compatibility | 500MB max file size |
- Set your date range (JSON and CSV only)
- Select data type: tickets, users, or organizations
- Click Export

Choose the right format based on your needs. JSON handles large datasets and includes comments. CSV works best for Excel analysis but has limited fields. XML offers legacy compatibility but has a 500MB file size limit.
Step 3: Download Your Files
Zendesk emails you a download link when the export completes. The link stays active for at least three days. Large exports can take anywhere from minutes to over a day, depending on your data volume.
Important limitations to know:
- Attachments are never included in exports
- Suspended tickets are excluded
- Tickets over 1MB have comments stripped out
- Accounts with 1M+ tickets are limited to 31-day increments
Method 2: Exporting From Zendesk Explore
If you need granular data for analysis rather than full backups, Zendesk Explore offers a more flexible option. Like native exports, this requires Professional or Enterprise plans.
What's Available
Explore lets you export datasets (not just reports) in CSV format. Available datasets include:
- Support tickets and SLA data
- Chat and messaging engagement
- Talk call records
- Guide knowledge base articles
- Answer Bot interactions
The key advantage: dataset exports don't have the 50,000-row limit that standard reports do.
Creating an Export
- In Explore, click the Dataset exports icon in the left sidebar
- Choose Create one-time export or Create recurring export
- Select your dataset and time period
- For recurring exports, set frequency (daily, weekly, or monthly)

The dataset export workflow lets you schedule recurring reports or run one-time extractions. Select your dataset, set the time period, and choose your export frequency.
Key details:
- You can run one export per dataset per month
- Recurring exports are limited to 14 simultaneous schedules
- Files are automatically deleted after 7 days
- Each file can be downloaded up to 3 times
Method 3: Using the Zendesk API
The Zendesk API is your most powerful option, and it's available on all plans including Team. This is the route to take if you're on a lower-tier plan, need automated exports, or want to filter data before exporting.
Setting Up API Access
- Sign in to Zendesk as an admin
- Go to Admin Center > Apps and integrations > APIs > Zendesk API
- Enable Token Access on the Settings tab
- Click Add API Token, name it, and save the token securely
Incremental Exports
The most efficient approach for regular exports is using the Incremental Export API. Instead of pulling all data every time, you request only what changed since your last export.
Here's a basic Python example for exporting users:
import csv
import time
import requests

ZENDESK_USER_EMAIL = 'your_email@example.com'
ZENDESK_API_TOKEN = 'your_api_token'
ZENDESK_SUBDOMAIN = 'your_subdomain'

def main():
    print('Getting users from Zendesk...')
    users = []
    url = f'https://{ZENDESK_SUBDOMAIN}.zendesk.com/api/v2/users.json'
    params = {'page[size]': 100}
    auth = (f'{ZENDESK_USER_EMAIL}/token', ZENDESK_API_TOKEN)

    response = requests.get(url, params=params, auth=auth)
    page = response.json()
    users.extend(page['users'])

    while page['meta']['has_more']:
        params['page[after]'] = page['meta']['after_cursor']
        response = requests.get(url, params=params, auth=auth)
        if response.status_code == 429:  # Rate limit
            time.sleep(int(response.headers['retry-after']))
            response = requests.get(url, auth=auth)
        page = response.json()
        users.extend(page['users'])

    write_to_csv(users)
    print('Done!')

def write_to_csv(users):
    with open('users.csv', 'w', newline='') as file:
        writer = csv.writer(file)
        writer.writerow(['Name', 'Email', 'Role'])
        for user in users:
            writer.writerow([user['name'], user['email'], user['role']])

if __name__ == "__main__":
    main()
Rate limits: All plans get 700 requests per minute (10 per second). The script above handles rate limiting by checking for HTTP 429 responses and waiting the recommended time.
Understanding Export Formats and Limitations
Each export format has distinct characteristics that affect how you use the data.
JSON (NDJSON Format)
JSON exports use "Newline Delimited JSON" (NDJSON), which streams one object per line rather than wrapping everything in a single array. This makes it possible to process massive files without loading them entirely into memory.
To convert NDJSON to standard JSON, wrap the objects in an array:
{"ticket":{"id":1}}
{"ticket":{"id":2}}
Becomes:
{
  "tickets": [
    {"ticket": {"id": 1}},
    {"ticket": {"id": 2}}
  ]
}
CSV
CSV exports are the easiest to open in Excel or Google Sheets, but they have the most limitations:
- No ticket comments or descriptions
- No deleted tickets
- Multi-line text fields are excluded
- All timestamps use your account's default timezone
What's Missing From All Exports
No matter which method you choose, some data never makes it into exports:
- Attachments: Files must be fetched separately via the API
- Suspended tickets: These are intentionally excluded
- AI agent tickets: Cannot be exported at all
- Real-time updates: Items updated within 6 minutes of export may be missing
Third-Party Export Tools
When native options fall short, third-party tools can fill the gaps.
Open-Source Options
The Zendesk-Exporter project on GitHub is a Node.js tool that exports tickets, comments, users, views, triggers, macros, and more to JSON. It's free, MIT-licensed, and handles the API pagination and rate limiting for you.
eDiscovery Platforms
For legal and compliance use cases, platforms like Onna connect directly to Zendesk's API and provide searchable repositories with full context. This is often necessary for eDiscovery since native exports don't include attachments and have other gaps that make them insufficient for legal proceedings.
Migration Tools
If you're switching helpdesks entirely, many platforms (including eesel AI) offer direct Zendesk import that handles the API extraction for you. This is usually easier than exporting to files and then importing.
Common Use Cases for Exported Data
Different situations call for different export approaches:
| Use Case | Recommended Method | Notes |
|---|---|---|
| Backup/Disaster Recovery | API with incremental exports | Native exports miss attachments |
| Helpdesk Migration | Full JSON export + API | Consider direct import tools |
| Compliance/eDiscovery | Third-party platform | Native exports insufficient |
| Business Intelligence | Explore dataset exports | CSV format, scheduled exports |
| Data Analysis | CSV export or API | CSV for Excel, API for custom analysis |
| AI Training | API incremental exports | Get historical ticket data programmatically |
Export Your Zendesk Data With Confidence
Let's break down the decision process:
- On Team plan? Use the API. It's your only option, but it's also the most flexible.
- Need full backups? JSON export via native UI (Pro/Ent) or API-based tools.
- Want scheduled reports? Explore dataset exports with recurring schedules.
- Legal/compliance requirements? Third-party eDiscovery platforms are your best bet.
- Migrating to a new helpdesk? Check if your new platform offers direct Zendesk import first.
Start with the simplest method that meets your needs. Native exports work well for one-off backups. The API makes sense for automation. Third-party tools fill the gaps when you need more than Zendesk provides natively.
If you find yourself exporting data regularly just to analyze trends or feed information into other systems, consider whether a direct integration would save time. eesel AI, for example, connects directly to Zendesk and learns from your historical tickets without you ever managing export files.
You can ask questions about your data, generate reports, and even train an AI agent on your past conversations, all without the export-import dance.
Whatever method you choose, test it with a small data set first. Verify you're getting what you expect before running a full export that might take hours to complete.

