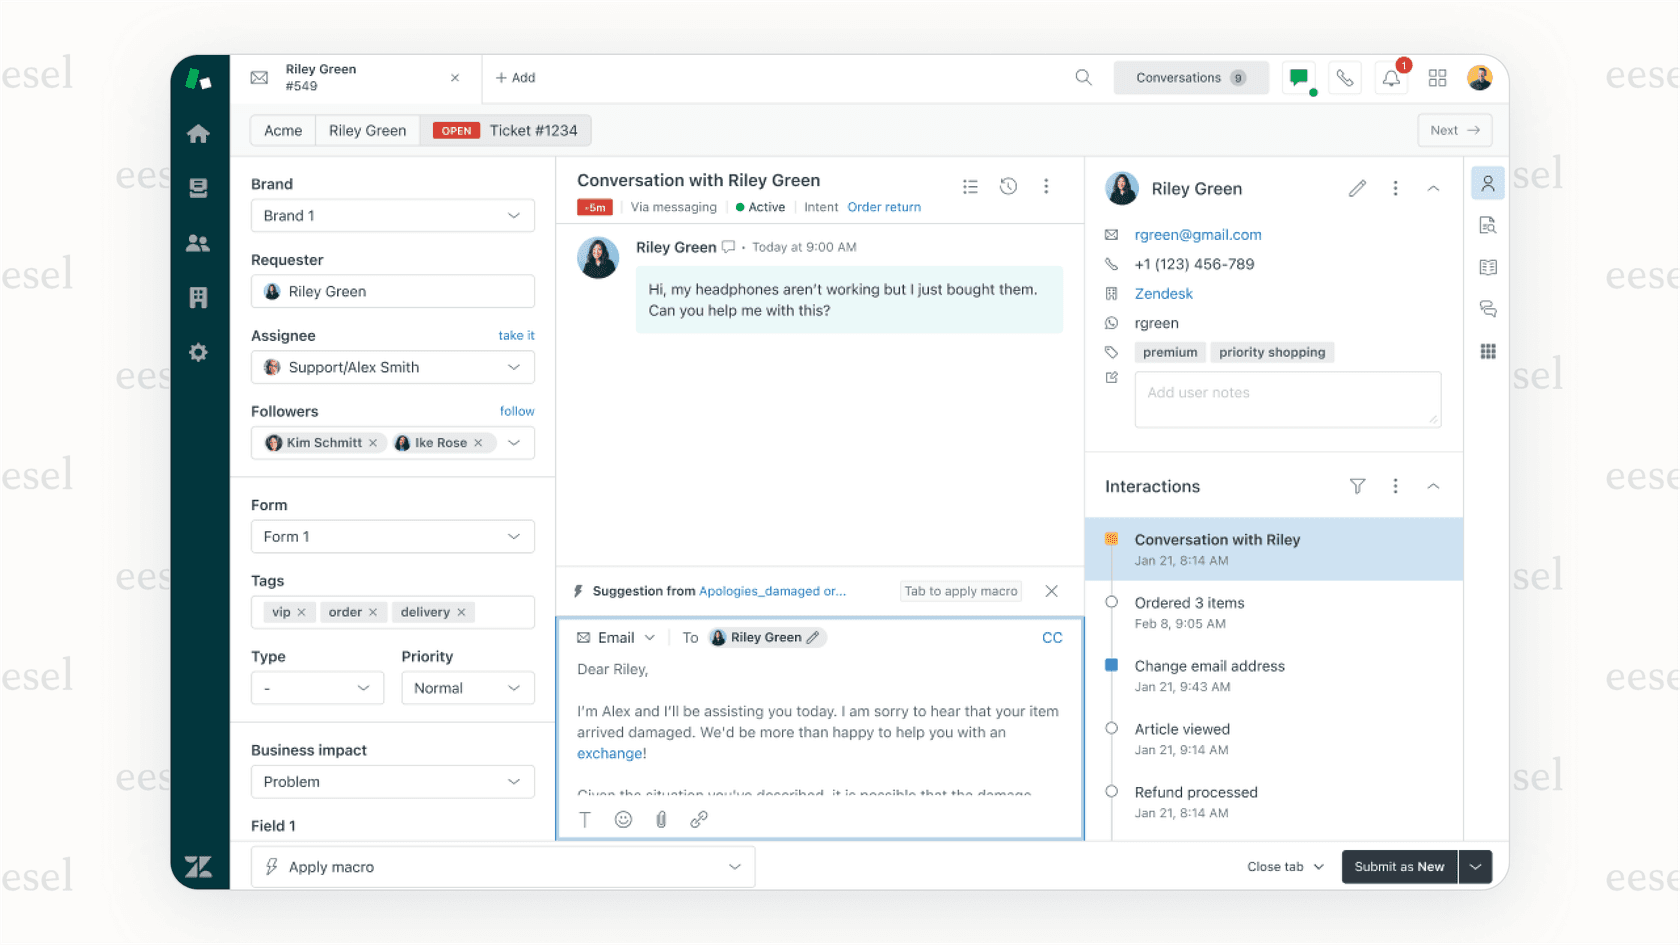
Picture a support agent working through a complex ticket. They need to check the customer's order history, look up their CRM record, and search the knowledge base. Without leaving Zendesk. That's exactly what a ticket sidebar app does. It brings external data and tools right into the agent's workspace, saving time and reducing context switching.
The ticket sidebar is one of the most powerful locations for Zendesk apps. It sits in the apps tray on the right side of every ticket, giving agents instant access to contextual information. Whether you're building an integration for your team or planning to publish on the Zendesk Marketplace, this guide will walk you through creating a ticket sidebar app from scratch.
What you'll need
Before you start building, make sure you have these prerequisites ready:
- A Zendesk account with Suite Growth plan or above, or Support Professional plan or above. You can get a free trial account for development if needed.
- Node.js 14.17.3 or later installed on your machine
- The Zendesk Command Line Interface (ZCLI) for building and testing apps locally
- A web browser that allows mixed HTTP and HTTPS content, like Chrome or Firefox. Safari won't work for local development because it doesn't support mixed content.
- Basic familiarity with HTML, CSS, and JavaScript
Step 1: Set up your development environment
First, you'll need to install ZCLI and create your app structure. ZCLI is Zendesk's official command-line tool that handles everything from scaffolding new apps to packaging them for deployment.
To install ZCLI globally, run:
npm install -g @zendesk/zcli
Once installed, create a new app by running:
zcli apps:new
You'll be prompted for a few details:
- Directory name: This creates the folder for your app files
- Author's name and email: For the app manifest
- App name: The display name for your app
ZCLI generates a starter template with the essential files:
manifest.json: Defines your app's configuration, including locationassets/iframe.html: The HTML content displayed in the sidebarassets/logo.png: Your app icontranslations/en.json: For internationalization
Step 2: Configure the ticket sidebar location
The heart of your app configuration lives in manifest.json. This file tells Zendesk where your app should appear and what content to load.
For a ticket sidebar app, your manifest needs a location property that specifies the ticket_sidebar key:
{
  "name": "My Sidebar App",
  "author": {
    "name": "Your Name",
    "email": "you@example.com"
  },
  "defaultLocale": "en",
  "private": true,
  "location": {
    "support": {
      "ticket_sidebar": {
        "url": "assets/iframe.html",
        "flexible": true
      }
    }
  },
  "version": "1.0.0"
}
Let's break down the key properties:
url: Points to the HTML file that loads in the sidebar iframe. This is where your app's UI lives.flexible: Controls whether the iframe resizes with the apps tray. Set totruefor responsive behavior, orfalseto lock the width at 320px.
There's also a new_ticket_sidebar location for apps that should appear when agents are creating new tickets, before they're submitted. Once a ticket is created, it moves to the standard ticket_sidebar location.
Step 3: Access ticket data with ZAF APIs
Now for the interesting part: making your app actually do something. The Zendesk Apps Framework (ZAF) provides a JavaScript SDK that lets your app interact with ticket data, user information, and the Zendesk interface.
First, include the ZAF SDK in your iframe.html:
<script src="https://static.zdassets.com/zendesk_app_framework_sdk/2.0/zaf_sdk.min.js"></script>
Then initialize the client and start fetching data:
var client = ZAFClient.init();

// Get the current ticket's subject and status
client.get('ticket.subject').then(function(data) {
  console.log('Ticket subject:', data['ticket.subject']);
});

// Fetch multiple properties at once
client.get(['ticket.subject', 'ticket.status', 'ticket.priority']).then(function(data) {
  console.log('Ticket info:', data);
});
The ticket sidebar location gives you access to rich data objects:
- Ticket object: status, priority, subject, description, custom fields, tags
- User objects: requester details, current user, collaborators
- Comment objects: ticket comments and attachments
- Brand and organization data: context about the account
You can also listen for real-time changes. If an agent updates the ticket status or assignee, your app can respond immediately:
client.on('ticket.status.changed', function() {
  console.log('Ticket status was updated');
  // Refresh your app's data or UI
});
Step 4: Design for responsive layouts
Here's something many developers miss: the ticket sidebar width isn't fixed anymore. With the Agent Workspace, agents can resize the apps tray anywhere from 200px to essentially unlimited width. Your app needs to handle this gracefully.
If you set flexible: true in your manifest, the iframe automatically resizes. But your CSS needs to respond too. Consider using a responsive framework like Tailwind CSS, or write media queries that adapt your layout:
/* Default styles for narrow sidebar */
.app-container {
  padding: 12px;
  font-size: 14px;
}

/* Wider sidebar - show more details */
@media (min-width: 400px) {
  .app-container {
    padding: 16px;
  }
  .detail-view {
    display: block;
  }
}
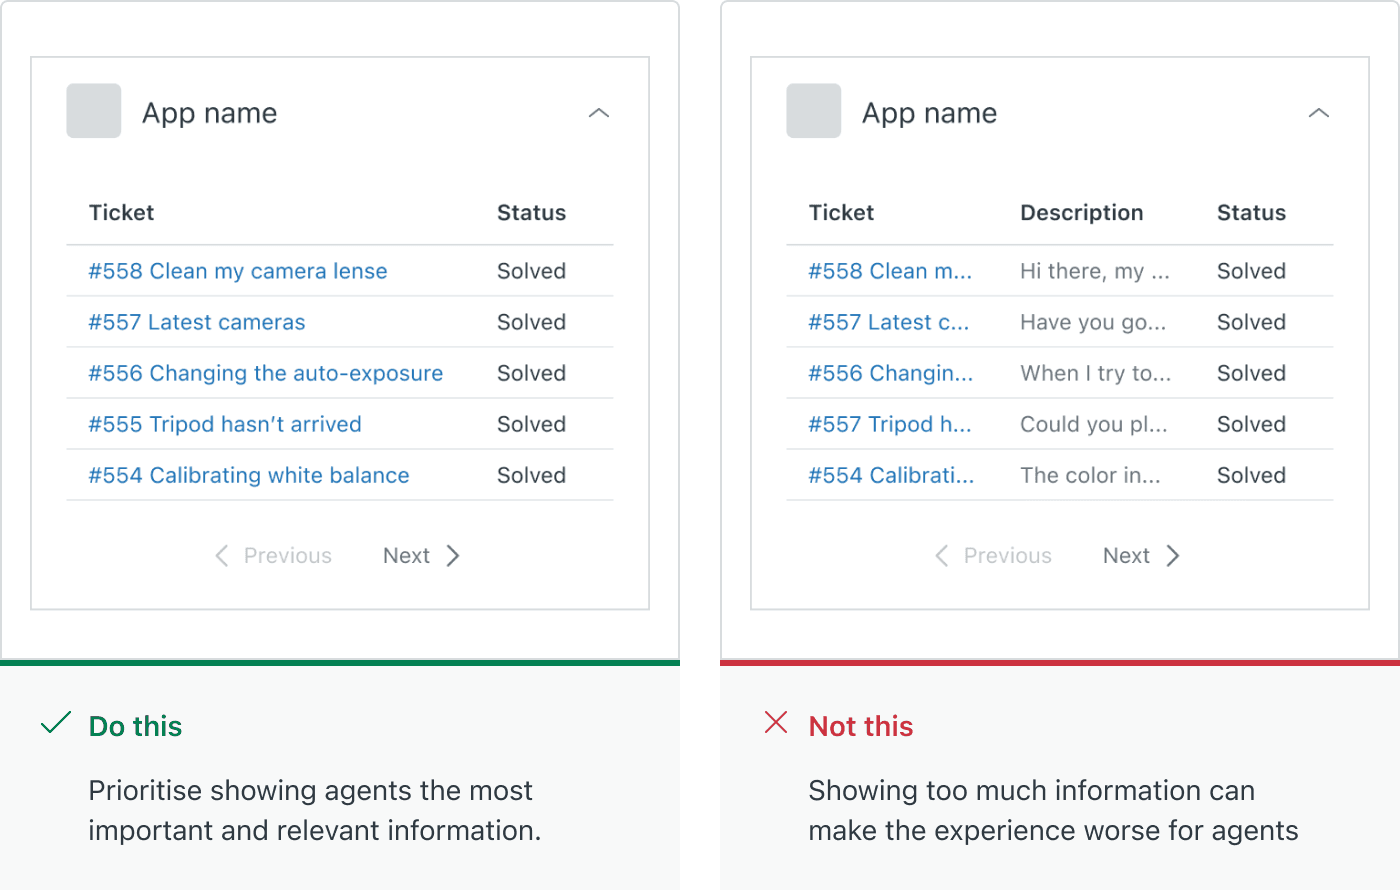
Think about the agent's focus. When the sidebar is narrow, they're probably concentrating on the conversation. Show only essential information. When they expand the tray, they're likely trying to complete a task in your app. That's when you can reveal more functionality.
Step 5: Test and deploy your app
With your app built, it's time to test it locally before deploying. ZCLI includes a local server that lets you run your app in your actual Zendesk environment.
Start the development server:
zcli apps:server
This starts a local web server for your app. To see it in action:
- Open an incognito or private browser window (this prevents caching issues)
- Sign in to Zendesk and open any ticket
- Append
?zcli_apps=trueto the URL - Your app appears in the apps tray
Make changes to your code, save, and refresh the page to see updates instantly.
When you're ready to deploy, package your app:
zcli apps:package
This creates a ZIP file you can upload directly to your Zendesk instance for private use, or submit to the Zendesk Marketplace if you want to share it with other organizations.
Common use cases for ticket sidebar apps
Now that you understand the mechanics, what should you build? Here are some patterns that work well in the ticket sidebar:
- Customer data lookups: Pull order history from Shopify, account details from Salesforce, or subscription status from your billing system. Agents see everything without switching tabs.
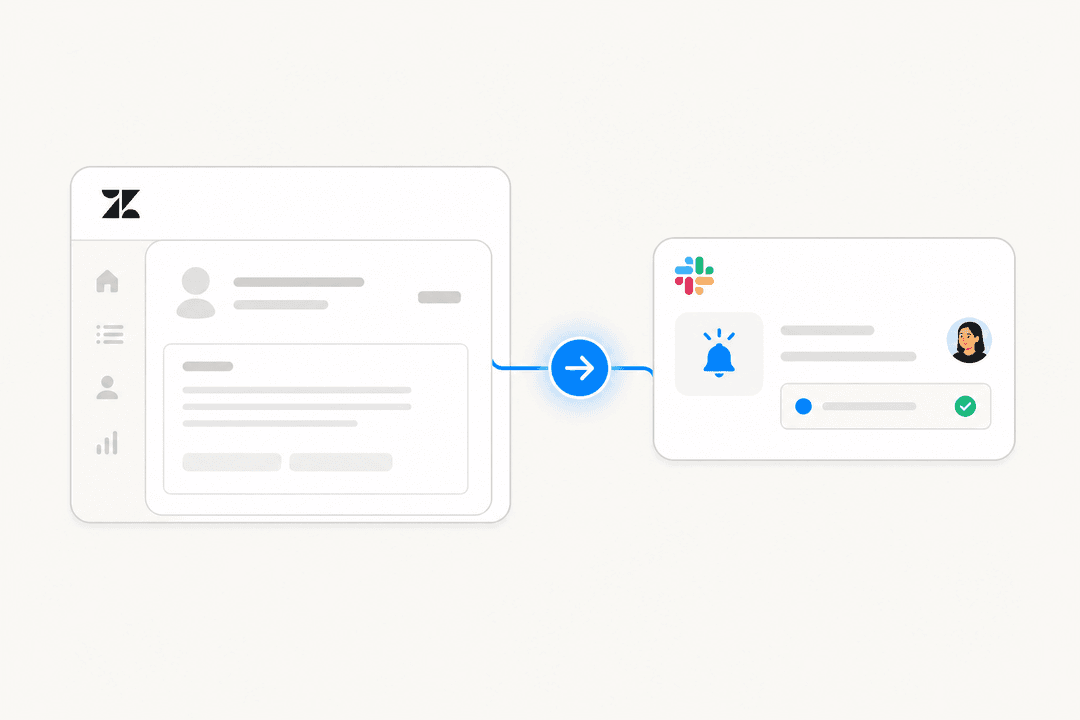
- Cross-platform workflows: Create Jira issues, add Trello cards, or log bugs in GitHub directly from a ticket. The app prefills data from the Zendesk ticket to save time.
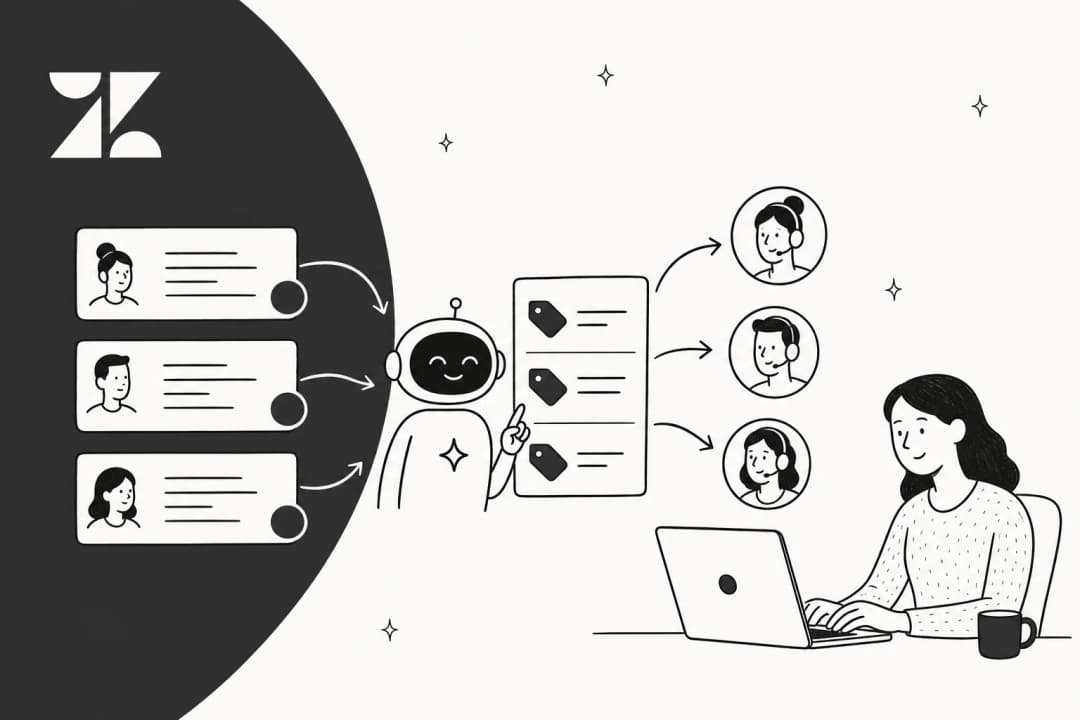
- Knowledge assistance: Search your help center, internal wiki, or past tickets to find relevant solutions. Some apps use AI to suggest responses based on ticket content.
- AI-powered support: Tools like eesel's AI agent for Zendesk work in the sidebar to draft responses, surface relevant knowledge from multiple sources, and help agents resolve tickets faster.

The key is context. The best sidebar apps automatically show information relevant to the specific ticket and customer the agent is viewing.
Tips and best practices
Before you finish your app, keep these guidelines in mind:
- Keep it lightweight: Sidebar apps load on every ticket. Heavy JavaScript libraries or large assets slow down the agent experience.
- Handle errors gracefully: External APIs fail. Network connections drop. Build in error handling so your app fails silently rather than breaking the agent's workflow.
- Use Zendesk Garden: Zendesk's design system provides components that match the native interface. This makes your app feel like part of Zendesk, not a foreign element.
- Secure your API keys: Never hardcode credentials in your app. Use Zendesk's secure settings or OAuth for authentication.
- Test with real data: An app that works perfectly with test tickets might struggle with unusual characters, long subject lines, or missing custom fields.
Start building your Zendesk sidebar app today
You now have everything you need to build a ticket sidebar app. From setting up your development environment with ZCLI to configuring the manifest, accessing ticket data through ZAF, and designing for responsive layouts, the foundation is in place.
The ticket sidebar is a powerful way to extend Zendesk's capabilities. Whether you're solving a specific workflow for your team or building something for the broader Zendesk community, apps in this location put information and actions exactly where agents need them.
If you're looking to add AI capabilities to your Zendesk setup, eesel AI works as a sidebar app that brings knowledge from your help center, past tickets, and internal documentation directly into the agent workspace. It's a good example of what's possible when you combine the Zendesk Apps Framework with modern AI capabilities.
Ready to start? Grab your Zendesk credentials, install ZCLI, and build something that makes your support team's day a little easier.