Zendesk has been moving customers away from its legacy Chat product - originally Zopim, acquired in 2014 - toward a newer system called Messaging. If you're still running the old live chat experience, you'll need to make the switch. All new Zendesk accounts created after June 5, 2023 already default to Messaging, and Zendesk has been running assisted migration batches for remaining legacy Chat customers.
The migration touches more of your stack than it might appear to at first. Bot integrations, Chat triggers, routing rules, agent workflows, and your website embed code all need individual attention. Skip any of them and you risk broken automations, inaccessible chat history, or active conversations dropping mid-session - some of which can't be undone.
If you plan to add AI resolution on top of your new Messaging setup, tools like eesel AI layer directly on top of Zendesk Messaging to handle tickets autonomously. That's covered at the end. First, the migration.
What's actually changing
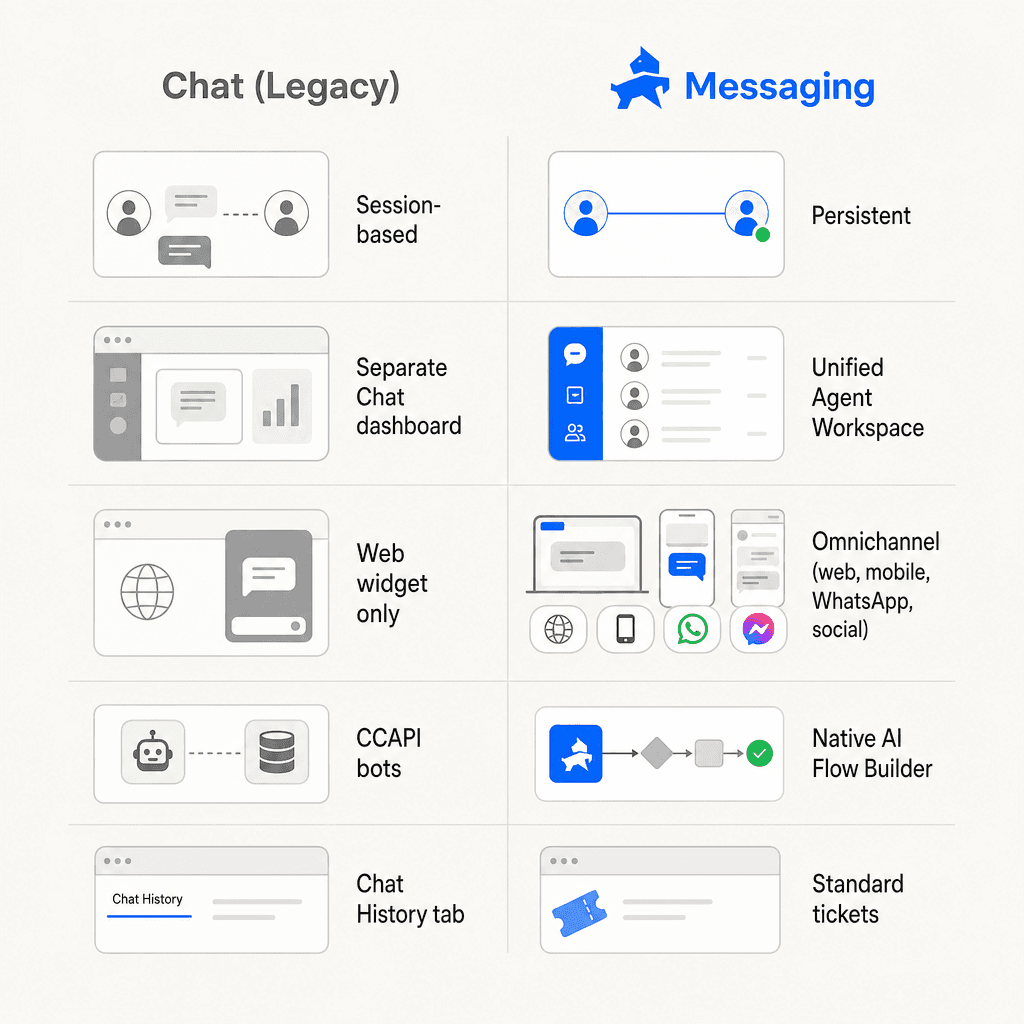
The core shift is from a session-based chat system to a persistent, omnichannel messaging platform.
With Zendesk Chat (legacy), conversations are session-based: both the customer and agent are present at the same time. When either disconnects, the chat ends. Transcripts live in a separate Chat dashboard under the History tab - not in the main ticket interface.
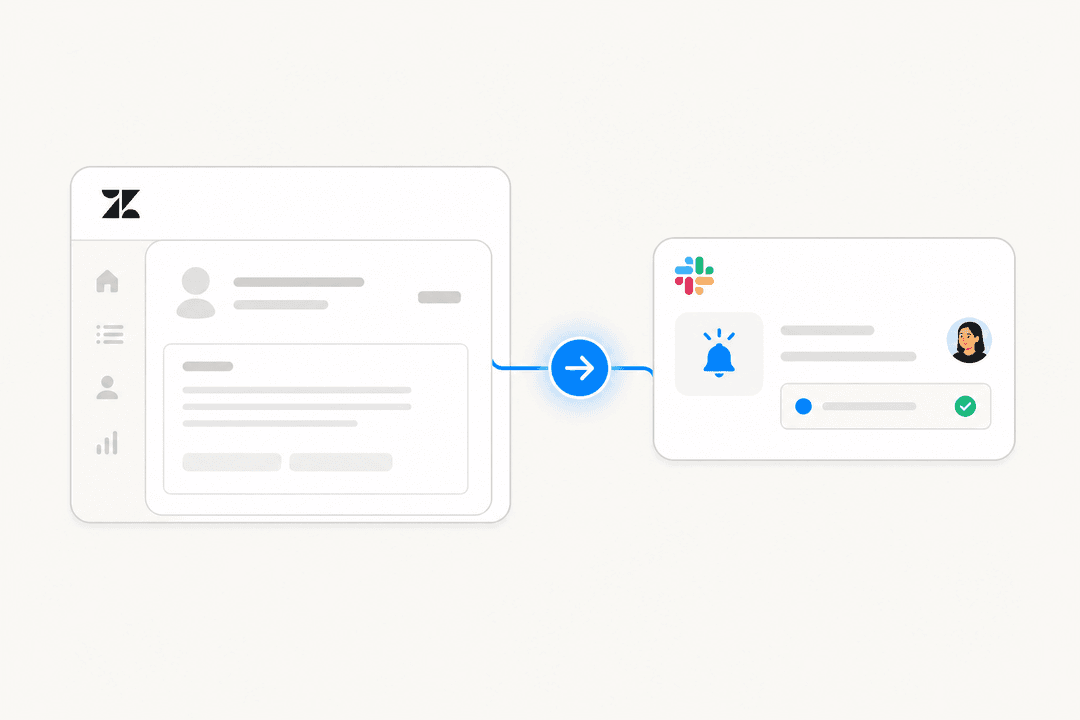
Zendesk Messaging is built differently. Conversations persist: customers can close the browser, return the next day, and pick up the same thread. Every message appears as a standard ticket in the Agent Workspace, alongside email, voice, and other channels, with no separate Chat dashboard.
| Chat (legacy) | Messaging | |
|---|---|---|
| Conversation model | Session-based, synchronous | Persistent, asynchronous-capable |
| Agent UI | Separate Chat dashboard | Unified Agent Workspace |
| Channels | Web widget only | Web, mobile SDK, WhatsApp, Facebook, Instagram, LINE, WeChat, X |
| Bots | CCAPI (third-party integrations) | Native Flow Builder / AI agents via Sunshine Conversations |
| Routing | Chat departments + skills | Support groups + omnichannel capacity rules |
| Chat history | Chat dashboard → History tab | Standard tickets in Agent Workspace |
| Pre-chat form | Yes (native) | No - replaced by bot-collected fields |
| Proactive chat | Yes (triggered by visitor behavior) | No equivalent |
| Skills-based routing | Yes (native) | Not native - requires omnichannel routing |
| Concurrent agents | ~2,000 max | 10,000 max |
The jump in concurrency capacity alone (5x) is one of the reasons Zendesk pushed hard to move everyone off legacy Chat infrastructure.
Before you start: the pre-migration checklist
Before touching any settings, two steps cannot be skipped - and one of them is time-limited.
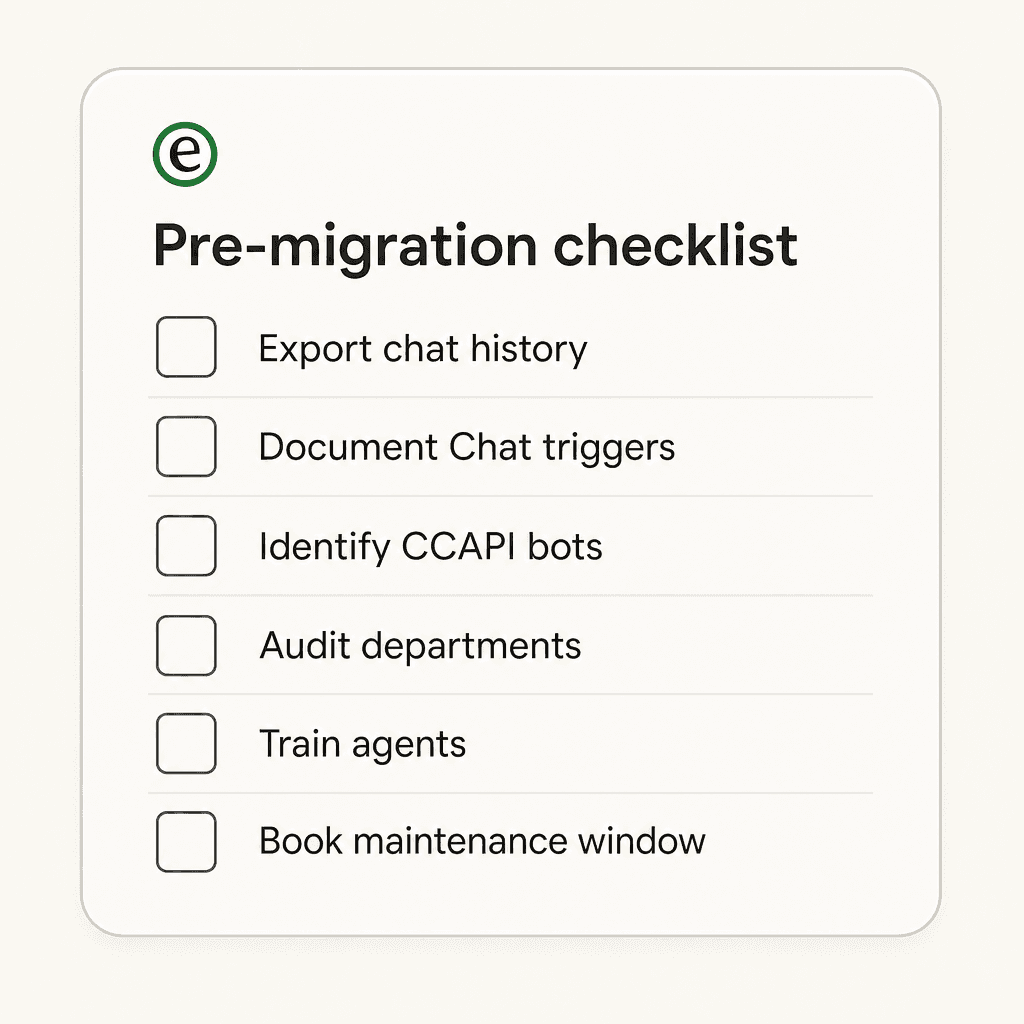
Export your Chat history now - before anything else. The Chat dashboard History tab becomes inaccessible the moment the messaging widget is activated. Historical transcripts are not converted to tickets. To preserve a record, go to Chat dashboard > History, select all conversations, and use the Actions menu to export both formats: TXT (full message transcripts) and CSV (metadata: visitor name, email, timestamps, ratings, agent, department). Export links arrive from noreply@zopim.com and expire after 24 hours - save them locally immediately.
Document your current setup in full. You'll need to rebuild or verify these after migration:
- All Chat triggers: name, conditions, actions, and active status
- Chat departments and agent memberships (the department-to-group merge is irreversible - details in Phase 2)
- Skills-based routing rules, which must be manually rebuilt from scratch
- Operating hours schedules
- Per-agent concurrency limits (to be converted to capacity rules)
- Any proactive chat trigger logic
Identify all CCAPI bots. Third-party chatbot integrations using Zendesk's Chat Conversation API will stop working immediately when Messaging is enabled - no warning, no grace period. Catalog every CCAPI integration and have a rebuild plan in place before you activate anything.
Prerequisites to confirm:
- Zendesk Suite, or Zendesk Support + Chat at Team plan or above
- Agent Workspace activated (Messaging won't work without it)
- For AI agents and bot suggestions: an active Help Center with at least 10 articles
Schedule a maintenance window. Activating the messaging widget cuts all active live chats instantly. Use your Chat analytics data to find the lowest-traffic period and notify your team before the window opens.
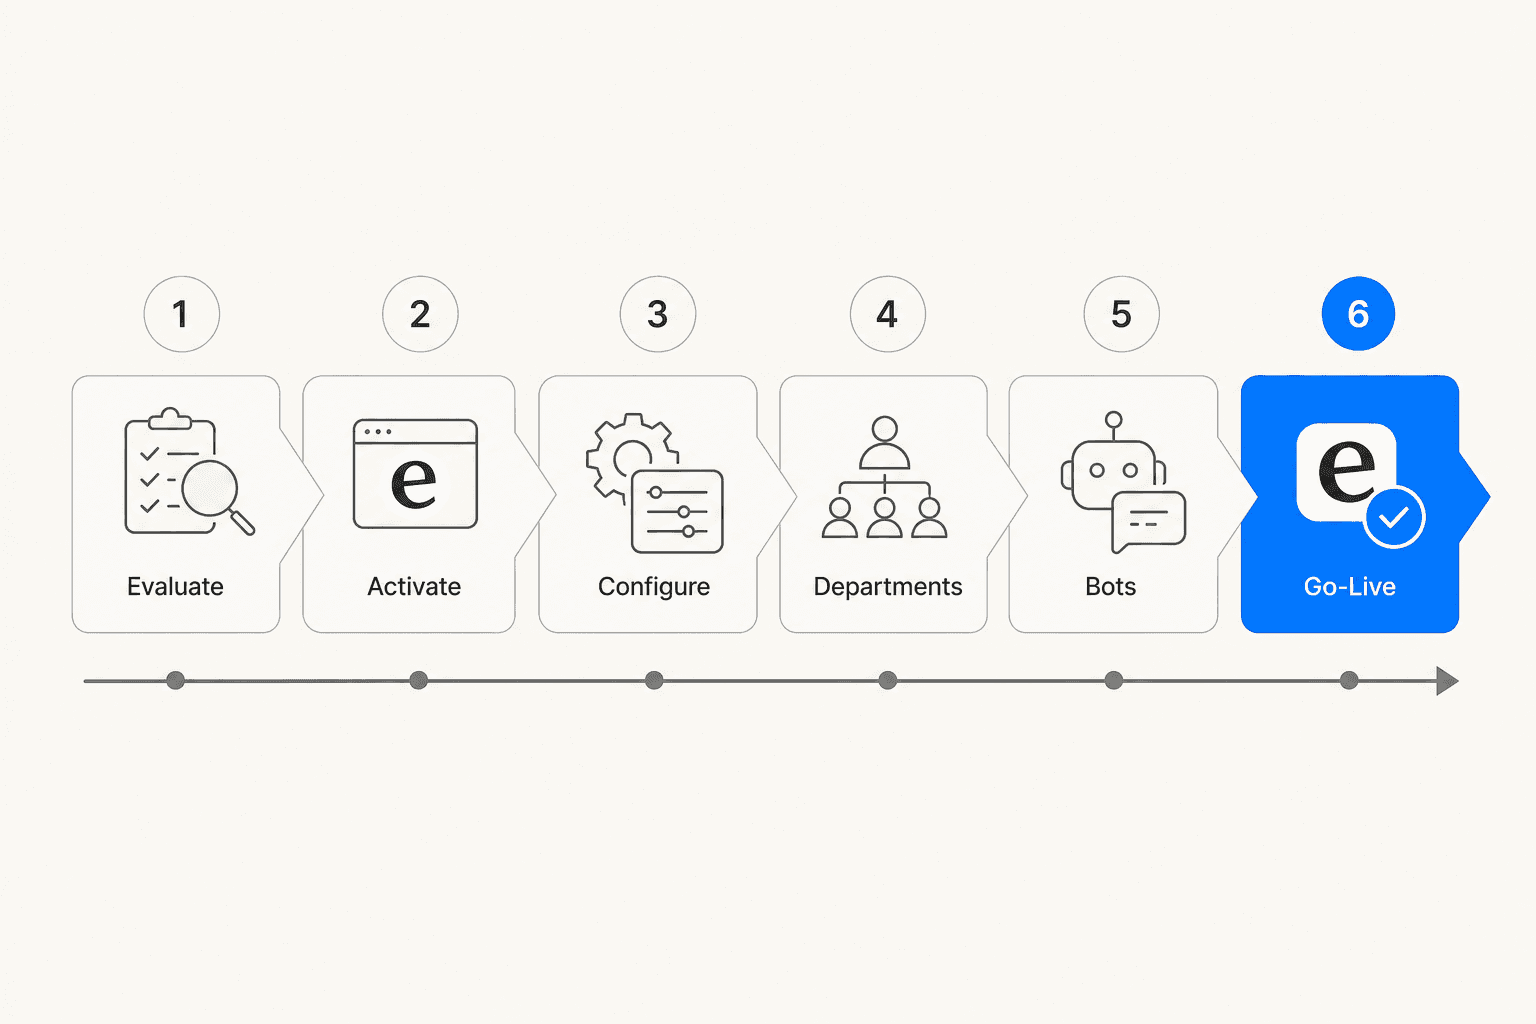
The migration in six phases
The Zendesk migration wizard handles a lot automatically - trigger migration, brand configuration, initial bot setup - but each phase must happen in order. Some steps are irreversible once run.
Phase 1: activate messaging and run the wizard
In Admin Center, navigate to the messaging activation settings. The enhanced migration wizard launches automatically on first activation.
The wizard walks through four configuration stages:
- Brand selection - for multi-brand accounts, the wizard runs one brand at a time. Return to add additional brands after completing the first.
- Business hours - select "Always online" or choose an existing schedule.
- Automated response setup - configure a greeting message, which customer details to collect upfront, and an out-of-hours response if you're using a schedule.
- Widget activation - the final step that replaces the live chat widget. All active chats must be closed before proceeding.
One important constraint: the wizard can only run once per 24-hour period. You cannot make multiple automated configuration passes in quick succession. Plan your settings carefully before activating - rapid iteration is not possible during this window.
Phase 2: migrate Chat departments to Support groups
Navigate to Admin Center > Workspaces > Agent tools > Agent Workspace, resolve any naming conflicts between Chat departments and existing Support groups, then click "Migrate."
Two things to understand before running this:
This merge is irreversible. Chat departments and Support groups permanently combine. There is no undo option. Run this only when all Chat traffic has stopped and there are no active chats.
Naming conflicts must be resolved first. If a Chat department and a Support group share the same name, the merge will fail. Rename one before proceeding.
After migration, agents are assigned to Support groups instead of Chat departments, and availability statuses unify across all channels - separate Chat-specific statuses (Online/Away/Invisible) are replaced by a single agent status used across email, messaging, voice, and other channels.
Phase 3: rebuild your bot flows
CCAPI-based bots stop working the moment Messaging is enabled. This is the highest-risk step for teams with chatbot integrations.
Your rebuild options:
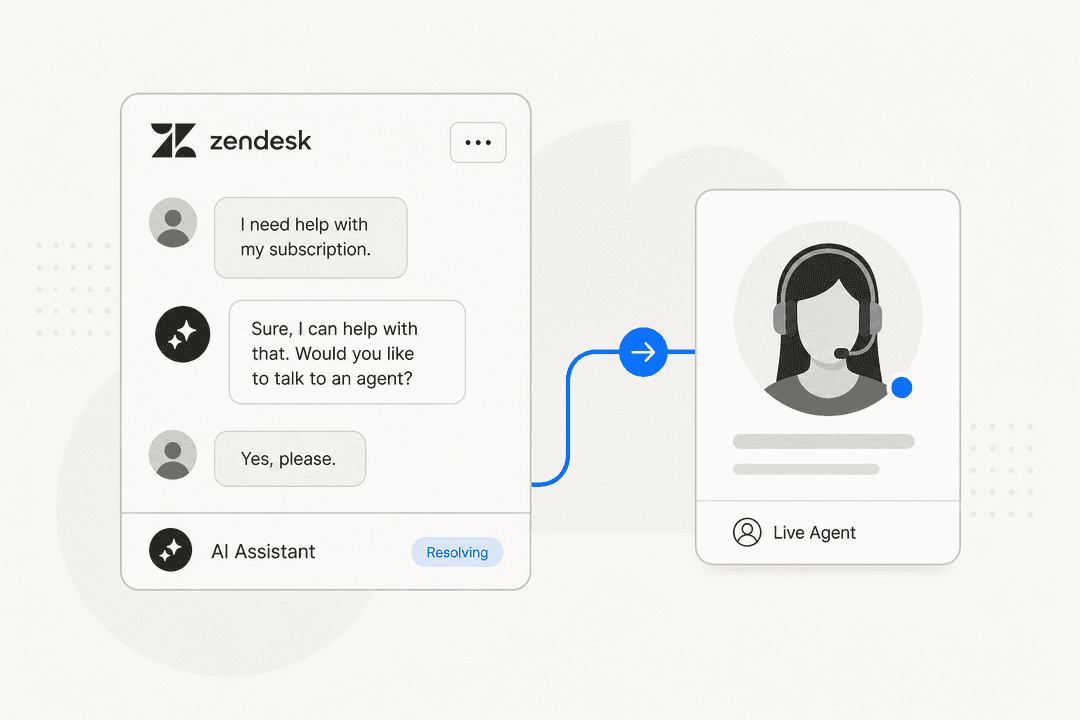
- Zendesk's native bot builder (Flow Builder): A no-code drag-and-drop interface for building conversation flows. The Zendesk bot builder can handle FAQ deflection, data collection, and agent handoff without code.
- Sunshine Conversations APIs: For custom bot integrations that need logic Flow Builder can't cover. This is also the API layer that third-party bot platforms must migrate to.
One specific change to plan for: the pre-chat form is gone. The messaging widget doesn't support the classic form (visitor name, email, issue type before connecting). Move that data collection into the opening steps of your bot conversation flow - configure the bot to ask for those details before routing to an agent.
Clone your existing AI agents before making any changes. Build and test all new flows in a Sandbox environment before pointing them at production conversations.
Phase 4: migrate your Chat triggers
The migration wizard automatically converts most Chat triggers to messaging or Support triggers. After it runs, check the "Not migrated" tab - any triggers that failed to convert appear here. Failures typically happen when the trigger uses conditions or actions that have no messaging equivalent.
For failed triggers:
- Recreate them as messaging triggers in Admin Center for routing, greetings, and conversation-start actions
- Or recreate them as Support triggers for ticket-based actions that fire after a ticket is created
Two things to check even for successfully migrated triggers:
Migrated Support triggers are deactivated by default. The wizard creates them in an inactive state. Review each one and manually reactivate the triggers you want running.
The Integration account trigger condition is removed. Triggers that used this condition to target a specific Chat account need to be rebuilt using a Channel is condition instead, pointing to the relevant messaging channel.
Phase 5: update your website widget code
The messaging widget uses a different embed snippet than the classic Chat widget. Replace any $zopim(...) JavaScript or zESettings blocks on your site with the new messaging snippet from Admin Center > Channels > Messaging and live chat > Web Widget.
The new snippet format:
<script id="ze-snippet" src="https://static.zdassets.com/ekr/snippet.js?key=YOUR_KEY"></script>
One change your visitors will notice: the messaging widget does not include the help-center search or contact form that the Classic widget offered. Customers who used the Classic widget to search articles or submit a ticket via the chat launcher will no longer find those entry points in the same place. Plan how to surface those alternatives - a standalone Help Center link in your navigation, for example.
Phase 6: configure routing for messaging
Zendesk Chat's native skills-based routing doesn't exist in the same form for messaging conversations. Under messaging, routing uses omnichannel routing with capacity rules and ticket skills:
- Capacity rules: define how many simultaneous conversations each agent handles across all channels
- Ticket skills: match conversations to agents based on required expertise (language, product area, tier)
Once omnichannel routing is enabled, all legacy Chat routing settings are hidden and stop working. Before flipping that switch, map every Chat department rule and skill to its equivalent ticket skill or capacity rule, and run a test routing scenario in staging.
Update your reporting setup
The Chat analytics dashboard disappears once omnichannel routing is activated. Several Chat-specific metrics have no direct equivalent in the messaging reports: Chat concurrency, chat-specific first-reply time, skills-fulfilled chat counts, and drop rate.
What replaces it:
- The Omnichannel agent state and activity dashboard
- Standard ticket-based Explore reports for first reply time, resolution time, and CSAT
- Messaging Metrics Events webhooks for streaming data to external reporting tools
One reporting trap to watch: Explore's default First reply time metric counts only email replies on a ticket. Messaging interactions may not be included in your FRT calculations unless you create custom Explore reports that explicitly include messaging channels. Revisit SLA targets as well - the same response-time benchmarks from synchronous live chat don't map cleanly onto an asynchronous messaging model.
Four issues that catch teams off guard
Active chats drop at widget activation. The moment you activate the messaging widget, all active live chat sessions end. Affected tickets are left pending with no outbound message to the customer. There is no soft transition period. Schedule the switchover for your lowest-traffic window, take all agents offline before proceeding, and have a team member monitoring the pending queue for immediate follow-up.
CCAPI bots go dark with no warning to customers. Any CCAPI-based integration stops working at activation. Customers in an active bot flow receive no response and no error message - the bot simply goes silent. Unless your new bot flows are already live and tested, do not activate Messaging.
The Chat History tab disappears. After migration, there is no Chat History view in the agent interface. The Zendesk Live Chat REST API still accepts queries programmatically, but the UI-accessible history is gone. Historical chats are not converted to tickets. Teams that skipped the CSV and TXT export have to contact Zendesk Support to retrieve data, and recovery becomes harder over time.
Skills routing silently breaks. Legacy Chat skills-based routing stops working when omnichannel routing is enabled - conversations start routing incorrectly without any error or alert. Recreate all routing logic as ticket skills and capacity rules before enabling omnichannel routing, and verify routing with a manual test before pointing live traffic at it.
What your agents need to know
The biggest change for agents is the interface. Legacy Chat had a separate Zopim-era dashboard. In Messaging, everything happens inside the unified Agent Workspace - email, messaging, voice, and social all appear as tickets in the same view. There is no separate login, no separate tab.
What changes:
- Per-channel availability (Online/Away/Invisible for Chat specifically) is replaced by a single unified agent status across all channels
- Recent comments appear at the bottom of the ticket thread, not the top - a flow adjustment agents notice on day one
- Multi-agent chat (inviting a second agent into a live chat session) is not supported; transfers between agents are available instead
- Proactive chat (triggering a message based on visitor behavior) is not supported in messaging
What gets better:
- One interface for every channel - no more switching between Chat and ticket views
- Full conversation history is visible when a customer returns days later
- Agent capacity is managed centrally through capacity rules, not per-agent concurrency limits
Brief your team before the migration window. A short walkthrough of the Agent Workspace and a heads-up on the new unified status model reduces friction significantly on the first day.
eesel AI for Zendesk Messaging
Once the migration is complete and Messaging is live, eesel AI adds an autonomous AI layer on top of your setup.
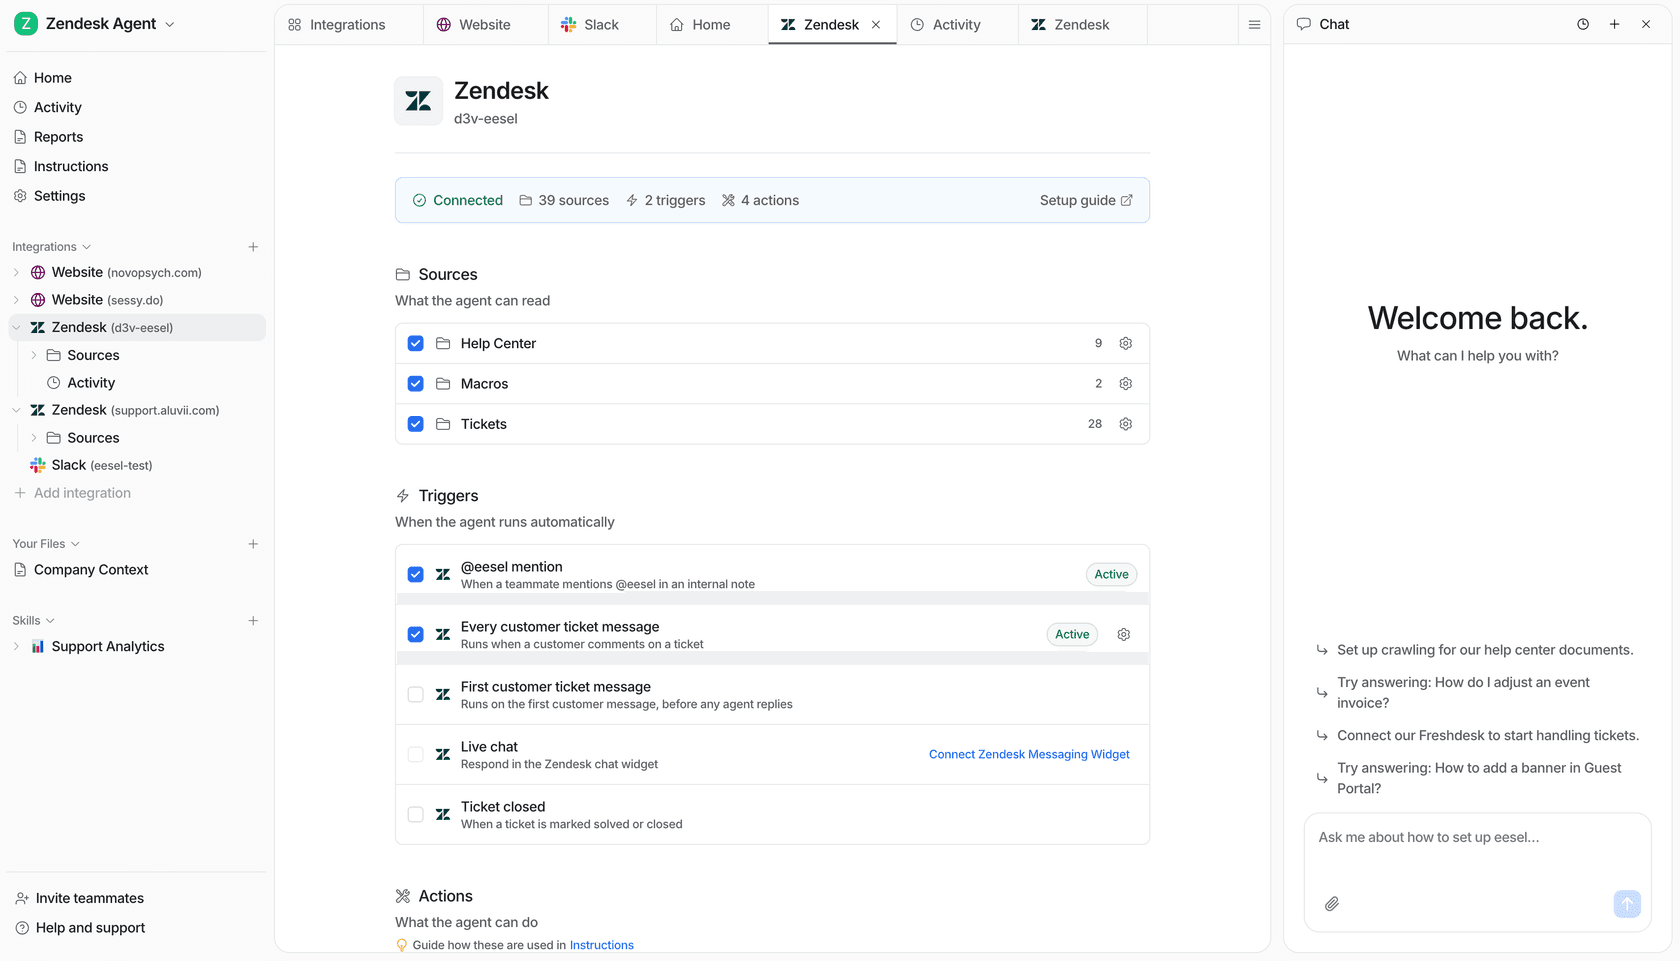
eesel installs as a native Zendesk app. It reads your help center articles, past tickets, and macros to understand your support patterns, then drafts or sends replies directly inside your existing Zendesk workflow. You can start in supervised mode - eesel drafts, humans approve - and expand to full autonomy as you build confidence in the quality.
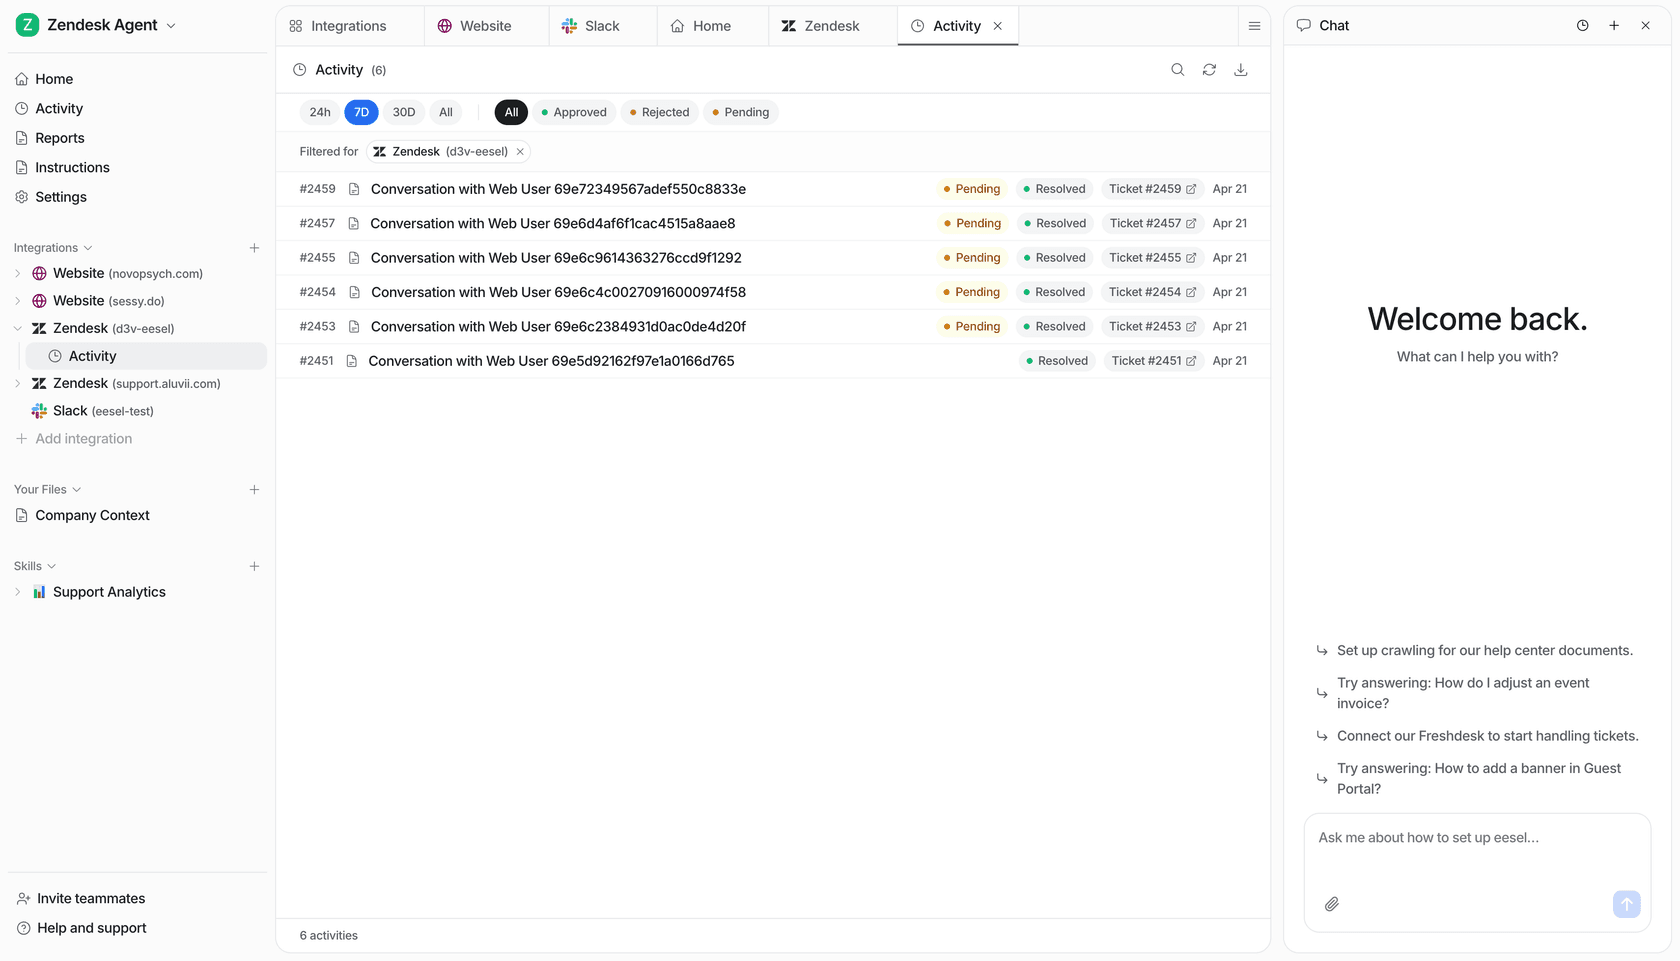
Mature eesel deployments handle up to 81% of tickets autonomously. Setup takes under 15 minutes, and eesel works across 80+ languages - which pairs well with Messaging's omnichannel reach across WhatsApp, Instagram, and other channels where multilingual volume often spikes. Read more about automating Zendesk Messaging with AI once you're up and running.
Frequently Asked Questions
Do I have to migrate from Zendesk Chat to Messaging?
Will my historical chat transcripts be lost when I migrate?
How long does the Zendesk Chat to Messaging migration take?
Will my CCAPI chatbots stop working during the migration?
Can I add AI to Zendesk Messaging after migrating?

Article by
Riellvriany Indriawan
Riell is a designer and writer at eesel AI with about two years of experience researching CX platforms, AI chatbots, and helpdesk software. She combines her design background with a sharp eye for how these tools actually look and feel in practice — making her comparisons unusually visual and user-focused.