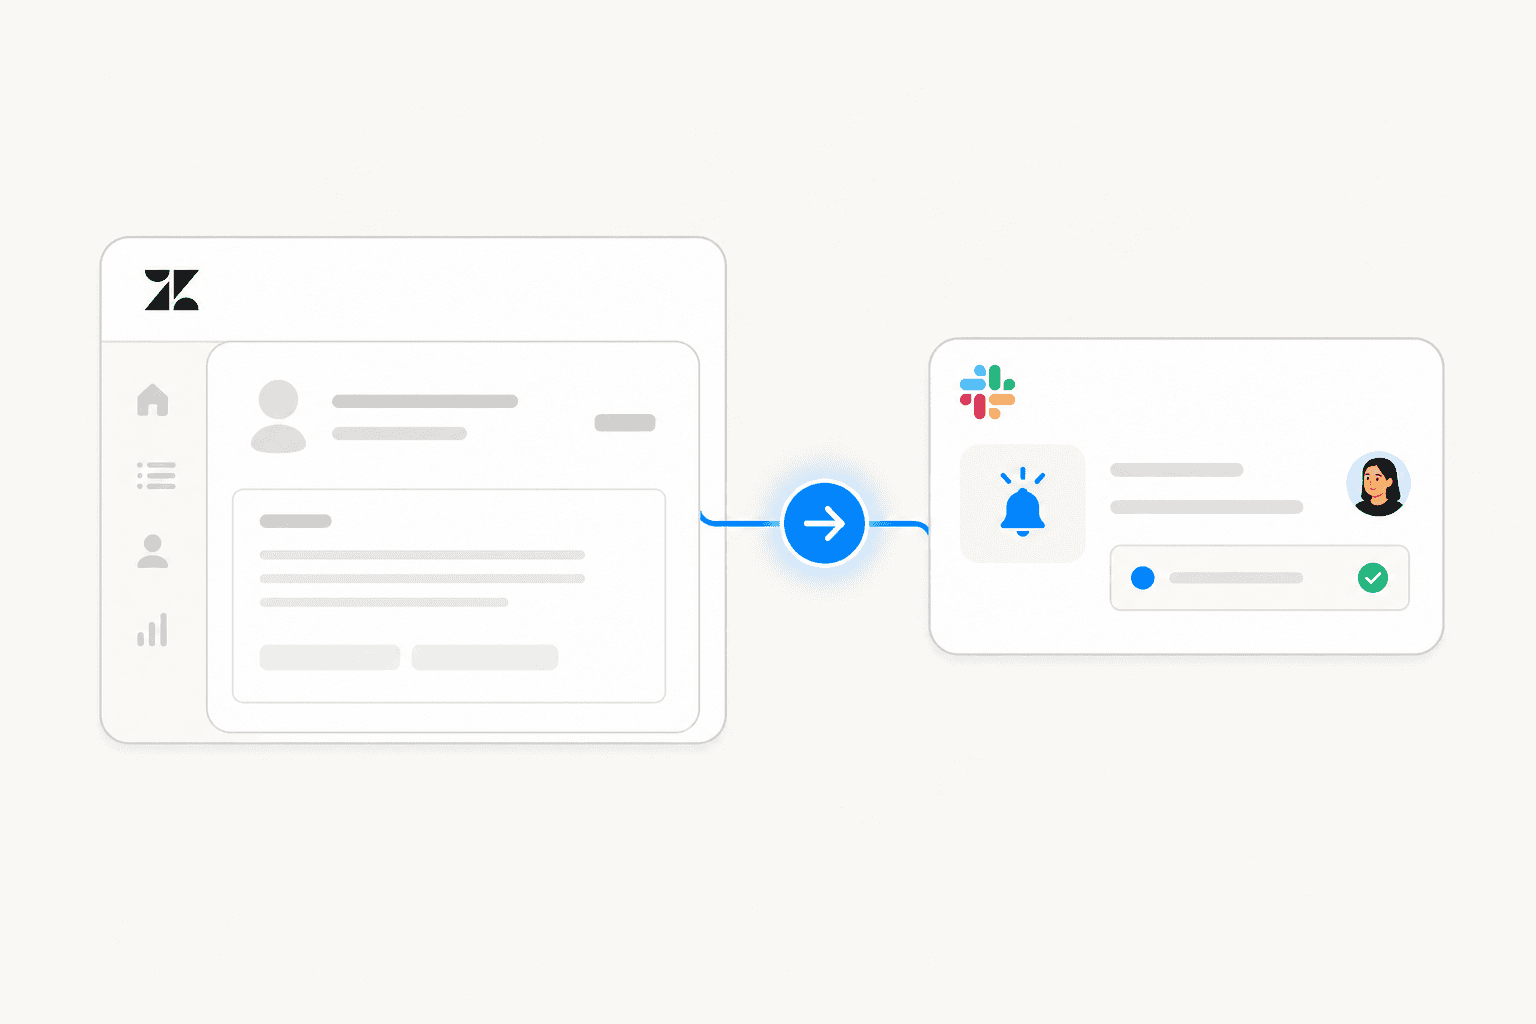
Most Zendesk teams run their support queue from the Zendesk interface and handle internal coordination in Slack. That context switch — checking Zendesk for new tickets, then jumping back to Slack to loop in a teammate — adds friction to every incident. The native Zendesk-Slack integration closes that gap: ticket notifications land directly in Slack channels, agents can create tickets from Slack messages, and on higher plans, Slack threads can be tied directly to open tickets.
If your team needs to go further — actually handling and resolving tickets from Slack rather than just viewing them — eesel AI sits on top of your existing Zendesk setup and handles the parts the native integration can't. There's also a good comparison of the best AI options for Slack support if you're weighing different approaches.
This guide covers the full native Zendesk-Slack connection: installation, trigger setup, ticket creation from Slack, side conversations, and the limits of what the native app can do. Then it covers what teams add when they need more.
What you need before connecting
- Admin access in Zendesk Support or Zendesk Suite
- Permission to install apps in the target Slack workspace
- A paid Zendesk plan — Suite Team, Growth, Professional, Enterprise, or Enterprise Plus all qualify
Side conversations (the bidirectional Slack thread feature covered later) require Suite Professional or above plus the Collaboration add-on. Basic notifications and ticket creation work on every paid plan.
Step 1: Install the Slack app in Zendesk Admin Center
The Slack integration is a first-party Zendesk app — no Zendesk Marketplace hunting required.
- In Zendesk, go to Admin Center → Apps and Integrations → Integrations.
- Select Slack, then click View.
- Click Connect workspace.
- A Slack authorization window opens. Confirm the correct workspace in the dropdown, then click Allow.
- The integration shows as active in Admin Center.
The authorization grants Zendesk permission to post into your Slack channels. It does not give Zendesk access to your Slack message history. If your team uses multiple Slack workspaces, you can connect each one from this same screen — each connection is managed separately and configuration settings persist through reinstalls.
Step 2: Configure ticket notification triggers
Connecting the workspace alone doesn't send any notifications. You need to tell Zendesk which ticket events should post to Slack and which channels they should go to. This is done through Zendesk triggers — rules that fire when specific conditions are met.
Go to Admin Center → Objects and Rules → Business Rules → Triggers. Create a new trigger or edit an existing one. Under Actions, look for the Notify by → Slack channel option. Choose the target channel and set the notification content.
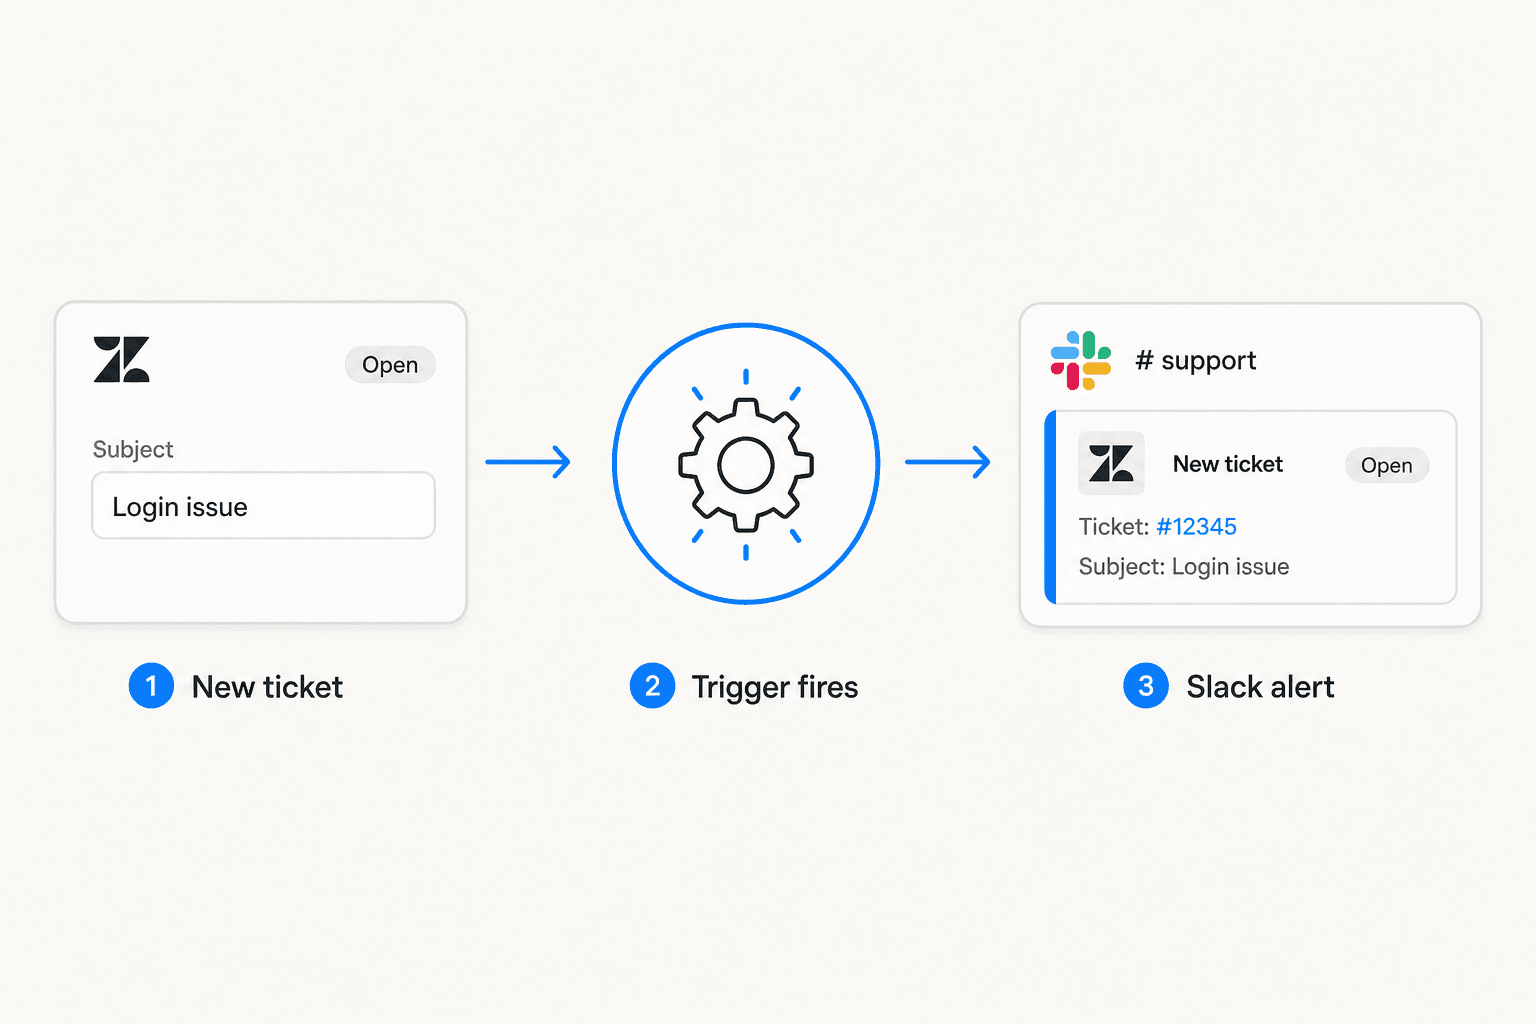
A minimal trigger setup for new tickets looks like this:
- Conditions: Ticket is created, status is Open
- Action: Notify Slack channel
#support-queue - Message content: Ticket subject, requester name, priority, and link to the ticket
Each notification card shows the ticket subject, status, account information, and a timestamp. Clicking the subject or ticket number opens the full ticket in Zendesk.
Common setups route different ticket priorities to different channels — high-priority tickets to #support-escalations, normal volume to #support-queue — or filter by tag, requester organization, or channel (email, chat, API). If you want a notification on every new reply to a ticket, that's a separate trigger from the one that fires on ticket creation. Setting up too many overlapping triggers is one of the most common sources of notification spam, so it's worth mapping out your routing logic before creating rules.
Step 3: Create tickets directly from Slack
The connection also works in reverse. Agents and users with Zendesk access can create tickets from Slack through four entry points:
- Global shortcut: Type
/zendeskin any channel and select "Create a ticket." No prior message needed. - Message action: Right-click any Slack message → More actions → "Create a ticket." The message text auto-populates the description field.
- Home tab: Use the "Create a ticket" button in the Home tab of the Zendesk Slack app.
- Slack Connect channels: Mention
@zendeskin a Slack Connect channel. External users in those channels can create tickets, but they cannot access the Assignee field.
When creating a ticket from Slack, you can fill in: Subject (required), Requester (defaults to the creating user), Assignee (Zendesk groups only — individual agent assignment is not available from Slack), and Description (public comment). Every ticket created this way automatically gets the created_from_slack tag, making it easy to filter and report on these in Zendesk views.
Step 4: Add internal notes from Slack notifications
When a ticket notification appears in a Slack channel, agents can attach internal notes without opening Zendesk. Hover over the notification card, click More actions, then Add as internal note. The note appears on the ticket immediately and is visible only to other agents.
This works for quick routing flags ("hand this to the billing team"), flagging known issues, or leaving context before another agent picks up the ticket in Zendesk.
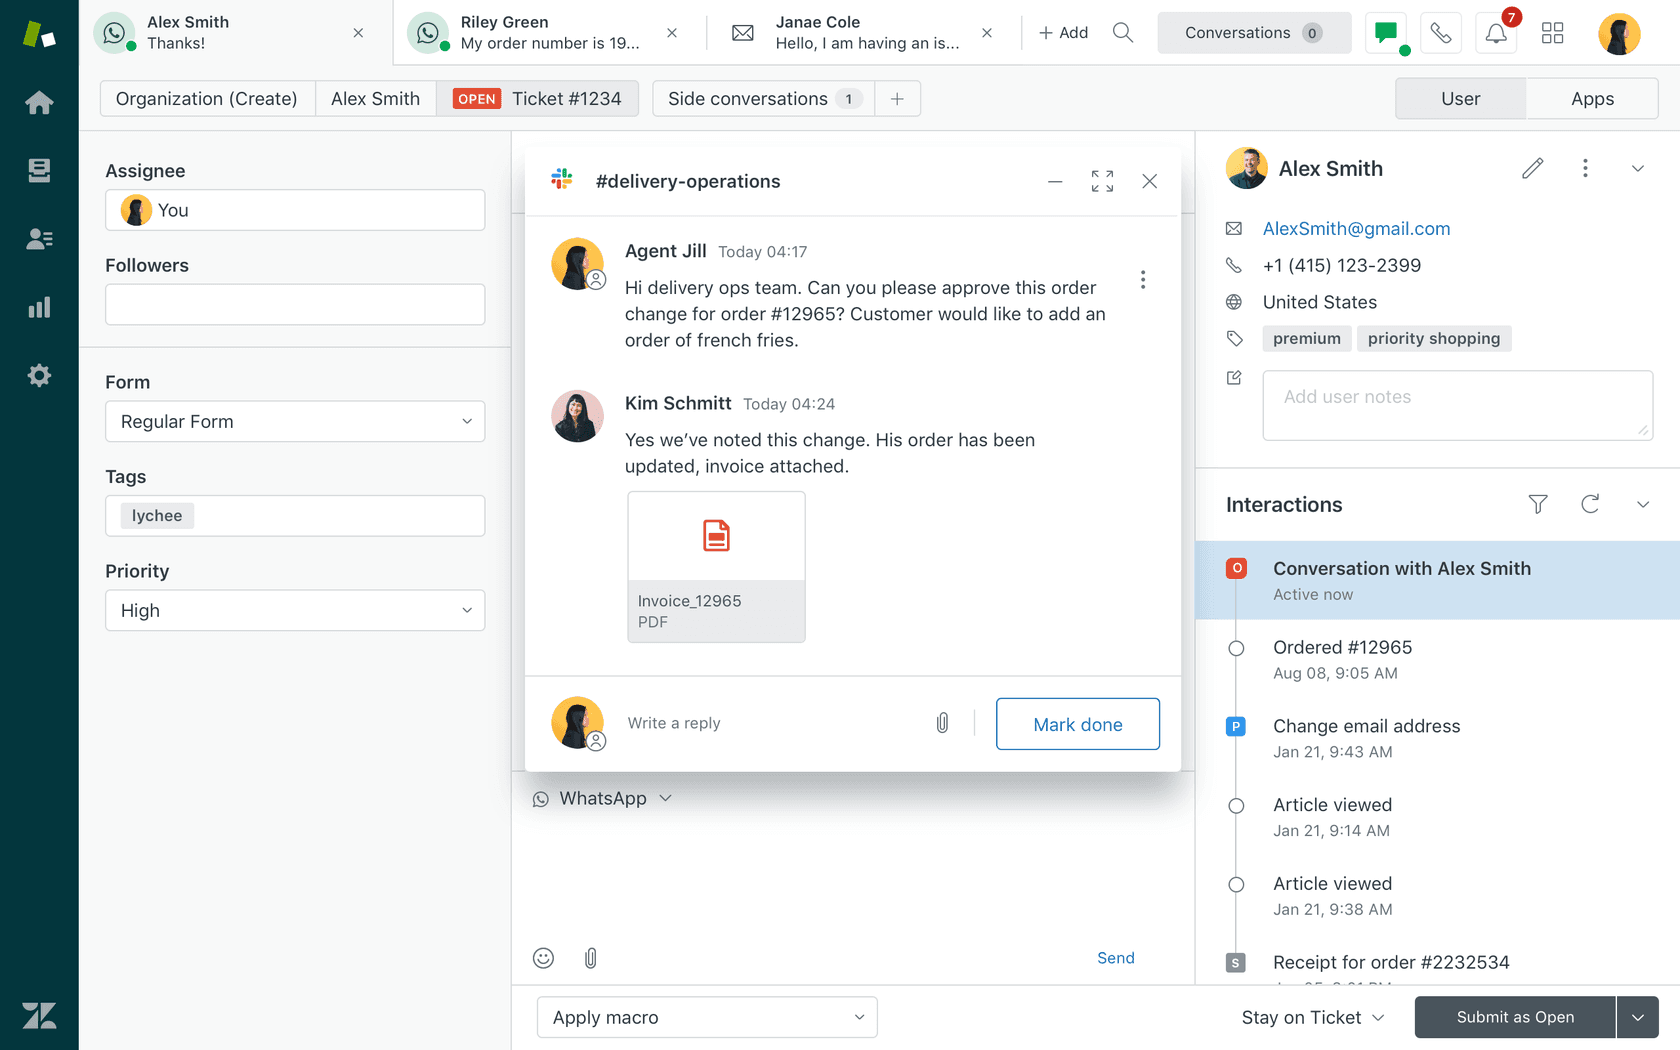
Side conversations: Slack threads tied to Zendesk tickets
Side conversations are the most capable part of the native integration and also the most restricted. They require Suite Professional or above plus the Collaboration add-on.
A side conversation creates a Slack thread directly from inside a Zendesk ticket. An agent opens the context panel in a ticket, selects the side conversations icon, chooses Slack, picks a channel, and the thread appears in that channel. Team members can reply directly in Slack without logging into Zendesk. All replies sync back to the ticket as internal notes, typically within five seconds.
To enable it: Admin Center → Workspaces → Agent tools → Side conversations, then toggle on "Turn on side conversations in Slack." Side conversations are off by default.
Key limits to know before building workflows around this feature:
- Side conversations must always be initiated from inside a Zendesk ticket — you cannot start one from Slack
- Comments in the thread are capped at 1,000 characters
- @mentions require you to manually enter the Slack member ID in angle brackets (no autocomplete)
- Shared channels across workspaces deliver messages, but replies don't sync back to the ticket
What the native integration can't do
The native integration is primarily a notification and ticket creation layer. Once you need to act on a ticket — resolve it, change ticket fields, draft a reply — you have to open Zendesk Support directly.
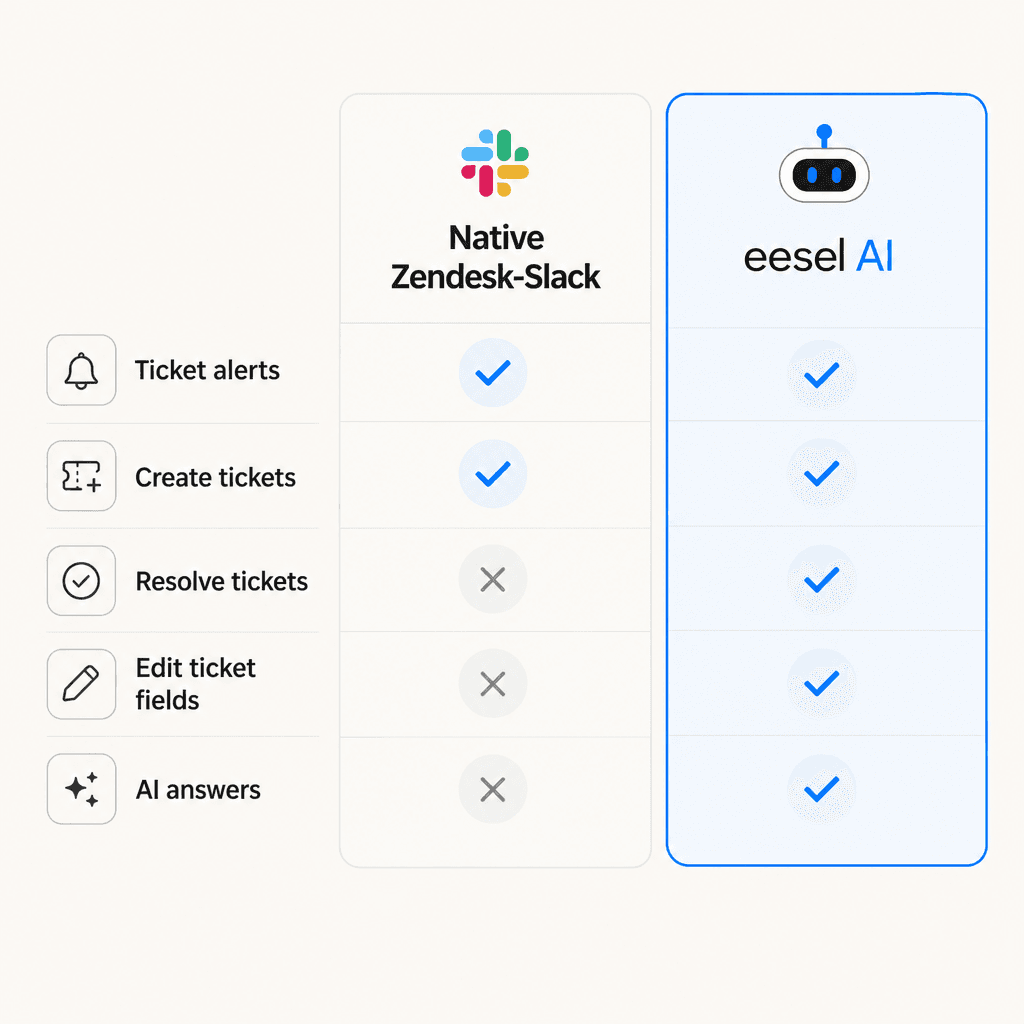
| Action | Native integration | Notes |
|---|---|---|
| Receive ticket alerts | Yes | All plans |
| Create tickets from Slack | Yes | All plans |
| Add internal notes | Yes | All plans |
| Start a bidirectional Slack thread | Yes | Professional+ with Collaboration add-on |
| Close or resolve tickets | No | Must open Zendesk |
| Edit ticket fields | No | Must open Zendesk |
| View attachments inline | No | Link to ticket only |
| Assign to individual agents | No | Groups only |
| Draft or send replies | No | Must open Zendesk |
Per Zendesk's documentation, community feedback consistently identifies the native integration as a solid notification layer — but the real value for active ticket management still requires being in the Zendesk interface. Teams that need to close the loop from Slack typically look for a third-party layer on top.
eesel AI for Zendesk + Slack
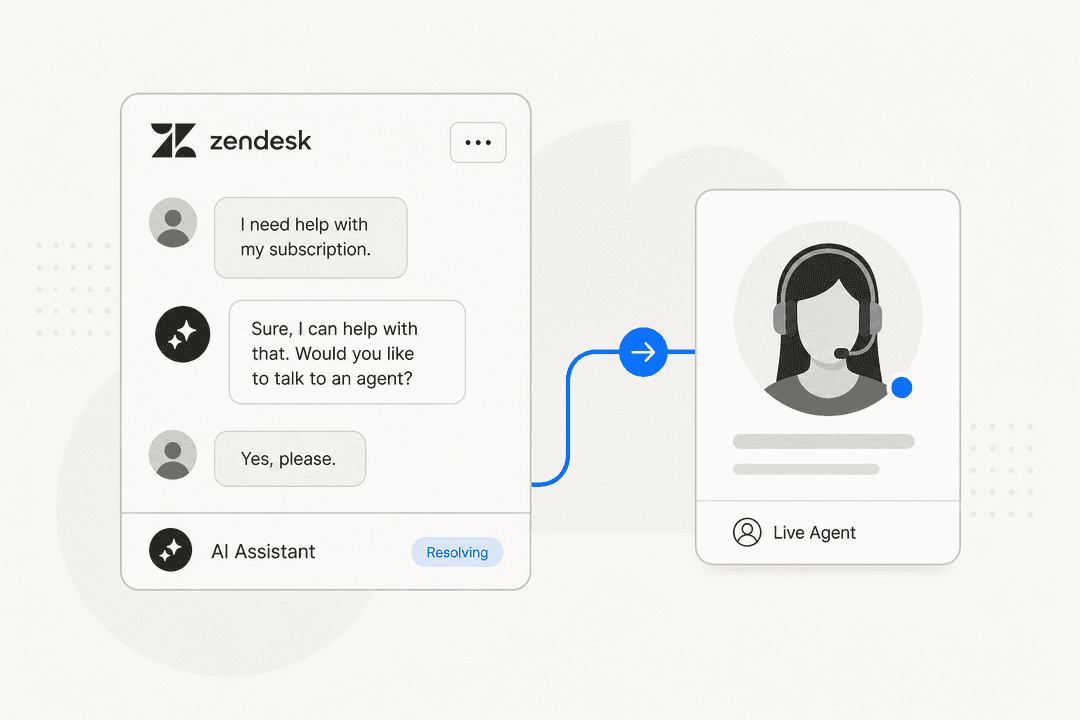
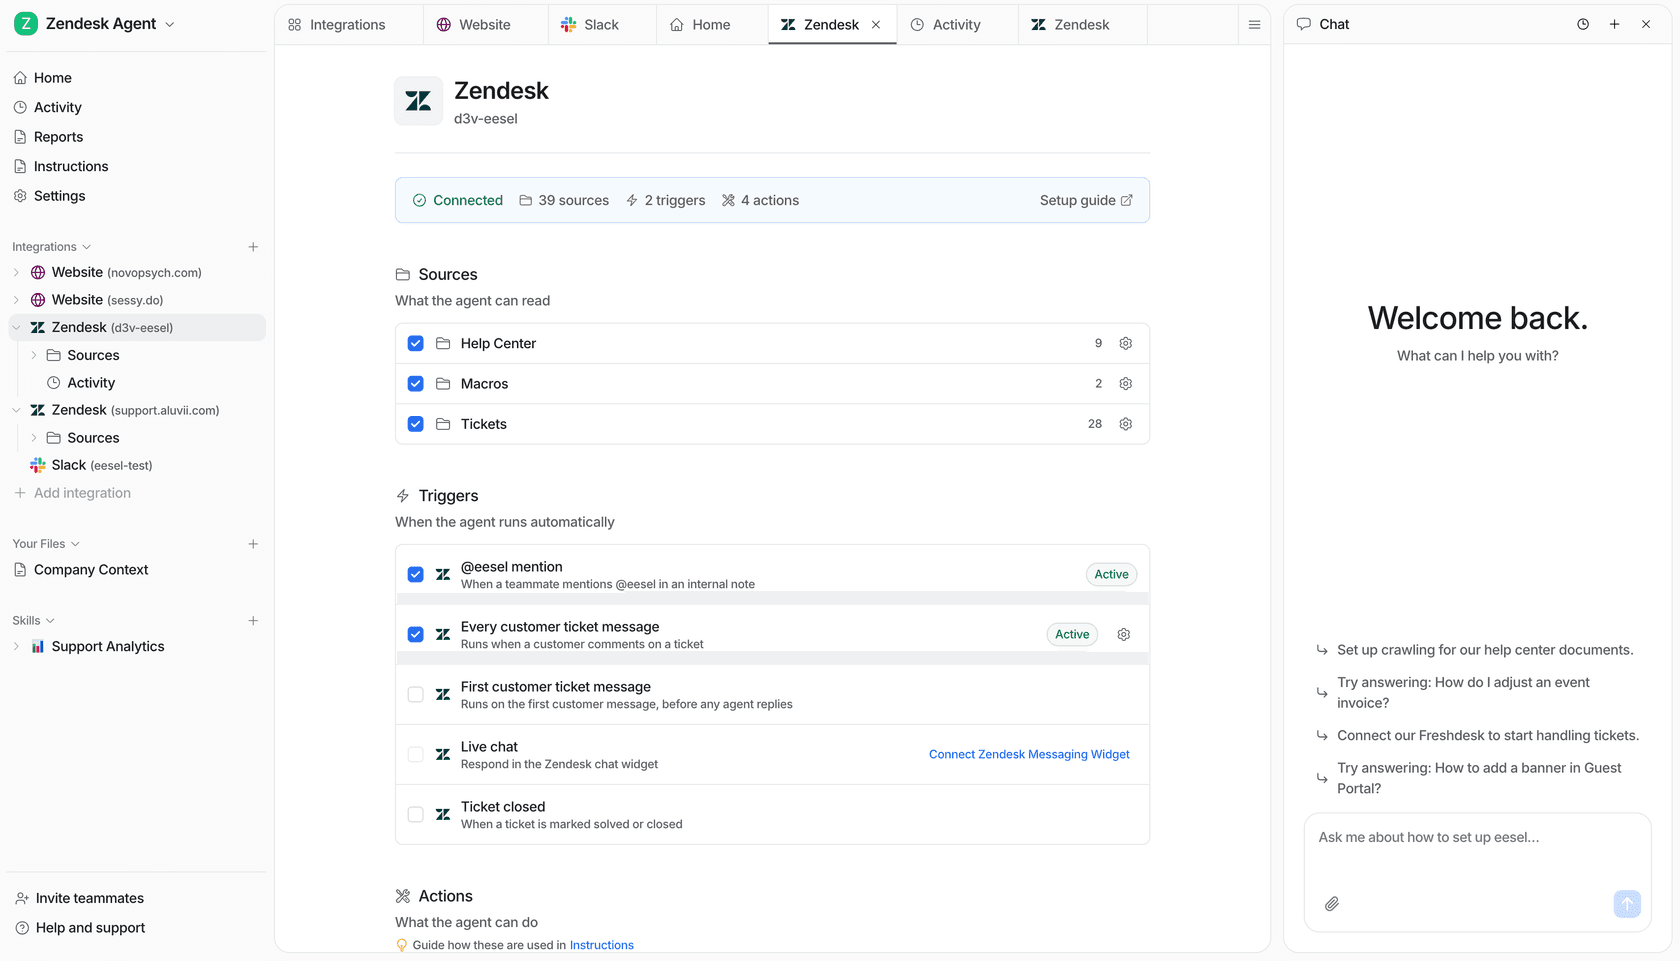
eesel AI installs as an AI agent in your Slack workspace, connects to Zendesk, and handles the parts of ticket resolution that the native integration doesn't touch: drafting replies, resolving tickets, updating fields, routing, and escalating — all from within Slack.
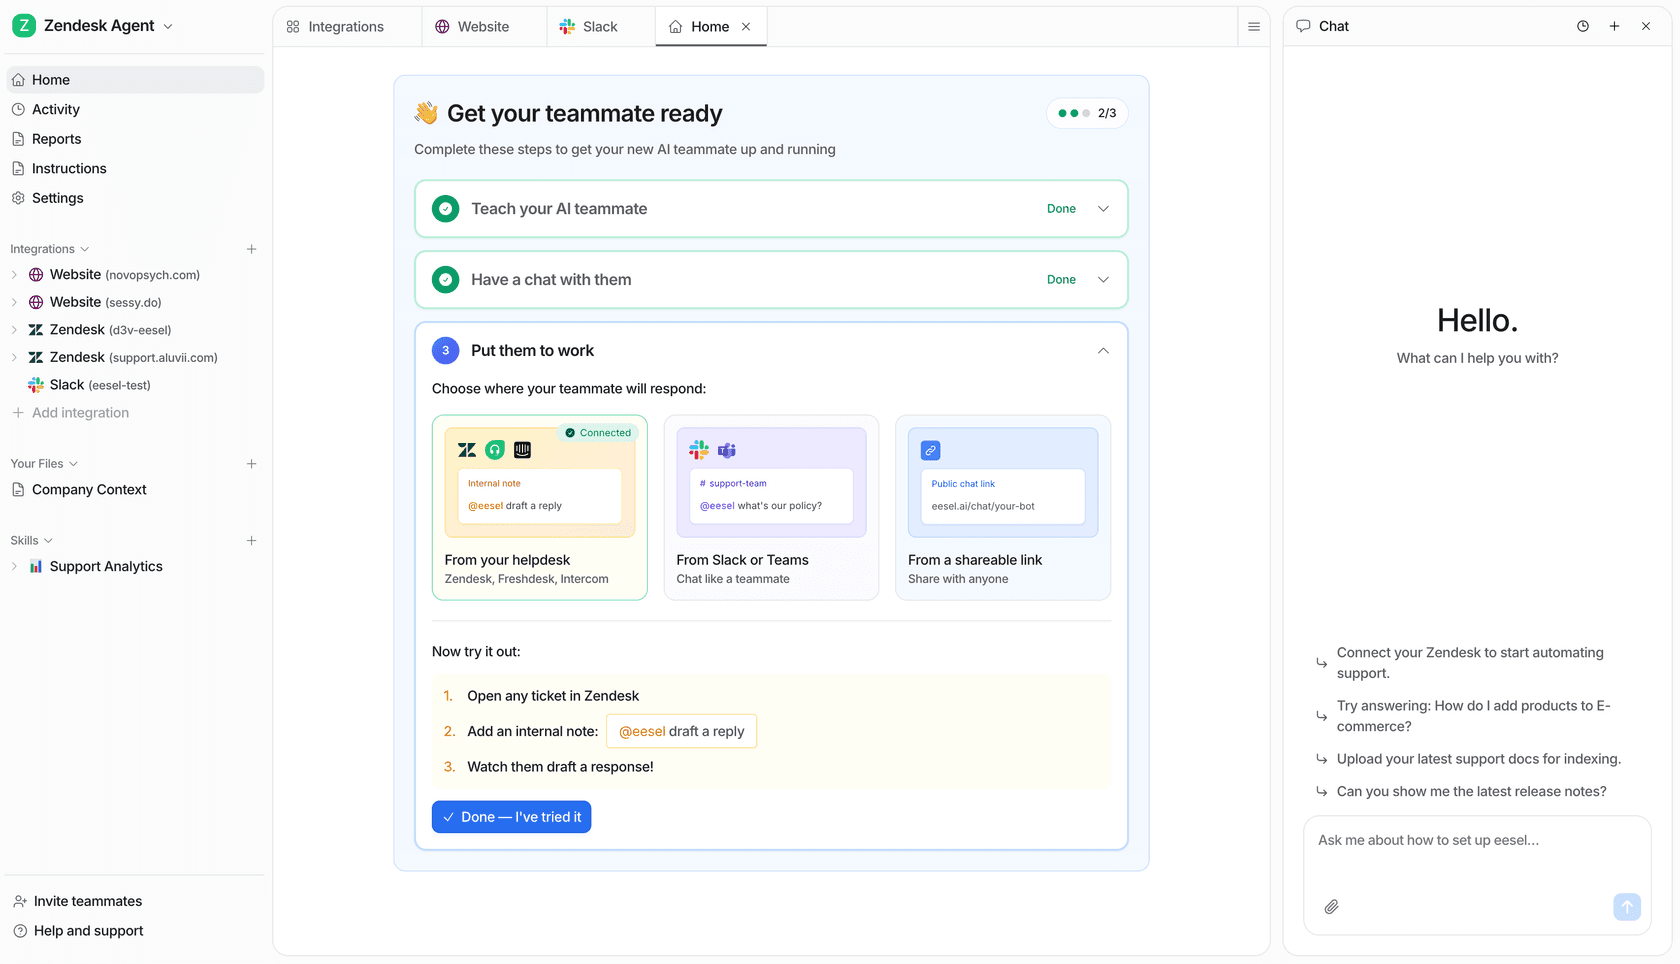
Setup starts by inviting eesel as a bot to your Slack workspace, then connecting your Zendesk account and knowledge sources — help center articles, past tickets, Confluence, Google Drive, or whatever your team already uses. eesel learns from those sources and can then handle incoming tickets from within Slack: reading ticket content, looking up the right answer, drafting a response, and either sending it or queuing it for quick review.
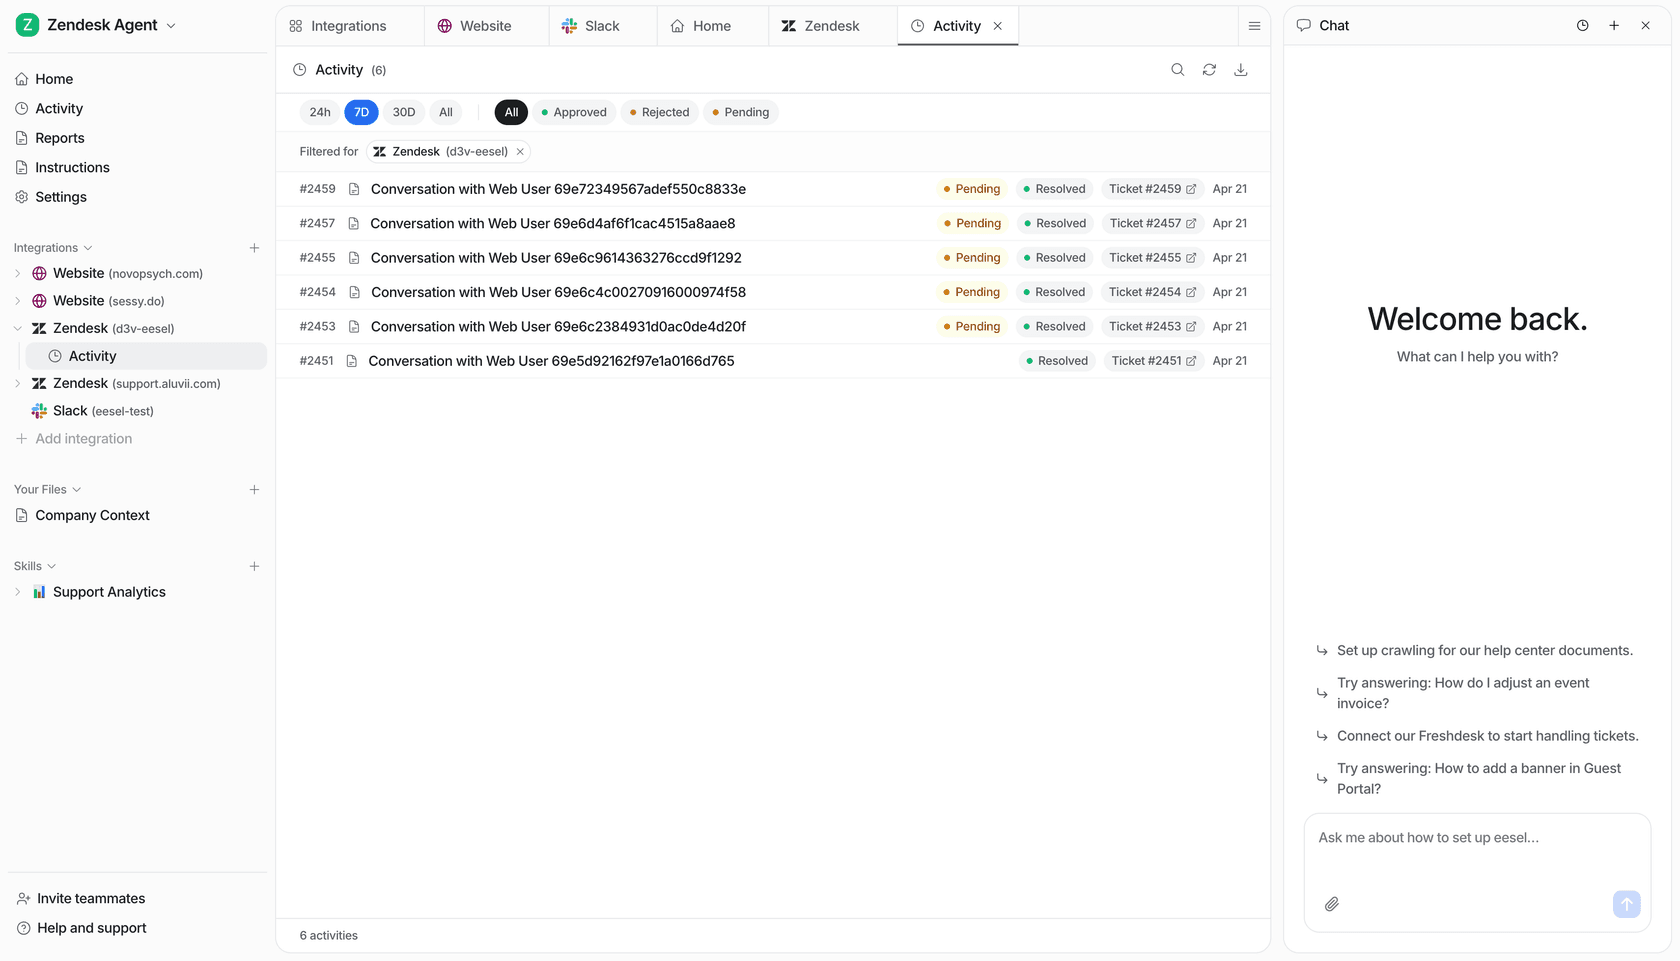
The average response time is 1.8 minutes. One customer resolves 147 tickets per week through this Slack-based workflow. Gridwise saw 73% of tier-1 requests handled autonomously in the first month.
eesel uses confidence-based routing: high-confidence responses go out automatically; lower-confidence ones surface as drafts for a human to review. You define escalation rules in plain English — "escalate billing disputes to a human," "flag anything from a VIP account" — and eesel follows them. As you correct and review its drafts, it adapts its responses over time.
Pricing is $0.40 per ticket, no platform fee, with a free trial that includes $50 in credits. For teams that prefer flat-rate billing, the Team plan runs $239/month (billed annually) and covers up to 3 agents and 1,000 interactions per month.
For a broader look at the full range of options for automating Zendesk tickets — native triggers, macros, and AI agents — eesel's blog covers the full spectrum. If you're comparing specific tools, the Zendesk AI chatbot comparison has feature and pricing breakdowns side by side. There's also a complete guide to Zendesk AI agents if you're looking to understand the full setup process.
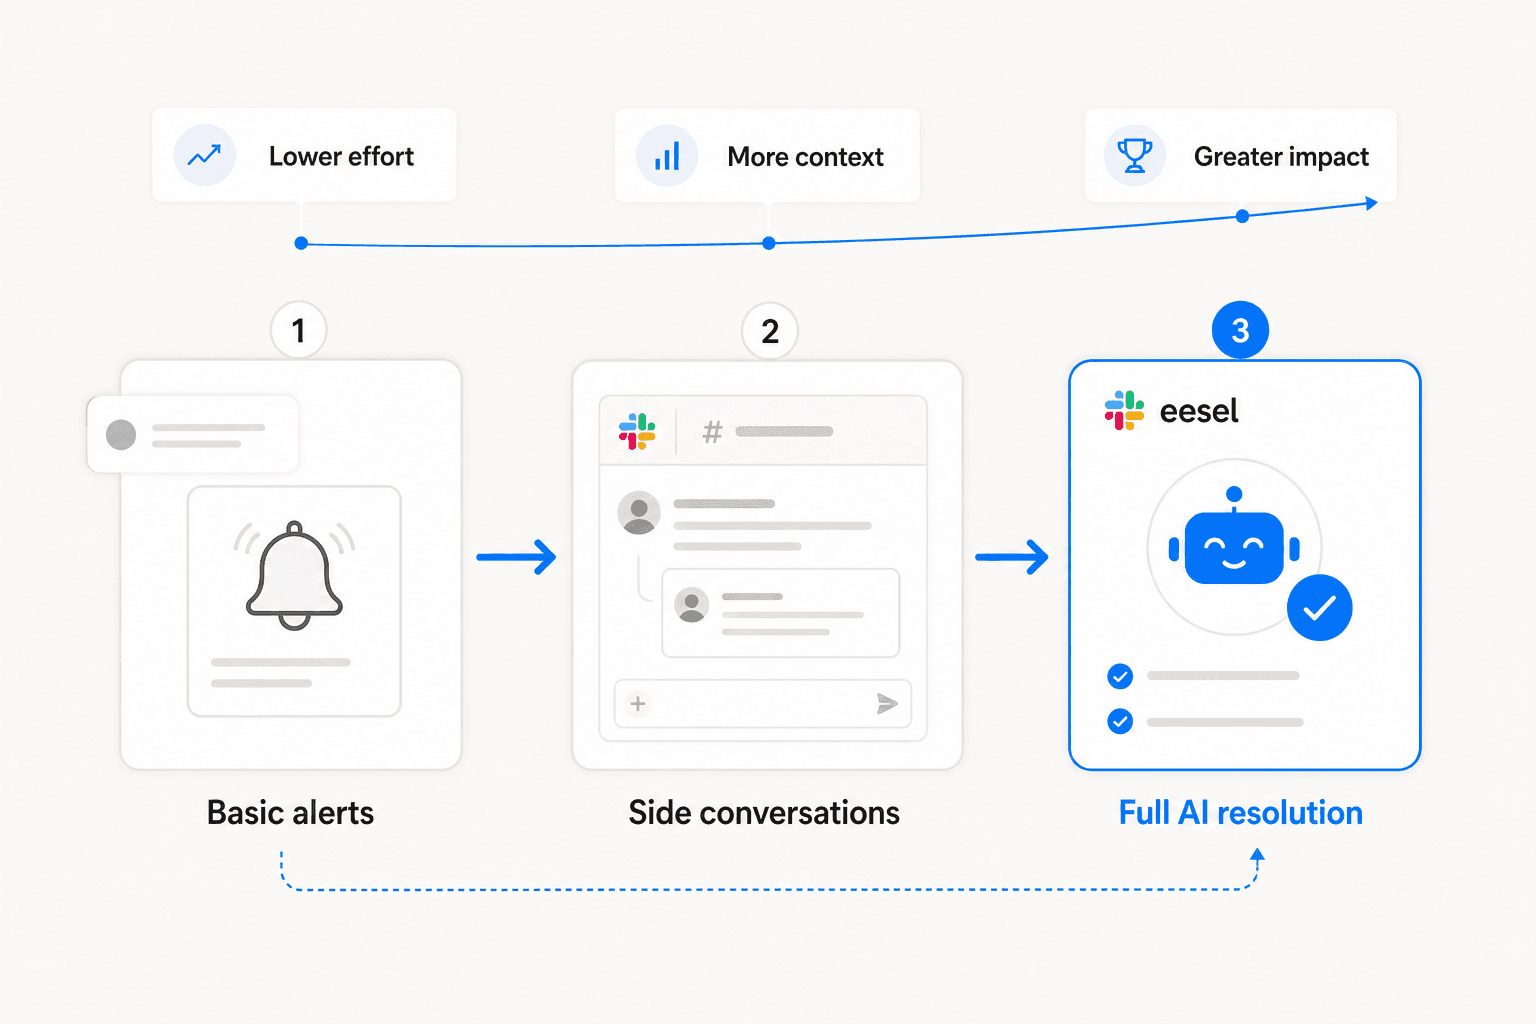
Most teams run both the native integration and eesel in parallel: native alerts for passive visibility across the team, eesel for the agents who are actively handling tickets. The native app handles the notification layer; eesel handles the resolution layer.
Try eesel AI
eesel AI connects to Zendesk as an AI agent that drafts replies, triages tickets, updates fields, and resolves conversations from start to finish. The Slack integration brings that same capability into your Slack workspace, so agents can handle their queue without switching tools. Setup takes a few minutes, and the free trial includes $50 in credits to test it on real tickets before committing.
Frequently Asked Questions
Does Zendesk have a native Slack integration?
Can I resolve Zendesk tickets directly from Slack?
What Zendesk plan do I need for Slack side conversations?
How much does it cost to connect Zendesk to Slack?
Can eesel AI work alongside the native Zendesk-Slack integration?

Article by
Alicia Kirana Utomo
Kira is a writer at eesel AI with a Computer Science background and over a year of hands-on experience evaluating AI-powered customer service tools. She focuses on breaking down how helpdesk platforms and AI agents actually work so that support teams can make better buying decisions.