Ever landed on a blog post that was just a giant wall of text? You probably clicked away in seconds. Images are what make content readable. They break up the text, explain your points, and just make your articles look a lot more appealing.
But adding them can feel like a chore. You have to find the right one, deal with the formatting, and figure out the specifics of whatever platform you're using. It’s one of those "simple" tasks that somehow ends up taking way too much time.
This guide is here to help. We'll walk you through the process for the big platforms and cover the best practices for making your images count. But what if you could just skip the manual work? Tools are now available that can handle this for you. For example, the eesel AI blog writer doesn't just write your post; it creates a publish-ready article with all the visuals included and optimized right from the start.
Why you need to know how to add images to blogs
If you think of images as just decoration, it's time to change that thinking. They are a strategic part of your content. The data doesn't lie.
First off, they make your content easier to read. Visuals give your readers' eyes a break from long blocks of text, which makes your posts feel less intimidating and easier to scan. This keeps people on your page longer. According to HubSpot research, 21% of marketers use visual content for the specific purpose of increasing the time visitors spend on their site.
Images also help your message stick. Our brains are wired to process visuals. Research shows that people remember a whopping 80% of what they see compared to only 20% of what they read. If you want your main points to be remembered, an image is your best friend.
Finally, visuals get you more shares and traffic. Content with relevant images gets a lot more attention on social media. A BuzzSumo study found that articles with images get 2.3 times more engagement on social media than those without. And if you use infographics, you could see web traffic jump by an average of 12%. In a noisy online world, images help you get noticed.
How to add images to blogs: Step-by-step instructions
Alright, let's get into the details. While the basic idea of uploading an image is pretty similar everywhere, each platform has its own workflow and its own set of considerations. Here’s a breakdown for the most popular ones.
How to add images to blogs using Blogger
Blogger is simple, but it has some quirks you need to know about.
To add an image, you'll sign in, open your post, and click the Insert image icon in the toolbar. You can upload from your computer, pull from Google Photos, or reuse an image from your blog.
Assuming you have already set up your blog, when you create a new post, there is an insert image option at the top of the post editor. Click that and you can choose whether you want to insert an image from Google Photos, or upload from your device.
Once the image is in, you can click on it to change the size, alignment, and add a caption. It’s all pretty straightforward for basic use.
But here’s a key detail. According to Blogger's own help docs, your images might get compressed, and there's "no way to store large images in original quality." This is a real consideration if you need high-resolution visuals.
Pro tip
Community experts strongly suggest avoiding the drag-and-drop feature for uploading, as it can cause problems in some browsers; it's safer to stick to the 'Insert image' tool.
How to add images to blogs using Squarespace
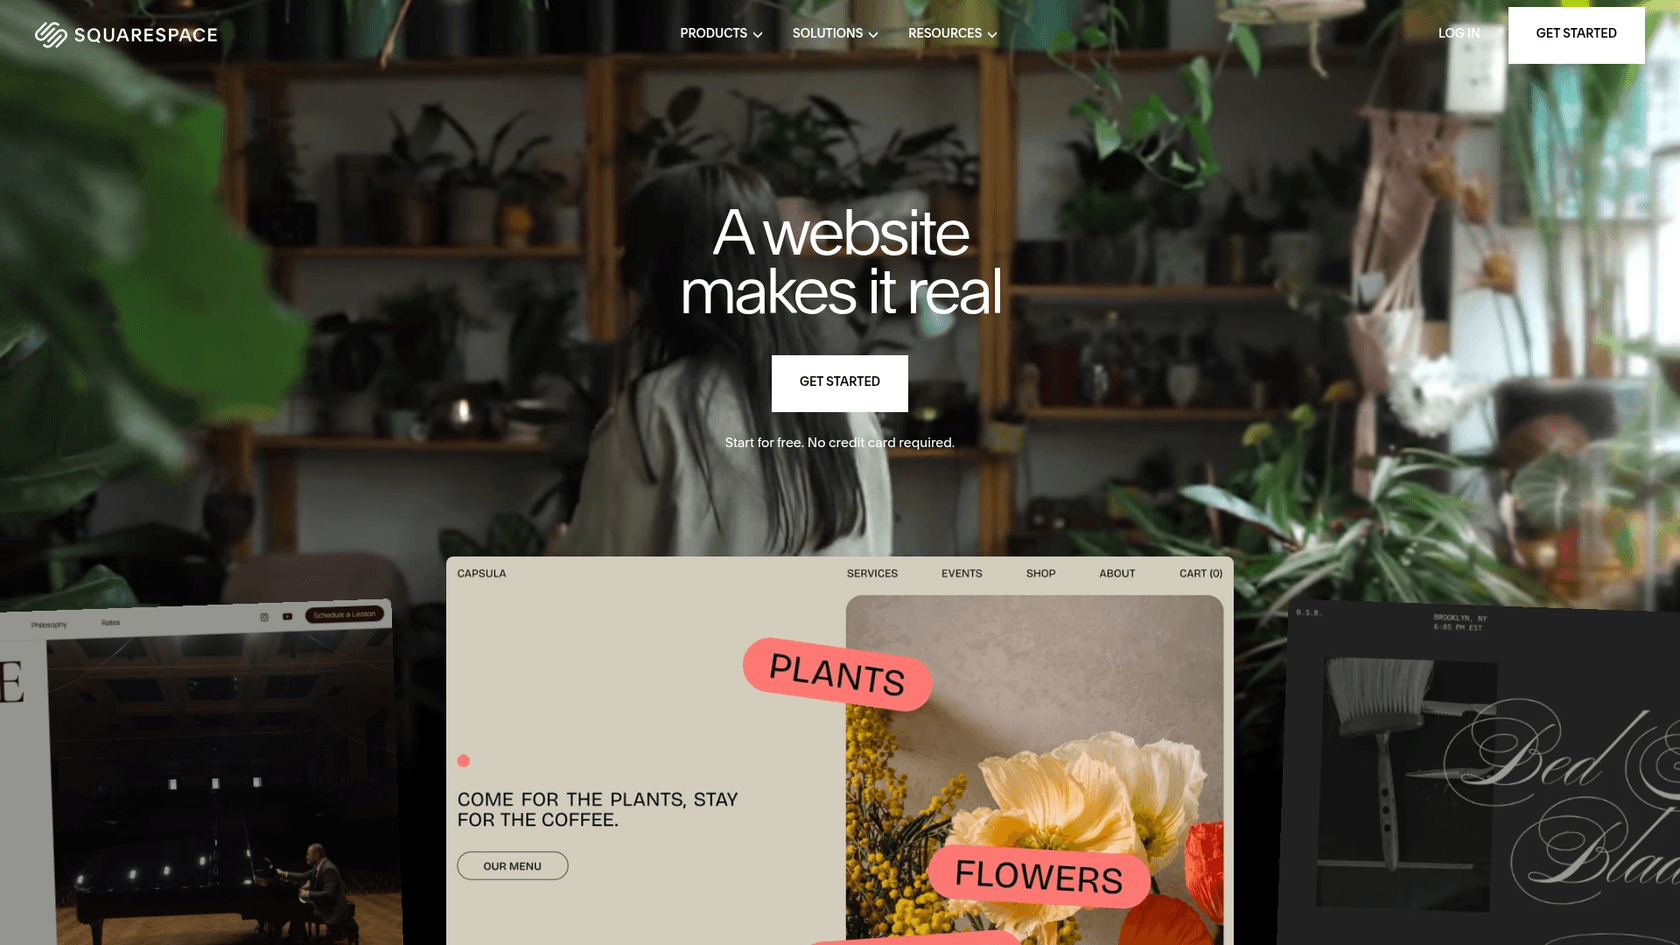
Squarespace has a block-based editor that makes it easy to place images where you want them. You just click an insert point and choose the Image Block.
But this is where people sometimes get confused: the difference between an image inside your post and the post's thumbnail (or featured image). The Image Block puts a visual inside your article, while the featured image is what shows up on your main blog page.
To add a featured image, you have to follow different steps. Based on expert advice, you need to:
- Go to your post editor and click Settings > Content.
- Upload your Featured Image here. A 1500px square image usually works well.
Squarespace also has a Social Image option under Settings > Social Image. This lets you set a specific image (1200 x 630px is ideal) that will be used when your post is shared on social media, which overrides the featured image.
A notable limitation pointed out by users in the Squarespace forum is the lack of a built-in feature to automatically display the featured image at the top of the blog post. This functionality often requires custom code.
How to add images to blogs using Webflow
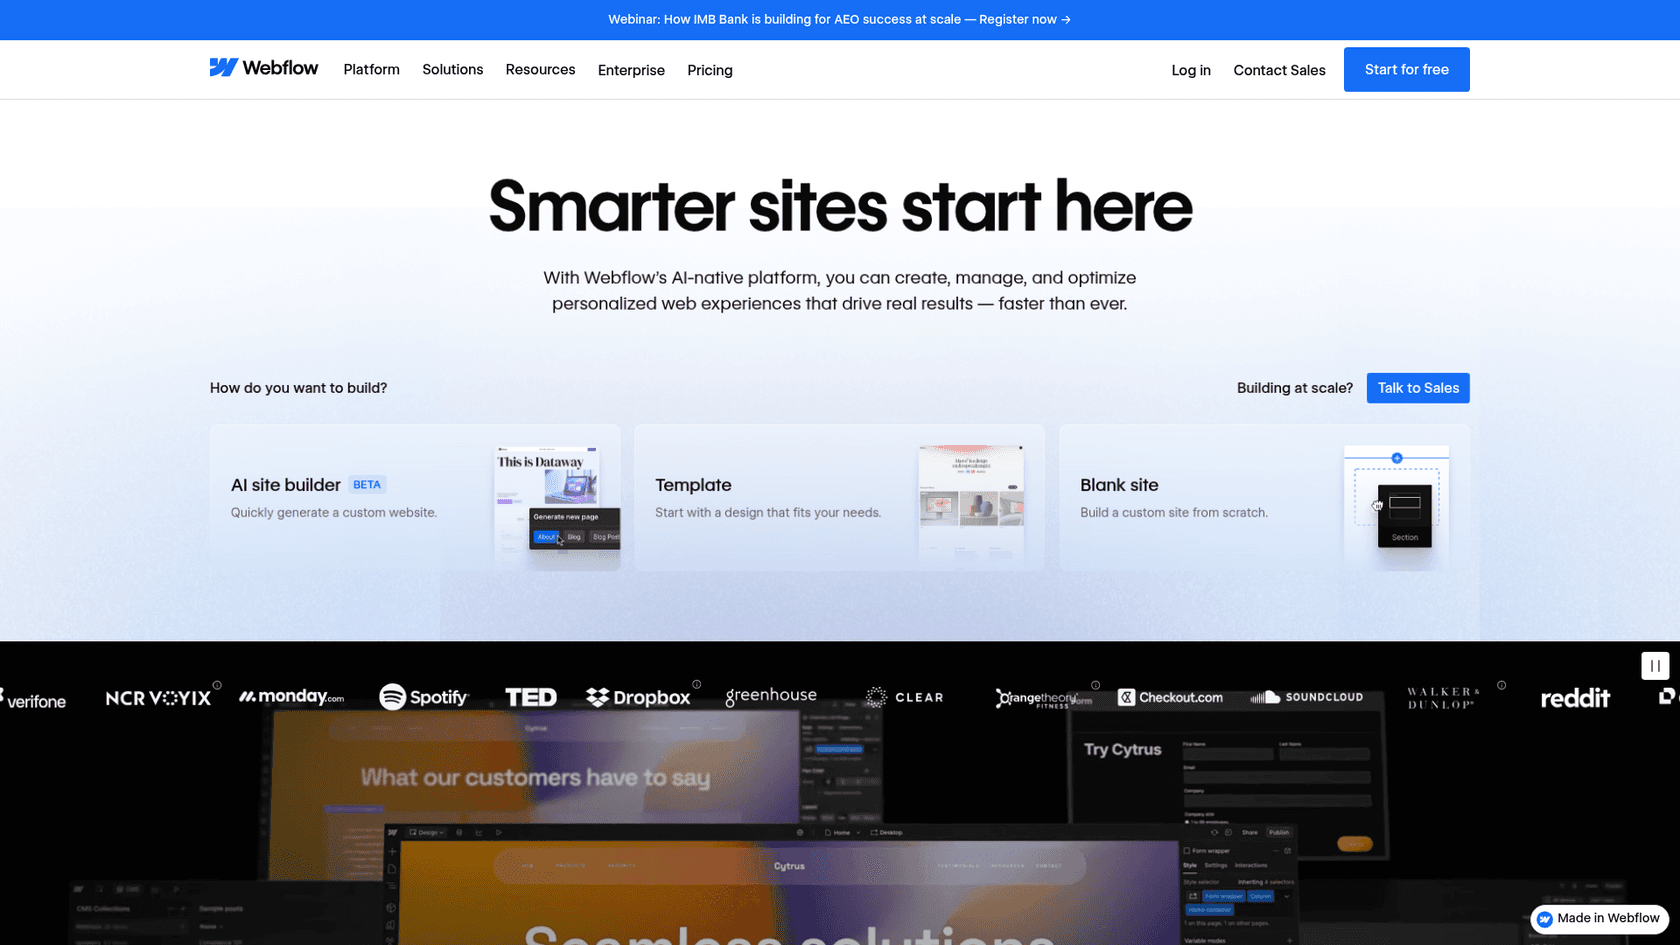
Webflow is a powerful tool, but its CMS has a specific workflow for adding images that's important to understand. When you're writing in a Rich Text element and add a visual, the default option is to upload a new image. You can’t directly select an image that’s already in your site's Asset Panel.
I was able to create a logic/flow that would create a cms item as a draft in a collection when a form was filled out on the site. It was a lot of troubleshooting and yeah worst part was not being able to stage things. Luckily the site was small and only a temporary thing for a candidate running for re-election. After that experience I learned to avoid logic in bigger client projects.
This means that to reuse a graphic in multiple posts, you may need to re-upload it, which can use more time and storage. Another consideration is creating layouts where images extend beyond the main text container. This often requires custom CSS solutions rather than built-in settings. While you can use workarounds like separate image fields, they don't give you much flexibility for placing visuals exactly where you want them.
Best practices for adding images to blogs
Just dropping an image into your post isn't quite enough. To get the full benefit, you need to choose the right ones and optimize them. This improves the reader experience and helps with your SEO.
Choosing the right type of visual content
Different images serve different purposes. The type you choose should directly support what you're writing about. Here’s a quick guide:
- Screenshots: A must-have for how-to guides, tutorials, or software reviews. They show your readers exactly what you're talking about.
- Charts and Graphs: Great for making data-heavy content easy to understand. A simple chart is much more effective than a paragraph full of numbers.
- Infographics: These are perfect for summarizing complex topics. Plus, people love to share them. Venngage data shows they are shared 3x more than any other type of content.
- Original Photos: Using your own photos helps build a unique brand and feels more authentic.
- Stock Photos: These can work if you're in a bind, but be selective. Avoid the cheesy, generic photos everyone has seen a thousand times. Look for images that feel natural and fit your brand.
Optimizing images for SEO and performance
A few quick optimization steps can make a big difference for your site's speed and search ranking.
- Descriptive File Names: Before you upload, rename the file to something descriptive.
how-to-add-images-to-blogs.jpgtells Google what the image is about;IMG_DC_001.jpgtells it nothing. - File Size and Compression: Large image files are a primary cause of slow websites, which is bad for users and search engines. Try to keep your images under 250-400KB. You can use free tools like TinyPNG to compress them without sacrificing too much quality.
- Image Dimensions: Don't upload a 5000px wide image for a space that's only 800px wide. As a general rule, 1500px is good for portrait images, and you can go up to 2500px for full-width banners.
- Alt Text: Alt text is the description that shows up if an image doesn't load. It's also what screen readers use to describe the image to visually impaired users and what search engines use to understand its content. Keep it short (under 125 characters) but descriptive. This is a basic SEO practice that both Squarespace and Webflow recommend.
Understanding image rights and attribution
This part is important: you can't just grab any image you find on Google. Using an image without the right license can lead to issues with copyright infringement.
To be safe, stick to sources that offer royalty-free images, like Unsplash or Pexels. For more specific needs, you might want to use a paid stock photo service. Even when it's not required, it’s good practice to credit the creator.
The modern approach: Automate image generation and placement with eesel AI
The manual process of finding, creating, uploading, and optimizing images can be time-consuming. An alternative approach is to use an automated tool. The eesel AI blog writer is designed to streamline this process by automating the visual content workflow. Instead of providing only text, it generates a complete article with visuals already included.
Here's how this approach works:
- Automatic Asset Generation: The tool automatically creates and embeds relevant images, infographics, and screenshots that fit your topic.
- Authentic Social Proof: It can also find and embed real quotes from Reddit and relevant YouTube videos on your topic. This adds a layer of credibility.
- SEO-Optimized by Default: Optimization best practices are built-in. Generated images are created with SEO in mind, so you don't have to manage tasks like renaming files or writing alt text.
- Context-Aware Visuals: The AI analyzes the blog post's topic to generate relevant visuals. This can reduce the manual work associated with platforms like Blogger, Squarespace, and Webflow.
This can be a helpful solution for teams that want to publish visually rich content efficiently.
Streamlining your image workflow
Images are an essential part of modern blogging. They boost engagement, improve comprehension, and can contribute to better search rankings. And while every platform has its own way of adding them, they all require manual work.
Proper optimization, from file names to alt text, is key to getting the full SEO and user experience benefits. But trying to manage all these tasks for every single post can slow down content production.
While the manual methods get the job done, they can be time-intensive. If you're looking to improve efficiency, automation can handle much of the heavy lifting. For those who prefer to see the process in action, watching a video tutorial can be a great way to solidify your understanding.
Ready to create media-rich blog posts in minutes instead of hours? Generate your first blog for free with the eesel AI blog writer and see how easy it can be.