Your help center is often the first place customers go when they need answers. A generic, out-of-the-box theme might work initially, but eventually you'll want something that matches your brand and makes information easier to find.
The good news? Zendesk Guide gives you plenty of options for customizing your theme, from simple settings adjustments to full code-level control. The challenge is knowing which approach to take and how to manage updates without breaking your live site.
This guide walks you through everything you need to know about updating and customizing your Zendesk Guide theme. Whether you're making minor tweaks or building something completely custom, you'll learn how to do it safely and efficiently.

What you'll need
Before you start customizing, make sure you have the right setup:
Required:
- Zendesk Suite (Team, Growth, Professional, Enterprise, or Enterprise Plus) OR Guide Professional/Enterprise for code editing
- Knowledge admin permissions in your Zendesk account
Optional but recommended:
- A local development environment with a code editor
- Git for version control
- Access to a Zendesk sandbox environment for testing
Here's the short version: if you just want to change colors and upload a logo, any plan will do. But if you need to edit HTML, CSS, or JavaScript, you'll need Guide Professional or higher.
Step 1: Access the theme editor
Everything starts in the theme editor. Here's how to get there:
- In your Zendesk admin panel, navigate to Knowledge admin in the sidebar
- Click Customize design
- You'll see the Themes page with your current live theme at the top
The Themes page shows all your available themes. The one at the top is your live theme (what customers see right now). Any themes below are drafts or backups you can switch to or modify.
Take a moment to familiarize yourself with the interface. Each theme has an options menu (three dots) where you can preview, duplicate, download, or delete. You'll use these options frequently as you manage different versions.
Step 2: Customize using the settings panel
For many teams, the settings panel provides everything they need. It's the safest way to customize because you can't accidentally break the code, and your changes won't prevent the theme from receiving updates.
To access the settings:
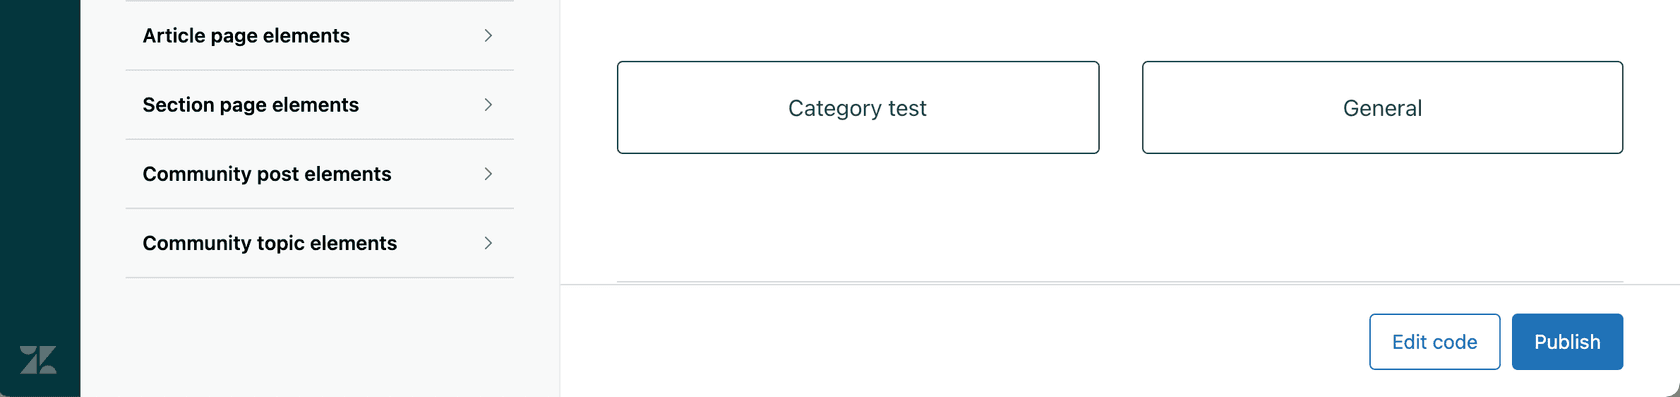
- On the Themes page, click Customize on the theme you want to edit
- You'll see the settings panel with options for colors, fonts, and images
- Make your changes and click Publish when ready
The settings panel typically lets you customize:
- Brand colors primary color, text color, link color, and background color
- Typography heading font and body text font
- Images logo, favicon, homepage background, and community images
These variables are stored in your theme's manifest file and can be referenced in your CSS using syntax like $brand_color. This means if you update the brand color in settings, it automatically updates everywhere that variable is used.
When should you use settings instead of code editing? If your customization needs are purely cosmetic (colors, fonts, logos), stick with settings. It's faster, safer, and won't lock you out of future theme updates.
Step 3: Edit theme code for advanced customization
Sometimes settings aren't enough. Maybe you need to restructure the homepage layout, add custom JavaScript functionality, or create entirely new page templates. That's when you need to edit the code directly.
To access the code editor:
- From the Themes page, click Customize on your theme
- Click Edit code in the top right
- You'll see the file structure with templates, CSS, JavaScript, and assets
Here's what you're looking at:
Templates (.hbs files): These use Handlebars syntax (Zendesk calls it Curlybars) to define page layouts. Key templates include:
home_page.hbsyour help center homepagearticle_page.hbsindividual article pagescategory_page.hbsandsection_page.hbsnavigation landing pagesheader.hbsandfooter.hbselements that appear on every pagedocument_head.hbswhere you add custom meta tags or external scripts
CSS (style.css): Controls all visual styling. You can use the variables defined in your settings (like $brand_color) or write custom CSS.
JavaScript (script.js): Adds interactivity and dynamic behavior.
Manifest (manifest.json): Defines your theme's settings variables and metadata.
Important warning: Once you edit a theme's code, it becomes a "custom theme." Custom themes do not receive automatic updates from Zendesk or theme developers. You'll need to manually apply updates, which can overwrite your customizations if you're not careful.
If you're new to Curlybars, here are a few common expressions you'll see:
{{breadcrumbs}}displays breadcrumb navigation{{search}}renders the search bar{{article.title}}outputs the article title{{settings.brand_color}}references a settings variable
The key thing to remember is that Curlybars gives you access to help center data. You can display dynamic content, loop through articles, and conditionally show elements based on user roles or page types.
Step 4: Manage theme versions and updates
Theme management is where things get tricky. You need a system for tracking changes, testing updates, and rolling back when something breaks.
Creating backup copies
Before making significant changes, always create a backup:
- On the Themes page, find your live theme
- Click the options menu (three dots)
- Select Duplicate
- Name it something descriptive like "PROD-BACKUP-2026-02-25"
Now you have a clean rollback option if something goes wrong.
Downloading for local development
For serious customization, you'll want to work locally:
- Click the options menu on your theme
- Select Download
- You'll get a ZIP file containing all theme files
- Extract it and open in your code editor
Working locally lets you use version control (Git), your preferred editor, and the Zendesk Theme Preview tool for testing changes before uploading.
Understanding Templating API versions
This is where confusion often happens. There are two types of "versions" in Zendesk Guide:
Templating API versions are controlled by Zendesk. They determine what features and helpers are available. There have been four versions since 2014:
| Version | Release Date | Key Changes |
|---|---|---|
| v1 | Nov 20, 2014 | Original release |
| v2 | Feb 24, 2020 | Major architecture update |
| v3 | Jun 1, 2023 | Enhanced features |
| v4 | Jul 2, 2024 | Latest capabilities |
Source: eesel AI blog on theme version management
Theme versions are your actual custom themes. You can have multiple themes in your library and switch between them.
To check your Templating API version, look under your theme name in the code editor, or check the api_version field in your manifest.json file.
Upgrading Templating API versions requires caution. Newer versions may deprecate helpers you're using, which means your theme could break after upgrading. Always test in a sandbox first.
Marketplace theme updates
If you purchased a theme from the Zendesk Marketplace, you'll see update notifications when developers release new versions.

Critical note for developer licenses: If you purchased a developer license and edited the code, you cannot automatically update without losing your customizations. The standard workflow is to duplicate the theme before customizing, keeping the original clean for updates.
To update a Marketplace theme:
- Go to Knowledge admin > Customize design
- Look for the "Update available" badge on your theme
- Click the options menu and select Update available
- Review the release notes
- Click Update theme
If you've customized the theme, you'll need to manually merge your changes with the updated version.
Step 5: Test and deploy your theme
Never deploy a theme to production without testing. Here's the proper workflow:
Using sandbox for testing
Zendesk provides sandbox environments specifically for this purpose. Build and test your theme in sandbox first, then deploy to production once you're confident.
Previewing before going live
When editing a theme, click Preview to see your changes in a test environment. Note that previews don't support all interactive features, so use sandbox for complete testing.
Setting a theme as live
When you're ready to deploy:
- On the Themes page, find the theme you want to activate
- Click the options menu
- Select Set as live theme
- Confirm the change

Your new theme goes live immediately. There's no staging period, so make sure you've tested thoroughly.
Testing across devices and browsers
Before deploying, verify your theme works on:
- Desktop (Chrome, Safari, Firefox, Edge)
- Mobile devices (iOS and Android)
- Different screen sizes
A theme that looks great on your laptop might be broken on mobile. Responsive design is essential since a significant portion of help center traffic comes from mobile devices.
Rollback strategies
Always have a rollback plan. Keep a known-good backup theme ready to activate if issues arise. Document the exact steps to revert so you're not figuring it out during an incident.
Common customization scenarios
Here are practical examples of what teams typically customize:
Adding custom CSS for branding:
/* Custom button styling */
.btn-custom {
  background-color: $brand_color;
  border-radius: 4px;
  padding: 12px 24px;
}
Modifying article layouts: Edit article_page.hbs to restructure how article content displays. You might add a sidebar, change the breadcrumb position, or include related articles.
Adding custom JavaScript: Use script.js for interactive elements like accordions, tabs, or dynamic content loading.
Creating custom pages: On Enterprise plans, you can create custom pages (like a contact page or FAQ) and link them from anywhere in your help center.
Mobile responsiveness: Use CSS media queries to ensure your theme works well on all screen sizes. Test touch targets (buttons and links) to make sure they're large enough for mobile users.
Best practices for theme management
After working with dozens of help centers, here are the practices that prevent headaches:
-
Use descriptive naming conventions. Instead of "Theme v2," use "Copenhagen-Custom-Q1-2026" or "Theme-Holiday-2026." Include version numbers and context.
-
Maintain a changelog. Document what changes in each version, who made them, and why. This is invaluable when multiple people work on your help center.
-
Always test in sandbox first. The preview function is useful, but sandbox gives you the full environment for end-to-end testing.
-
Keep a production backup. Before major changes, duplicate your live theme with a date-stamped name.
-
Deploy during low-traffic hours. Even with thorough testing, production can behave differently. Deploy when fewer customers will be affected.
-
Document custom code. Add comments explaining why you made specific changes. Future you (or your teammates) will thank you.
-
Use version control. If you're doing code-level customization, track changes in Git. It makes collaboration easier and gives you a complete history.
Streamline your help center with eesel AI
While you're perfecting your theme's appearance, don't forget about the content inside it. A beautiful help center only works if customers can find the answers they need.
That's where we can help. Our AI chatbot integrates directly with your Zendesk help center to provide instant, accurate responses to customer questions.
Here's how it works:
- We connect to your help center and learn from your existing articles
- Customers get instant answers without waiting for an agent
- The AI cites sources, so customers know where information comes from
- You can customize responses to match your brand voice
- It works with any Zendesk Guide theme version
The combination is powerful: a beautiful, custom theme that represents your brand, paired with AI that delivers the right content at the right time. You handle the design, we handle the intelligent content delivery.

If you're investing in your help center experience, consider how AI can complement your theme customization efforts. A great-looking help center is even better when customers can get answers instantly.
