Setting up a new help desk can feel like a massive project, but honestly, getting started with Freshdesk is pretty painless. If you're looking for a single place to manage all your customer conversations without pulling your hair out, you've landed in the right spot. This guide will walk you through the entire Freshdesk signup, from filling out the form to poking around the dashboard for the first time. Let's get you up and running smoothly.
What you'll need before you start
To make the Freshdesk signup as quick as possible, it helps to have a few things ready. Don't worry, it's all basic info, and you won't need to dig out a credit card to start their free trial.
-
A work email you can access right now: This is where they'll send your activation link, and it's what you'll use to log in.
-
Basic company info: Just your company's name and a rough idea of how many people are on your team.
-
A phone number: Freshdesk asks for this for account setup and verification.
How to complete your Freshdesk signup: A step-by-step guide
You’re just a few minutes away from getting your new help desk off the ground. Follow these simple steps, and you'll be in before you know it.
Step 1: Head over to the Freshdesk signup page
The easiest way to get started is to go straight to the source. You might see links on different Freshworks product pages, but the main registration form is the most direct route.
Just open your browser and go to: https://freshdesk.com/signup
This link takes you right to the form where you can create your account and kick off your 14-day free trial.
Step 2: Fill out the signup form
The Freshdesk form is short and sweet and only asks for the essentials. Here’s a quick rundown of what to pop in each field:
-
First Name & Last Name: Pretty straightforward.
-
Work Email: Make sure this is a real email you can check immediately because you'll need it for the very next step.
-
Company Name: The name of your business.
-
Organization Size: Pick the option that best fits your team from the dropdown menu.
-
Phone Number: Your business contact number.
You might also see an option to choose your data center location. This just decides the physical region where your data is stored. Once you’ve filled it all out, hit the "Try it free" button.
Step 3: Verify your email
As soon as you submit the form, Freshdesk will shoot an activation email to the address you provided. This is just a quick security check to make sure you're you.
Open your inbox and look for an email from Freshdesk. Inside, you'll find a welcome message and a big activation link. Go ahead and click that link.
Once you click the link, you'll be prompted to create a password. Set that up, and your account is officially live.
Step 4: Your first login
With your account activated, you can now log in for the first time. The Freshdesk dashboard is where you'll manage everything. On your first visit, you'll probably see a welcome message or a little setup wizard to guide you.
Take a moment to just click around. You'll notice a few key areas:
-
Tickets: This is where all your incoming customer questions will live.
-
Solutions: Your future knowledge base, where you can write help articles.
-
Admin: The control panel for all your settings.
Don't feel like you have to set everything up at once. The goal here is just to get a feel for the layout. You can't break anything, I promise.
What to do after you sign up
Congrats, your Freshdesk account is officially a thing! Now, let's take a few first steps to turn this empty help desk into something genuinely useful.
Set up your customer portal
Your customer portal is a branded site where your customers can submit new support tickets, check on their old ones, and read your help articles. You can find the settings under "Admin > Channels > Portals". It's worth taking a few minutes to upload your company logo and tweak the colors to match your brand. A portal that looks professional builds trust and makes customers more likely to use it.
Write your first knowledge base article
A good knowledge base is one of the best ways to cut down on repetitive questions. When you give customers answers to common problems, you're empowering them to solve issues on their own, anytime. Start small. Just write one or two articles for your most frequently asked questions. You can find this section under the "Solutions" tab. This is your first step toward building a self-service resource that will save you tons of time down the road.
Connect your support email
Freshdesk really starts to shine when it brings all your support channels into one place. The first and most important thing to do is forward your main support email (like "support@yourcompany.com") to Freshdesk. This makes sure any email sent to that address automatically becomes a ticket. You can set this up easily in the admin panel. Later on, you can connect social media accounts and chat widgets, too.
Pro tips for getting started
Getting your account set up is just the starting line. If you want to build a really efficient support system, it's a good idea to think about automation from day one.
Explore integrations to automate support
Freshdesk is great on its own, but it really comes alive when you connect it with other tools. Adding an AI platform can help you get ahead of customer questions, even when you're just starting out.
This is where eesel AI comes into the picture. It’s an AI agent that plugs right into your new Freshdesk account to give customers instant, accurate answers. The best part? It’s incredibly easy to get started.
-
Go live in minutes: After your Freshdesk signup, you can connect eesel AI with a single click through our Freshdesk integration. You don't need a developer or any complicated setup.
-
Automate from day one: While your team is handling the first few tickets, eesel’s AI agent can learn from your knowledge base and macros to start deflecting common questions right away.
-
Build knowledge automatically: As you resolve tickets, eesel can even help you build out your knowledge base by suggesting draft articles based on what worked.
-
Test with confidence: You can use its simulation mode to see exactly how the AI would answer a question before you ever turn it on for customers, which gives you total peace of mind.
Set up basic ticket automations
Freshdesk has some handy built-in automation tools that can help you manage tickets without lifting a finger. You can find these under "Admin > Workflows & Automations". A great first rule to set up is one that automatically assigns tickets with a certain keyword, like "billing," to the right person or team. It’s a small tweak that ensures questions get to the right expert faster.
Get started with a smarter Freshdesk experience
You’ve done it. You completed the Freshdesk signup, activated your account, and took the first few steps to get your help desk in order. With this foundation, you're on your way to providing organized and efficient customer service. Just remember, a great help desk isn't just about managing tickets, it's about resolving them quickly and intelligently.
Now that your Freshdesk account is ready, the next move is to make it work smarter for you. See how eesel AI's AI agent can automate your support and free up your team to focus on the conversations that matter most.
Try eesel AI for free and connect it to your new Freshdesk account in minutes.
Frequently asked questions
What if I don't have all the required information ready before starting my Freshdesk signup?
While it's helpful to have your work email, company name, organization size, and phone number prepared, you can always gather them during the Freshdesk signup process. The form is straightforward and doesn't require complex details to get started.
Approximately how long does the Freshdesk signup process usually take?
The core Freshdesk signup, including filling out the form and verifying your email, typically takes just a few minutes. Getting your account activated and ready for first login is a very quick and efficient process.
Is a credit card required to complete the Freshdesk signup and start the free trial?
No, you do not need a credit card to complete your Freshdesk signup and begin your 14-day free trial. Freshdesk allows you to explore their platform without any financial commitment upfront.
What should I do if I don't receive the activation email after completing the Freshdesk signup form?
First, check your spam or junk folder, as emails sometimes get misdirected there. If you still don't see it after a few minutes, you might want to re-check the email address you provided during the Freshdesk signup process for any typos.
What are the absolute most important first steps I should take immediately after my Freshdesk signup is complete?
After your Freshdesk signup, prioritize setting up your customer portal, connecting your main support email to Freshdesk, and writing a couple of initial knowledge base articles. These steps quickly make your help desk functional and useful for your customers.
Can I change my data center location selection after I've completed the Freshdesk signup?
While you typically select your data center during the initial Freshdesk signup, changing it afterward usually requires contacting Freshdesk support. It's generally best to choose the most appropriate region during registration.
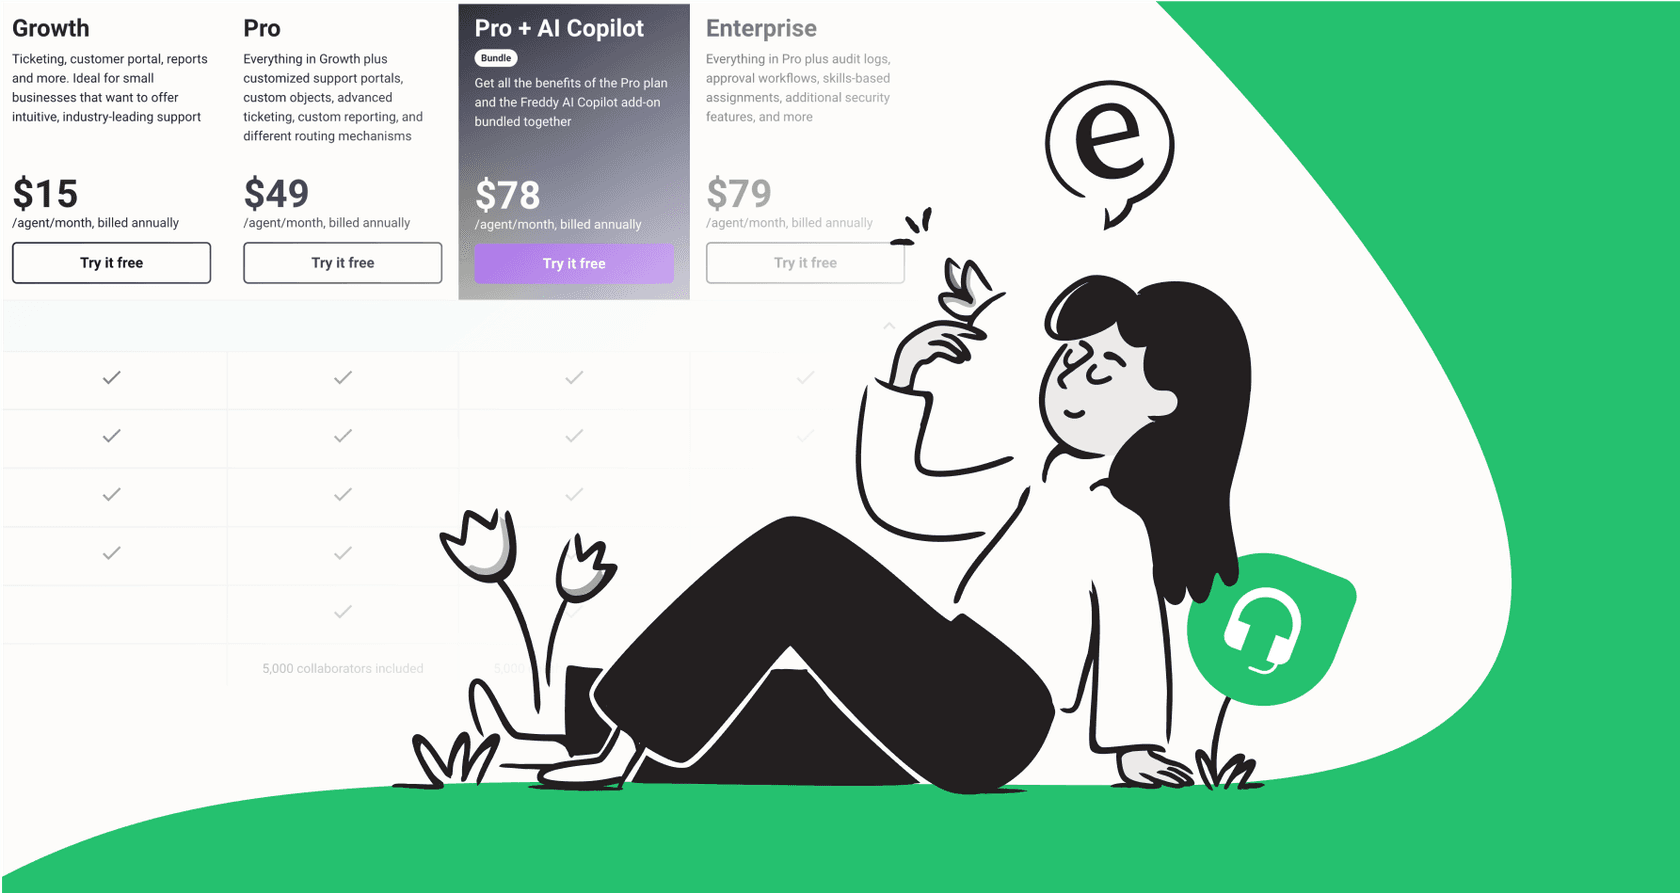
What features are generally included in the free trial after a Freshdesk signup?
The 14-day free trial after your Freshdesk signup typically grants you access to all the core features of the highest-tier plan. This allows you to fully explore ticketing, automation, reporting, and more, helping you decide which plan is best for your needs.